True Life: I have this thing with moons.
Between the Cosmic BeautyMarks, the Winter Moon Lariat, the Wax & Wane Ring, and the Crescent Necklace, Earrings, and Ring, my affection for this celestial body has made itself quite evident in my creative endeavors. The Phases of the Moon Necklace was one of the first moon-themed designs I made, and to this day, is both a shopper and personal favorite.
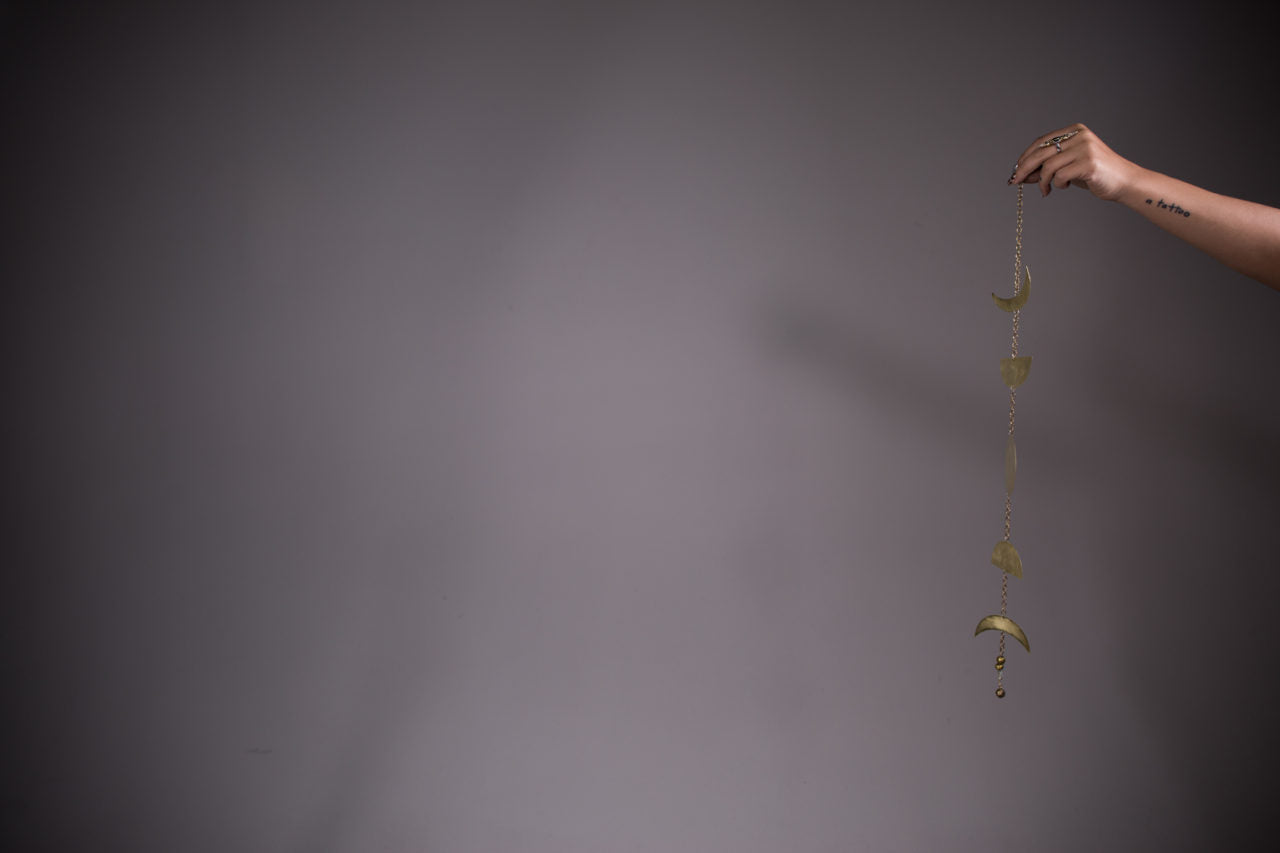
I took inspiration from its design to make this Phases of the Moon Pendant, a home decor charm that can be sized up, sized down, and customized to whatever space you intend it for, while always giving off that lovely lunar vibe. It's perfect for back-to-school dorm decor or just adding an element of the cosmos to your pad. If you can't hang the real moon on your walls, this is pretty much the next best thing.


Prep It:
Thin sheet metal Chain Jumprings Metal hole punch Cutting pliers Sandpaper Long-Nose Pliers Circular stencil Gold beads Wire Marker


Do It!:
- Using your circular stencil and a pen, draw out your moons. We made 5 moons, like the Phases of the Moon Necklace, but depending on how long or short you want your pendant to be, you could make 3 or 7 or 9!
- Cut out the moons with the cutting pliers. It's not easy to cut round shapes normally, and with a small tool and sheet metal, it can be especially tricky. Work slowly and use the sand paper to smooth out any jagged edges. I also used the sand paper to give the moons a slightly scuffed texture, but that is a personal touch that is up to you!
- Now it's time to put these moons together! Use the metal hole punch to make holes on either side of the width of the moon (you'll want them to hang on their side, not up and down!)
- Measure how much chain you want between the moons and cut 4 pieces of the same length. Cut 2 pieces for the top and bottom of the pendant, as well, of whatever length suits your pendant best. Use the long-nose pliers to attach the chain to the moons with jump rings. If you need more details on this step, I detail the chain and jump ring process in this Chain Water Bottle Purse tutorial!
- Cut a length of wire and wrap around the bottom chain link, then hang down. String your beads up the wire and wrap the tail through and around the last bead to secure them! Cut another length of wire and string through the top chain link, then twist into a loop that you will use to hang the pendant from!
- Hang up your pendant and enjoy the ethereal, magical effect it has on your home decor!