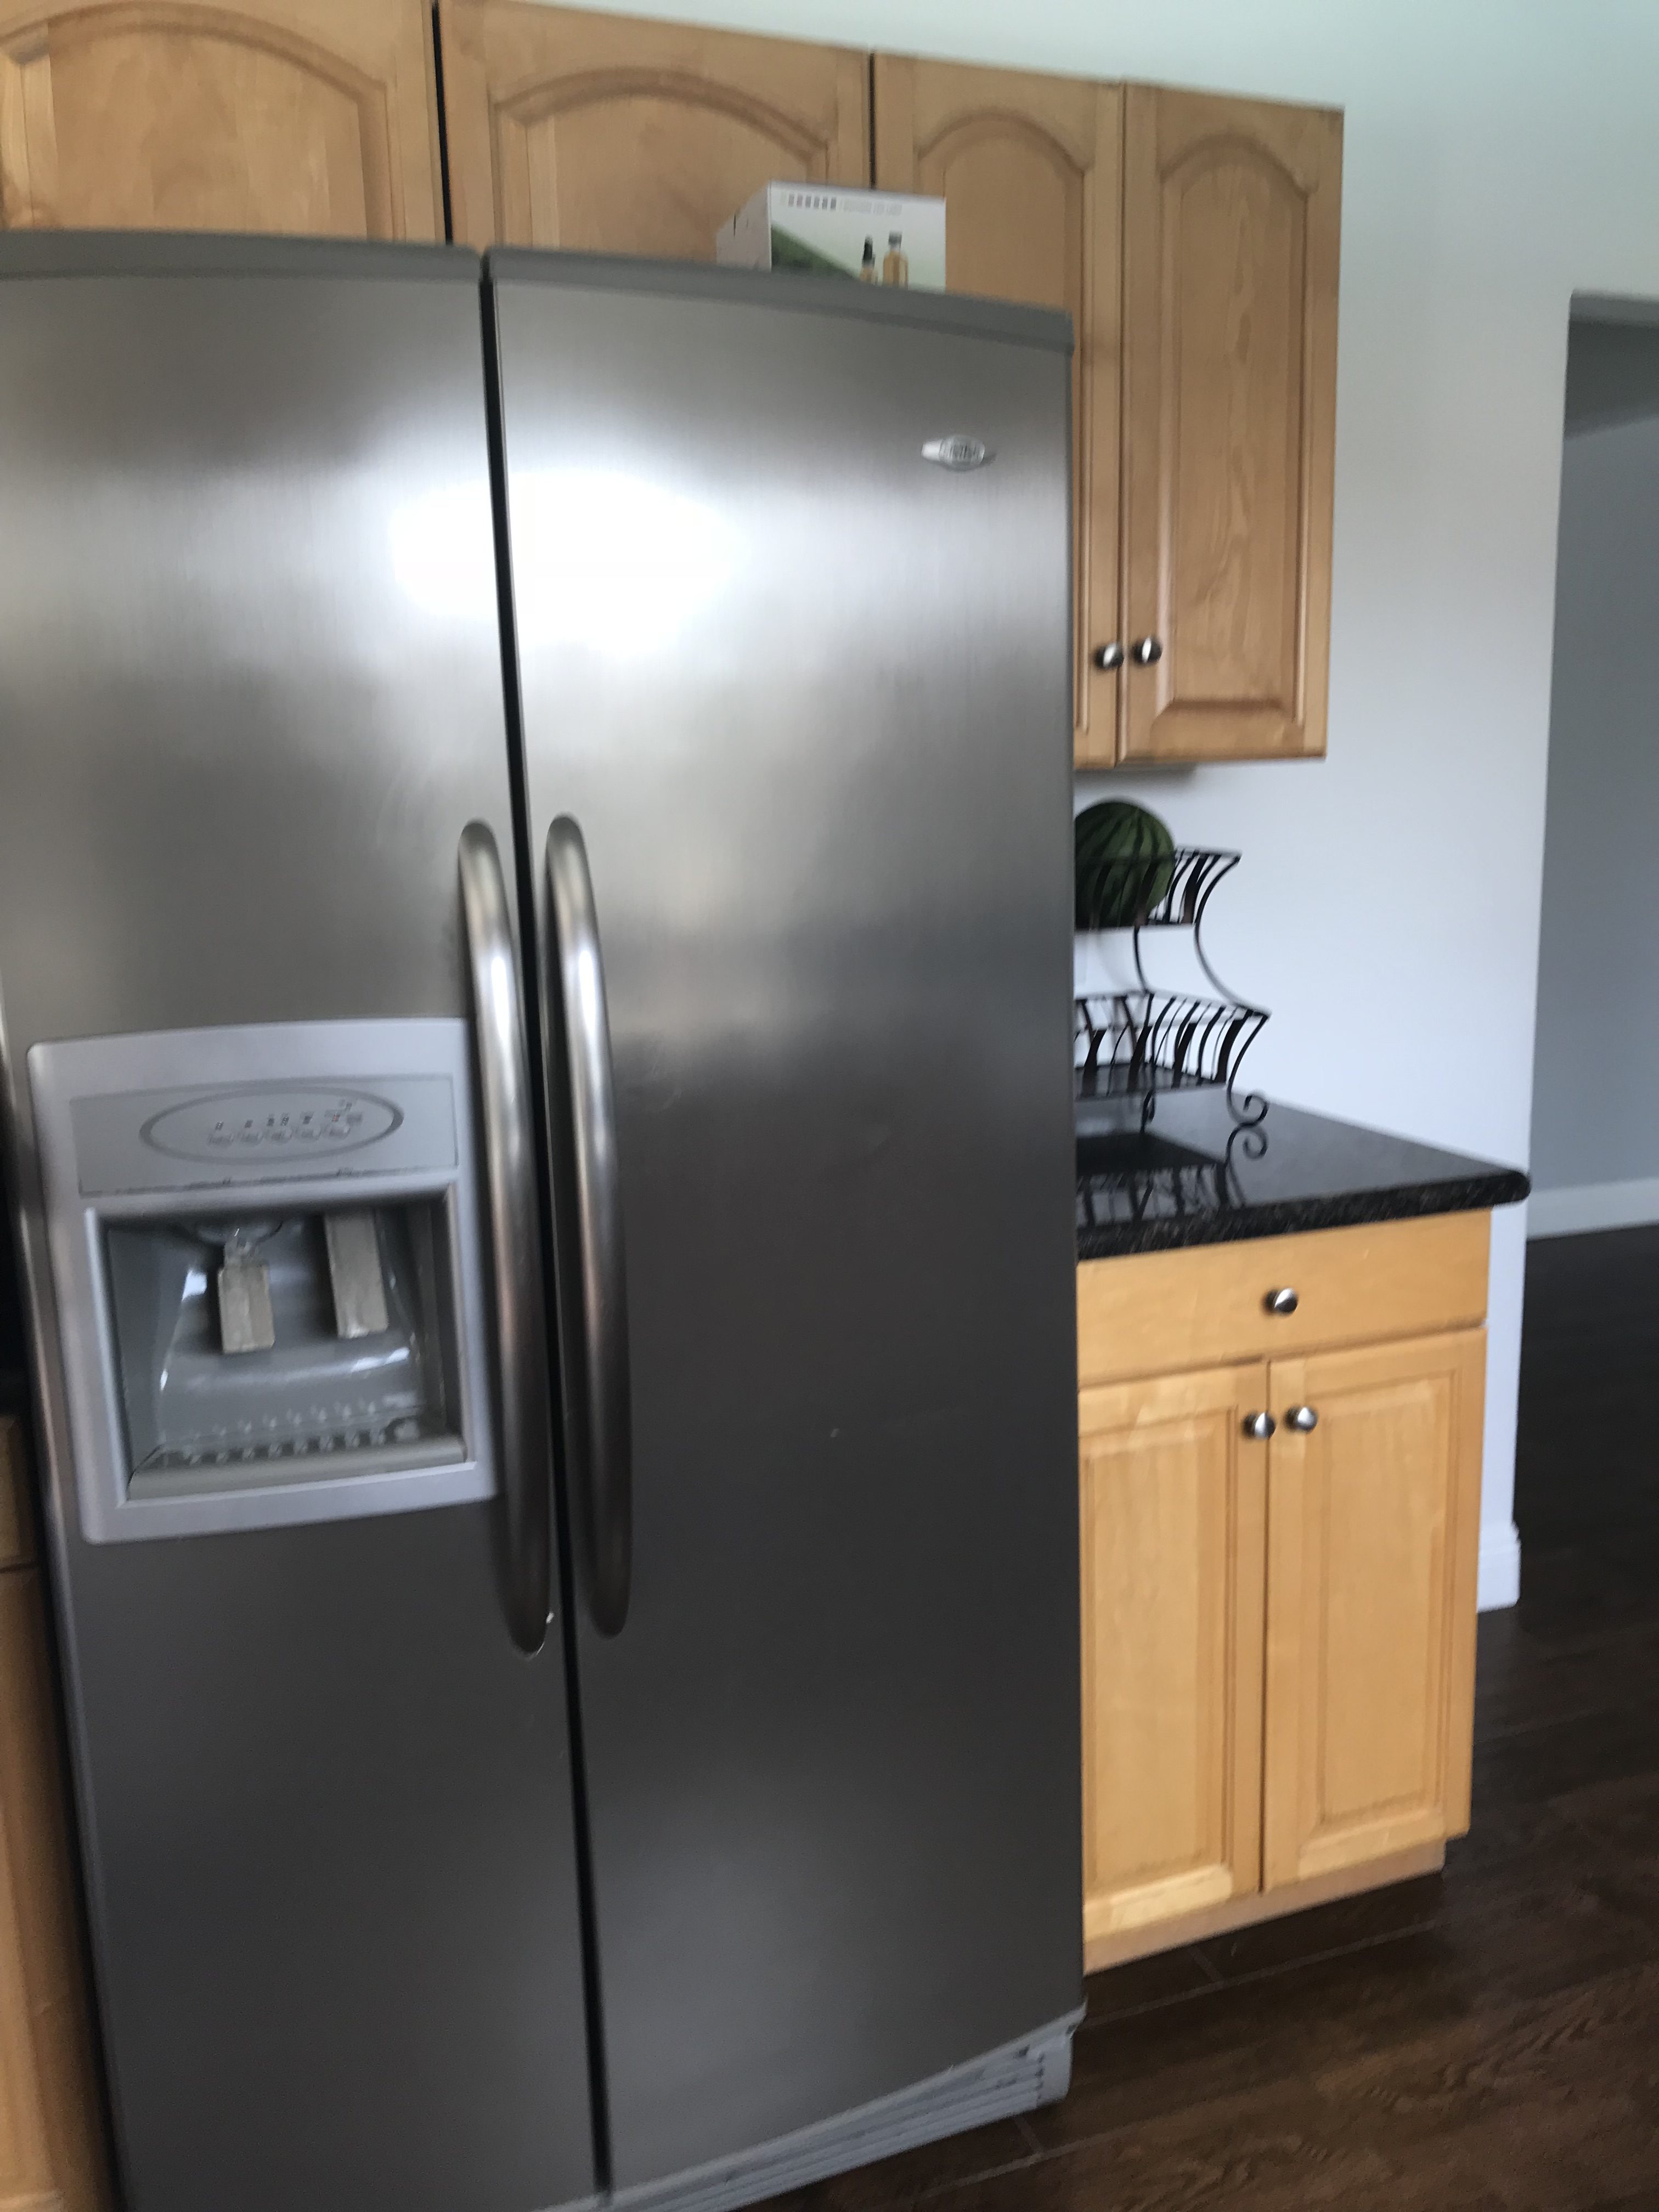
Kitchens! They are the heart of the home, they are a central gathering place for friends and family, and for a lot of people, they can seem like a lost cause. The price of a total kitchen redo remains a longterm goal for a lot of people, but with such permanent fixtures as cabinets and countertops, it may seem like not much can be done!
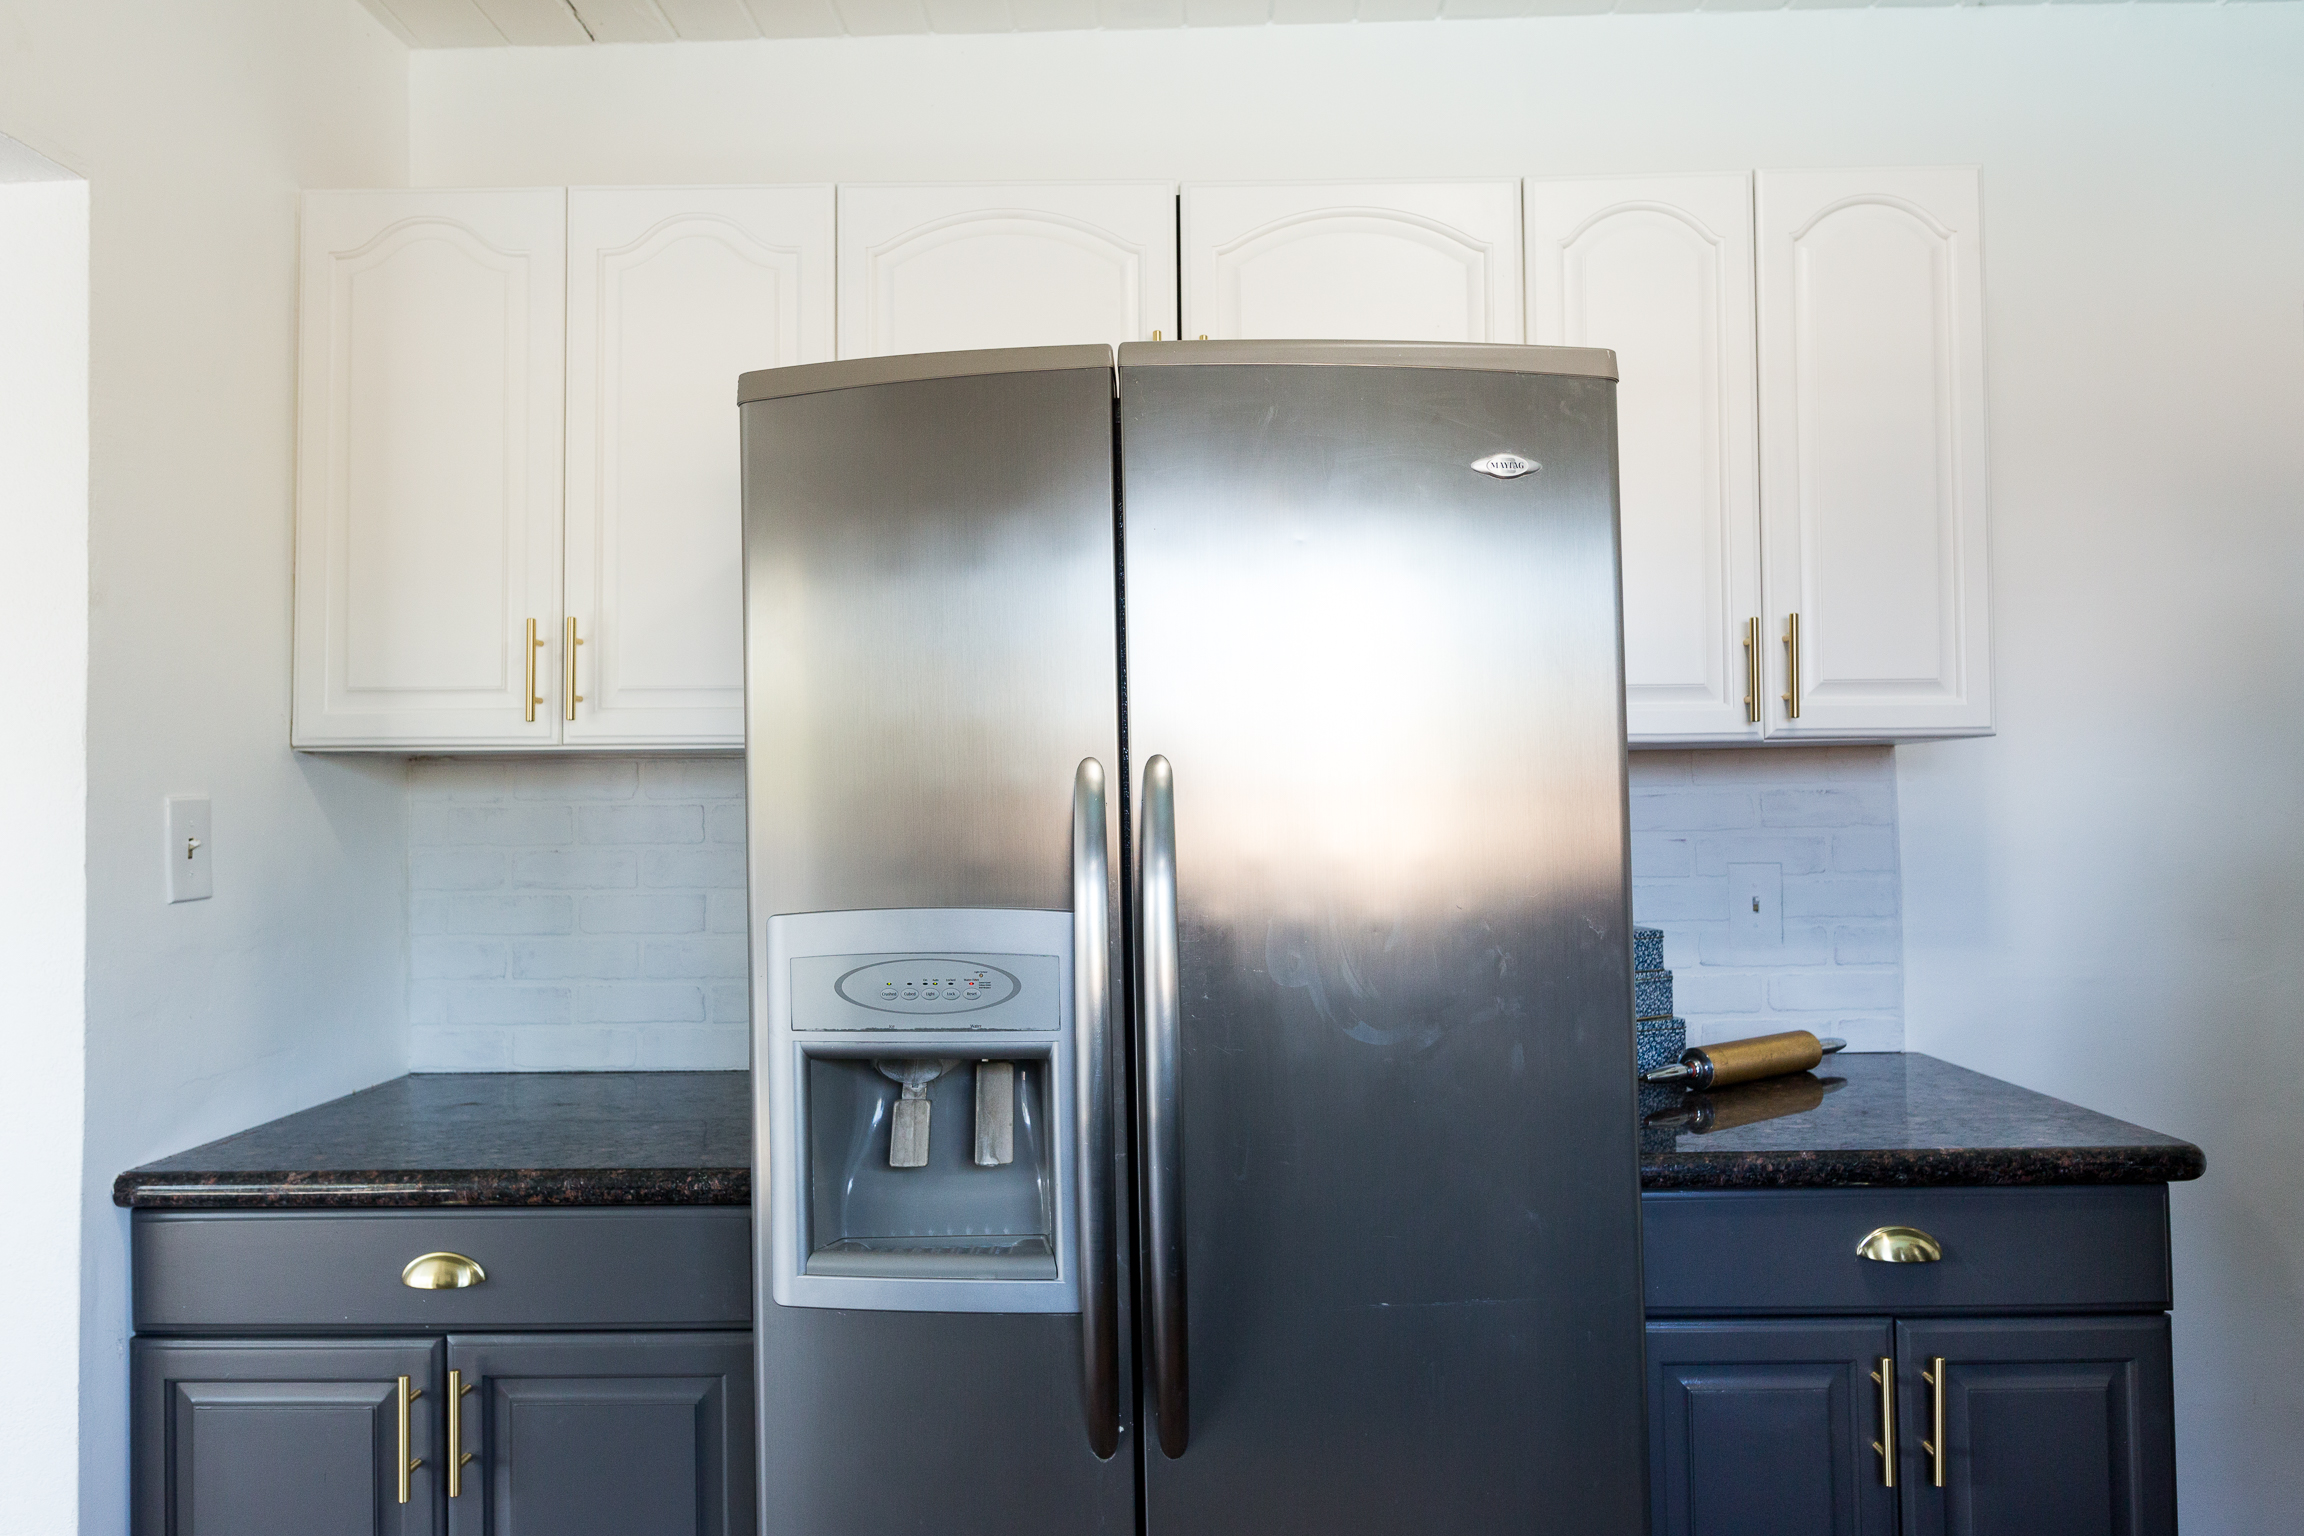
In this video, we challenge that concept by giving a major makeover to one special Creative Weirdo's kitchen ... all for under $300! With some vintage touches, a modern farm house aesthetic, and a few extra treats from our office for the dining area, we gave new life into the heart of this home. Watch above and learn more about the process and the products we used below!


 See how we DIY'd this Faux Brick Backsplash here!
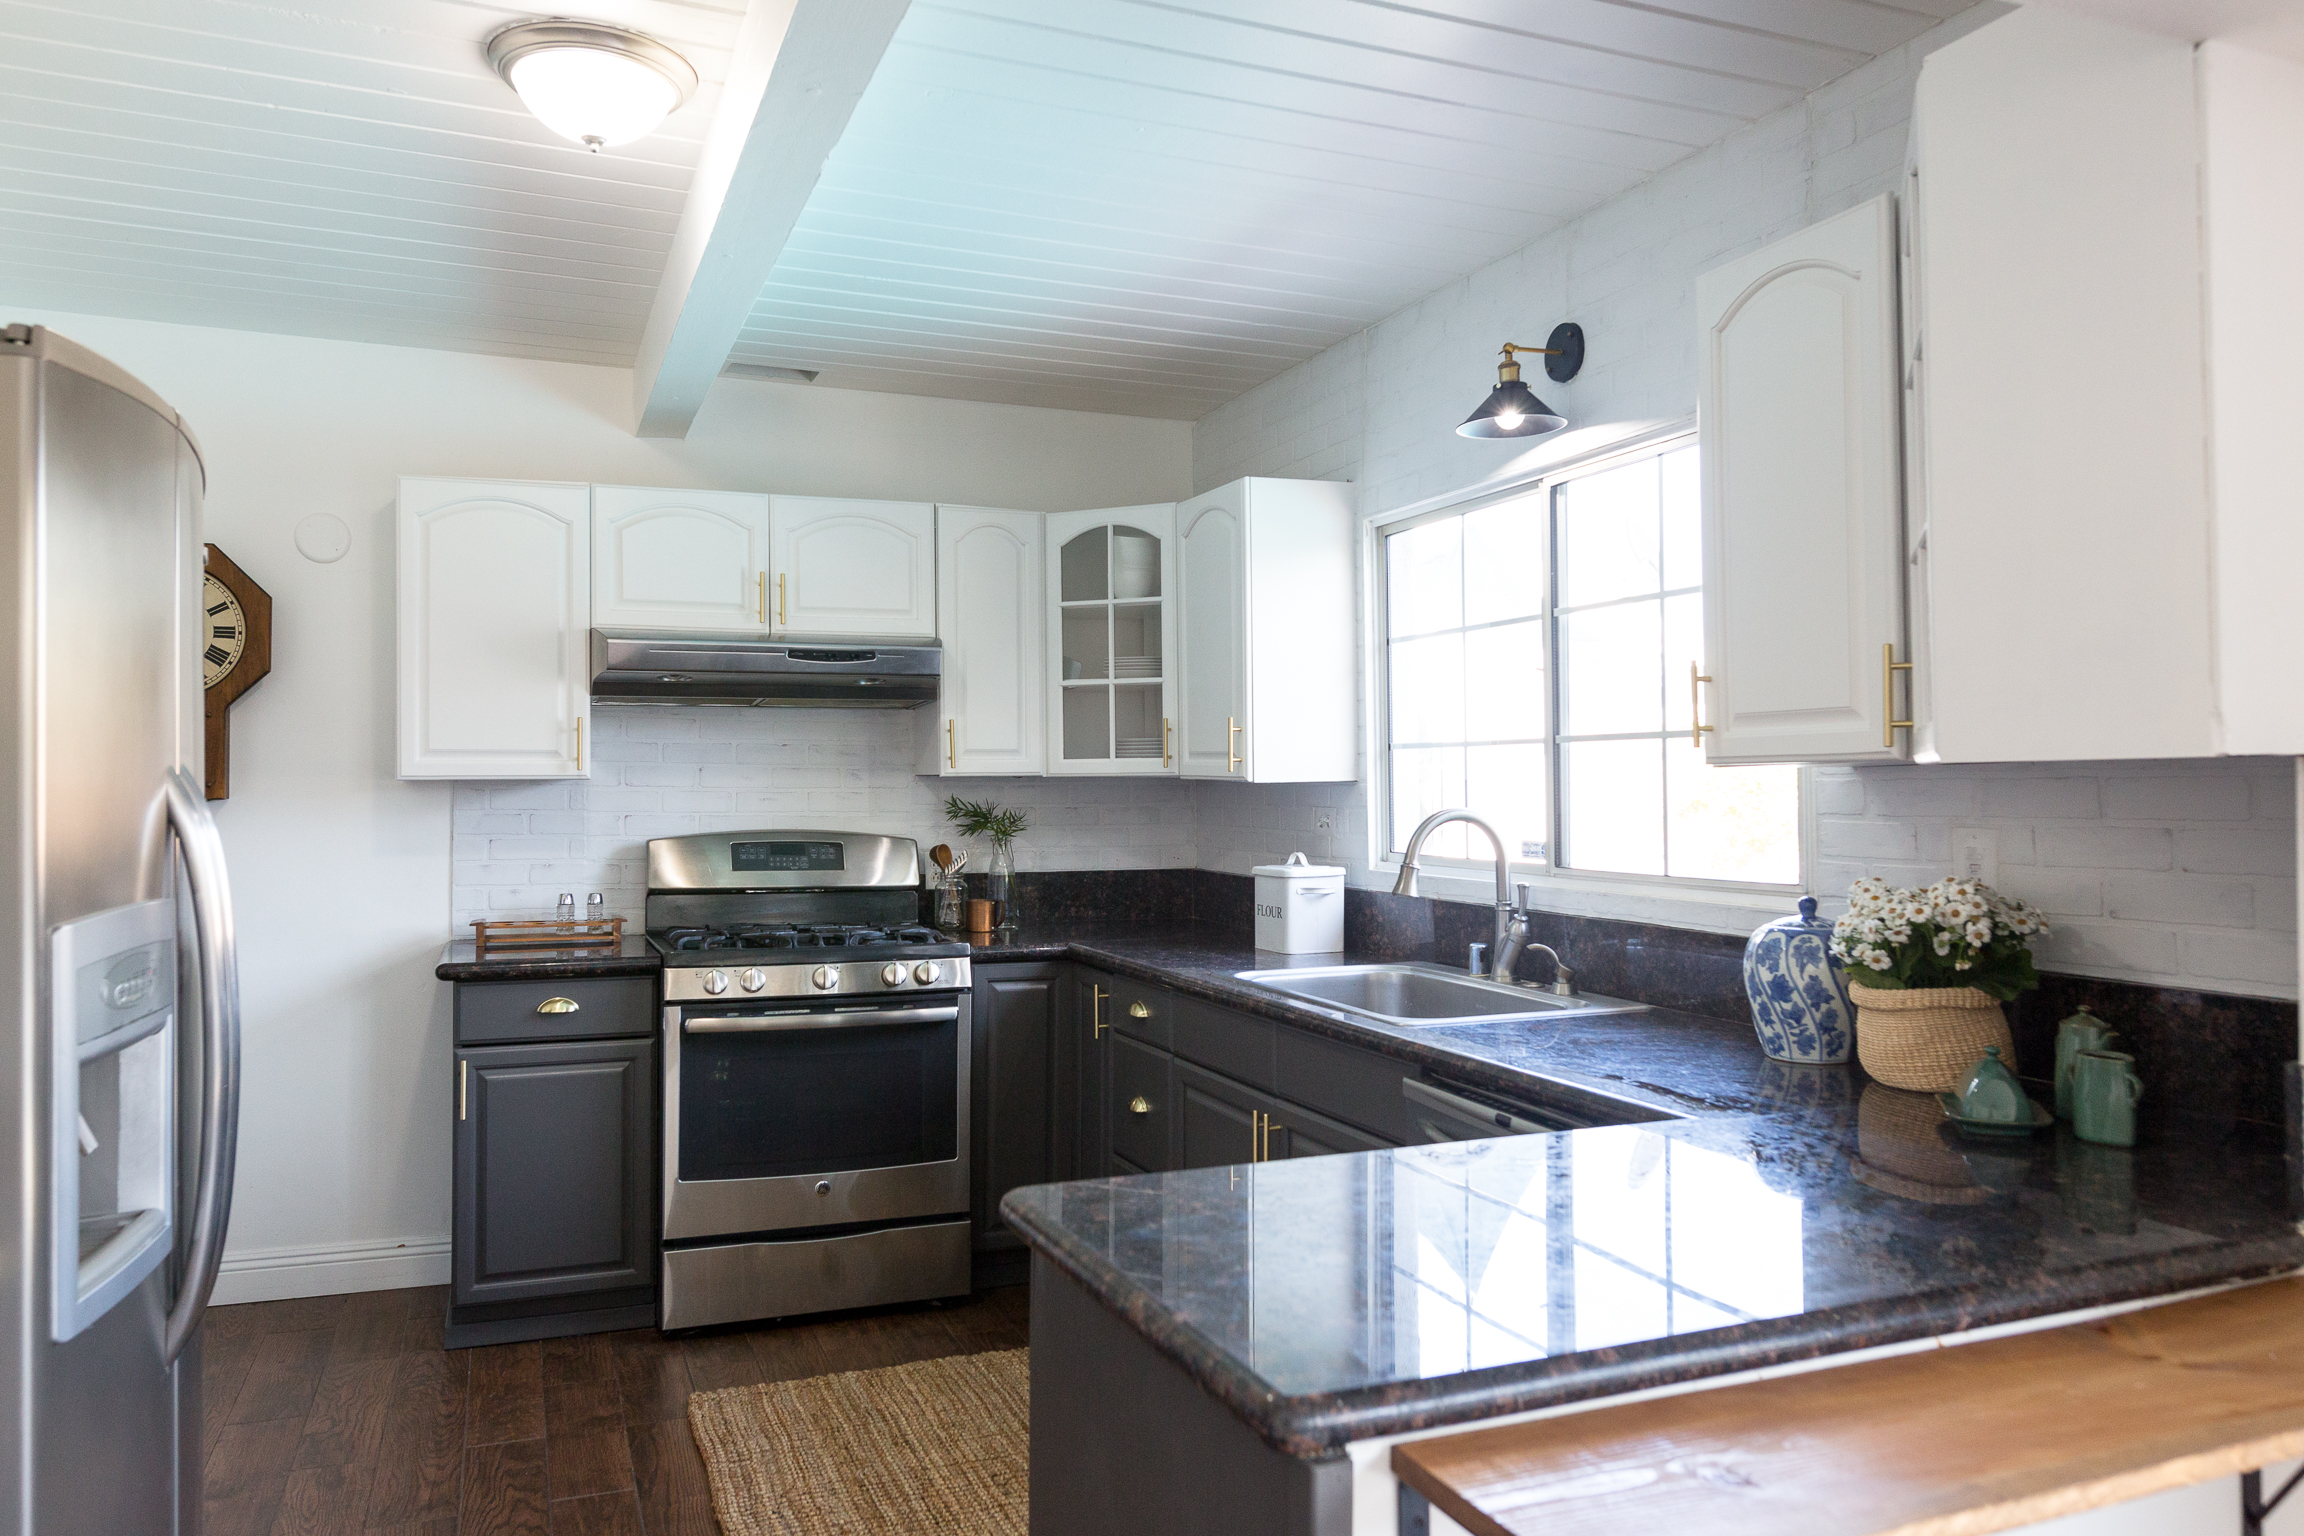
Working on a $300 budget, we weren't able to completely renovate this kitchen, but instead had to work with what was there and make surface improvements that had major impact. 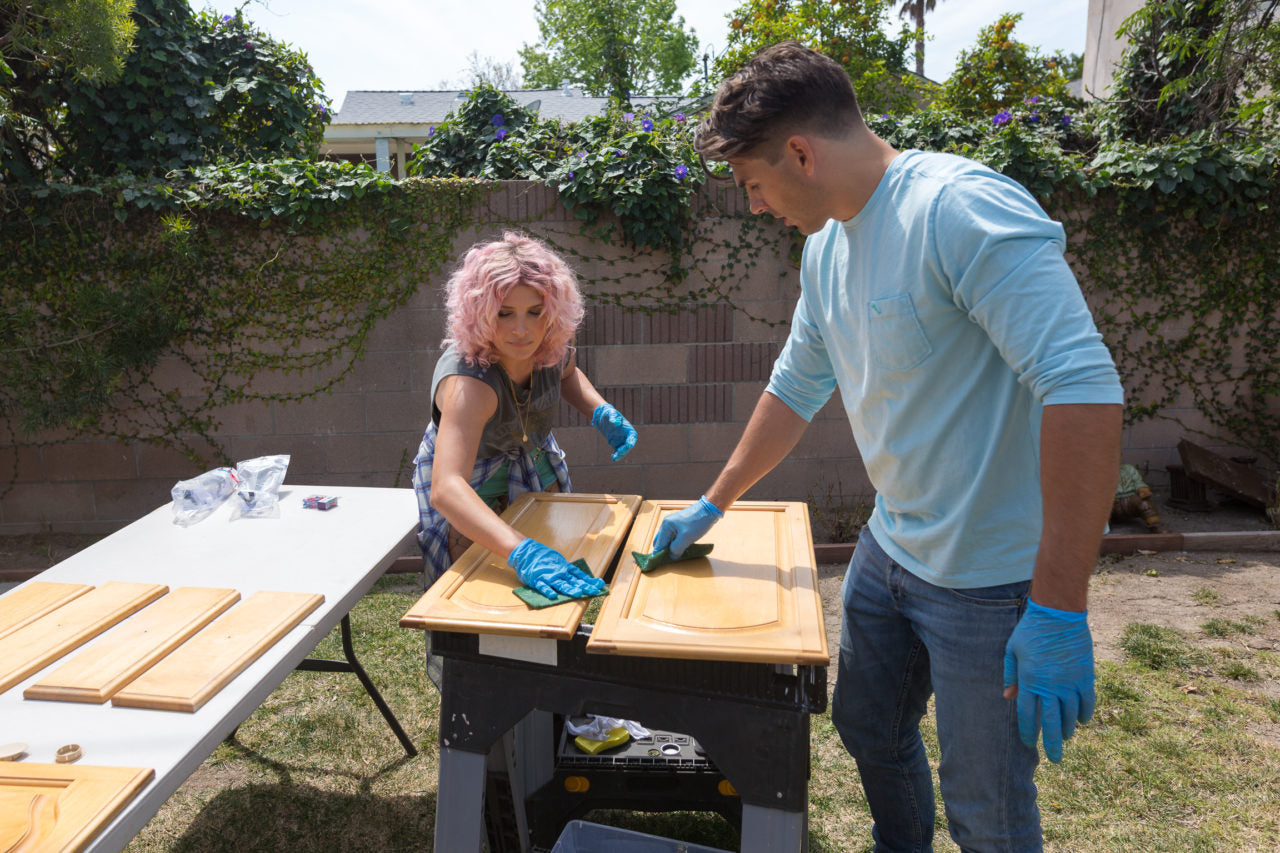
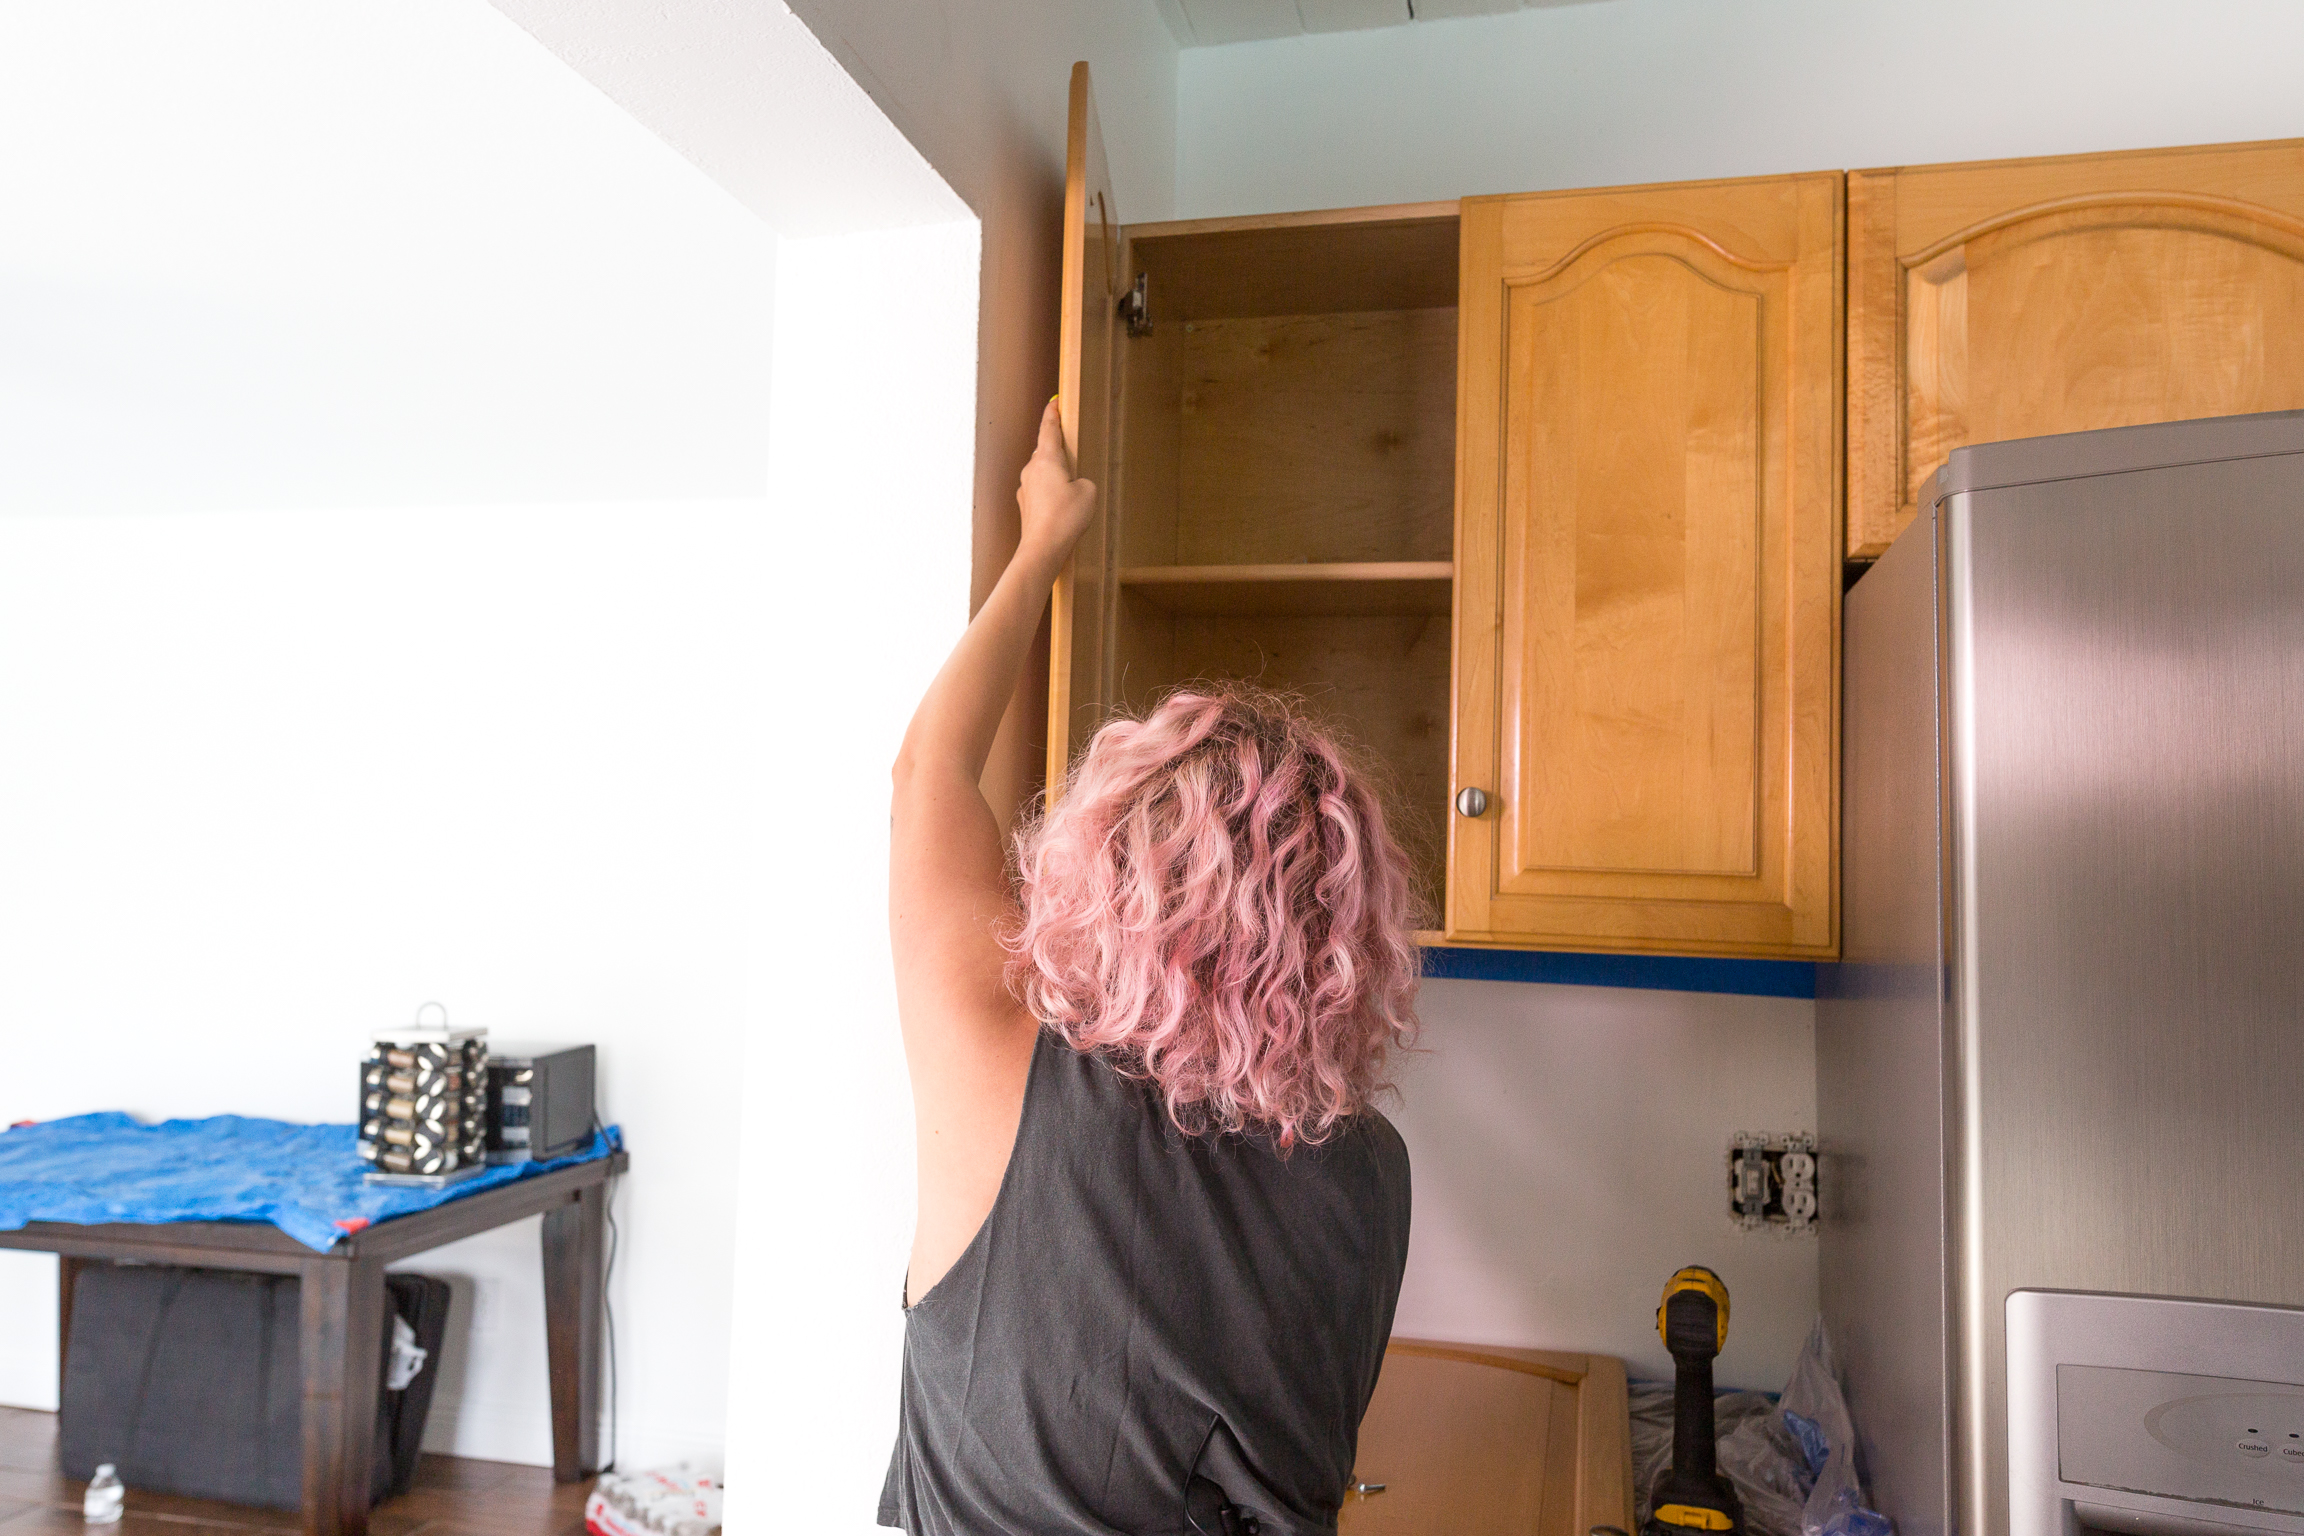
- The first step was to remove all of the cabinet doors (then numbering them, so we knew where everything went back! It's helpful to draw a diagram of the cabinets and the numbers too) and clean them using TSP.
- Then, treat all of the cabinet doors and the exterior of the cabinets with deglosser. This skips the step of sanding to wear down the finish of the cabinets so they are easier to paint.

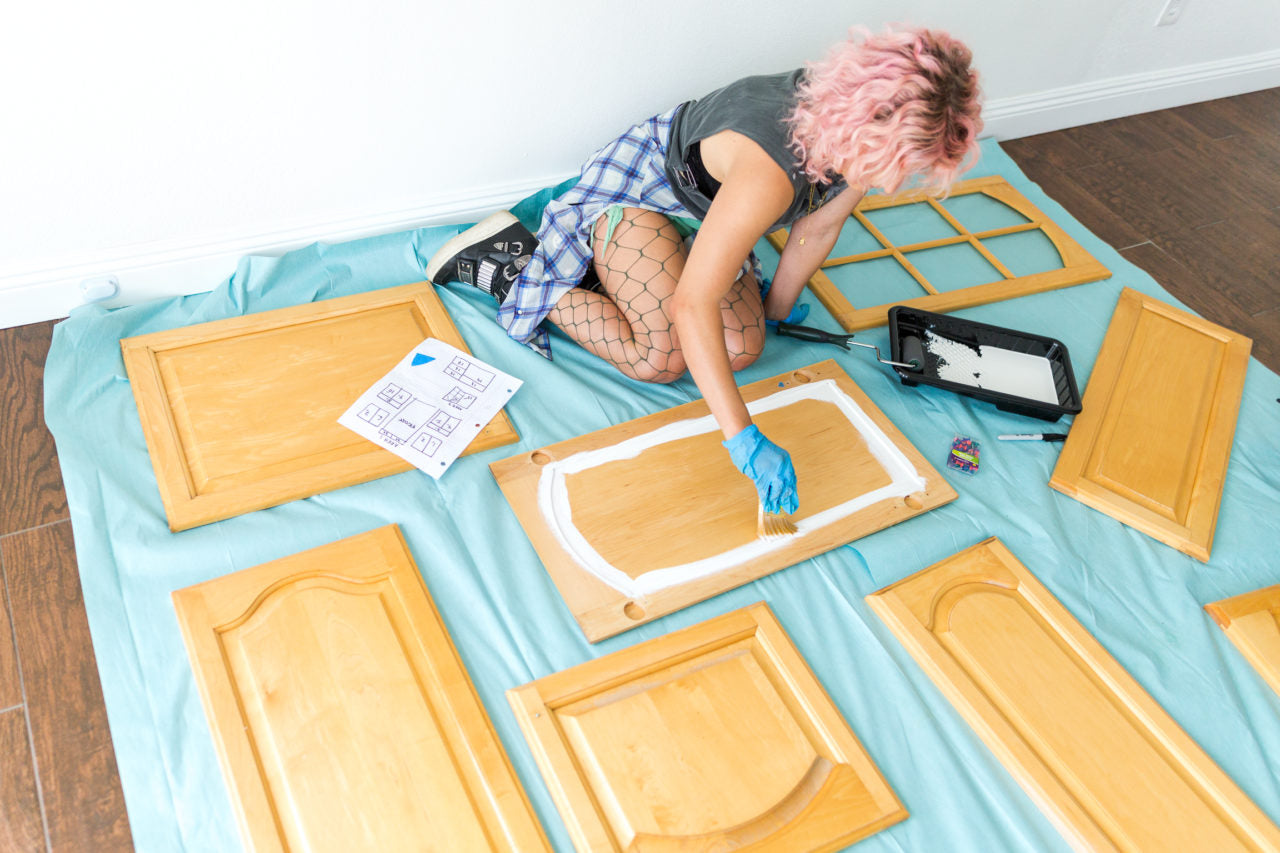

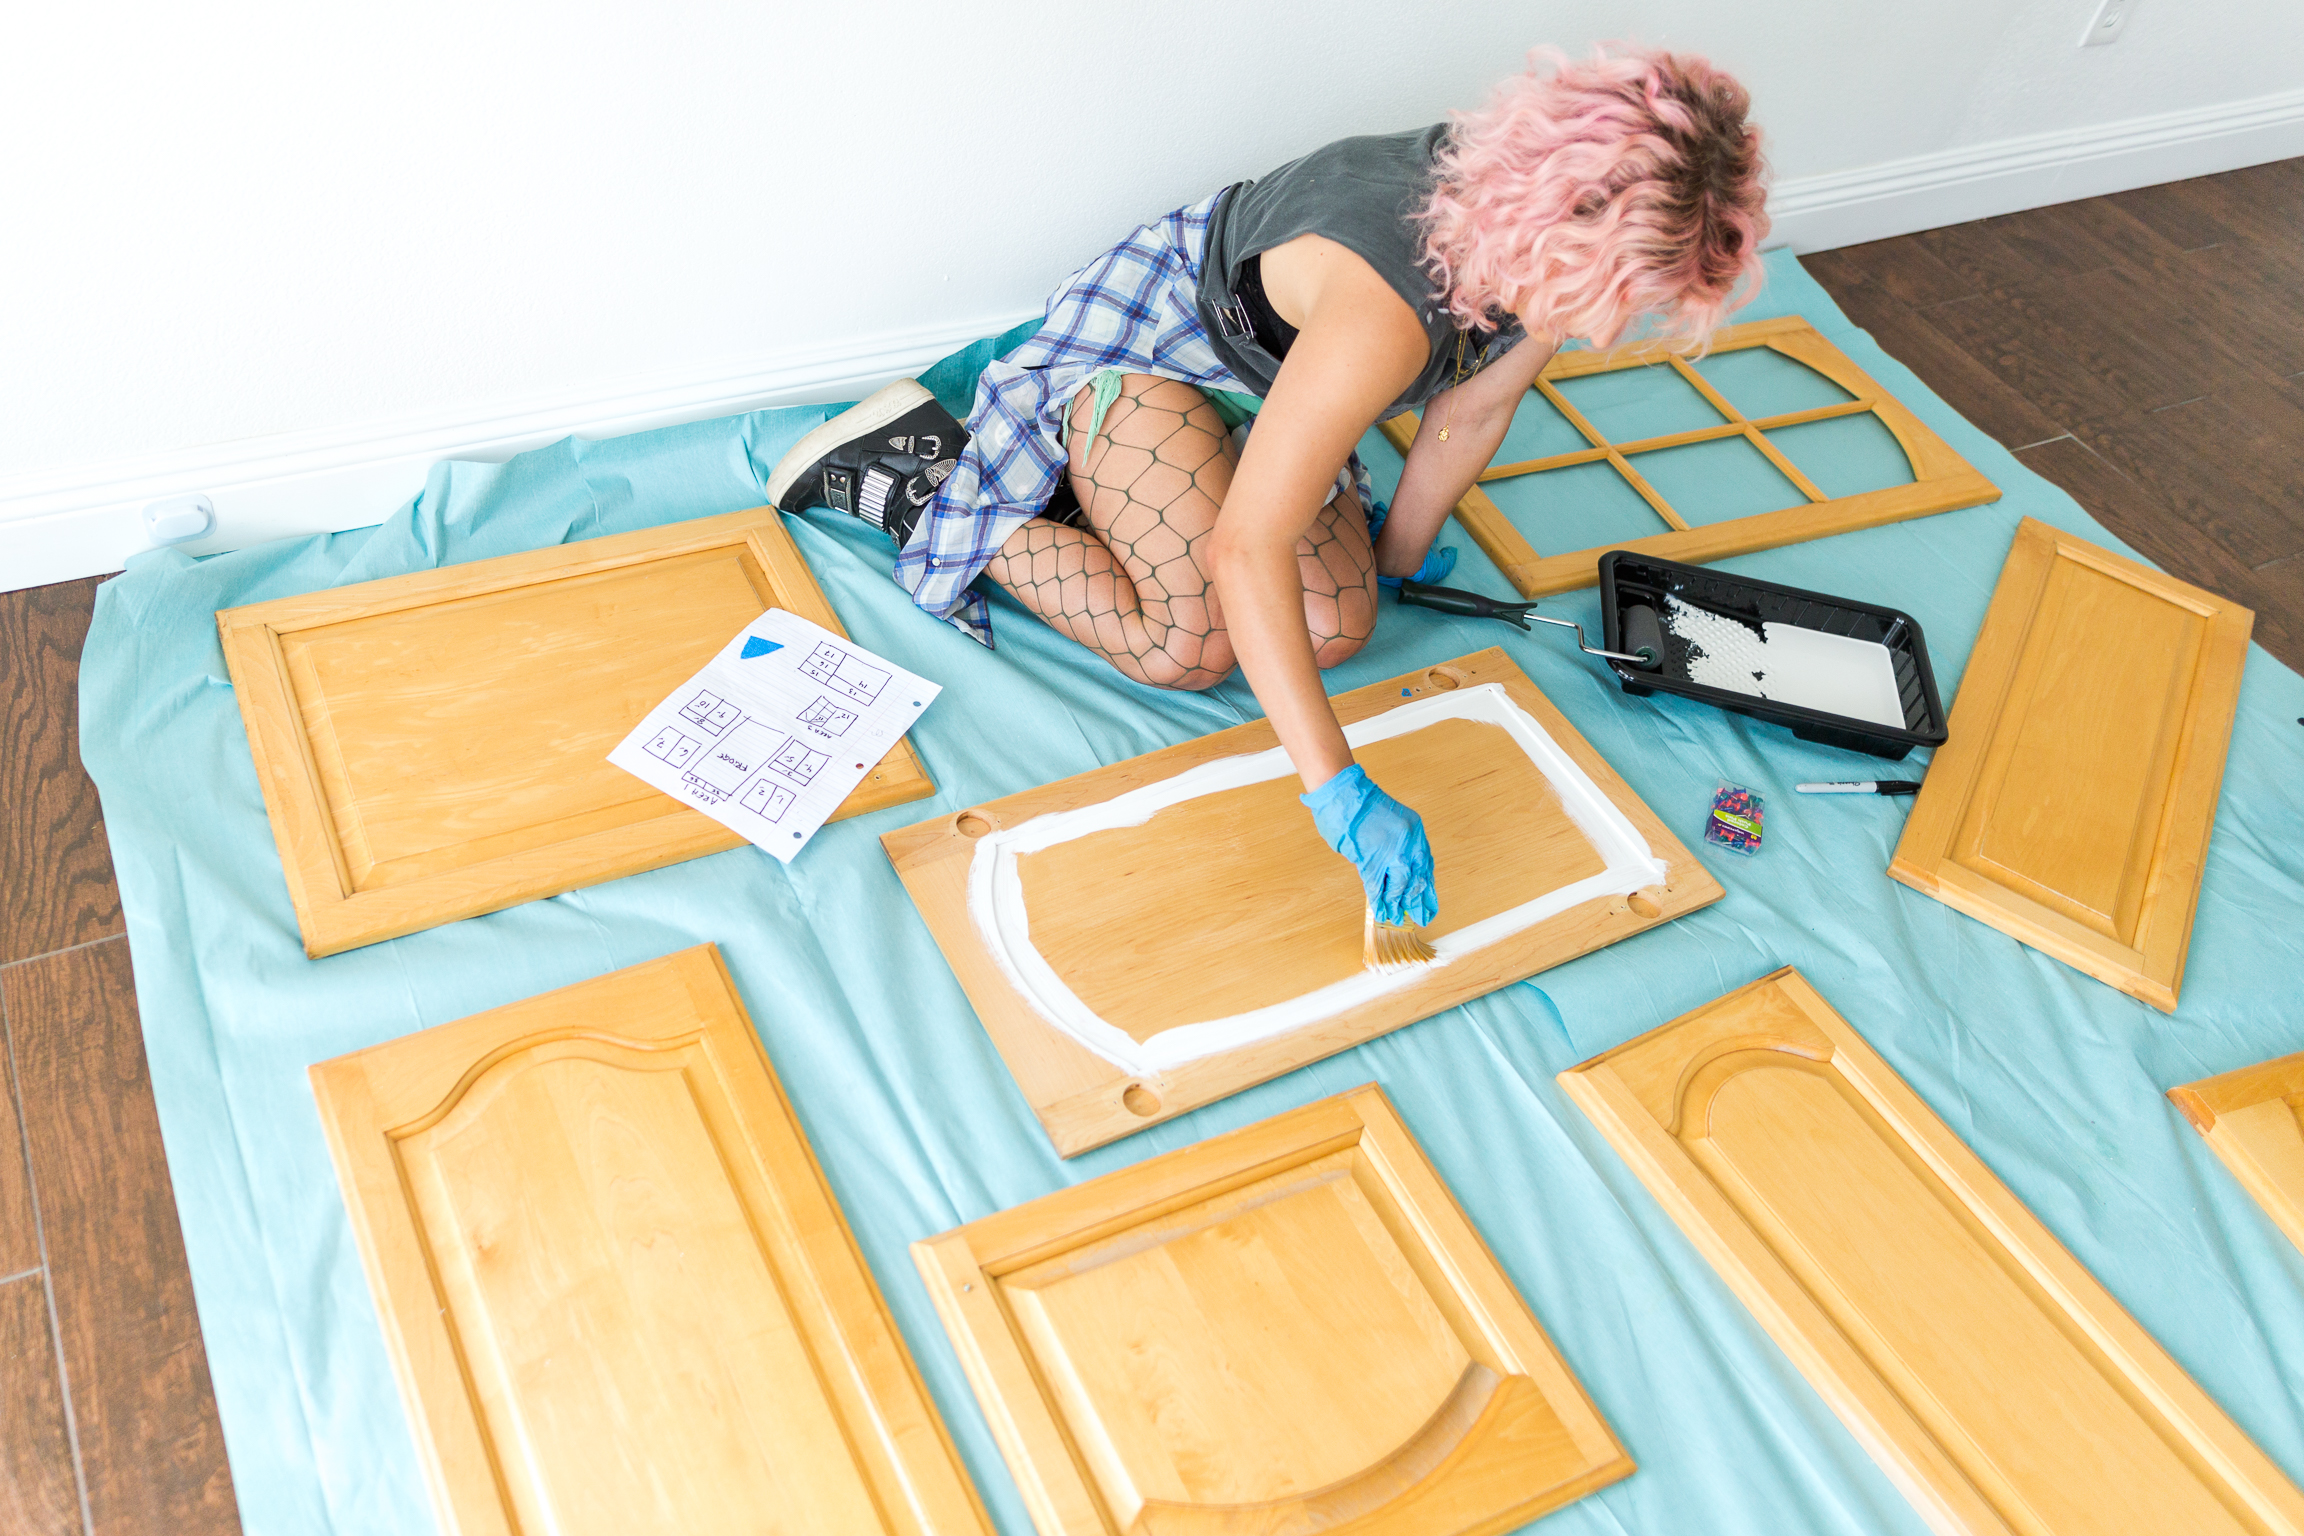
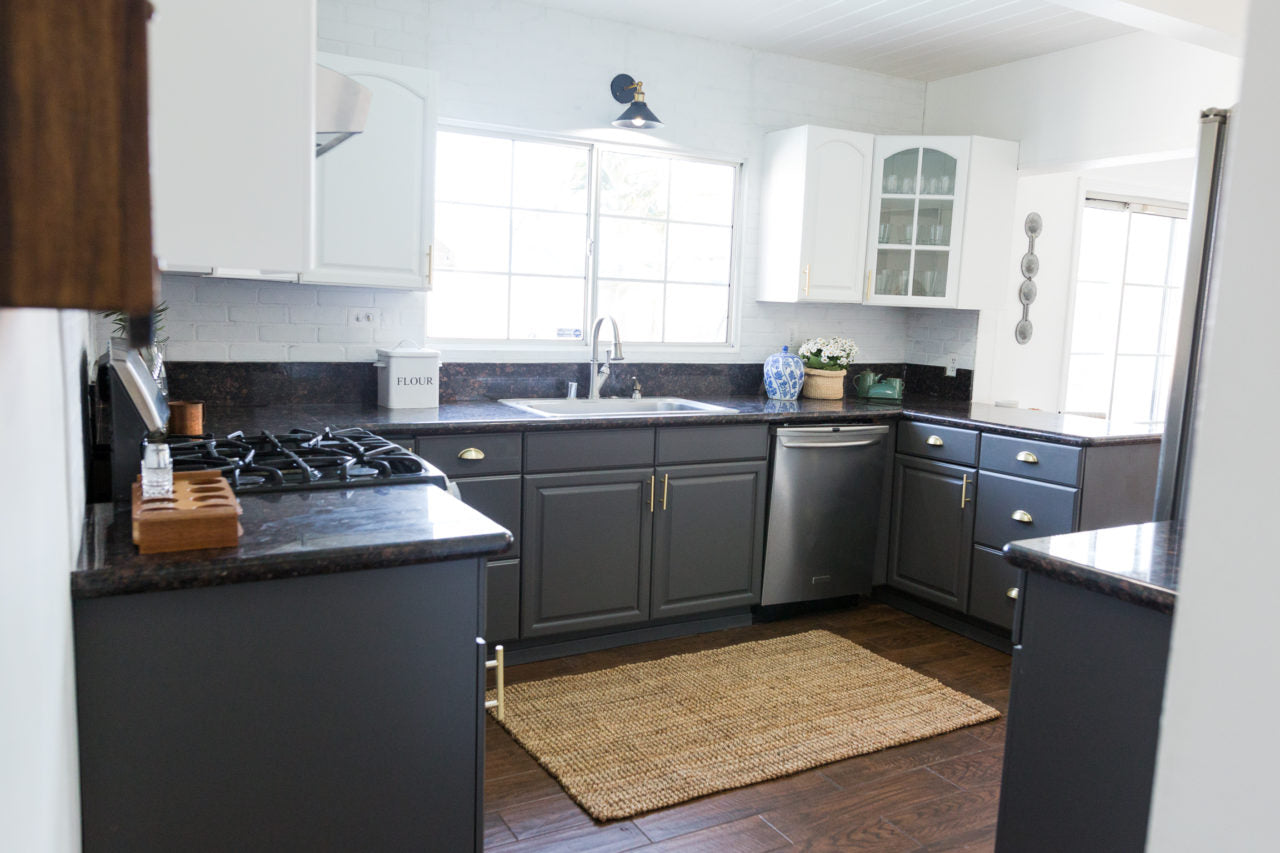
3. To paint the cabinets, we used white paint for the top of the kitchen and dark gray for the bottom. The two colors was a design choice that really created a modern effect.
We didn't need to prime our cabinets, but depending on the color of yours, you might! We used a high quality enamel paint for a sleek finish on all the cabinets! Another key tip is using a brush to paint in the contours of the cabinets and a foam roller to get a sleek finish on the faces.
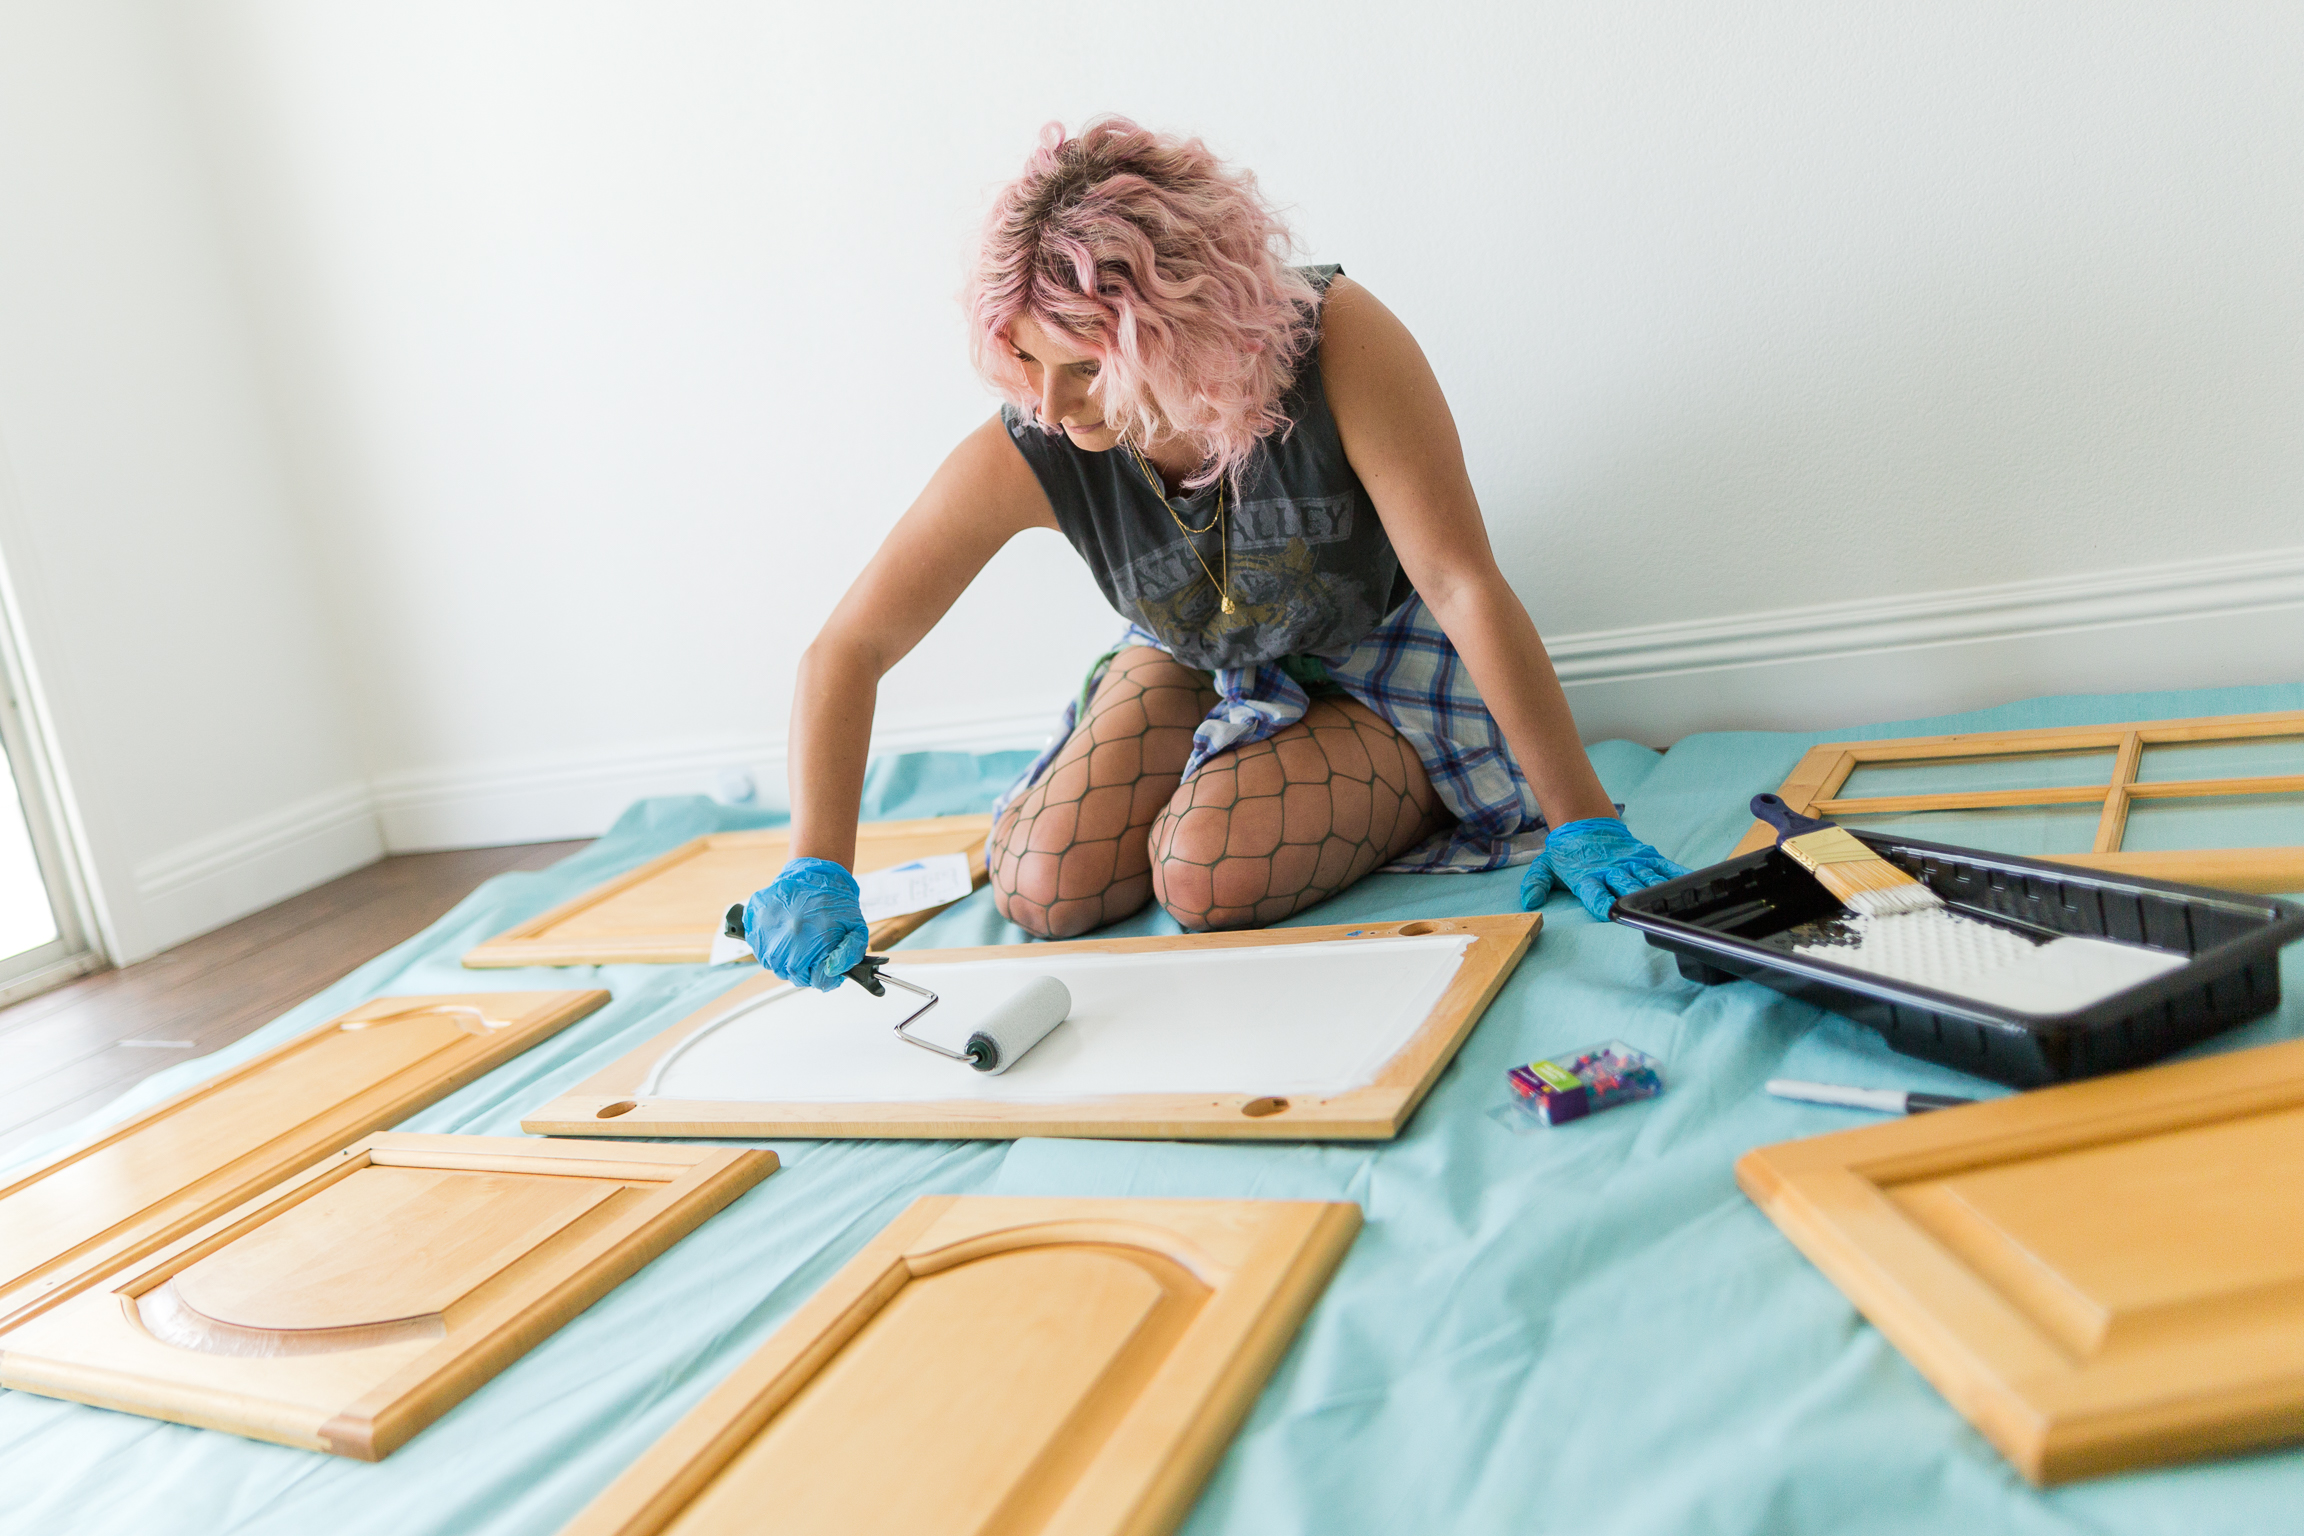
Tip! Use thumb tacks as little stands so you can paint the underside of the cabinet doors and flip them over without messing up the paint. The tacks are easily removed later leaving tiny holes that are easy to touch up with a finger-dab of paint.
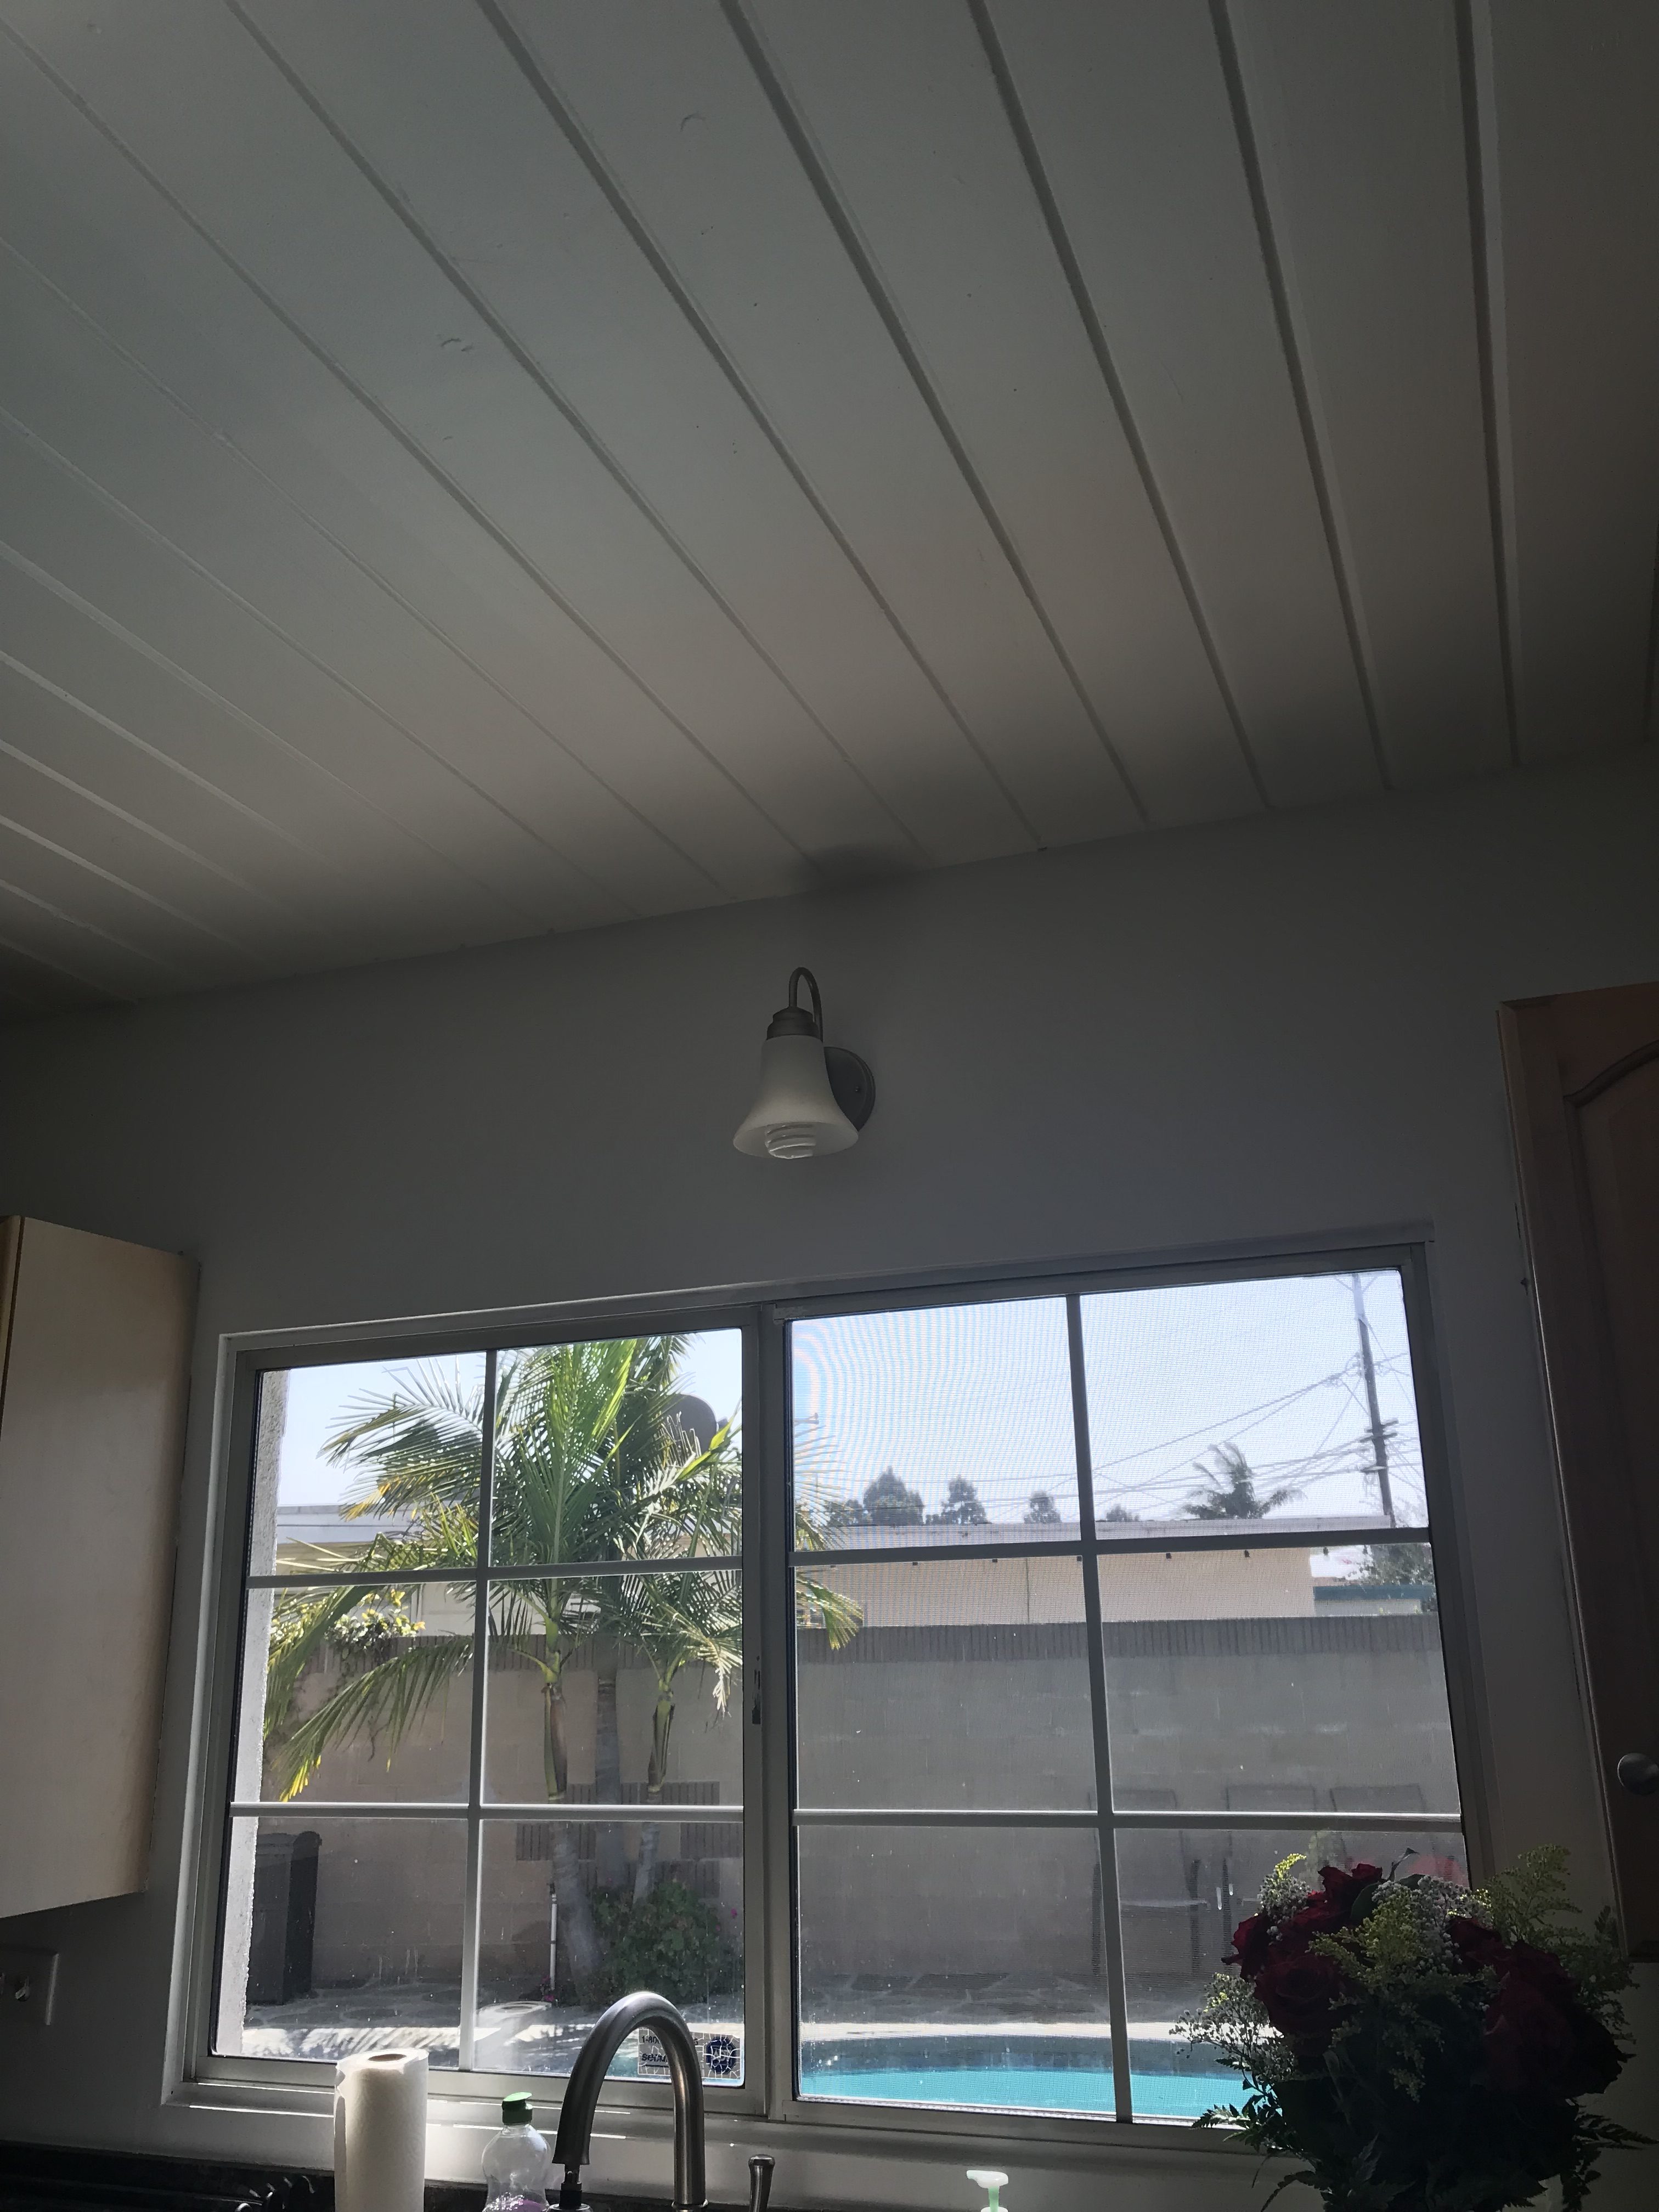
The kitchen mid-process! Taping and covering the counters are important steps for a project like this, so the final product is precise! 


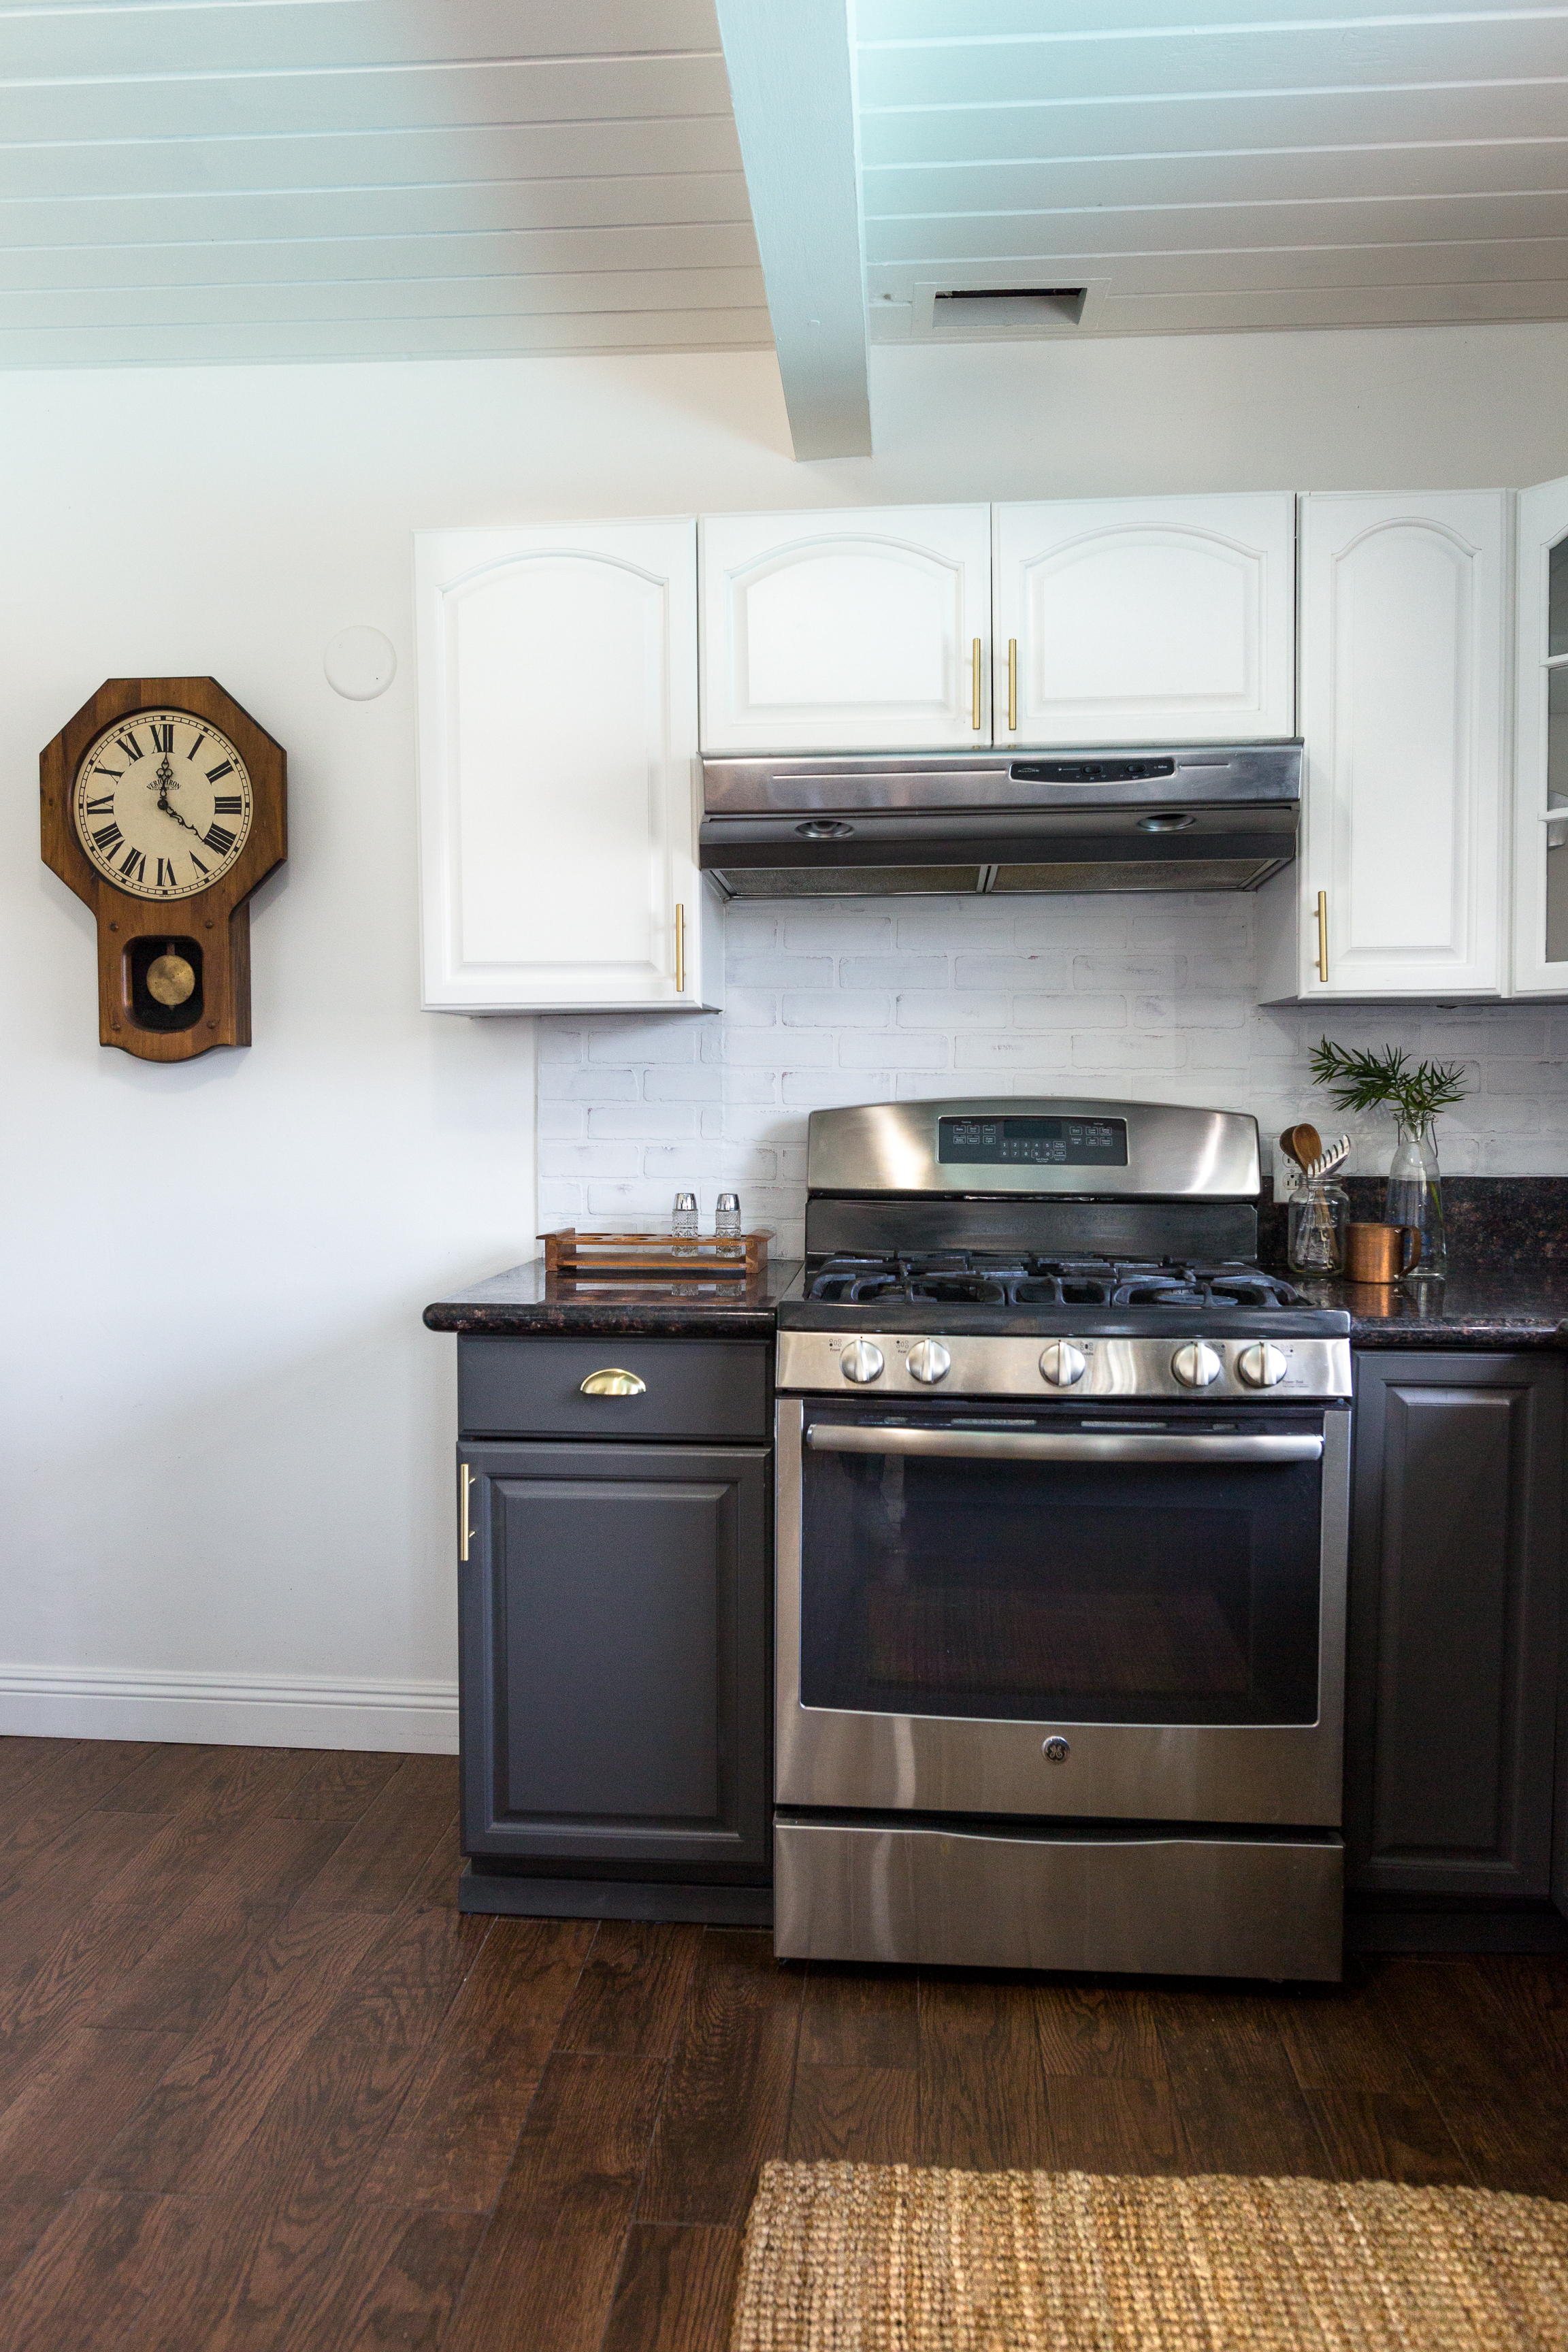
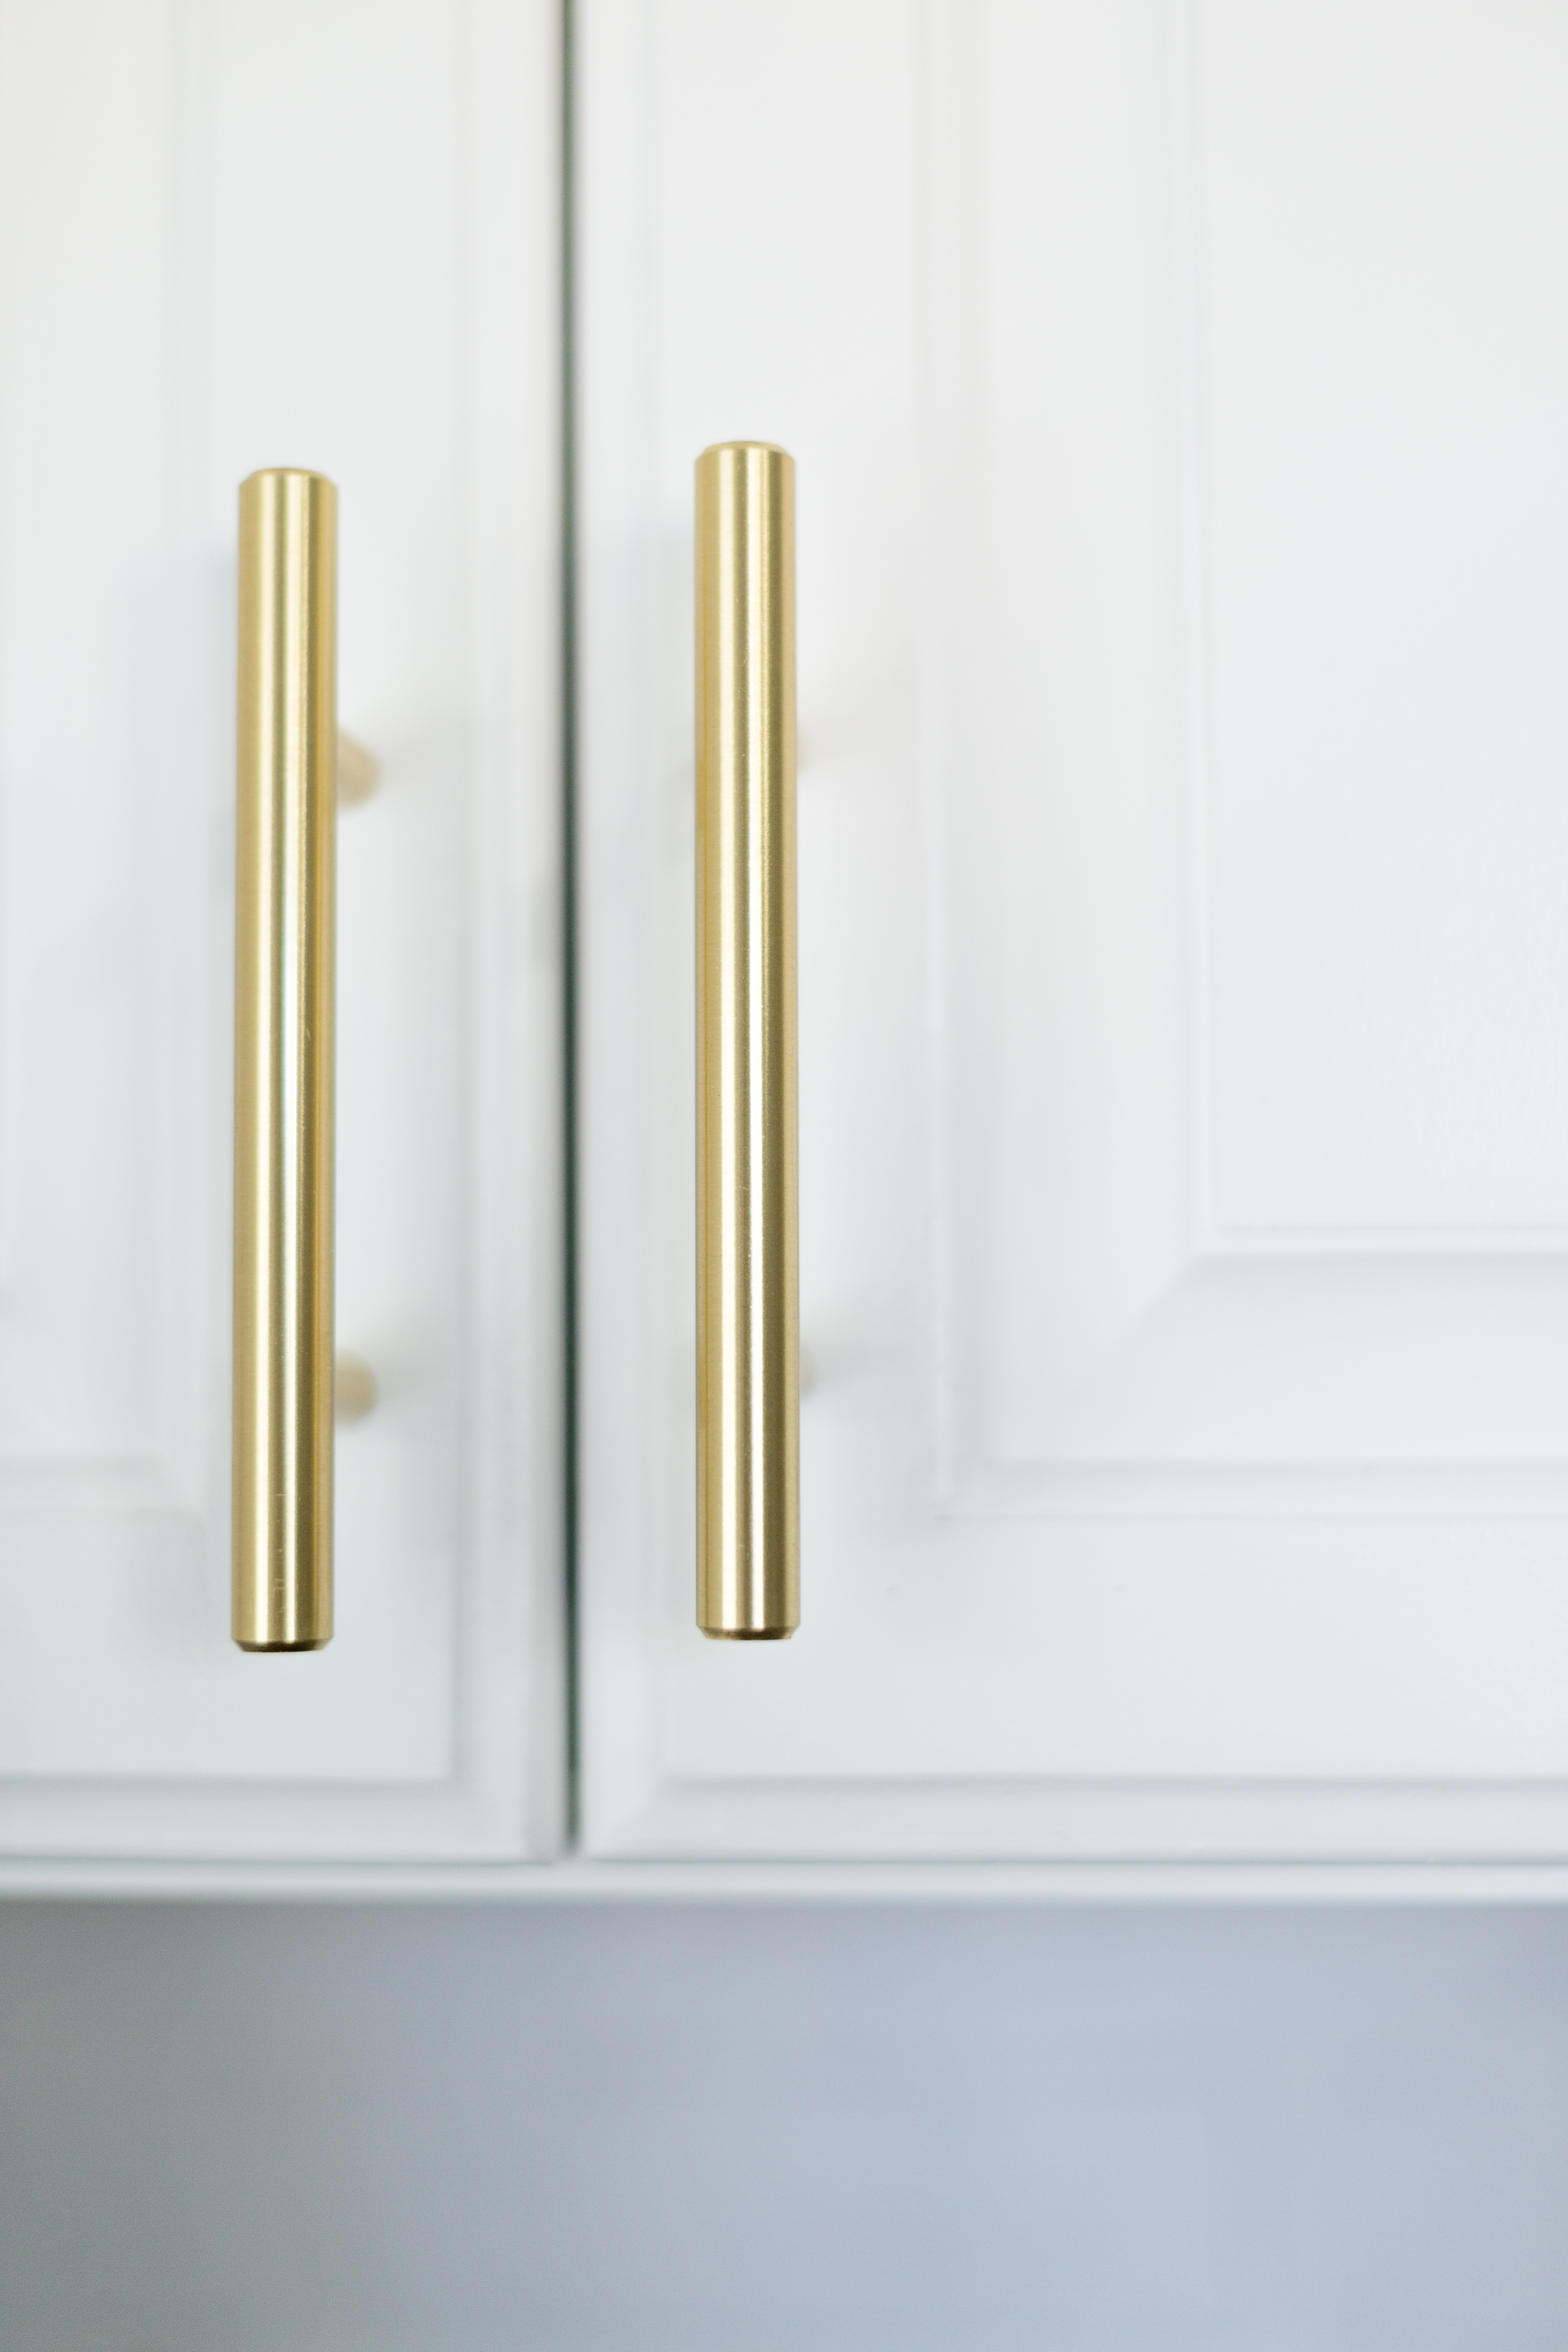
4. We finished off the cabinets with new gold-toned hardware. Check out these handle pulls here, and the cup pulls we used on the drawers here! 

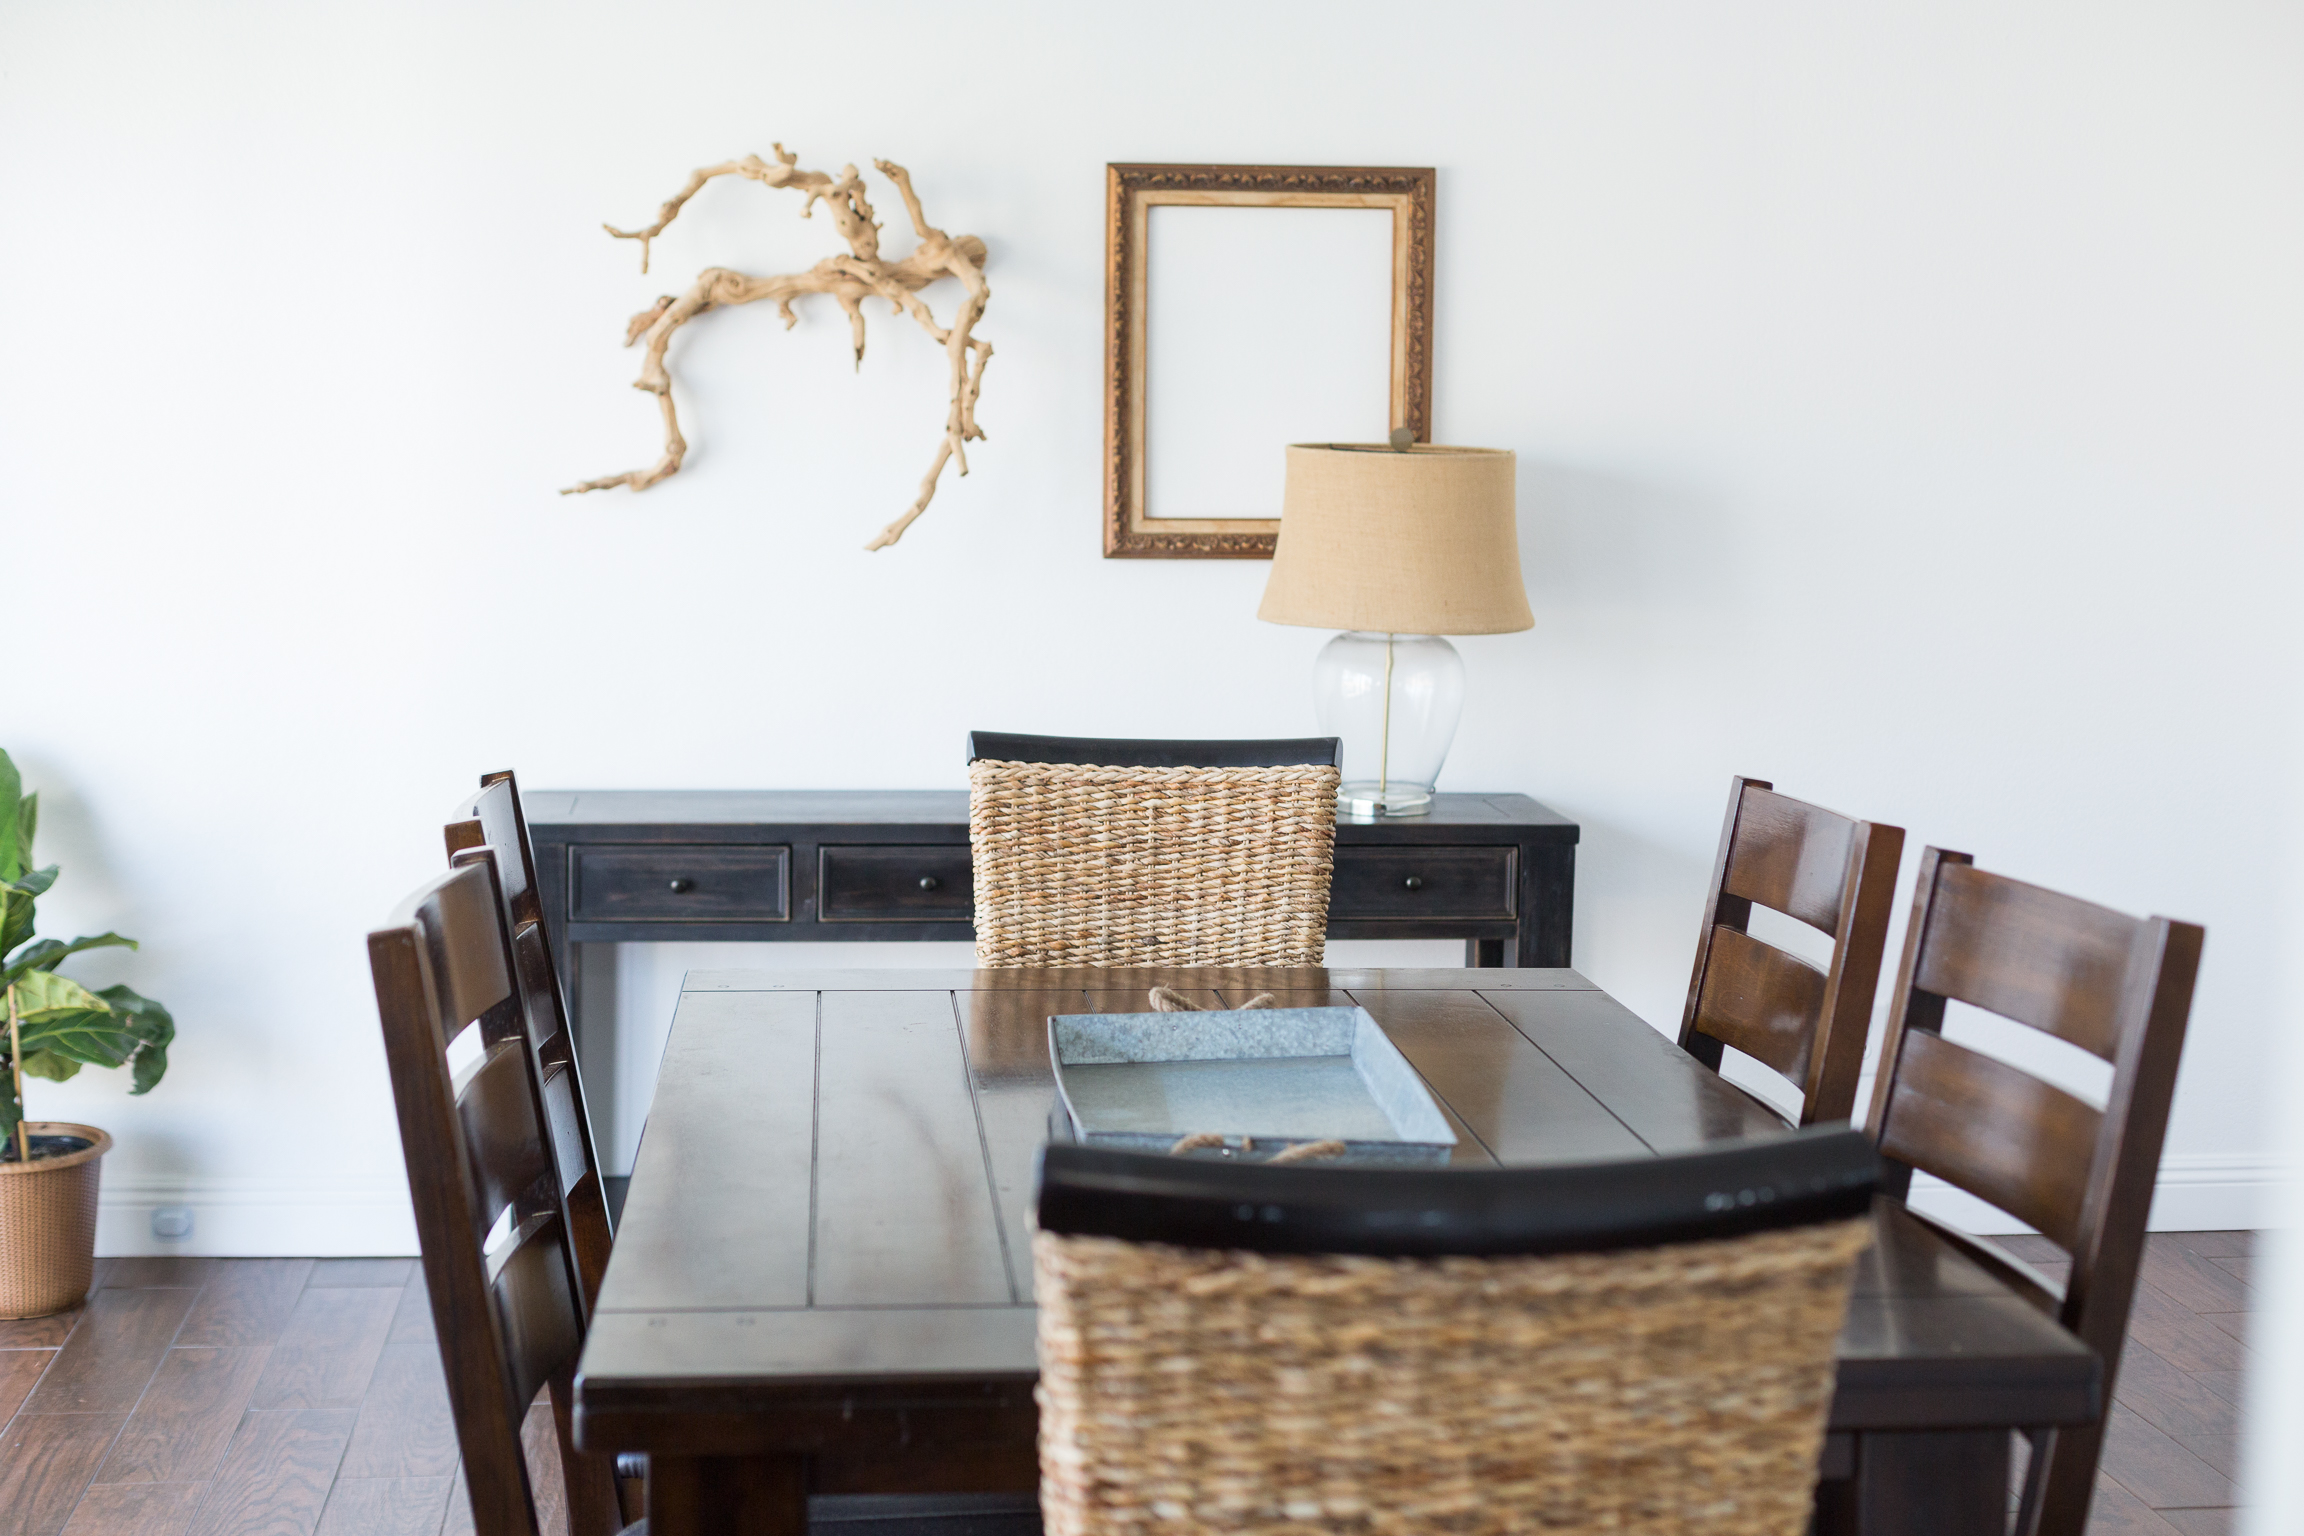
 They loved it!! It's so rewarding to help out a Creative Weirdo!