Vacation outfits are one thing to plan (and sometimes moodboard) (and sometimes document in OOTDs). But vacation hair?!! That's a whole other can of dry shampoo.
When Joey and I recently traveled to Cuba, I got to try out and wear a few different hairstyles that fit perfectly with the retro aesthetic of the country and the very real cosmetic disadvantages of the heat and humidity. People were commenting up a storm about the hairstyles (specifically the hair scarf!) so I made a video demonstrating how to get a vacation mane that will be nothing less than MAJ.
Check out the video above and the pictures and full how-tos below!
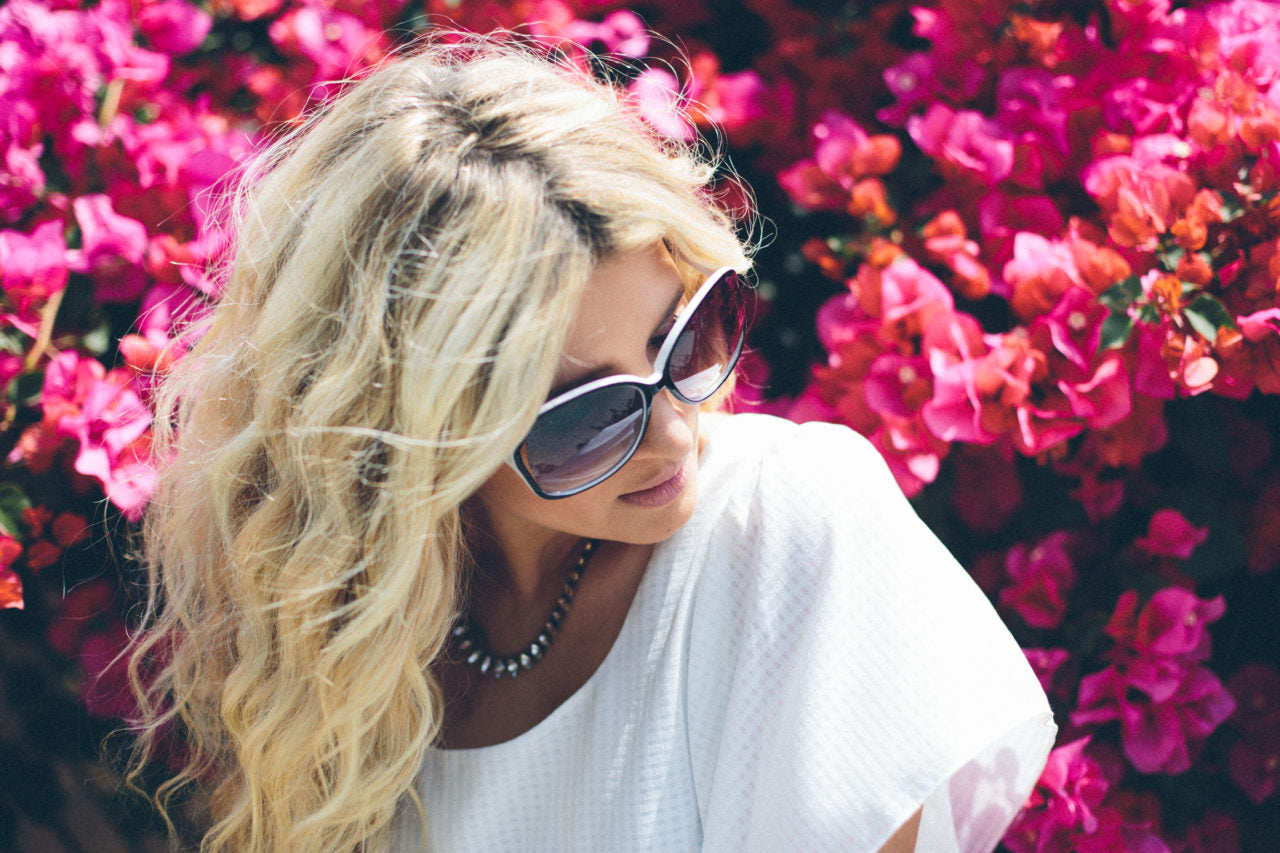
LOOK 1 - Healthy Waves


Prep It:
Color Protect shampoo Color Protect conditioner Hair milk conditioner Plastic shower cap Cotton headband Tapered hair wand
Extra Touches: Fedora hat Black and white sunglasses


Do It!:
- To get your hair ready for vacation, give it a deep condition. At the end of your shower, fully lather your hair with conditioner, then cover it with a plastic shower cap and use a cotton headband to keep it in place.
- Sleep or spend a few hours with your hair in the shower cap, then rinse out and enjoy restored, healthy hair before vacation!
- Once on vacation, use color protect shampoo and conditioner to protect your mane against any potentially harmful harsh water or changes in climate
- To freshen up your waves for a day out, use a tapered wand to target any straight or frizzy pieces. Get great face-framing strands by wrapping your hair around the barrel away from your face, pulling the wand away from your face as you go, which helps the roots stay flat while the ends curl.
- Top this look off with some fun sunglasses or a straw fedora and you're ready to adventure!


 LOOK 2 - Big Bow Hair Scarf
 Prep It:
Dry shampoo Wave wand Scarf (silky or sheer in a large rectangle or square - no tassels or extras!)


Do It!:
- If you're rocking this look on slightly dirty hair, touch up your roots with some dry shampoo.
- Divide your hair into two sections, top and bottom. Clip the top section up on your head and get started on the bottom layers. Use a wide barreled curling iron to curl your hair with the pull away technique as mentioned in the above look. Release the top layer and use the same technique to get soft, loose waves to wear under your head scarf. *This step is optional because this look is great with straight hair too!
- Speaking of, let's get started on that scarf! This technique is best done with a square scarf or a long wide rectangle. You want the fabric to be silky or sheer so the wrap isn't to bulky. Examine your scarf for its pattern (if any) and if there is a section you want to be at the front of the wrap, consider how to fold the fabric so that will be on top.
- Fold your scarf down a few times until you have it at the width you like, I usually have mine around 4 or 5 inches wide. Place the middle of the folded scarf over your hairline and pull the two ends back and down, towards the nape of your neck. Cross the sides of the scarf at your nape and pull the ends back up to the top of your head.
- At this point you can tuck an edge of the scarf under if it looks a little too wide for your head. Decide where you'd like your bow to be. I like mine slightly off-center for a vintage feeling. Now tie the two ends together into a bow, just like you would a ribbon. Use your fingers to fluff out and widen the loops in the bow to give it that dramatic, voluminous look. If you're going to wear your wrap a little further back on your head, use bobby pins to secure it!
- Take that baby out on the town! Note: once you've mastered this technique, you can wear this look with a top knot, ponytail, half-up look, almost anything!


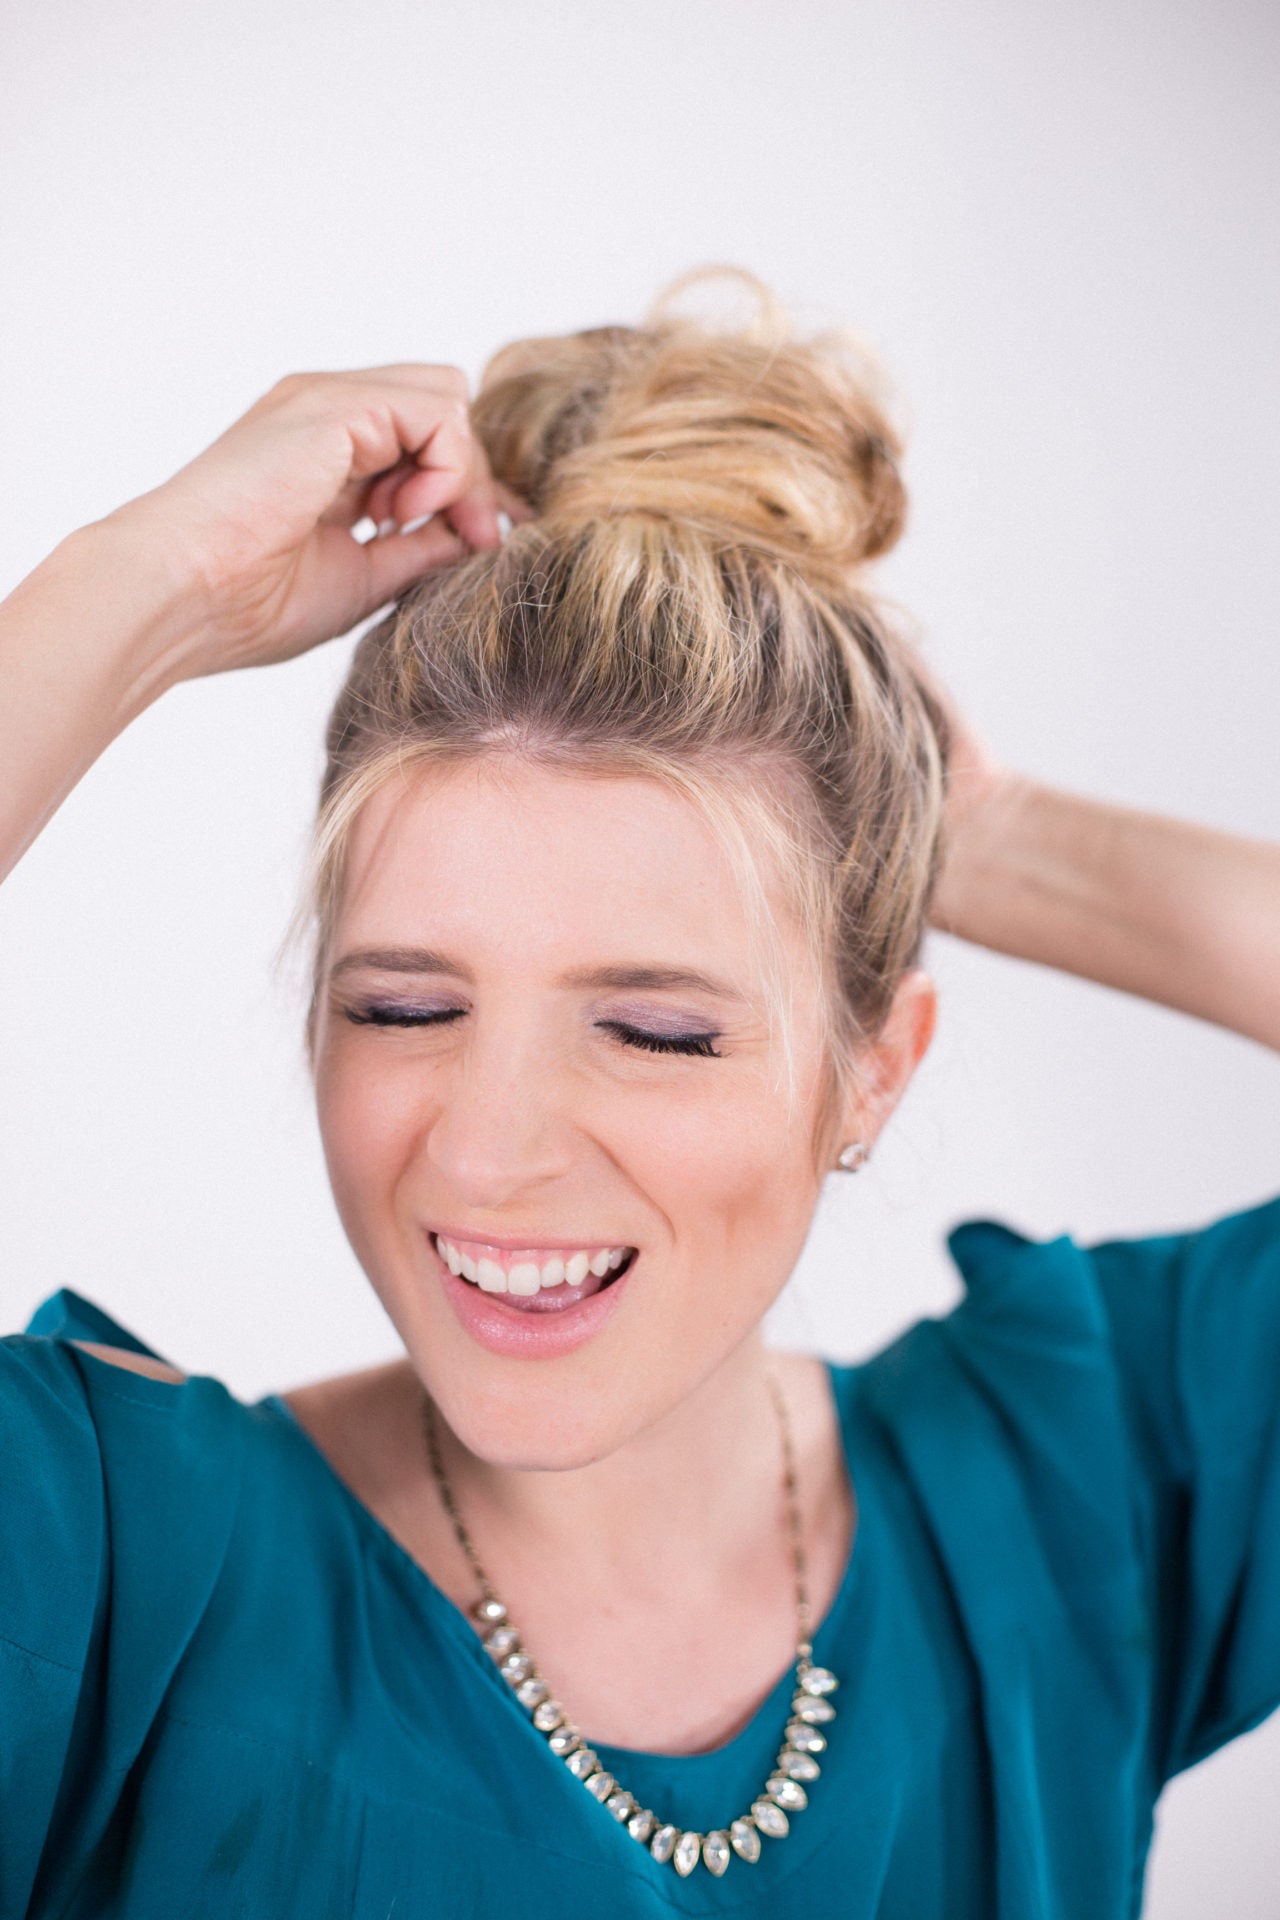
 LOOK 3 - The Perfect Messy Bun


Prep It:
Dry shampoo Hair tie Bobby pins
Extra Touches:
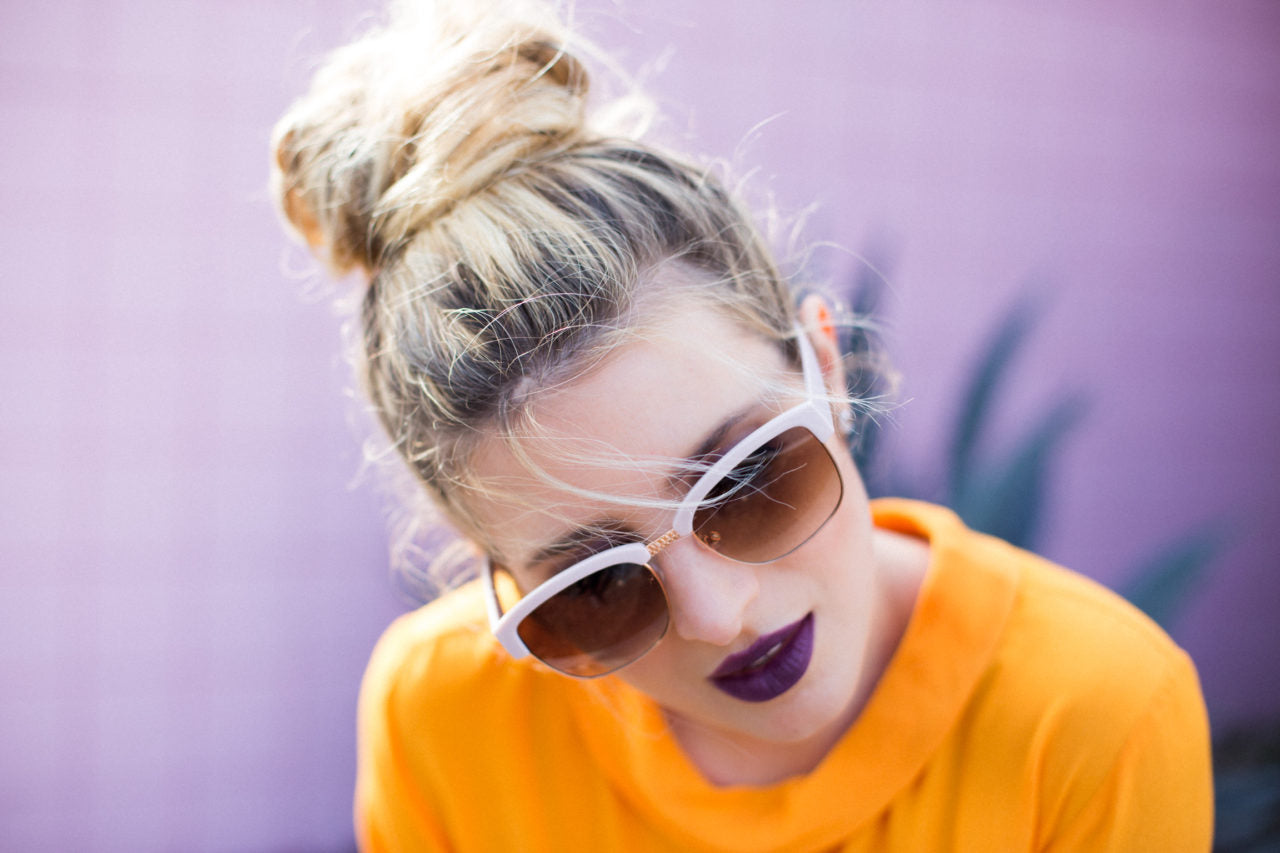
Sunglasses
NYX matte lip cream in Vancouver


Do It!:
- This look is great for second or third day un-washed hair, when your mane is looking and feeling a bit dirty. If so, make sure to start with a nice spritzing of dry shampoo in your roots. If not, let's get straight into the action!
- Using your fingers, pull your hair onto the top of your head. Start from the sides, then pull in the front and back. This keeps the sides tight, which is more flattering but still has that undone, loose quality. Tie all the hair into a loop bun on the top of your head, keeping the ends loose. You want the bun to end up in line with the top of your ears.
- Using the big loop as the bulk of the bun, wind the ends around the base of the bun, hiding the hair tie. Use bobby pins to secure the hair ends as you go, so there aren't any spiky pieces flying away from the main bun.
- To finalize the look, use your fingers to loosen and pull down the little hairs that frame your face. Then throw on a chic dark lipstick, some edgy sunglasses, and you're ready to hit the town!


Shop this post: