Is there anywhere you can't put BeautyMarks? Well, I can think of a few places, but generally speaking, these designs have done me good everywhere from cutting boards to name tags and nail art. But today, my lovely friends, these metallic tattoos are cementing their status as the ultimate holiday DIY accessory by becoming Easter Egg decorations.
Whether you like your eggs farm fresh, soaked in dye, or made of fluorescent magenta plastic from the dollar store around the corner, they can always be enhanced with some gold shapes, star designs, or metallic stripes from one of the many BeautyMarks packs. Use any leftover tattoos to decorate the ceramic pots, too, for a totally unique and adorable Easter project, perfect to do with family or friends.

Prep It:
Eggs (real or fake!) A Hot Glue Gun Mess BeautyMarks Gold BeautyMarks Small ceramic pots Decorative moss and straw


Do It!:
- Clean your eggs to make sure they're not damp or have any dust or greasiness. Only the squeaky cleanest of eggs will do for this DIY!
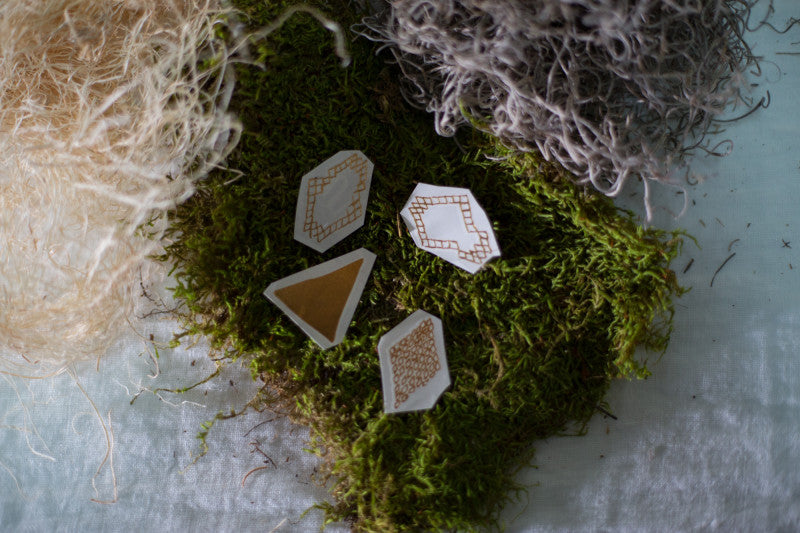
- Pick out which BeautyMarks you'd like to put on the egg and cut it out. Get creative with this step! An egg would look just as cool with a large, sweeping design (like some in the Watercolor or Cosmic packs) as it would with smaller accents as seen here from the Gold and A Hot Glue Gun Mess packs. You could even mix and match them for a cool collaged effect.
- Follow the instructions on the BeautyMarks pack to apply the designs — cover with a damp cloth and apply gentle pressure for about 20 seconds. Remove and discard the backing of the BeautyMark, wipe your egg, smooth the metallic design, and ta-da!
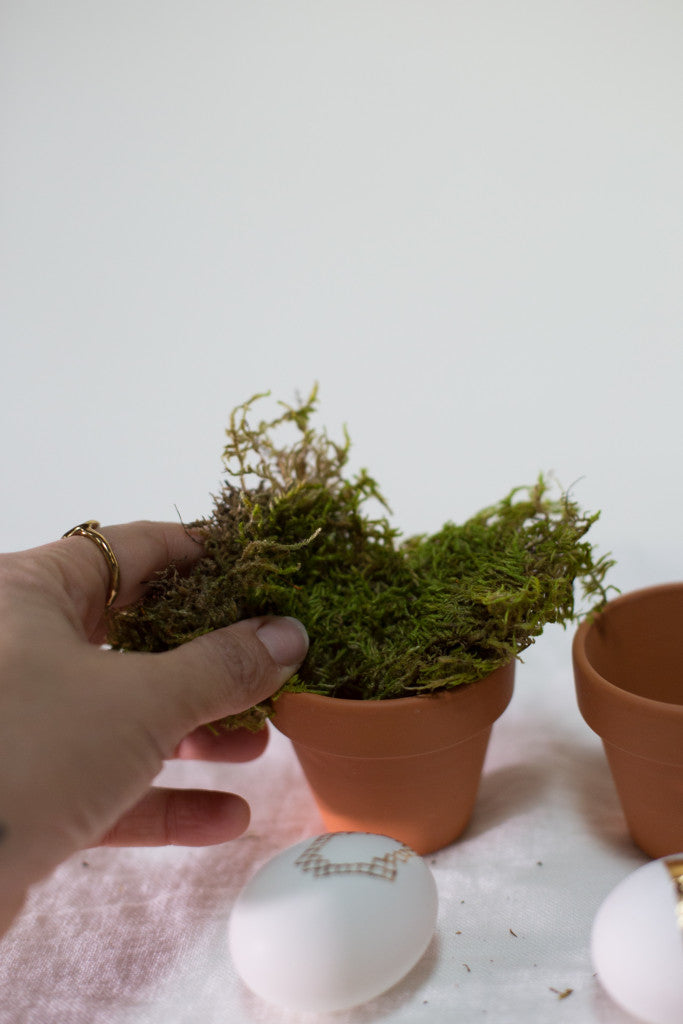
- Fill the small pots with the moss and straw, creating a little nest for your egg. Place the decorated egg in its new home, and set these perfect Easter pots out around the house, on a tablescape, or out at night for the Easter Bunny to come find!