If you've ever seen a Mr. Kate room makeover, you know that a space just isn't complete without some DIY wall art (for example: DIY Magnified Glitter Wall Art, DIY Paper Face Wall Art, DIY Palm Reading Wall Art, DIY String Wall Art). Our kitchen and bathroom renovation being one of the most challenging and exciting makeovers Joey and I have done yet, I knew I needed to memorialize it with ... you guessed it, some art!
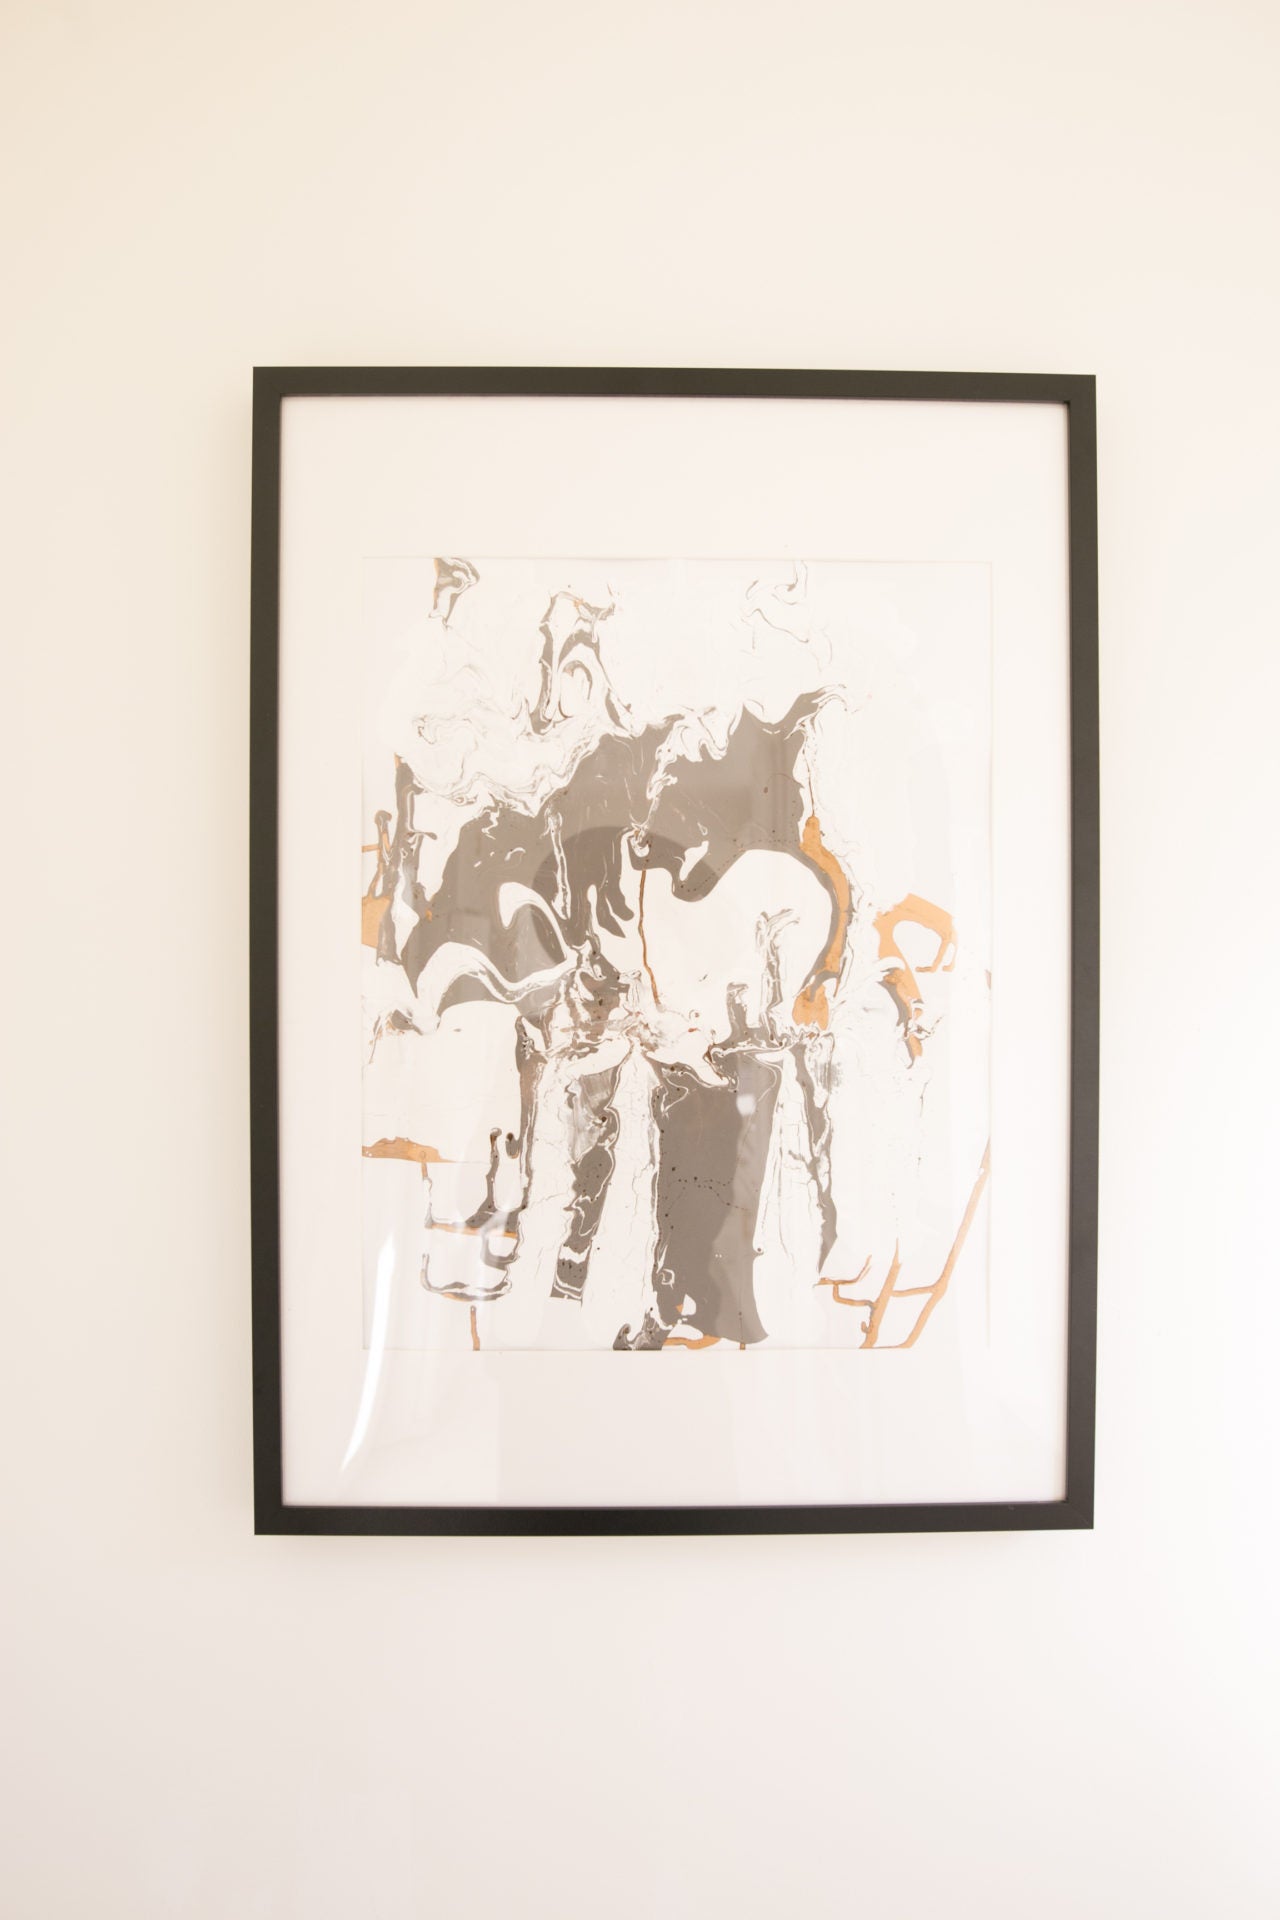
To represent both our relationship and the process of renovating these rooms, we created a messy, unique marbleized piece using paint colors from the walls of our home and that matched new elements of the makeover! Check it out below.

Prep It:
Watercolor paper Acrylic paint Wall paint Oil-based paint Rubber gloves Plastic drop cloth A partner!
Do It!:
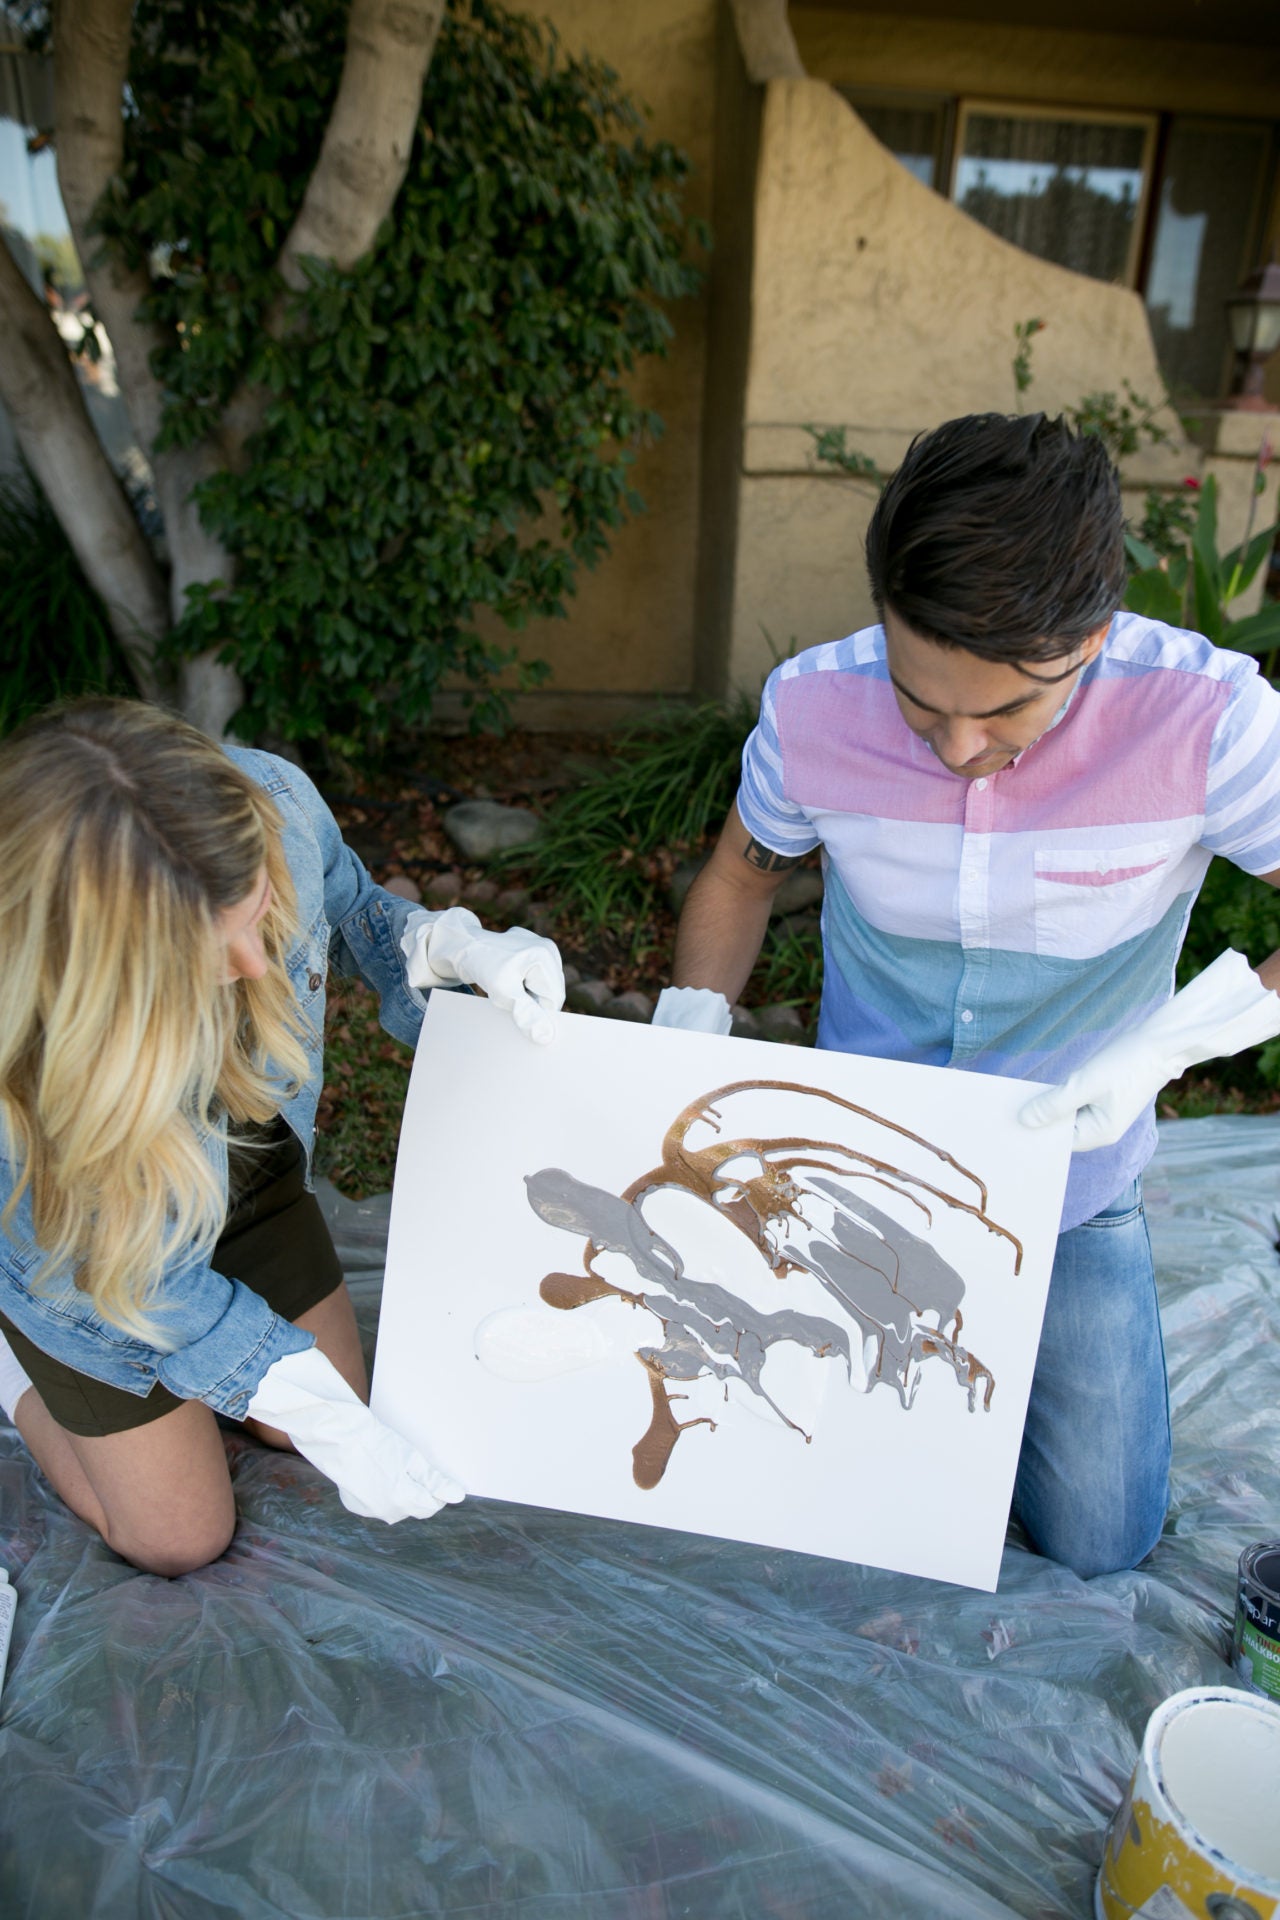
- Start by setting up a spill-proof work space! Gravity plays a large part in this project, so expect things to get messy. We laid out a plastic drop cloth on the front yard, but a cloth one would work just as well!
- Lay out your paper and, working one color at a time, pour small puddles of paint onto different areas of the sheet. The different types of paints are important, so that they marbleize and mix instead of blending into a new color. Another thing to note is the consistencies of the paints. Since you're letting the paint flow and mix on its own, runnier paints will achieve better results.
- Grab onto the edges of the paper with your DIY partner and start tilting it in different directions, encouraging the paint to drip and mix and make a beautiful mess! You can start with all your paint colors at the same time or you can add in additional colors throughout the process — however this DIY speaks to you!
- When you're finished making your marble masterpiece, lay your paper flat to dry. When framing, I recommend using a mat to hide uneven edges of the design!


