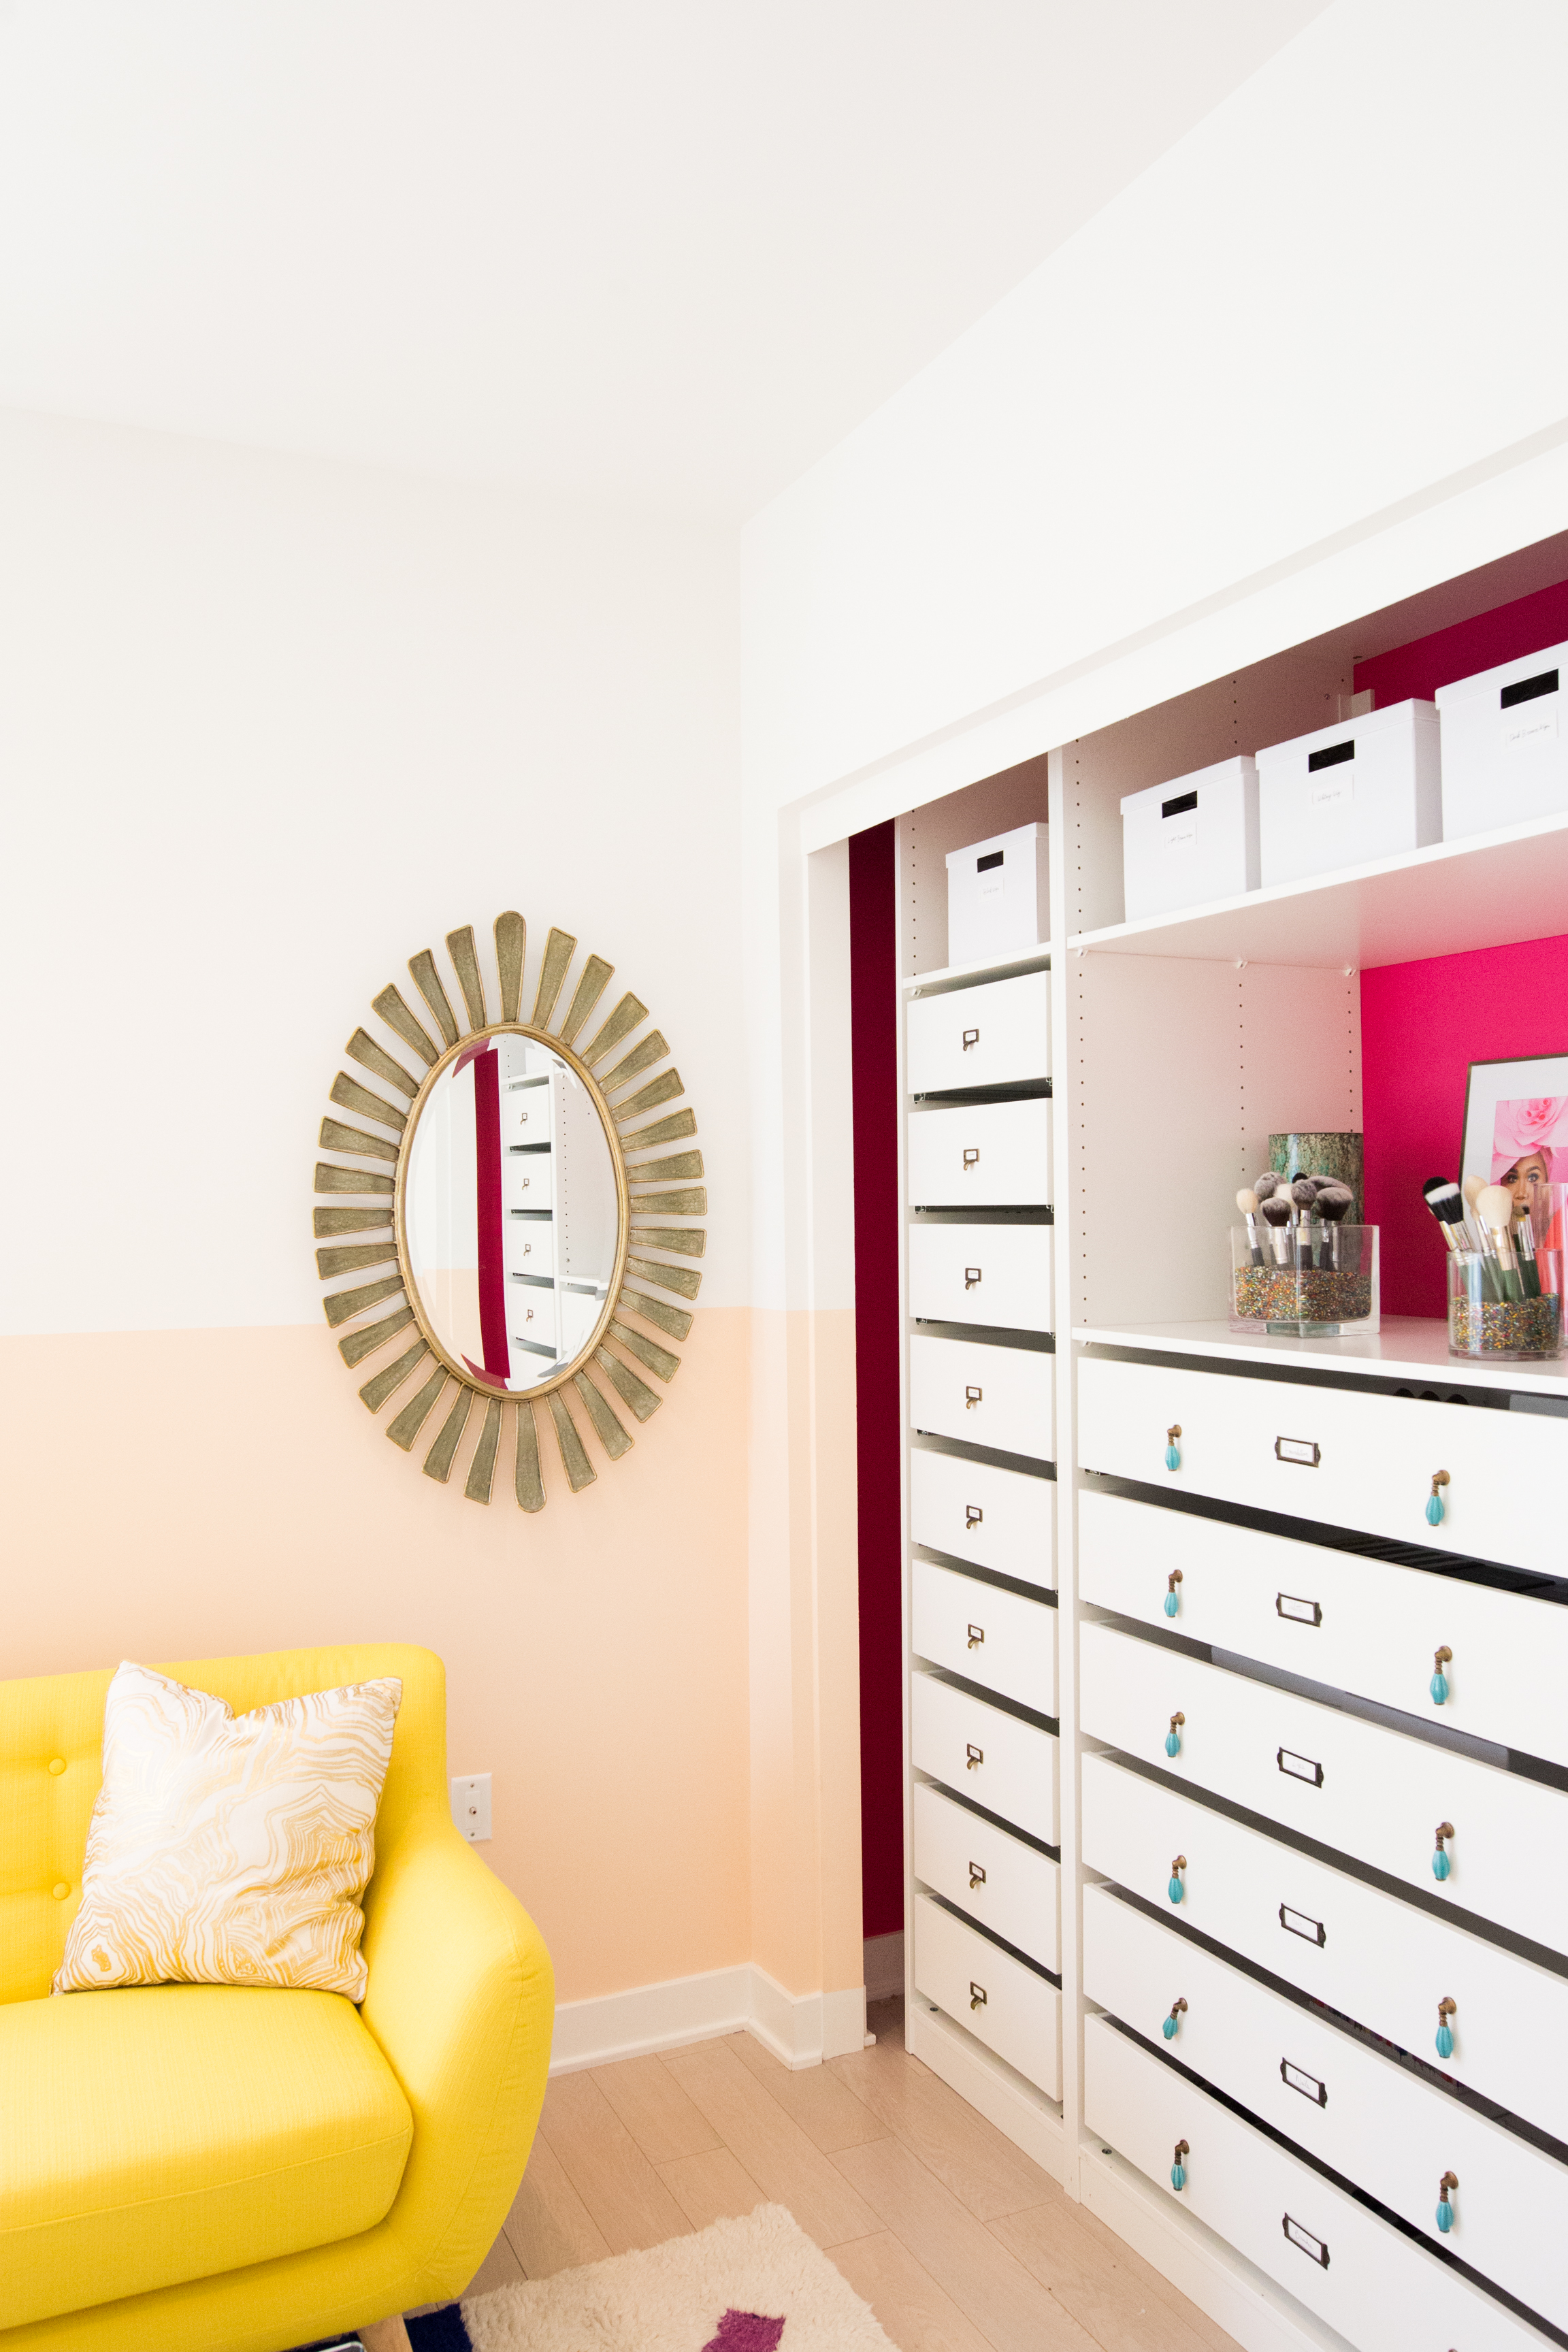
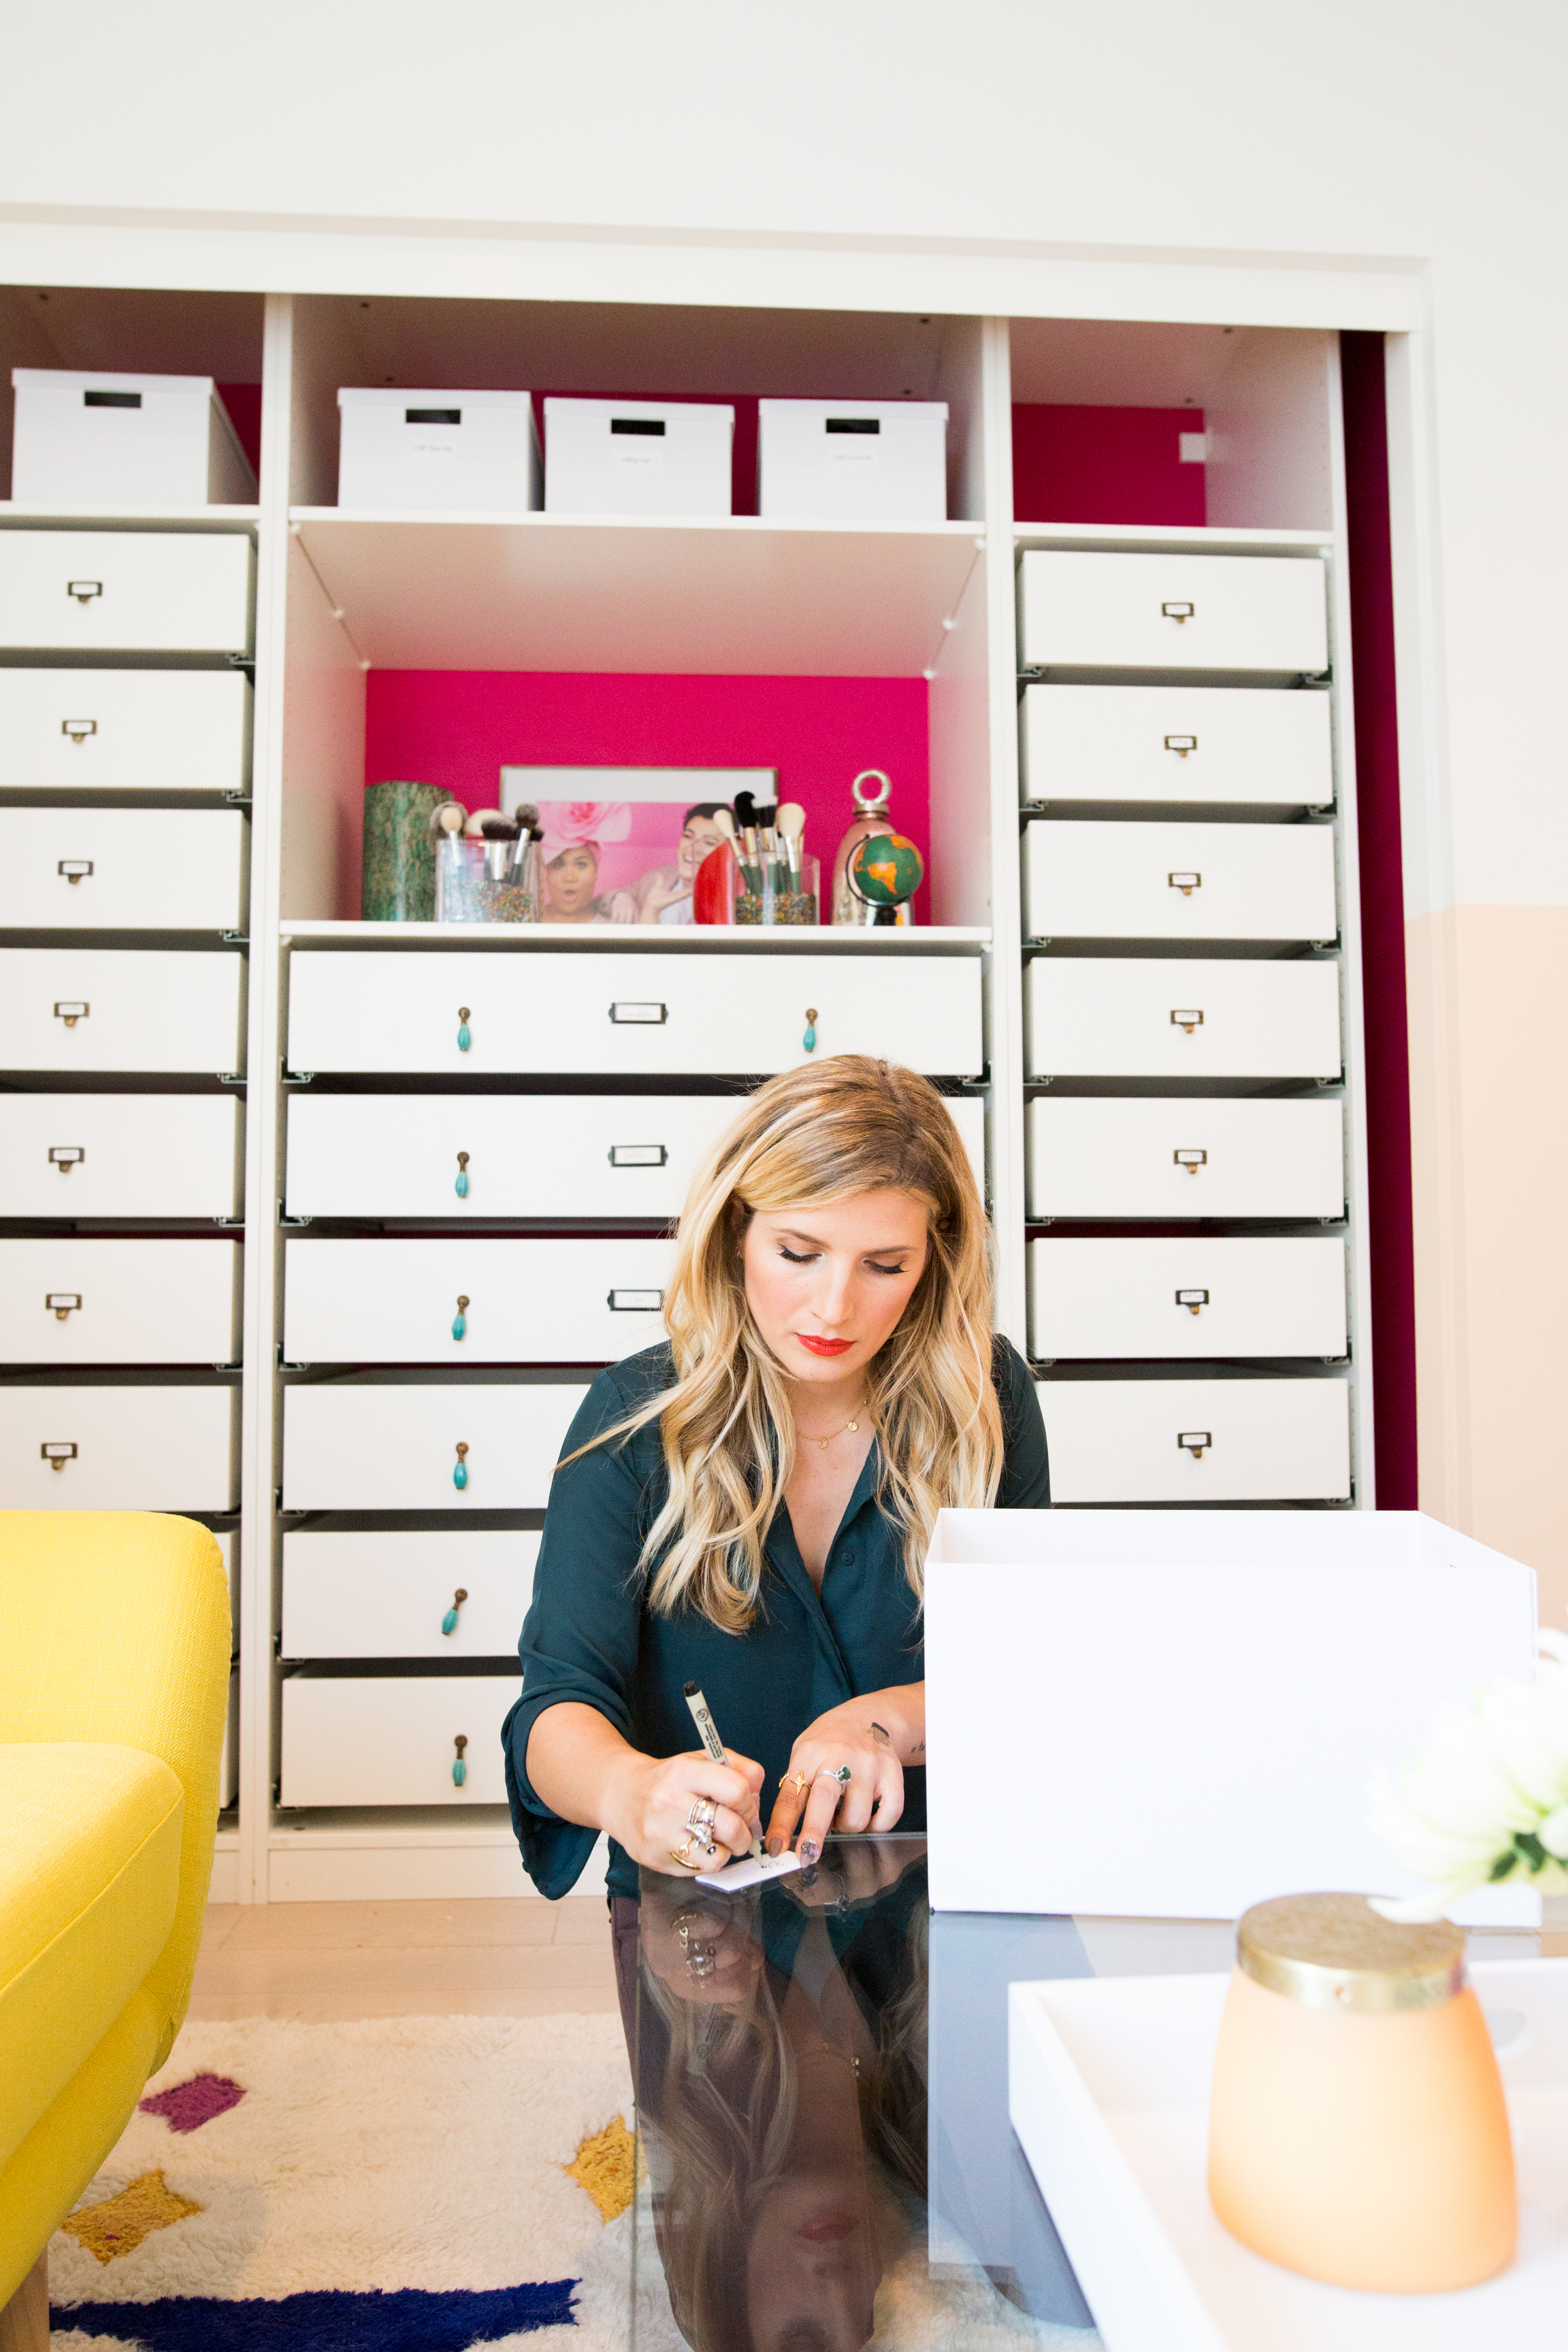
Here's a radical concept: maybe closets don't have to be kept behind closed doors!
This was the attitude I took with Patrick Starrr's Beauty Room makeover, when I decided to remove the closet doors from their hinges and transform that space into something both utilitarian and ultra beautiful. I stocked up on Ikea Pax closet systems, which are modular and uniquely customizable (because who knows storage solutions better than the Swedes) and added a few DIY hacks to make this closet look like something every makeup obsessed and organization addict would dream of.
A note on the Pax closet systems — the Ikea website has a great feature where you can virtually build your closet to determine exactly what pieces you need to purchase to fit your space before you hit the store. Since the Pax wardrobe bodies are sold separately from the shelves and drawers, you can really take advantage of the opportunity to get just the closet you need! Bonus: a custom closet system for the size space seen here at Patrick's was estimated to be about $8,000, but done our way, it was only $1,500!
Prep It:
Ikea Pax wardrobe (or similar closet system) Wall paint Power drill Decorative knobs Label holders (the long ones for the wide drawers) Labels holders with pull tabs (for the short drawers) Screws
Do It!:
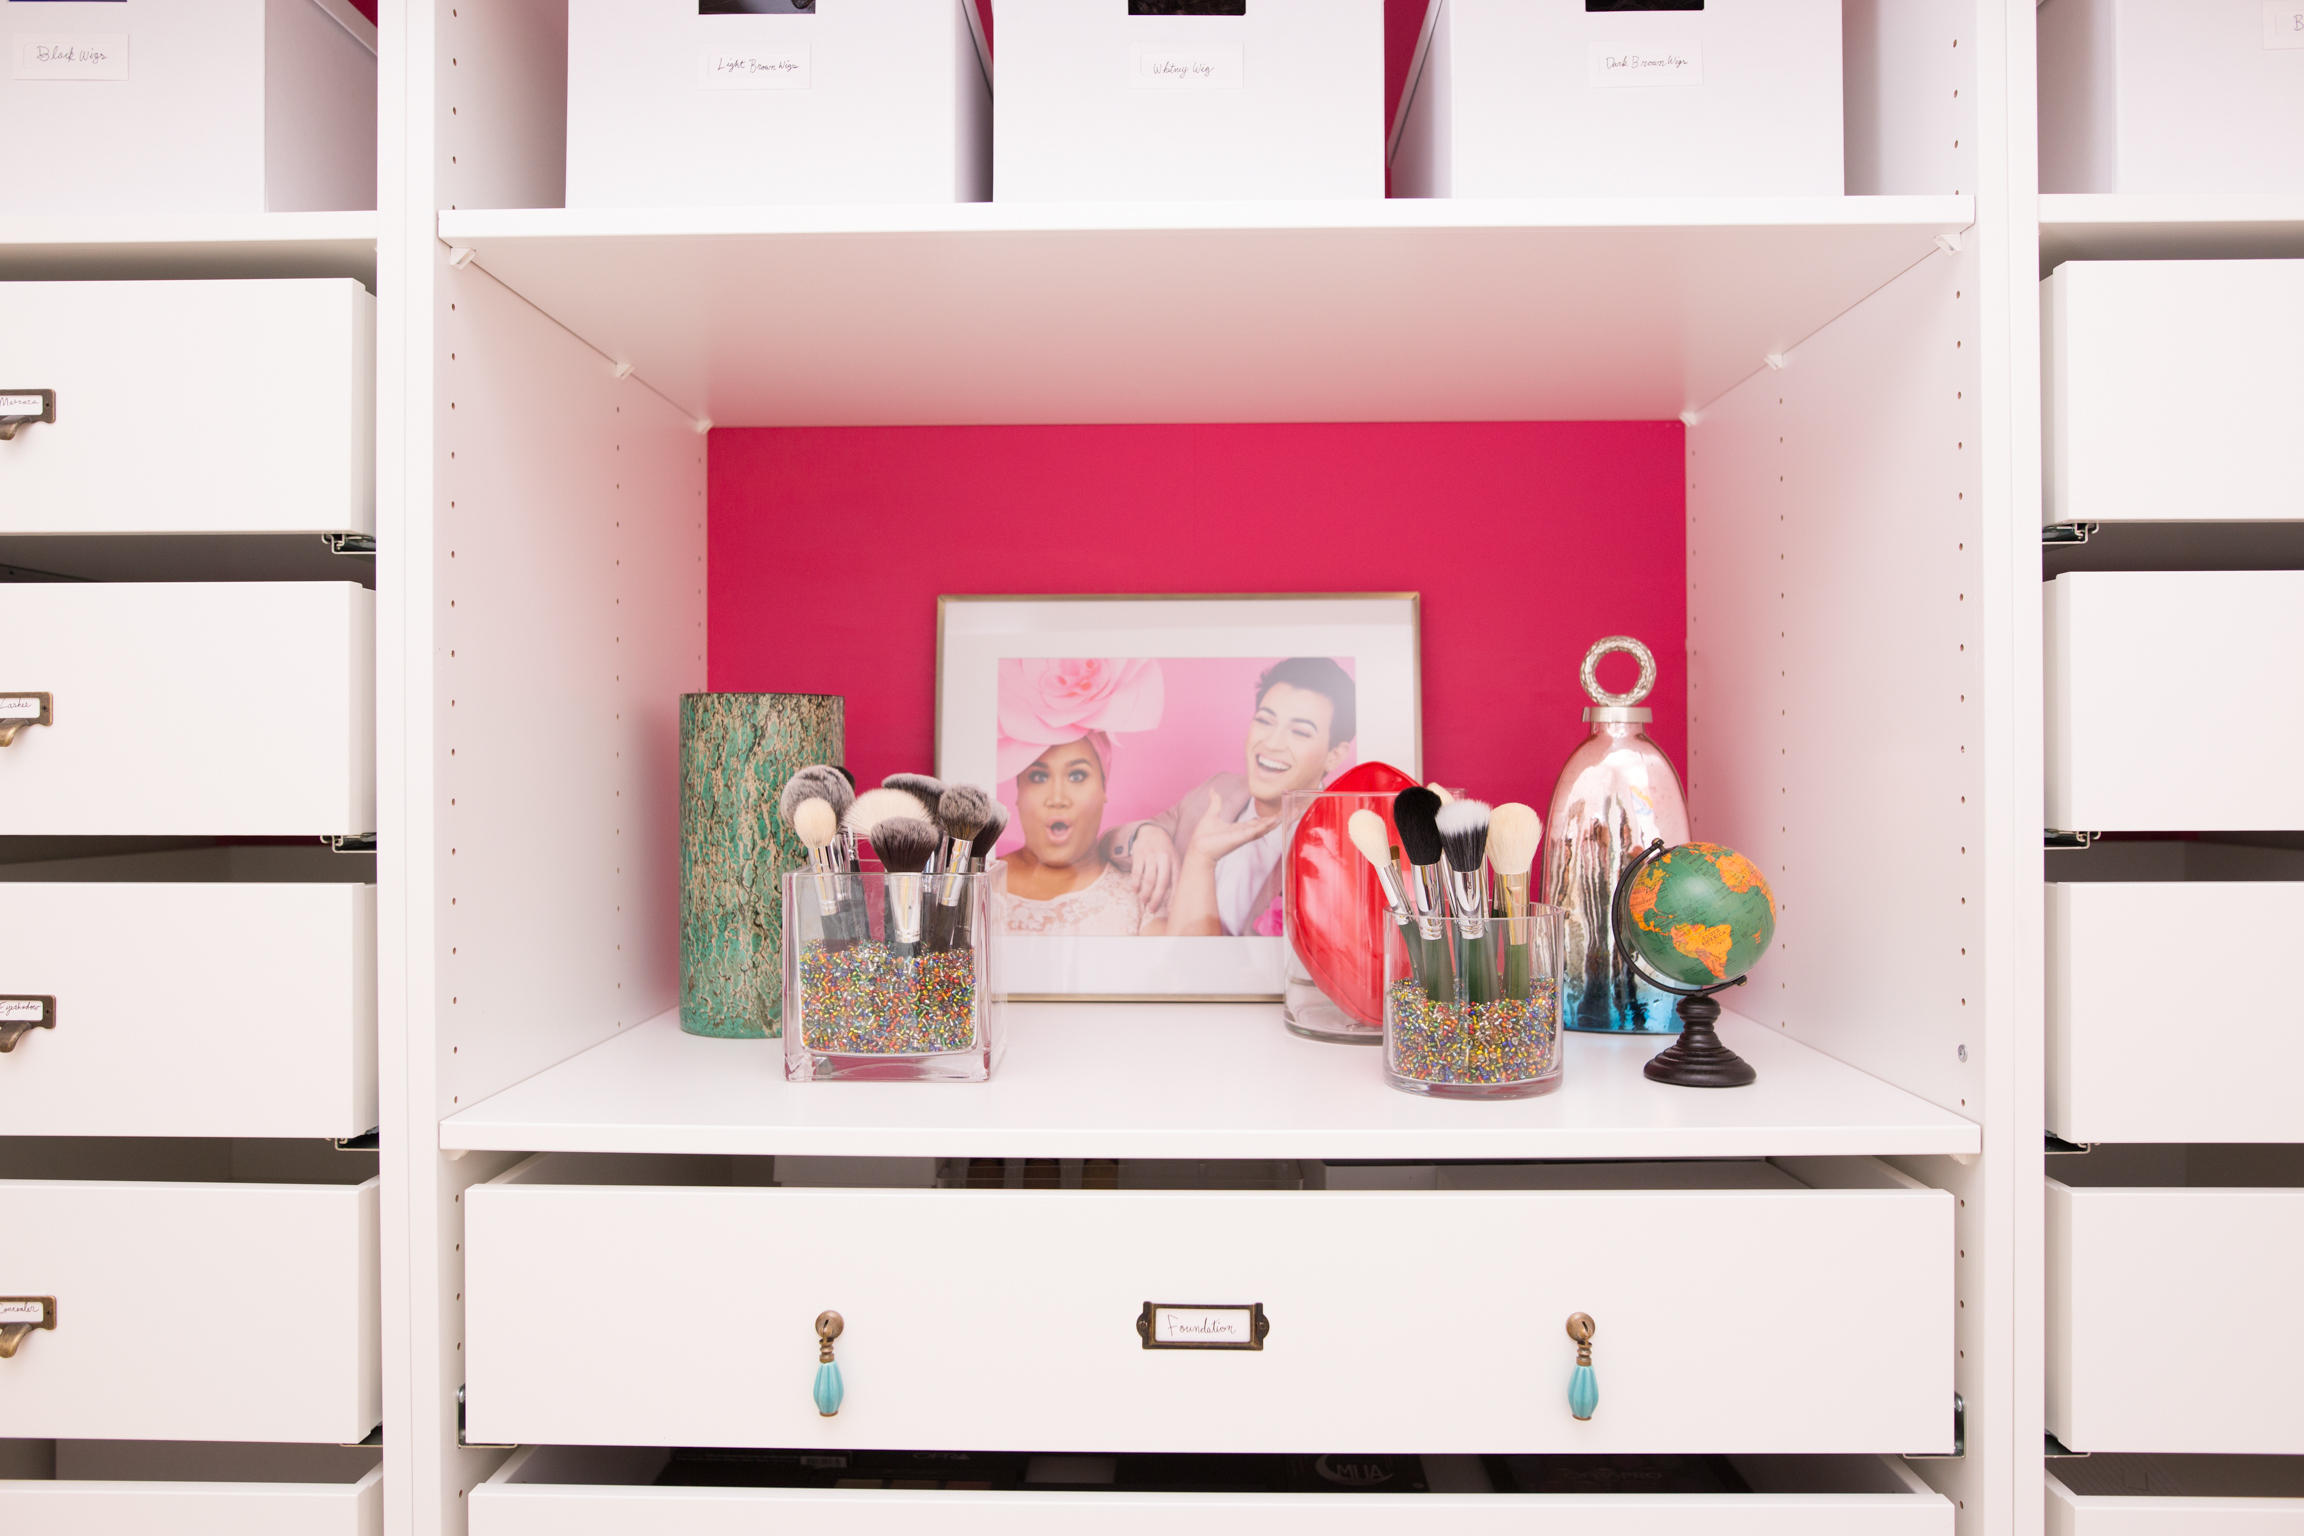
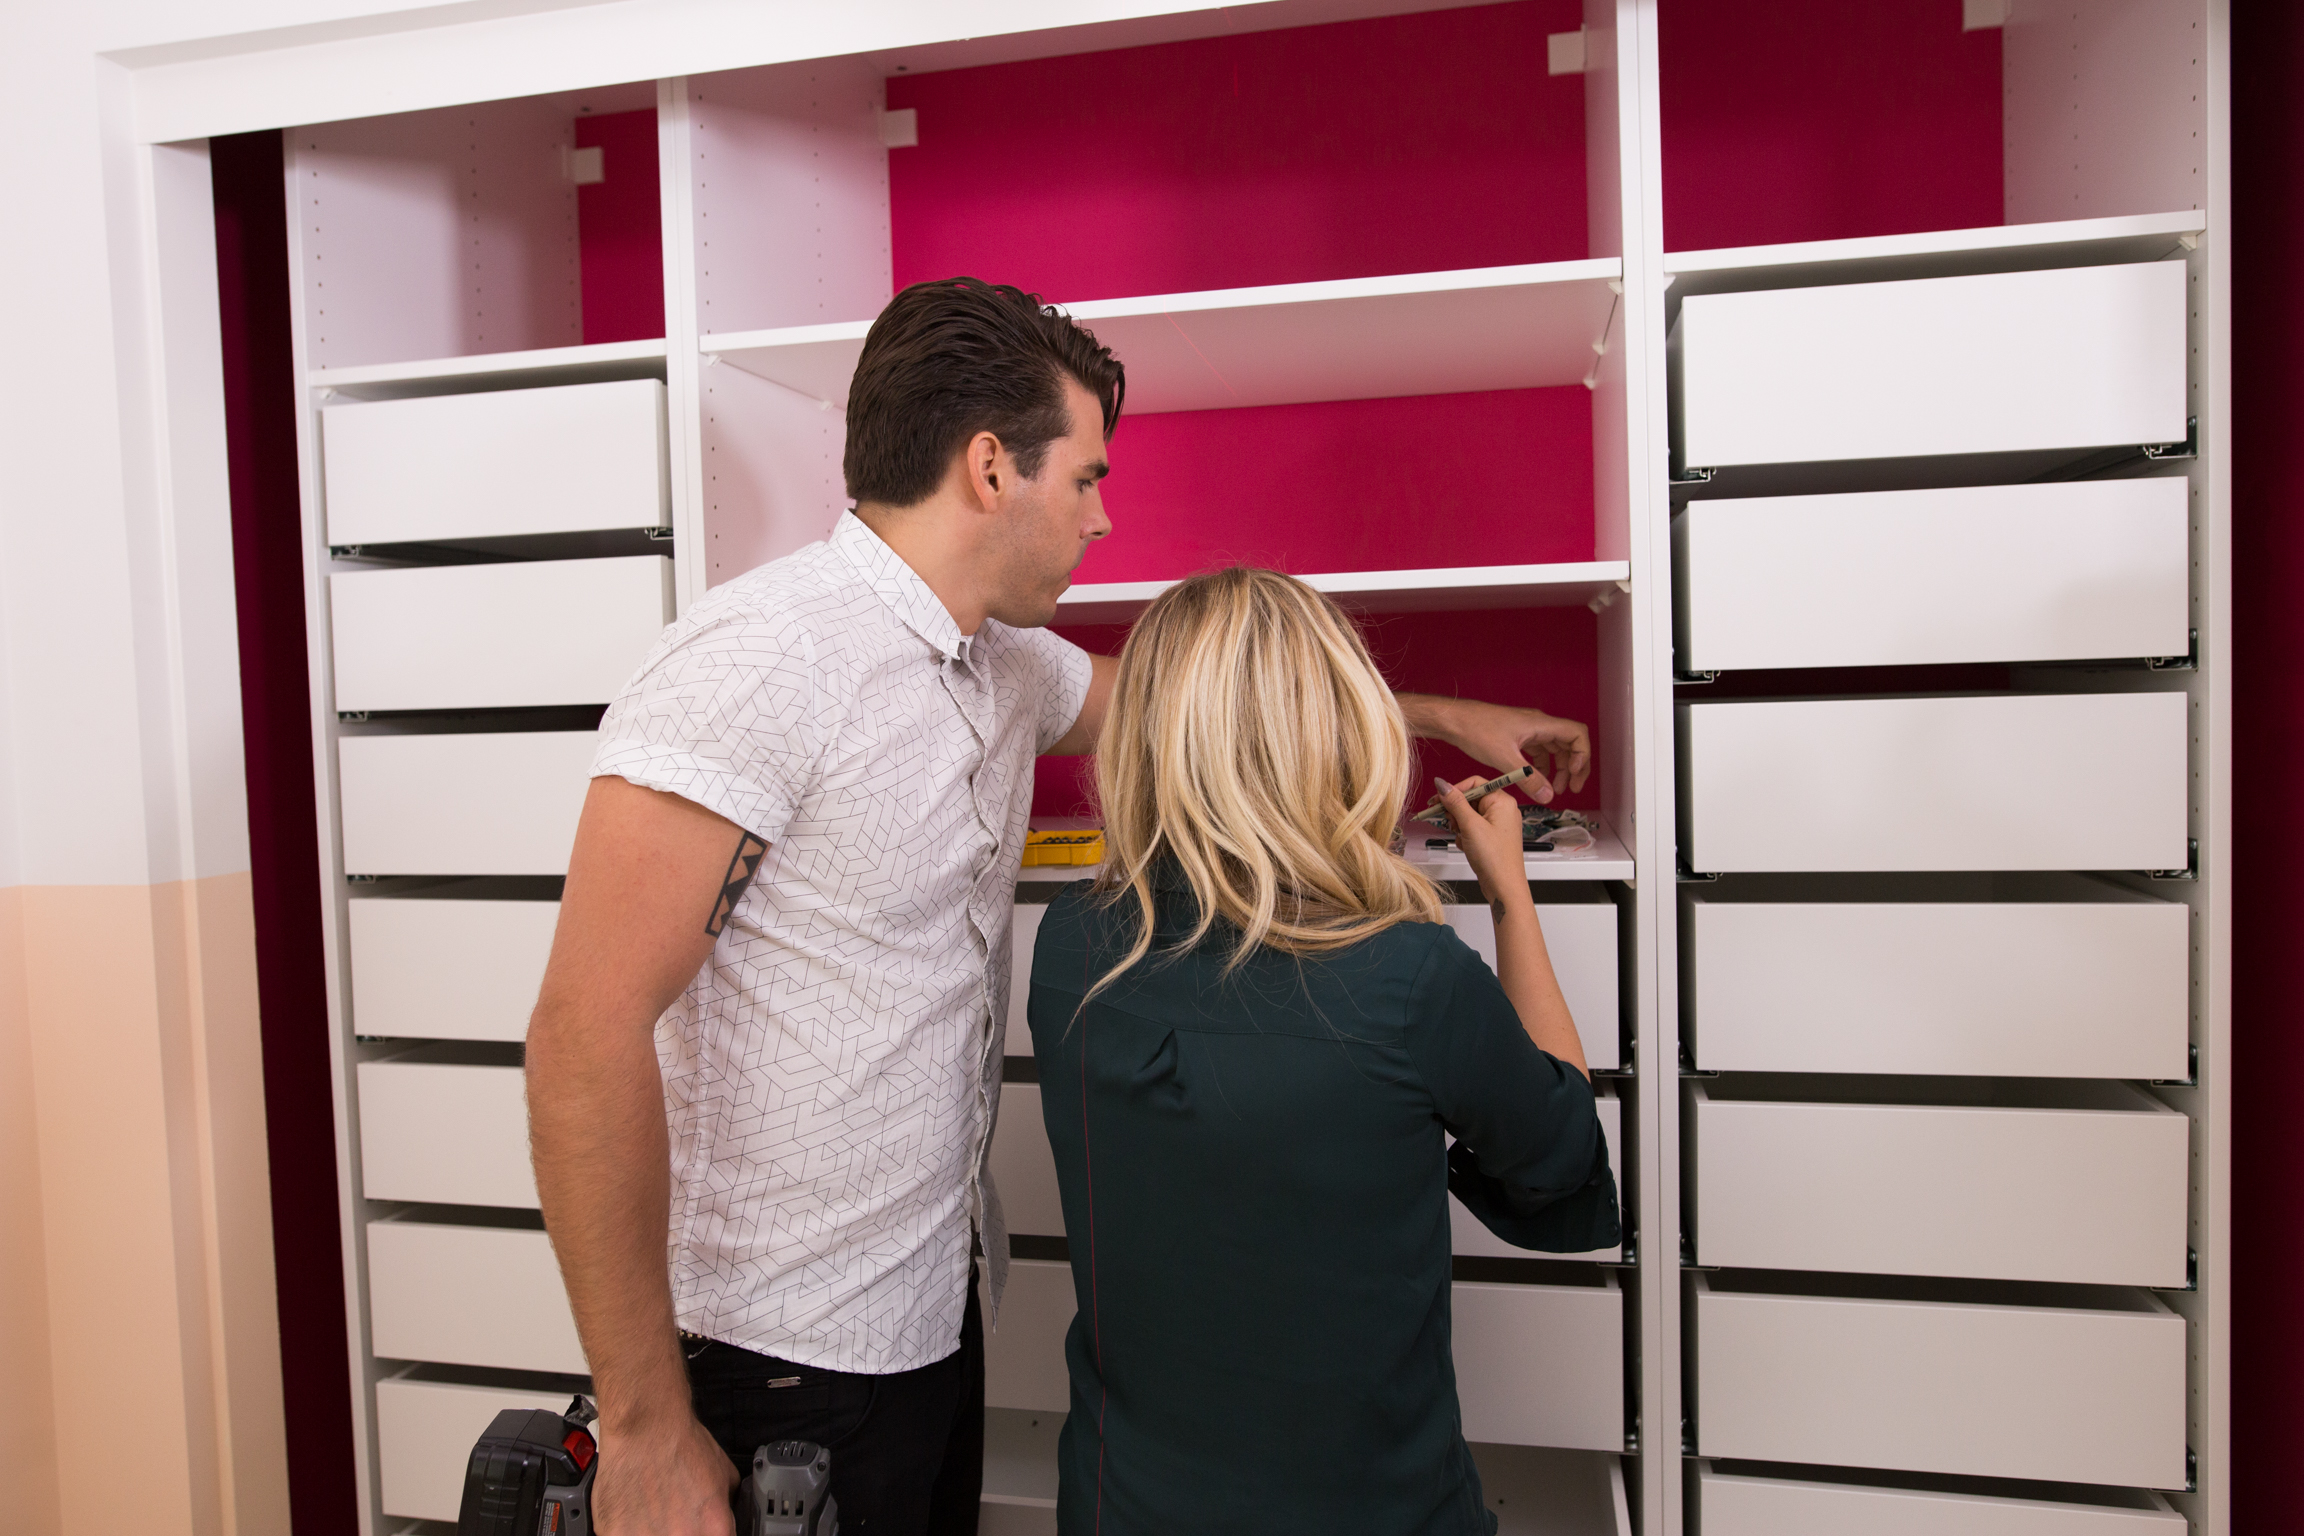
- It's important you get a closet system that doesn't come pre-assembled for this DIY! Before you put the wardrobe together, you can paint or wallpaper the back piece to get an all over colorful effect! A lot of people don't consider this before assembling their wardrobes, and it really makes the final set up look completely custom!
- After painting or wallpapering the back piece of the wardrobe, let it dry, then mount it on the back of the assembled wardrobe. Voila! Phase one of closet makeover complete!
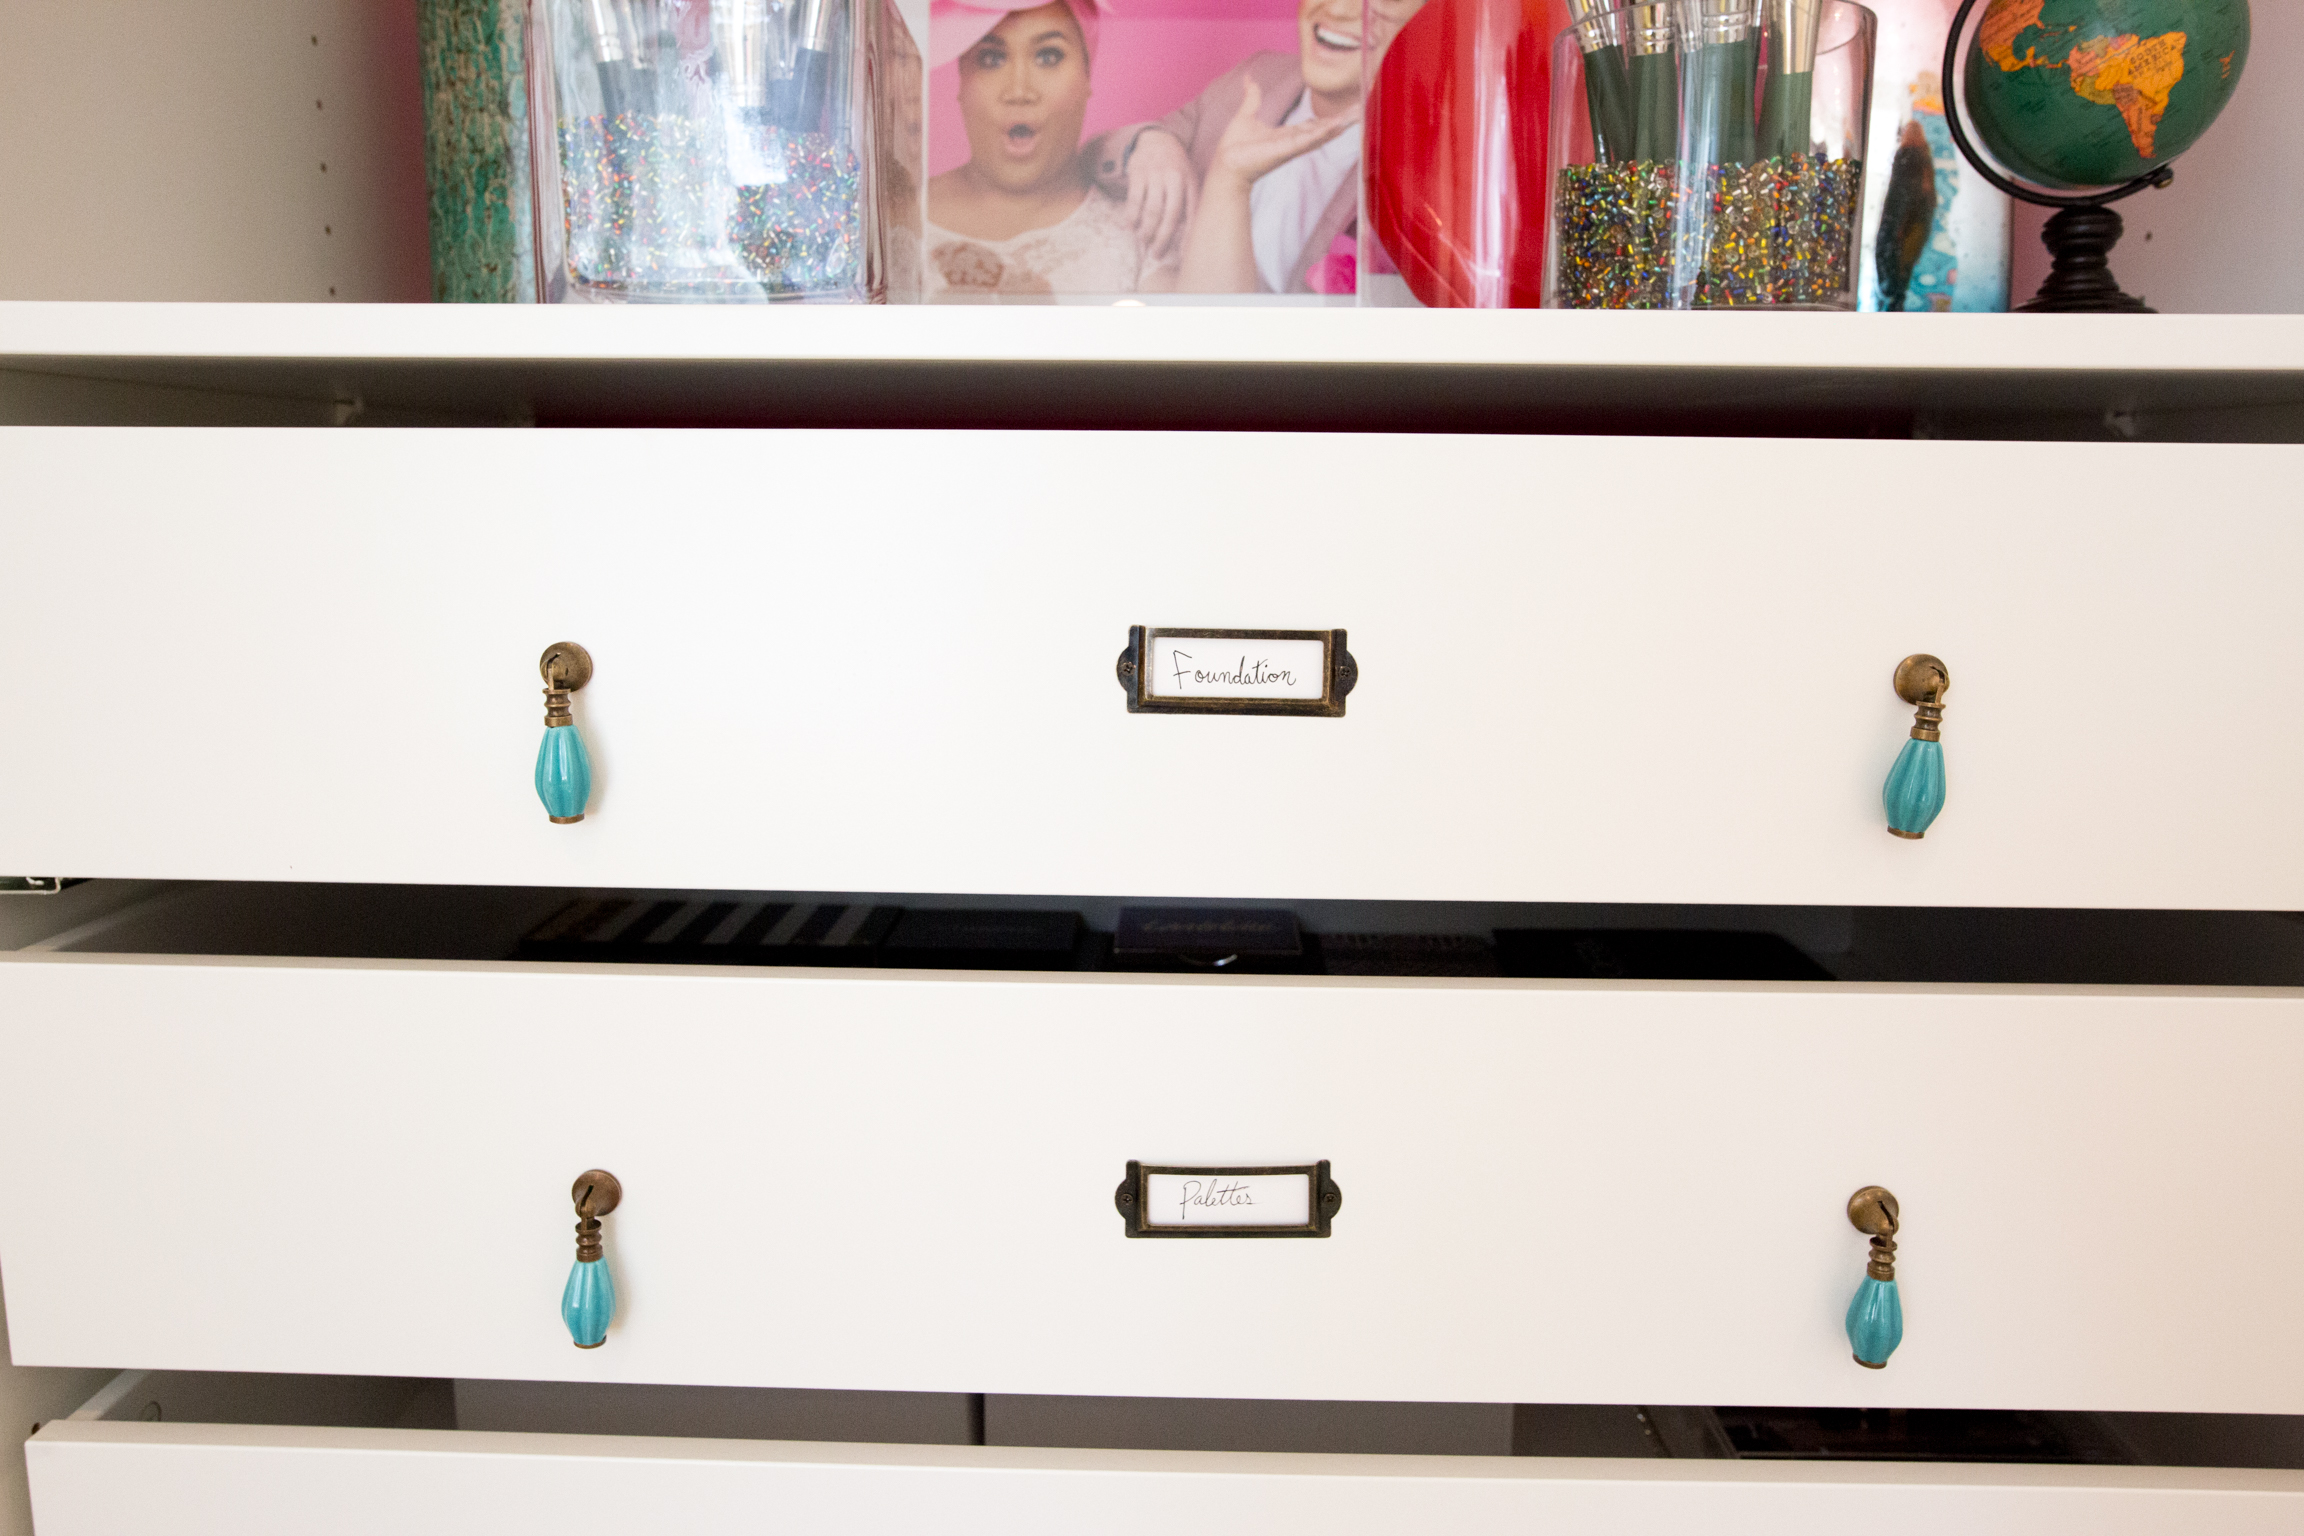
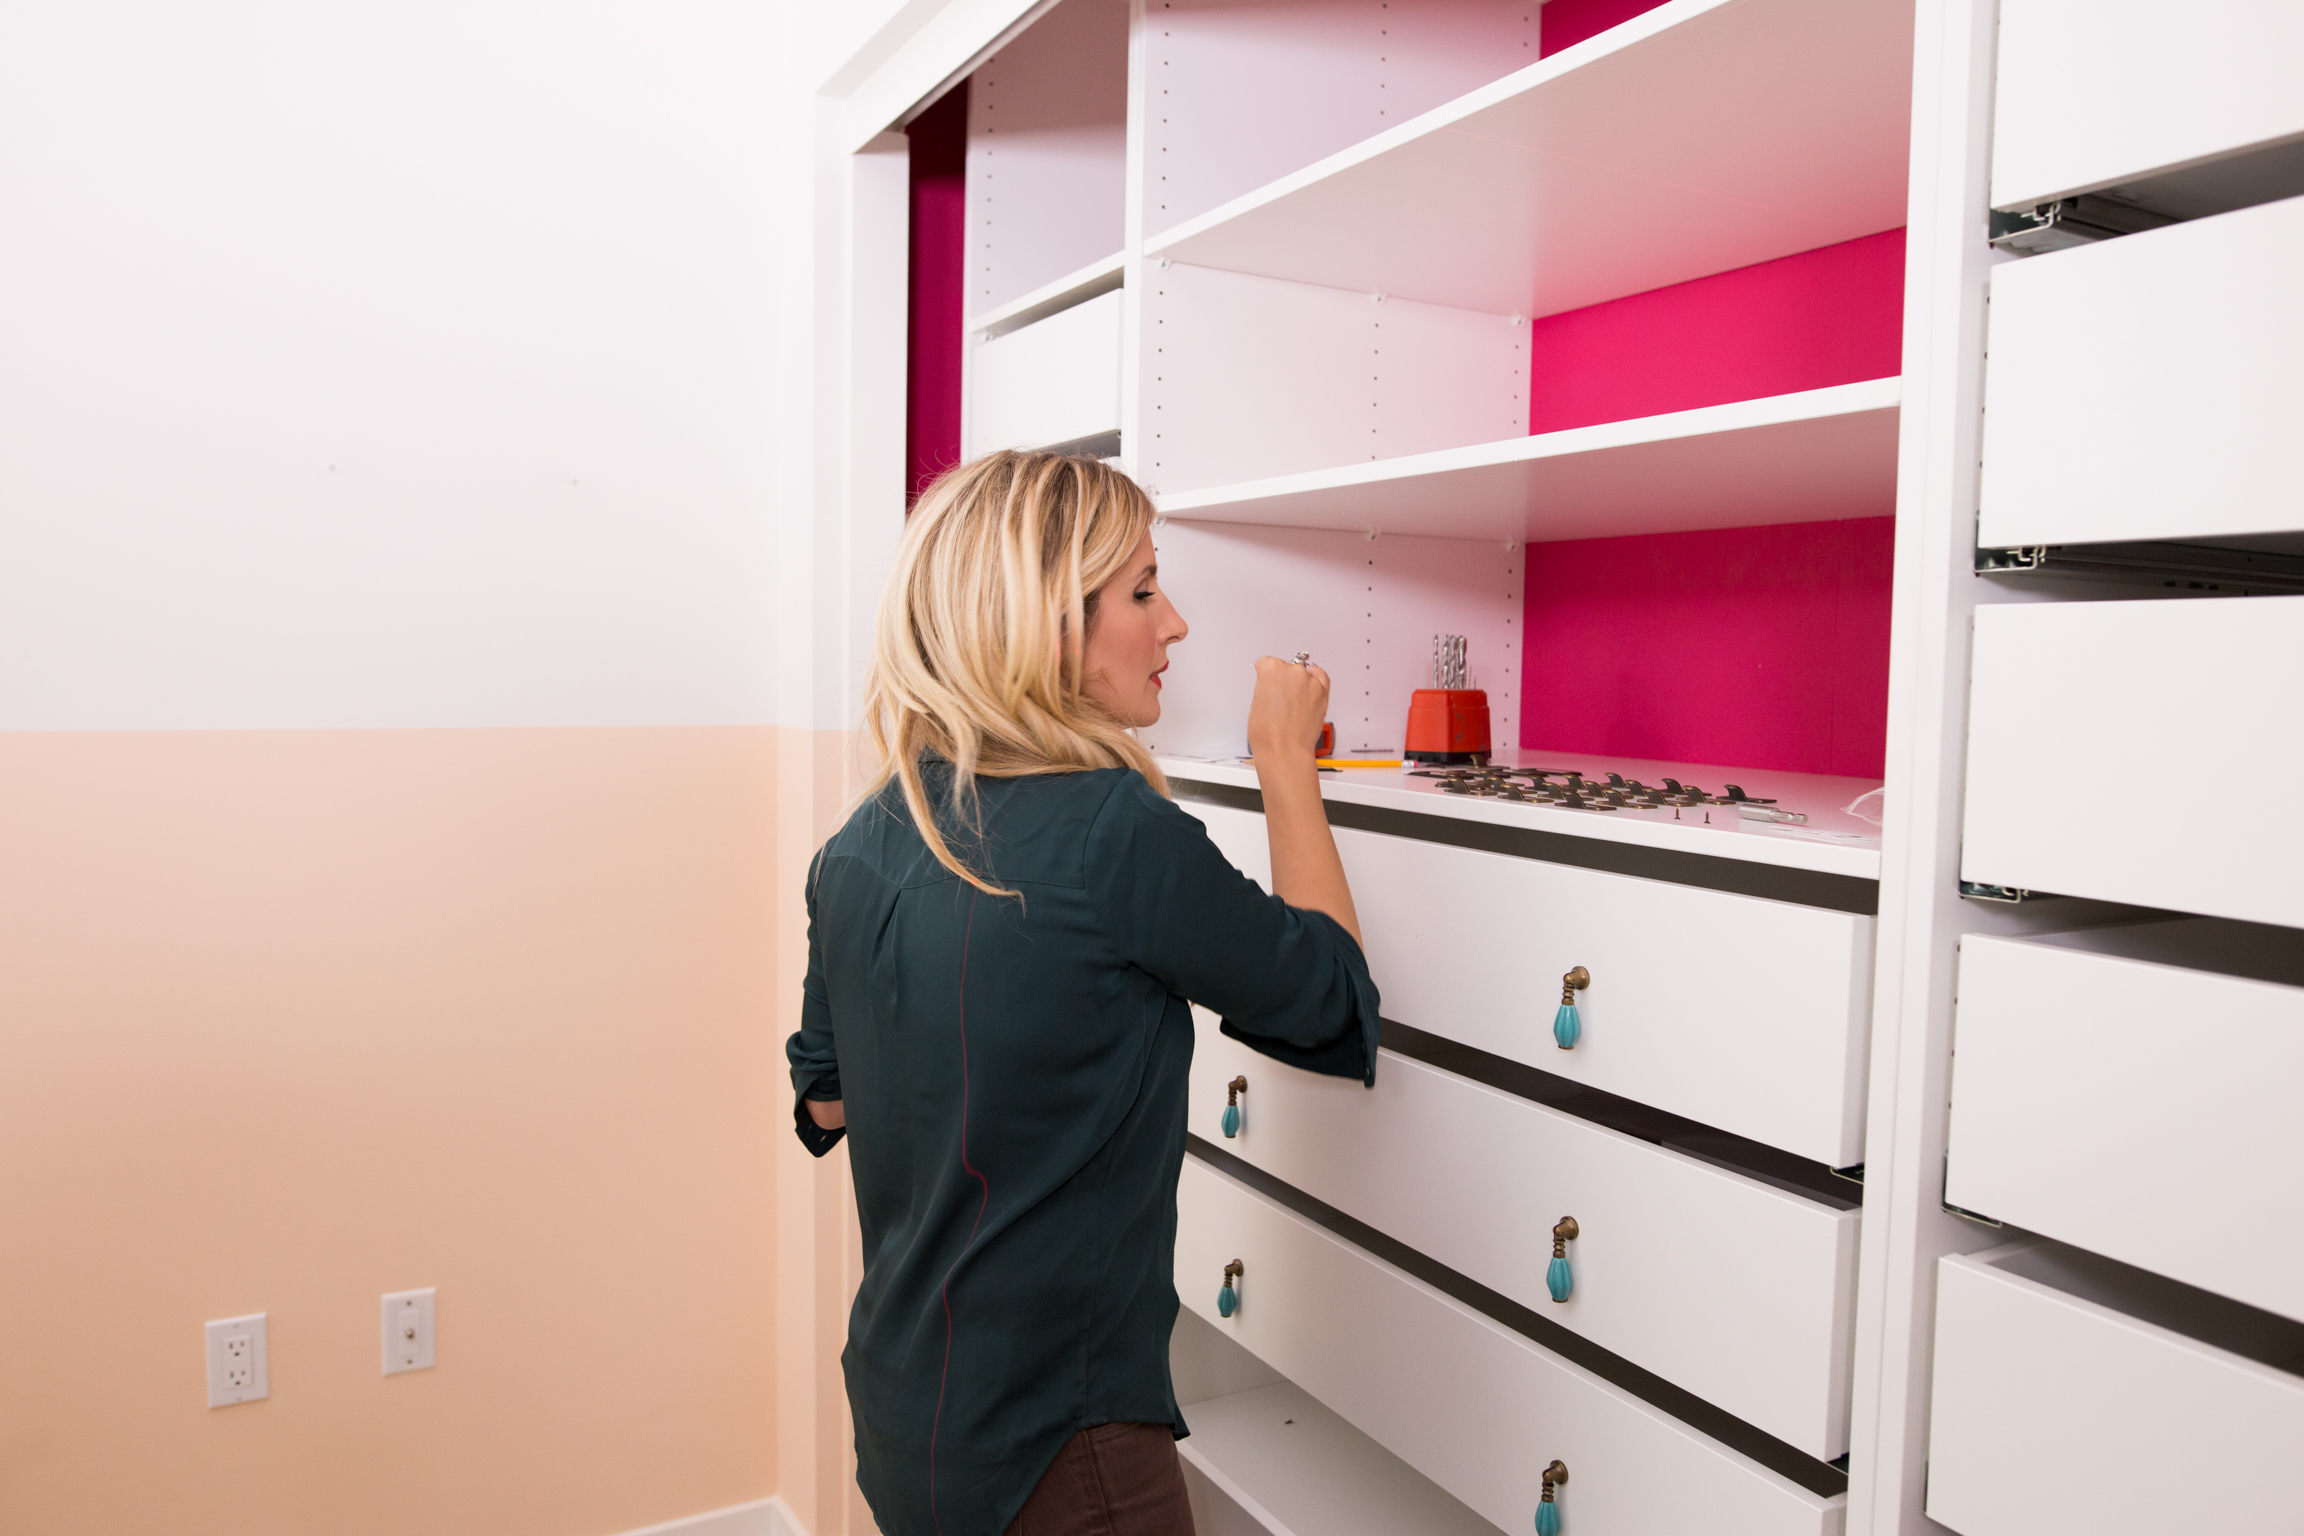
- Use a tape measurer or ruler to measure halfway down your drawers, then mark where you'd like handles to be. To mark where the label holders should go, hold them up against the drawer and use a pencil to mark where the screws should go!
- Drill all of the marked holes, add your decorative knobs and label holders (with some pretty labels, too, of course) and your customized closet is complete! Good luck ever closing doors on this closet again!