pumpkins are quintessential October decor! and carving them is really fun however, they only last a little while before they collapse in a mess of rot… so i offer you the No Carve option! in the video above i demo 3 cheap and easy, no carve pumpkin decorating techniques. so you can enjoy your pumpkins a lot longer and still have the fun ritual of honoring the pumpkin as decoration.
No Carve #1: Decoupage
What You Need:
- pumpkin
- clip art - you can print this clip-art that i created of spider and bug art - or use whatever images you like!
- white glue - regular school glue or Modge Podge
- old paint brush or foam brush
- scissors
- mix equal parts glue and water to create your glue mixture.
- set aside a separate bowl of water
- cut or rip to separate your clip art
- soften the paper in the plain water so it's more flexible and will mold around your pumpkin.
- paint the back of your clip art piece with a liberal coat of the glue mixture, place it on your pumpkin and paint over the top with more glue mixture
- repeat step 5 until your entire pumpkin is covered
- seal with a final coat of less-watered down glue. don't worry, it will dry clear and the paper will be less transparent when it's dry too!
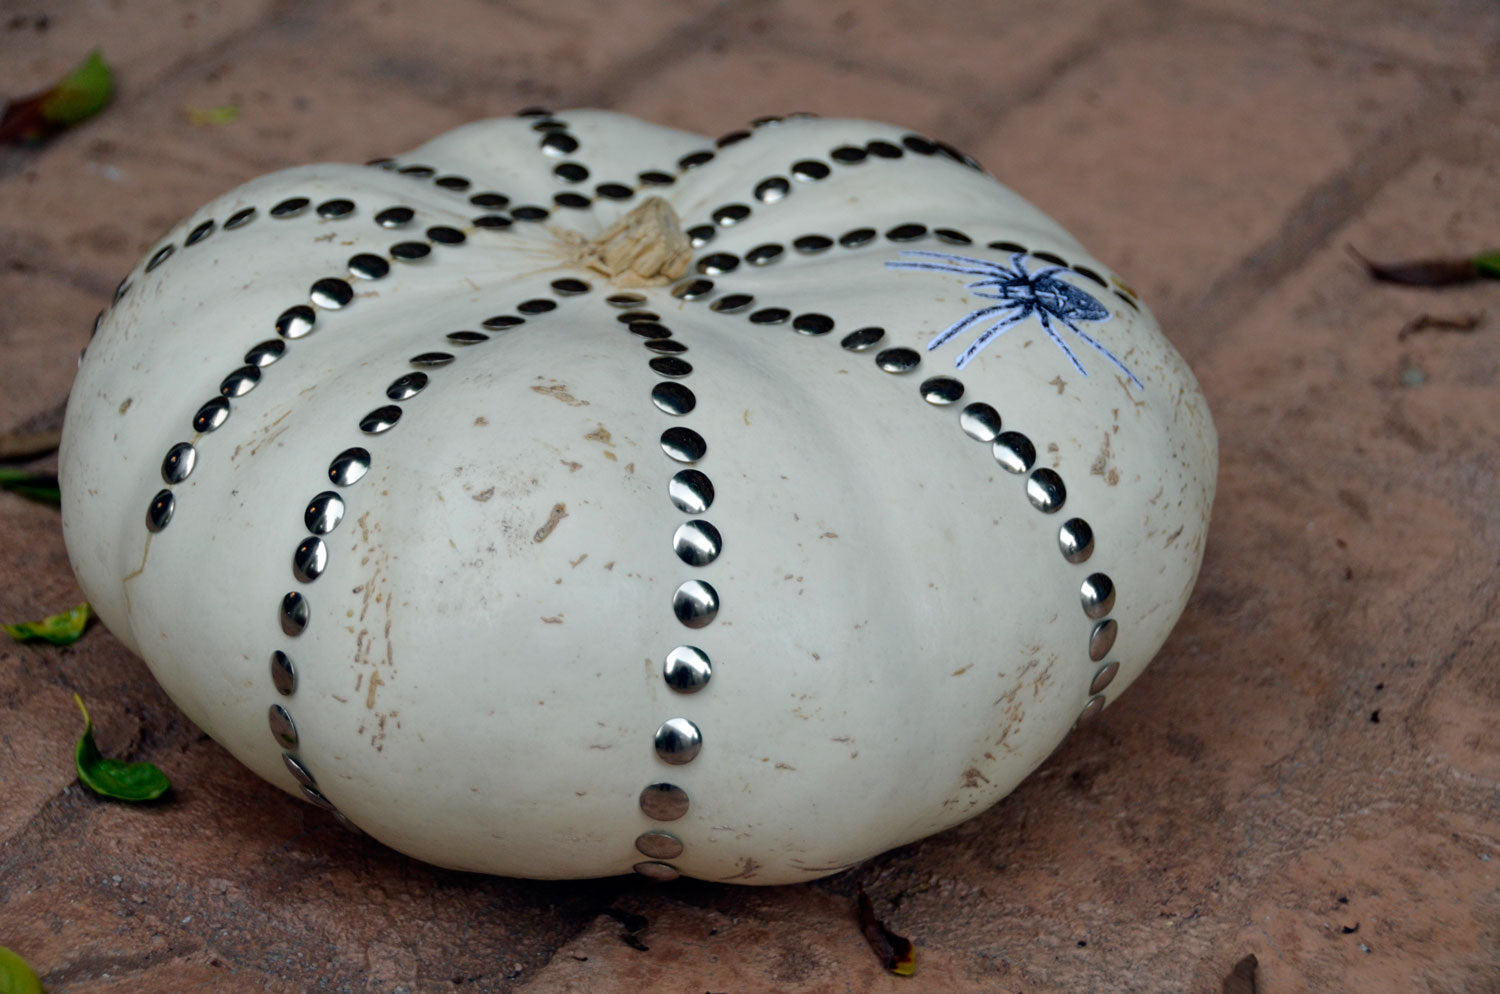
- pumpkin
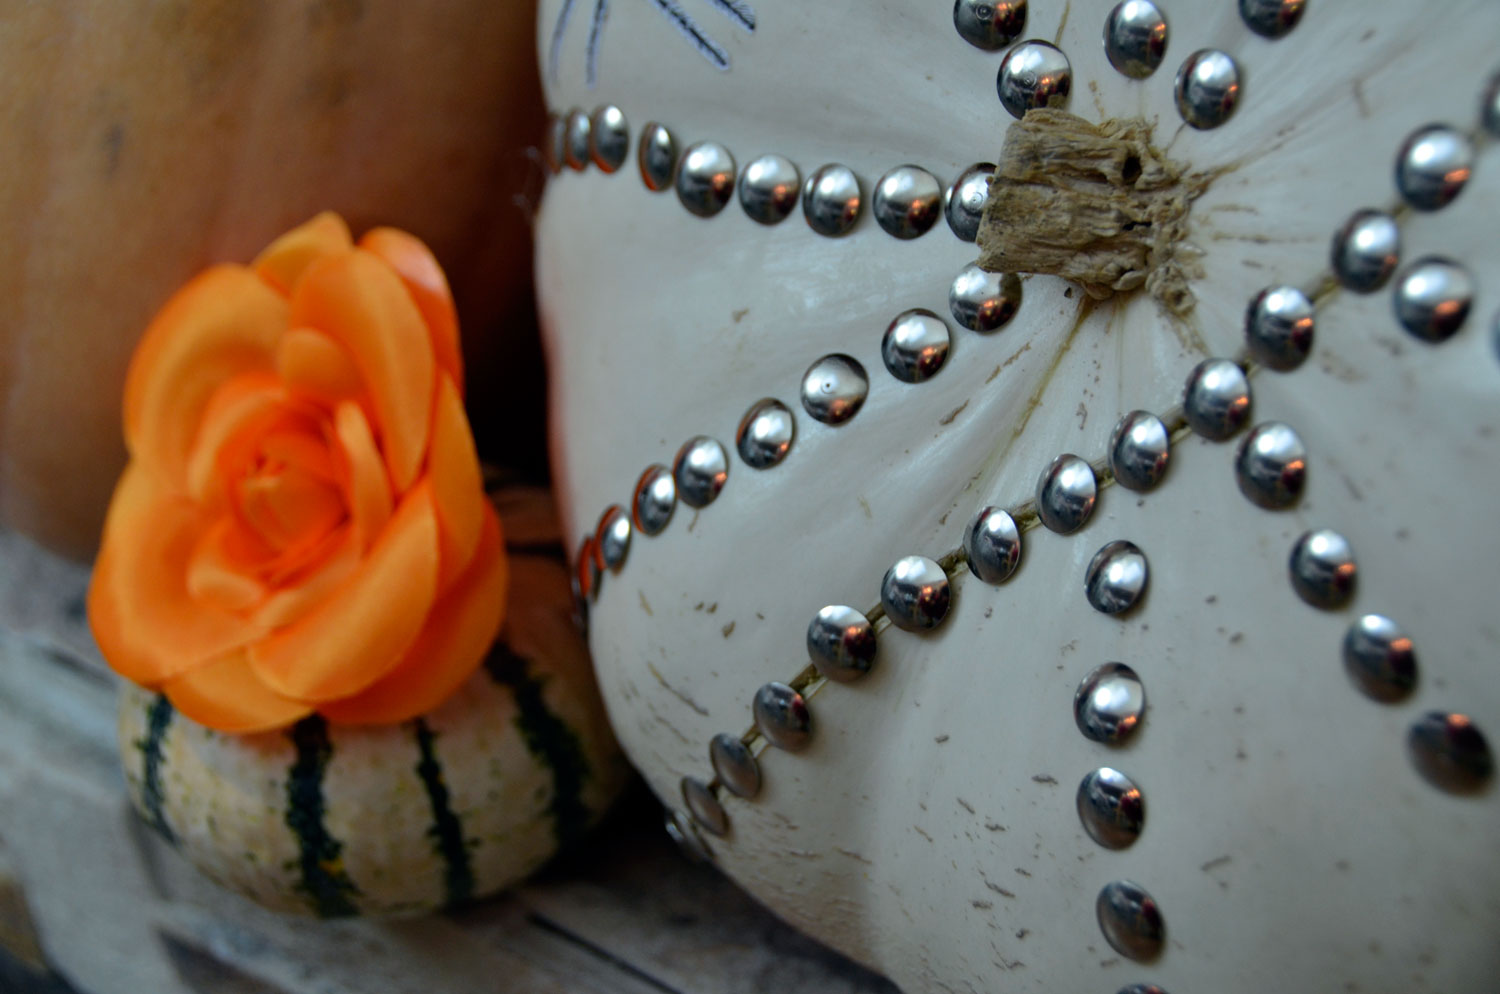
- box of metal thumbtacks
- optional: clip art spider to make it look like a web and fit in with your other pumpkins
- simply pierce the thumbtacks into your pumpkin in whichever design you fancy. you can always take it out and re-place the tacks!
- decoupage the spider clip art in the same way as the above decoupage steps 4, 5 and 7.
- pumpkin
- permanent marker
- silk flowers - buy them in the garment district, your local craft store, or online here.
- glue gun
- draw a face on your pumpkin and fill it in with coats of the marker so it looks nice and dark
- glue the silk flowers on your pumpkins cute bald head!
Happy Halloween!


