Christmas in July must have gotten to me, because lately I've been wondering why winter has such a seasonal monopoly on ornaments. Can't spring, fall, and summer get in on that game?
Well, I'm a DIY-er, so I play by my own rules, seasonal conventions be damned. These dried flower and clay ornaments are the perfect home decor for a touch of endless summer year round. Whether you hang them in a mobile, use them to package up gifts, or just sprinkle them throughout your living space for little spritzes of color, they make everything just a little bit sweeter and more special — which is exactly the purpose of an ornament.
P.S. Keep them around until winter and they'll look pretty cute on your Christmas tree, too!


Prep It:
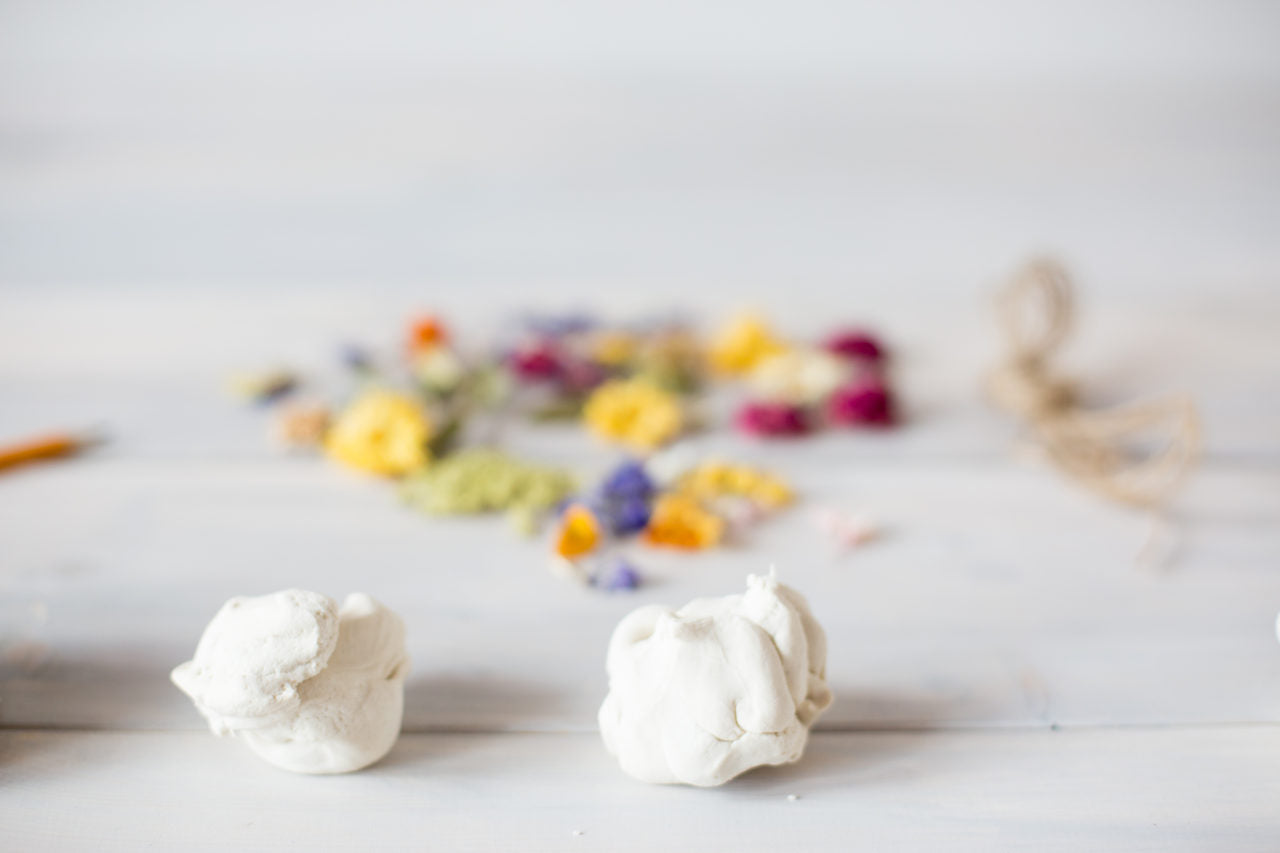
Super dough Assorted dried flowers (you can also DIY some yourself from your garden!) Twine Pencil


Do It!:
- Start by separating your super dough into a few small handfuls, about the size of ping pong balls. What's nice about super dough it's technically a modeling compound, so it's very workable and doesn't need to be cooked to harden. It's meant for children as well as adults, so if you know any kids, this would be a great DIY to do with them!
- Roll the handfuls into spheres in the palms of your hand, then flatten into a disk with your fingers. If you want your disk to be very smooth, you can use a rolling pin for that step. We liked the texture that the fingers left on the dough, so we did this step manually.
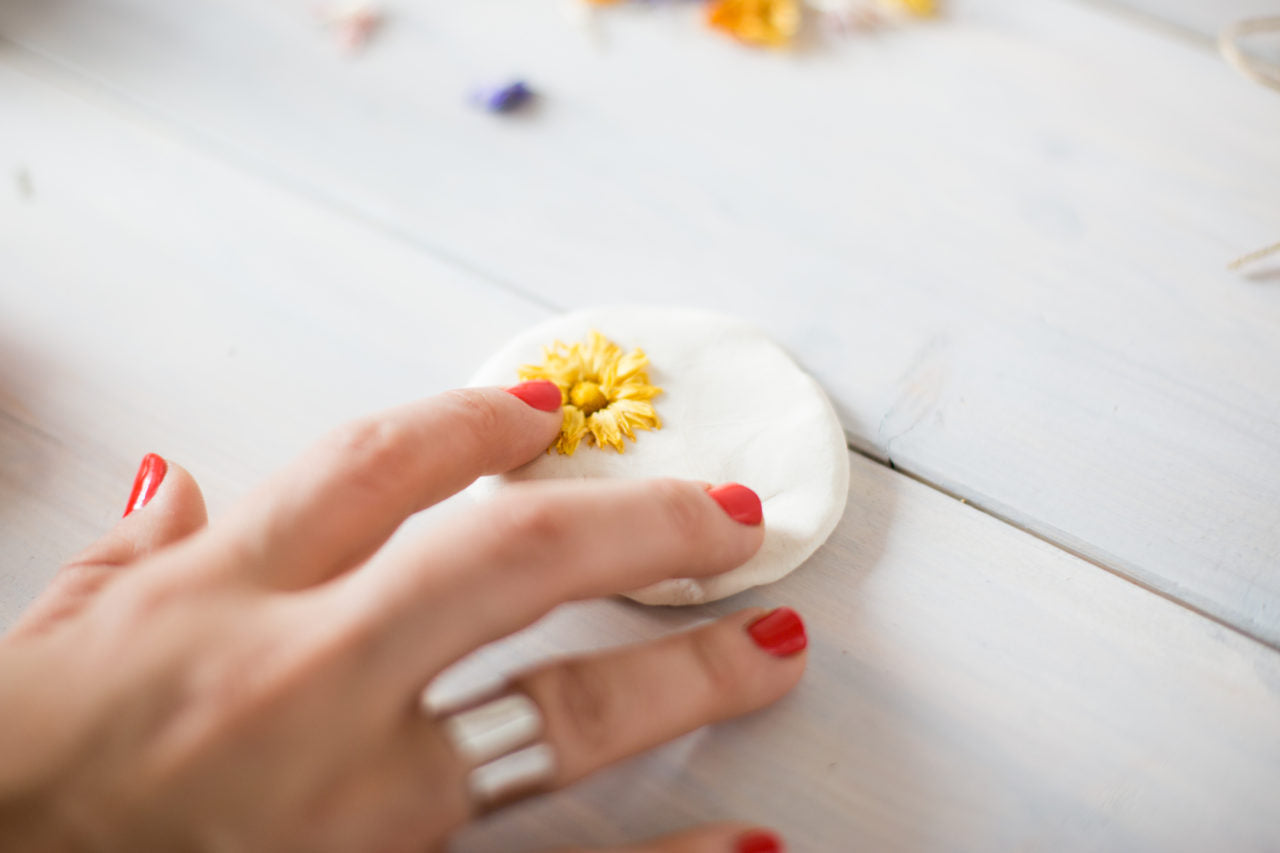
- Lay out your flowers and plan designs for the different disks. To set the flowers, place them on the dough disk and gently press. Make sure that the flower is partially submerged into the dough, but don't press too hard! When the dough dries it will adhere to the flowers, so they'll be more secure than you think!
- When you're done pressing the flowers into the disks, use a pencil to punch a hole through the top of each. Then set your dough ornaments out to dry. Read the instructions on the dough you're using to know how long the compound needs to fully harden!
- When your ornaments are dried, cut some twine and string through the hole. Then go hang these blooming babies up and beautify your home!


