What to do with a big white wall? You can watercolor it, entwine it in multicolored yarn, or ... style it with a DIY stencil!
When Joey and I recently gave Andrea a bedroom to dream about (and dream in!), one of the key design elements was giving her a statement wall to back her new elegant bed, etc. I thought about using wallpaper but because it's a rental and paint is easier to go over than wallpaper, I thought, stencil!
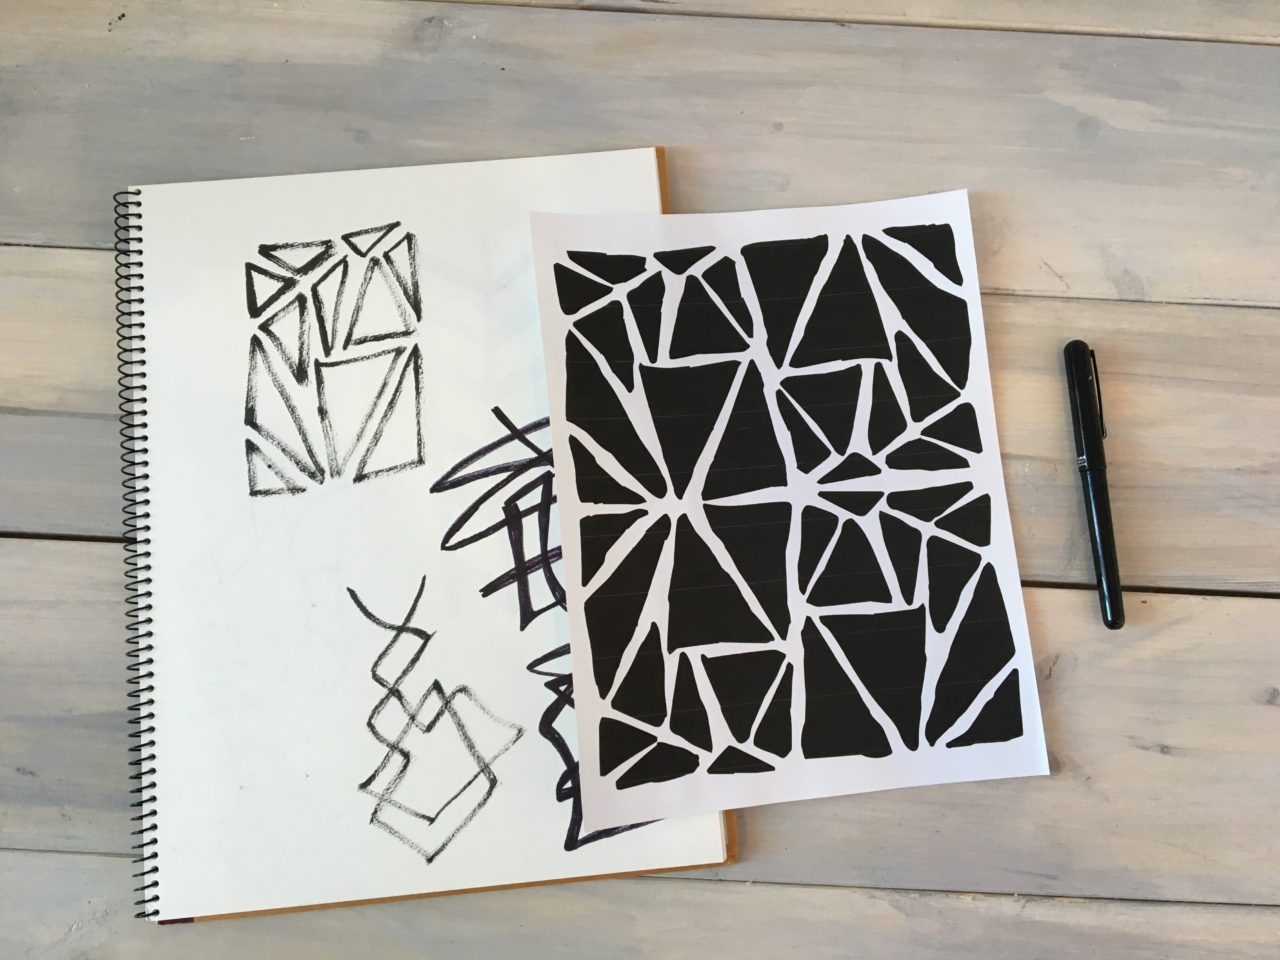
However, it's hard to find large scale stencils. So I decided, duh, we should DIY one with a sketched pattern I quickly inked, scanned and printed... and uploaded for you to download to make your own, for FREE HERE!!!
It has the same effect as wallpaper, but at a fraction of a fraction of the cost ... and in my opinion, double the fun! I mean, when else can you transform your drawings and doodles into a DIY statement wall?!

Prep It:
Print-out of stencil pattern (if you need it on a larger piece of paper, use a printing service like FedEx) Thin plastic sheet Craft knife Cutting Mat Painter's Tape Marker Small foam roller Wall paint
Download the printable PDF for this stencil pattern here!


Do It!:
- Draw or design your stencil pattern. Mine was all about triangles and had a very geometric tribal vibe, but yours could be flowers, dots, graffiti-inspired — anything! Take a picture of your design and upload it to your computer. If it's not already in black and white, use an editing program to make it nice and graphic so it will be easy to trace and eventually cut out!
- Get your pattern printed at a place like FedEx/Kinkos on an oversized piece of paper to fit your stencil size - see this tutorial about printing large scale for cheap. Or, if your design is small enough, print out on a regular 8.5 x 11 piece of paper!
- Place your printed pattern on a flat surface and line the thin plastic sheet over it. It's important that the plastic doesn't move so you can get an accurate trace, so if you need to tape it down, go ahead! Use a marker to trace the pattern onto the plastic sheet. I found it helpful to use a colorful marker so I could see what I was drawing over the black and white print out!
- When you've traced your design, use the craft knife to cut it out. Careful to do it slowly so you don't cut yourself, the mylar sheet is strong so it takes some time but good news is, you only need one or two (if you want a mirrored pattern like we did). Cut out the pieces and parts where you'll want the paint to be. If you're going to use multiple color paints, only cut out what you need for the first color, then repeat the process!
- You're ready to paint! Starting in a corner, tape your stencil to the wall using small pieces of tape and use a small roller to paint over it. We used semi-gloss paint over the flat wall paint so it would have a sheen difference as well. Move the stencil after you're done to the next section. We moved vertically down the wall before moving horizontally to the next row, stepping back each time to make sure it looked like it was running straight. Keep in mind that the tape and border create a space between the design so you'll need to take that into consideration when you're planning your pattern. Repeat this step until the entire wall/space you want is covered. The pattern didn't fit the entire wall so we left the gap (that was about half the size of the stencil) for the end and cut the stencil to fit the gap.


