Why buy a bed when you could build one?
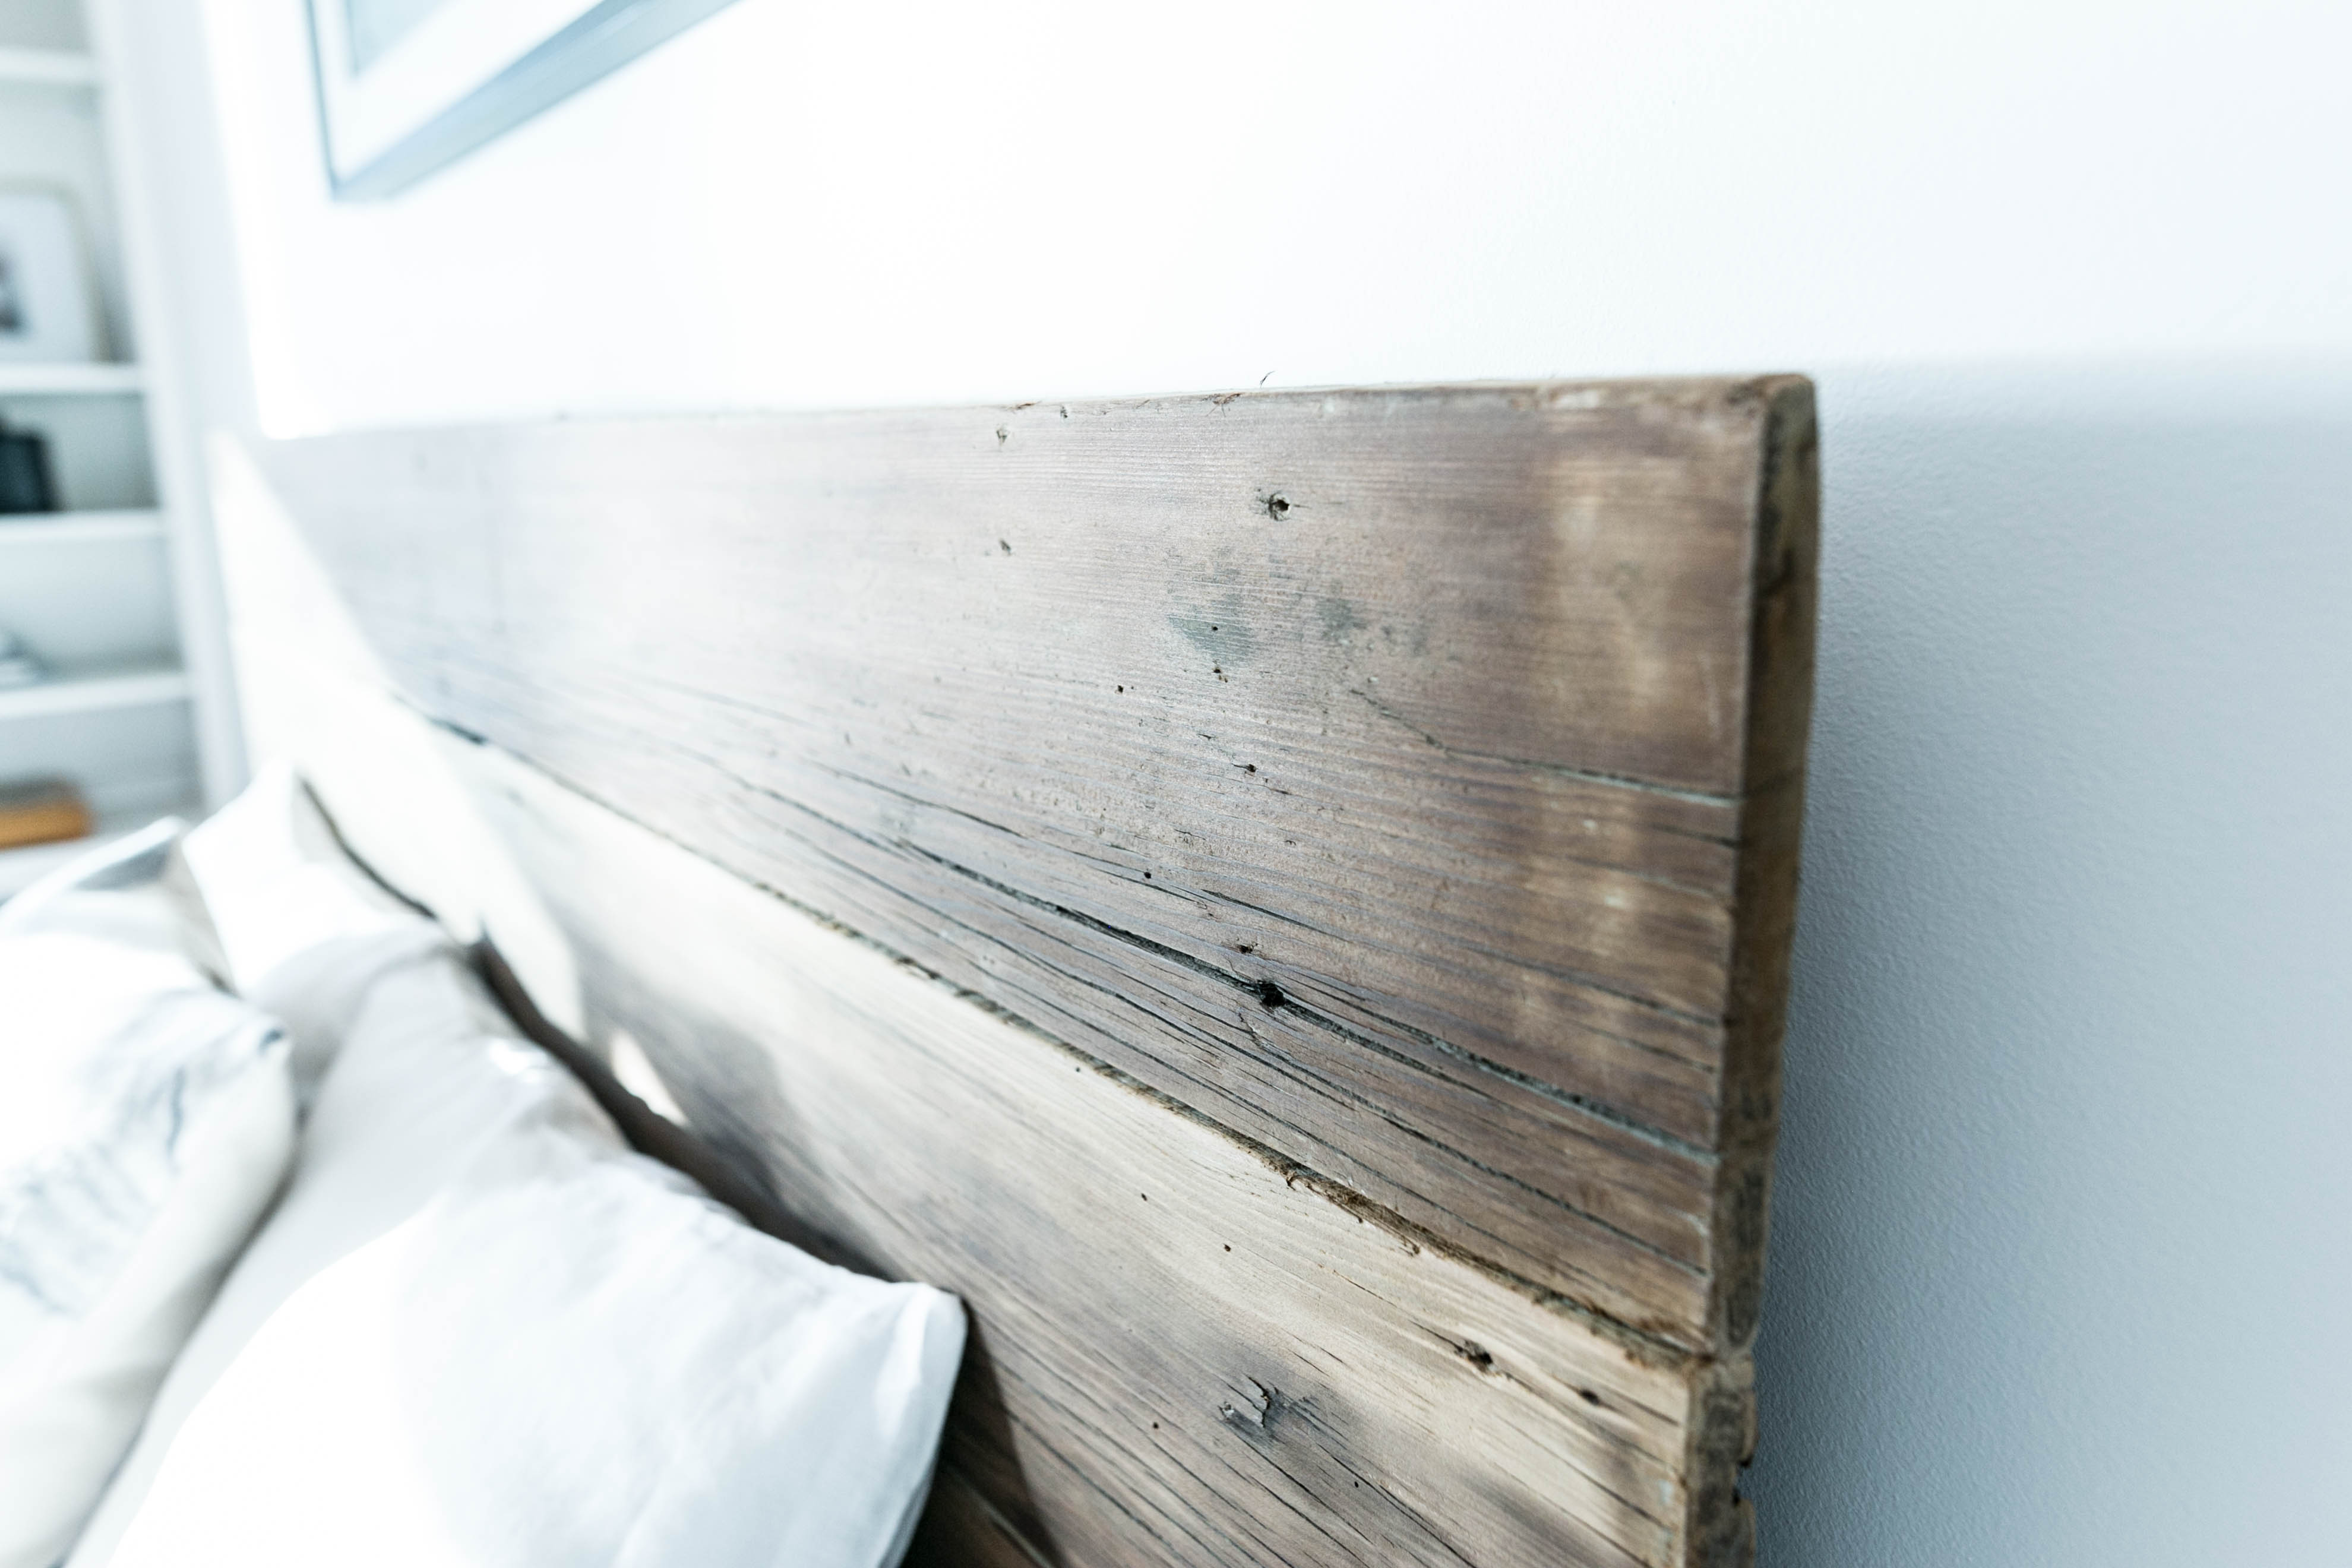
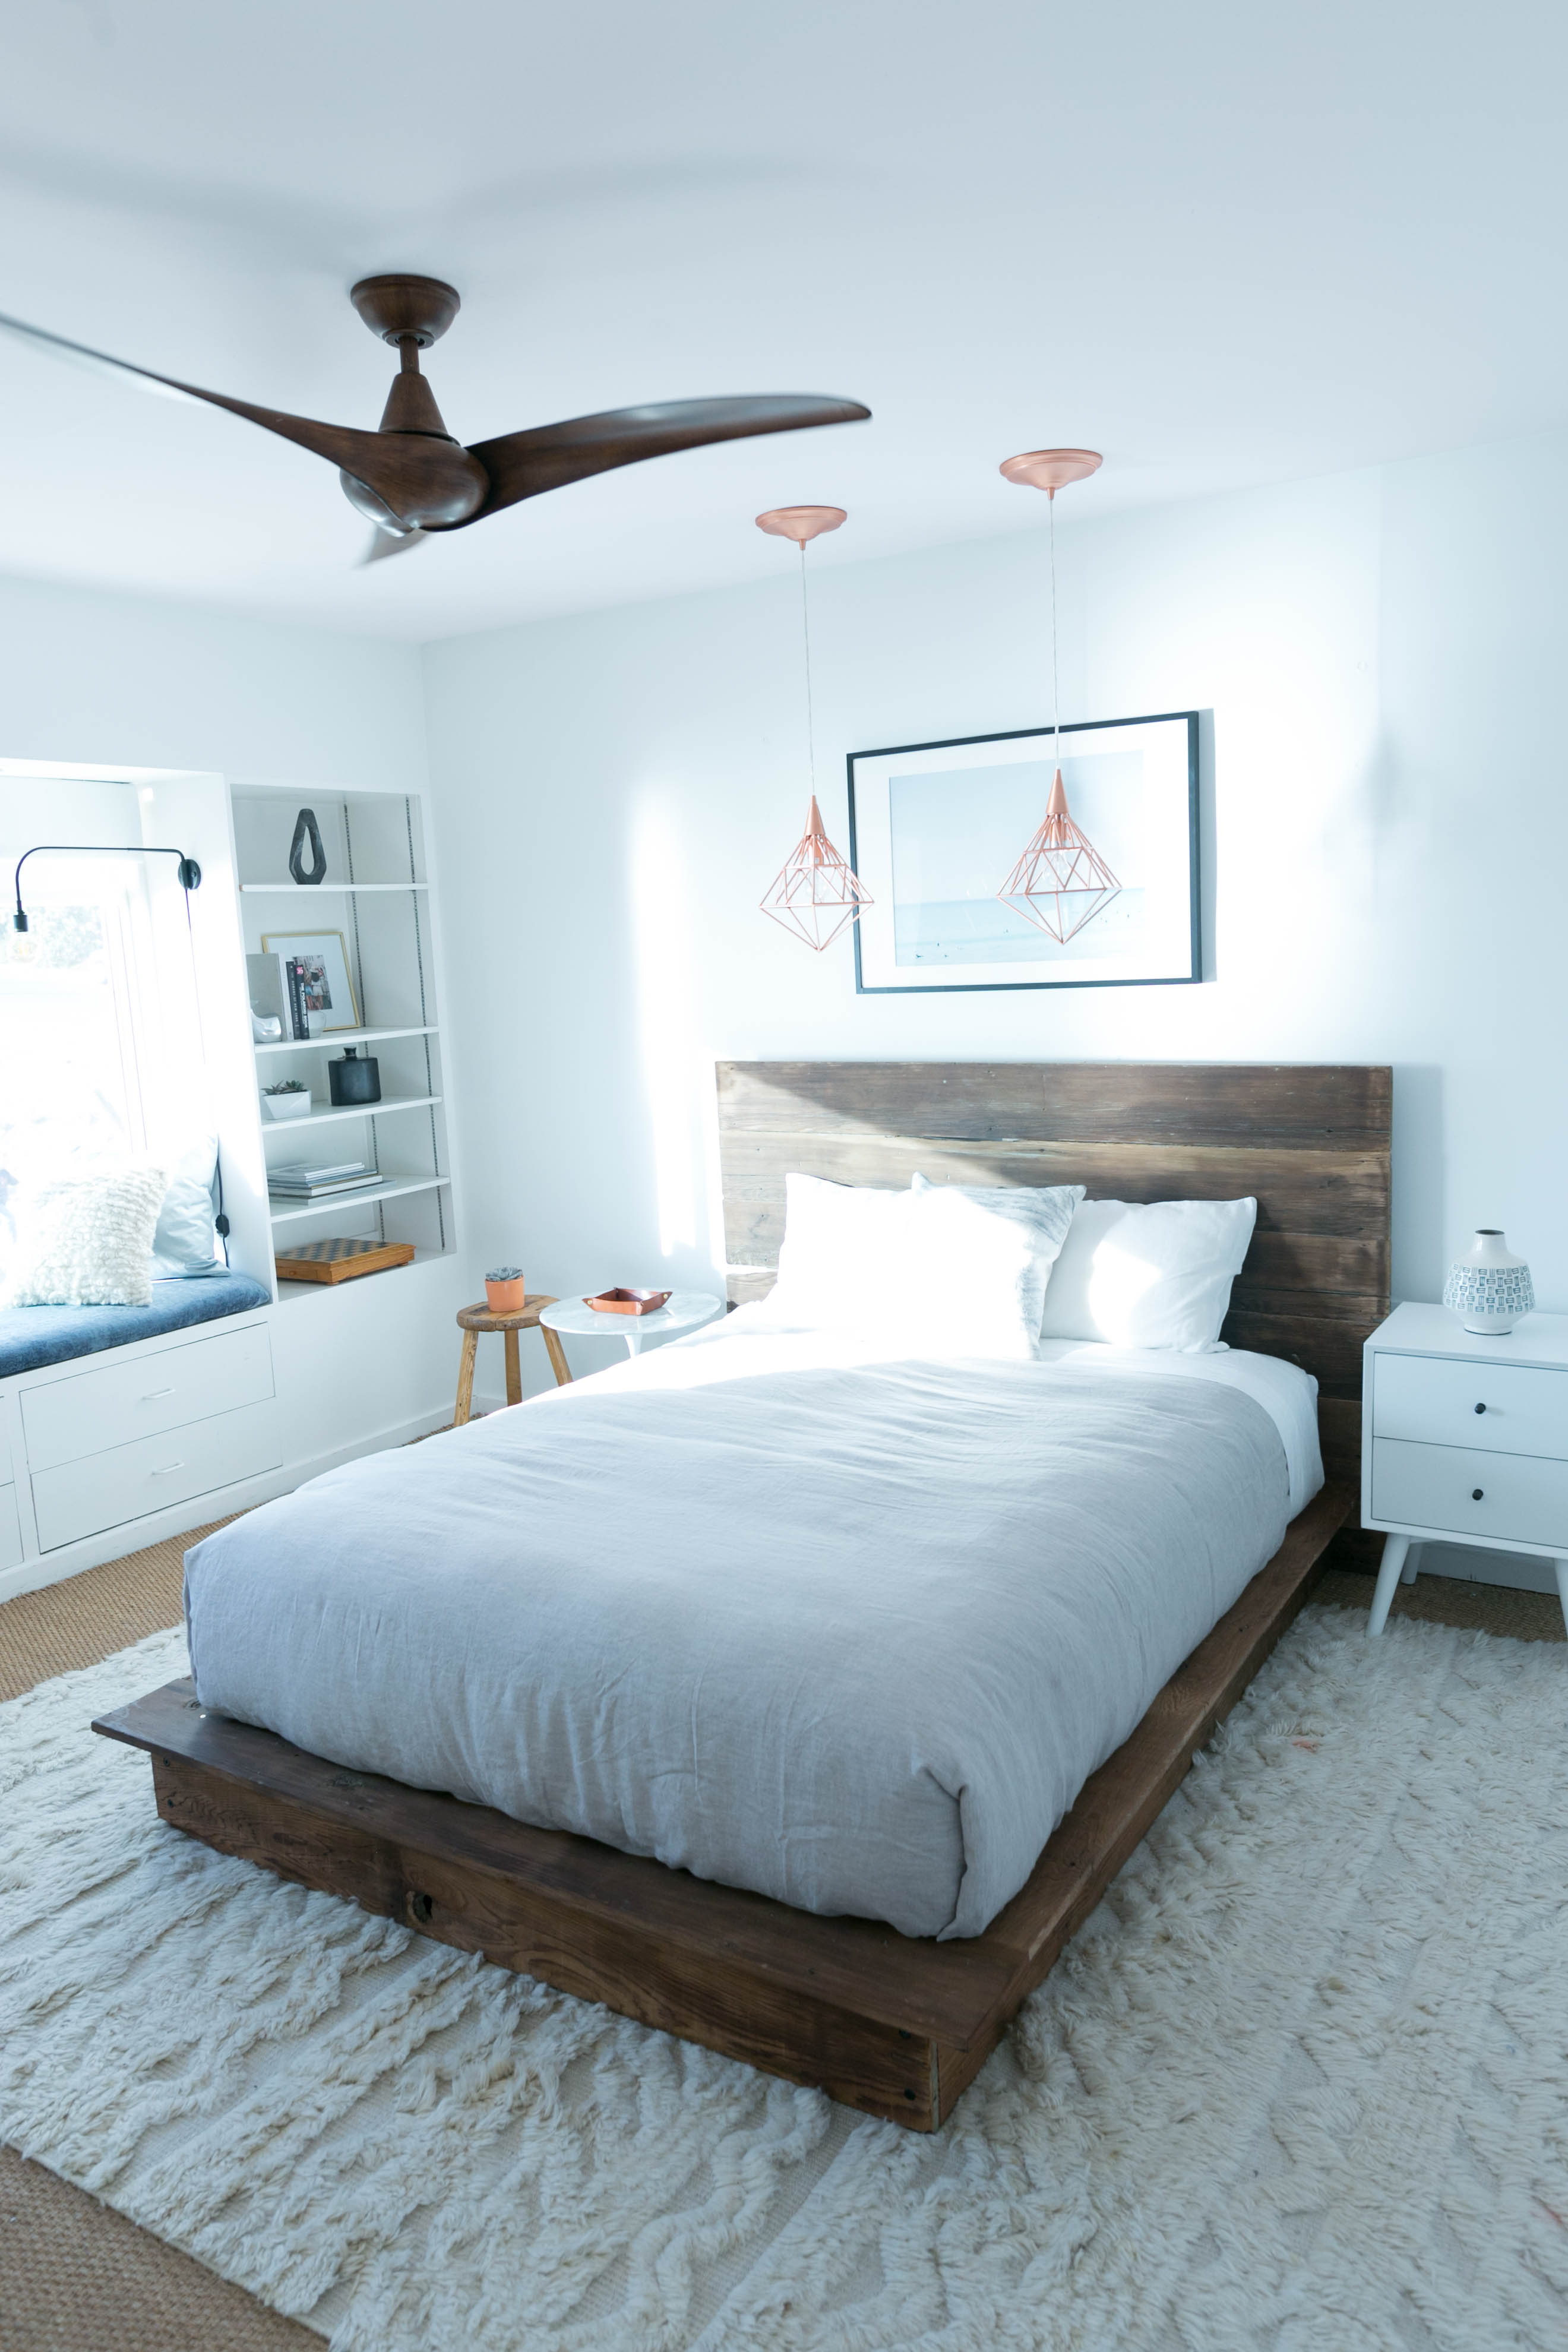
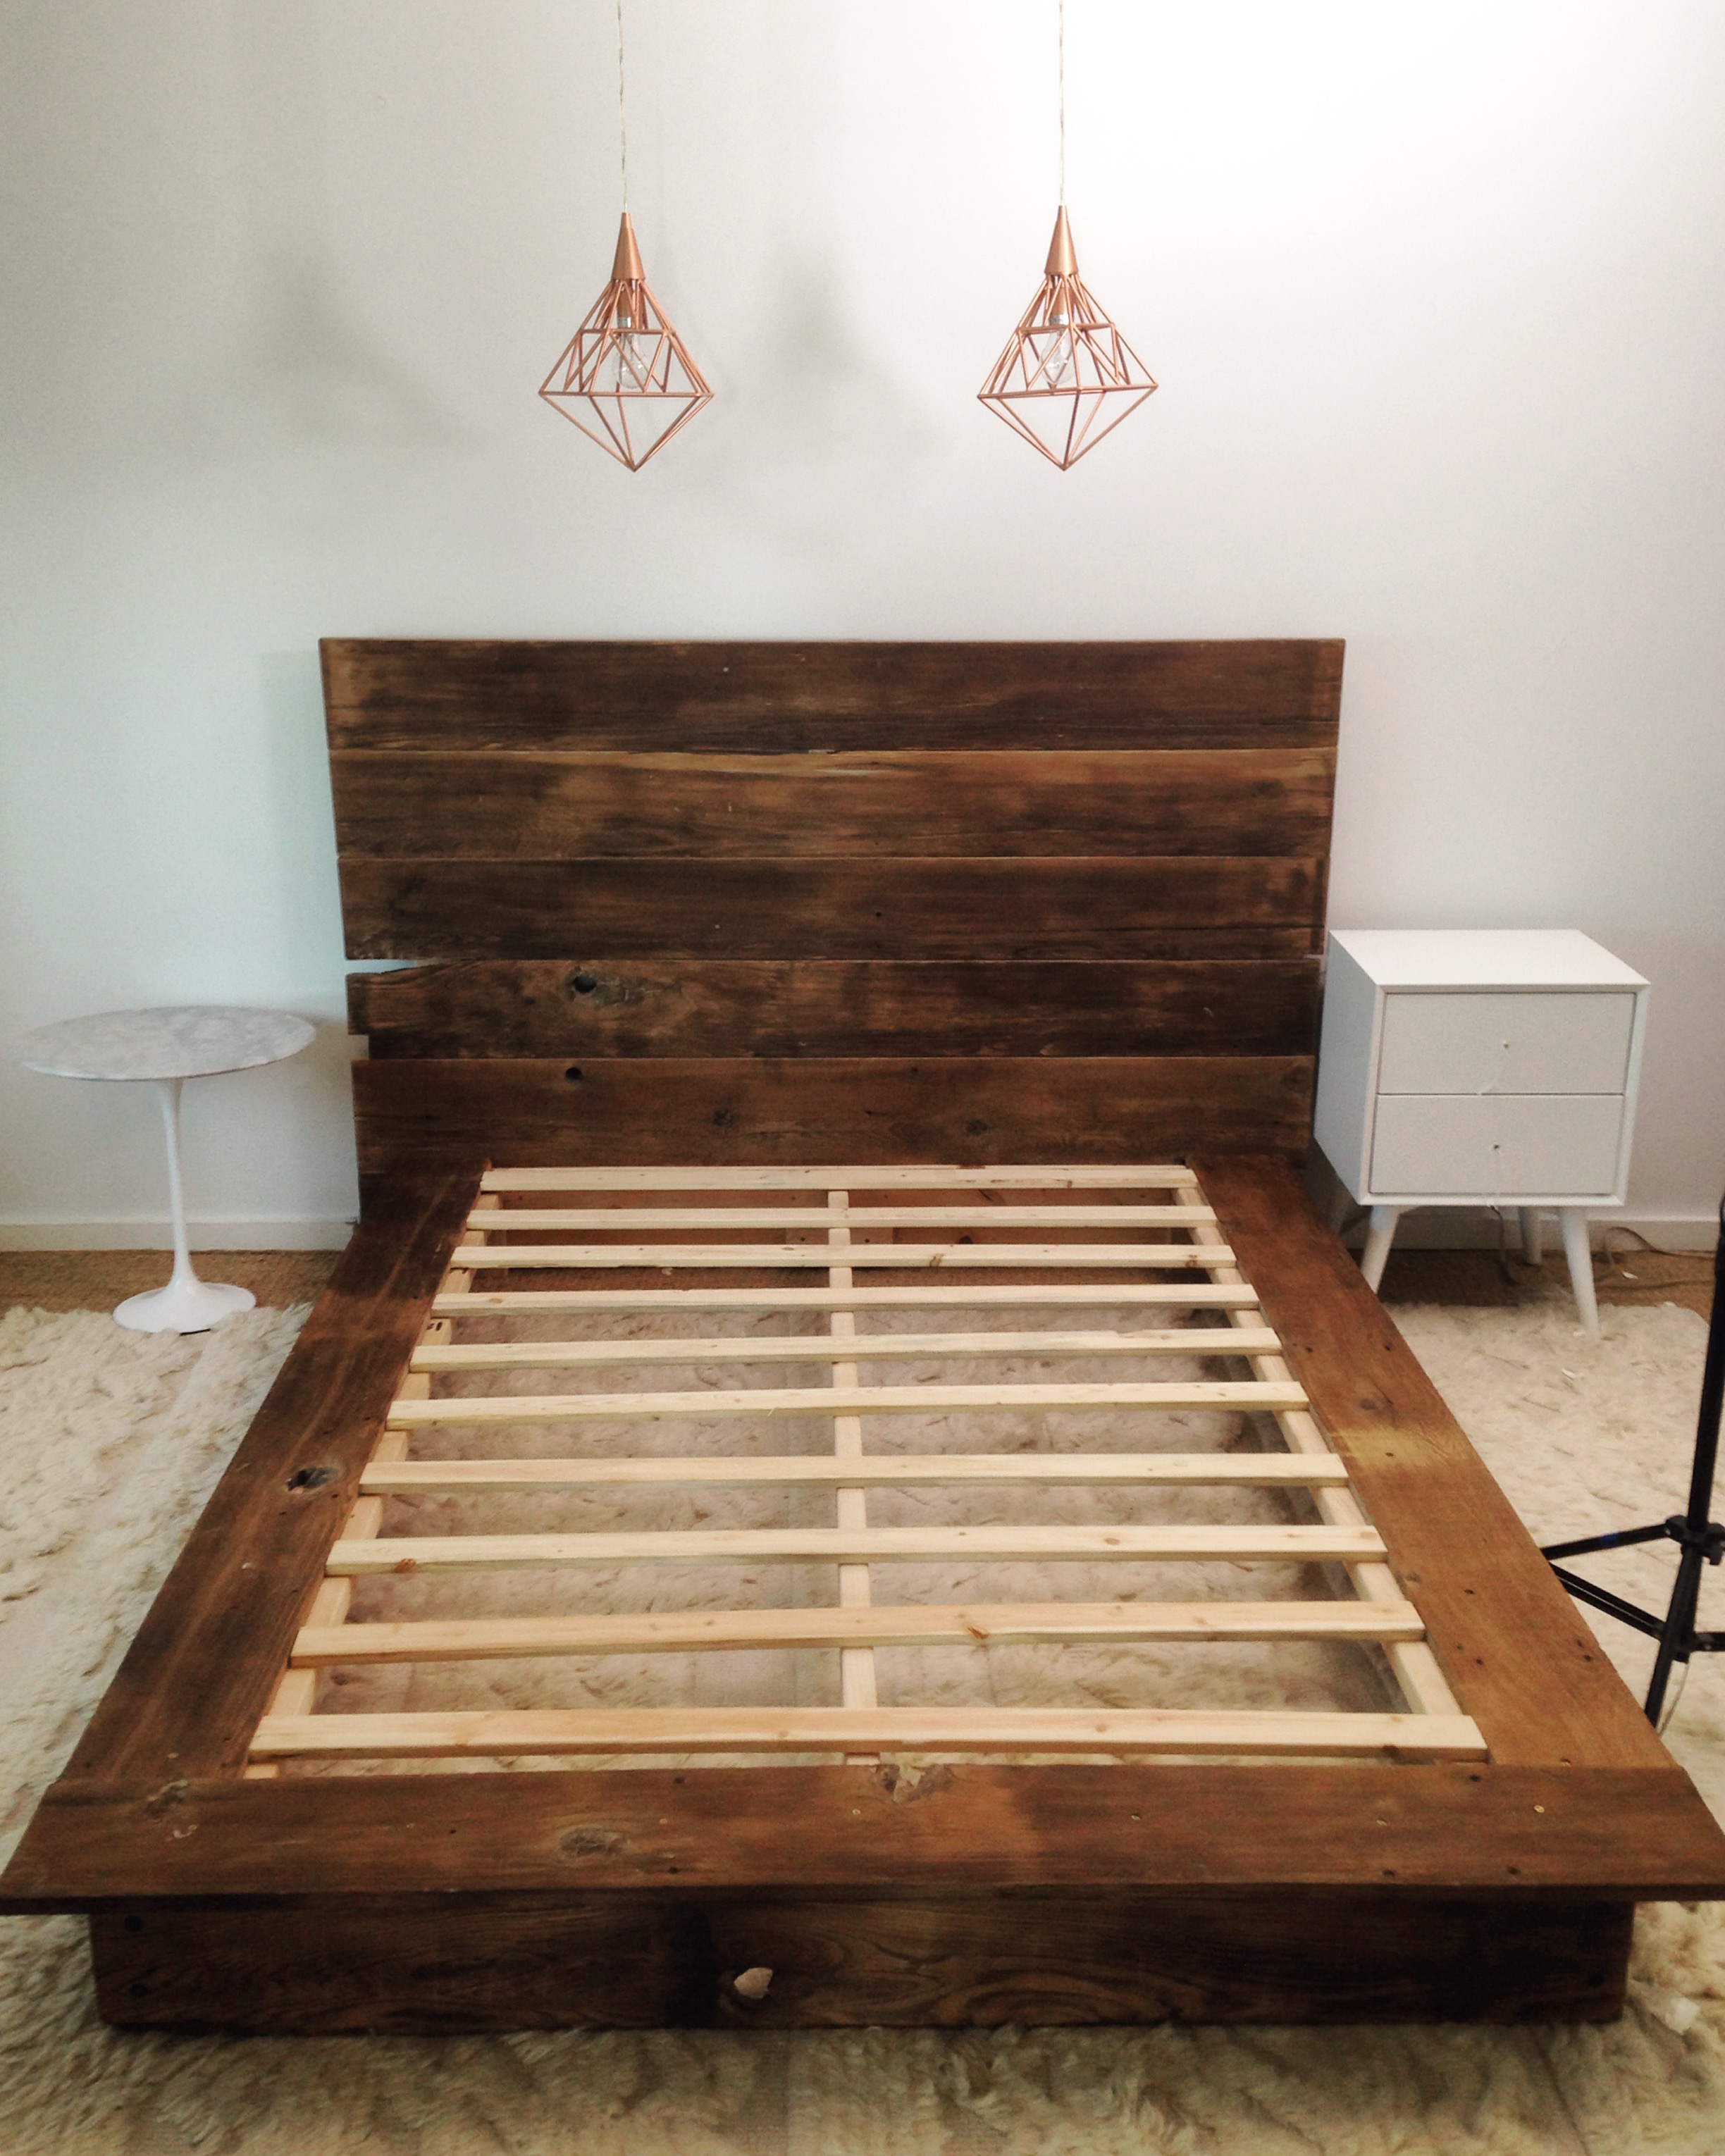
I'm always a fan of some good bed shopping — online or in store — but I'm also a known lover of reclaimed wood, so when designing Eva's bedroom, I couldn't resist the opportunity to have a custom bed built out of this gorgeous 100-year-old wood I'd found. This is definitely a more work-intensive project (you'll need more than a hot glue gun on this one!), but if you're dedicated, we have diagrams from the man behind the bed himself, Tobias.
One thing to note before breaking out your hammer and nails — this is designed for a queen mattress. If you have a twin or king, you'll need to hit up that calculator app and do some adjustments!
Prep It:
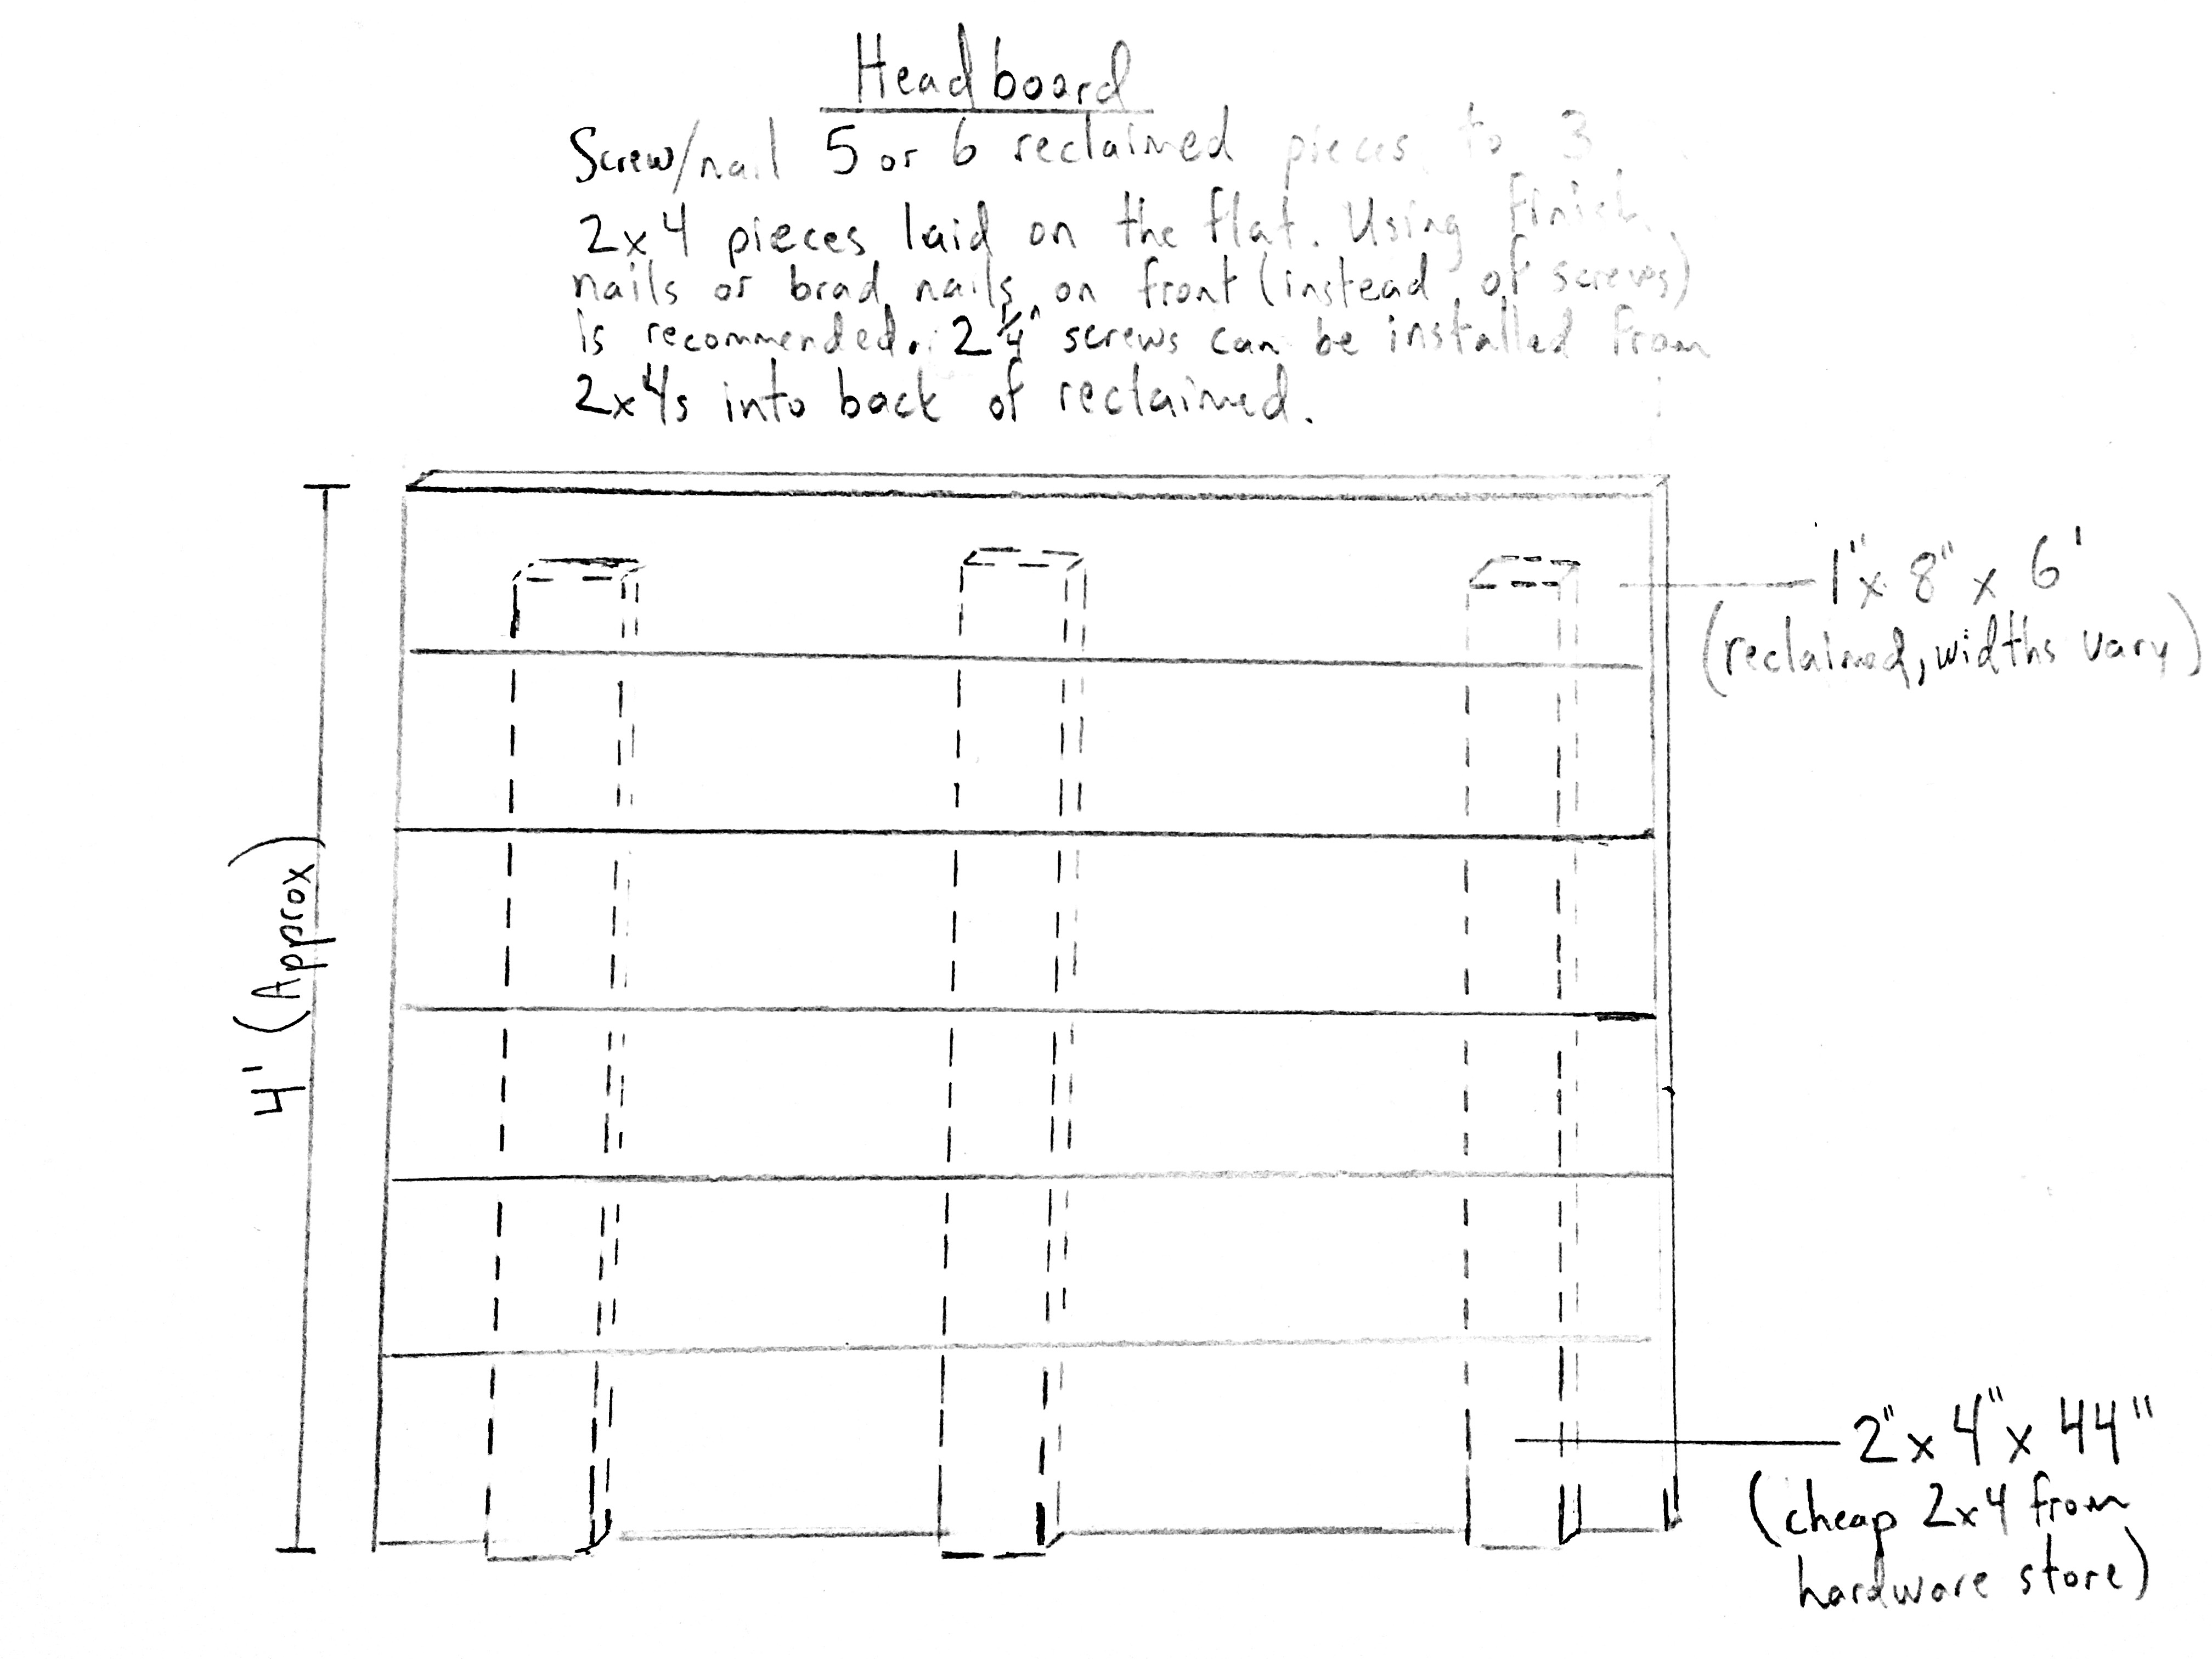
Headboard: 6 1"x8"x6' reclaimed wood boards 3 2"x4"x44"
Head Rail & Foot Rail (each): 1 1"x7"x61 1/2" reclaimed wood board 1 2"x4"x50" board 2 2"x4"x5 3/4" pieces 3 2"x4" scraps
Side Rails (each): 1 1"x7"x80" reclaimed wood board 1 2"x4"x73" board 2 2"x4"x7 1/4" pieces
Body: 1 1"x7"x67" reclaimed wood board 2 1"x7"x 76 1/2" reclaimed wood boards 3 2"x4"x80" boards
Other supplies: 2 1/2 x 1 3/4" screws 4 1/2" fastener screws Drill Nails
Do It!:
- To make the headboard: Screw or nail the reclaimed wood pieces to the 3 2x4" pieces, laid flat on the back, spread evenly apart. Make sure to use nails on the front, visible part of the headboard instead of screws!
- To make the head rail and foot rails: Screw or nail the 2x4x50" piece to the top center of the reclaimed wood board, so their tops are flush. Support it on either side with a 2x4x5 3/4" piece, which should be screwed on so they are flush with the bottom, leaving a space on top (along side the 50" piece) for slat support. In the center of the 50" board, screw on 3 2x4" scraps, two flush with the top that are 2 inches apart, and one centered right below. These should provide a space to support a 2x4" support beam from the body of the bed.
- To make the side rails: Screw a 2x4x7 1/4" piece on the back on the 80" reclaimed wood board, lined up with either end. Position them so the tops are flush with the top of the reclaimed wood, so there should be a 1/4" or so space on the bottom (this accounts for the possibility of uneven floors!) Connect these two pieces with the 2x4x73" board, screwed in between them, flush with the top of the reclaimed wood.
- Final assembly: Screw the headboard to the side rails and headrail with 6-8 fastener screws (coming through the headboard into the head and side rails.) Then attach the foot rail to the side rails with 2 fastener screws on each side. Screw on the 1x7x76 1/2" boards flat on top of the side rails, pushed up against the headboard. There should be a 3 1/2 inch overhang past the side rail. After attaching these pieces, install a 2x4x80 support beam flat underneath the reclaimed wood, to help strengthen it. The third 2x4x80 support beam should be slid in the middle of the bed frame, fitting in the space made on the head and foot rails. Lastly, screw on the 1x7x67" reclaimed wood board to the bottom of the bed, connecting the two side pieces. This should also have a 3 1/2" overhang past the foot rail.
- Your bed frame is built! Top with a mattress and sleep off all the hard work you just did!
Click on these diagram images below to open them in a new window and view larger...