When it comes to setting the table, let's be honest — napkins are usually an afterthought. Plates get to have all the fun ... being the centerpiece, housing the food, getting stacked and layered into cool vignettes. But I think it's about high time that napkins reclaim some glory on the dinner table, and this DIY is just the way to make it happen!
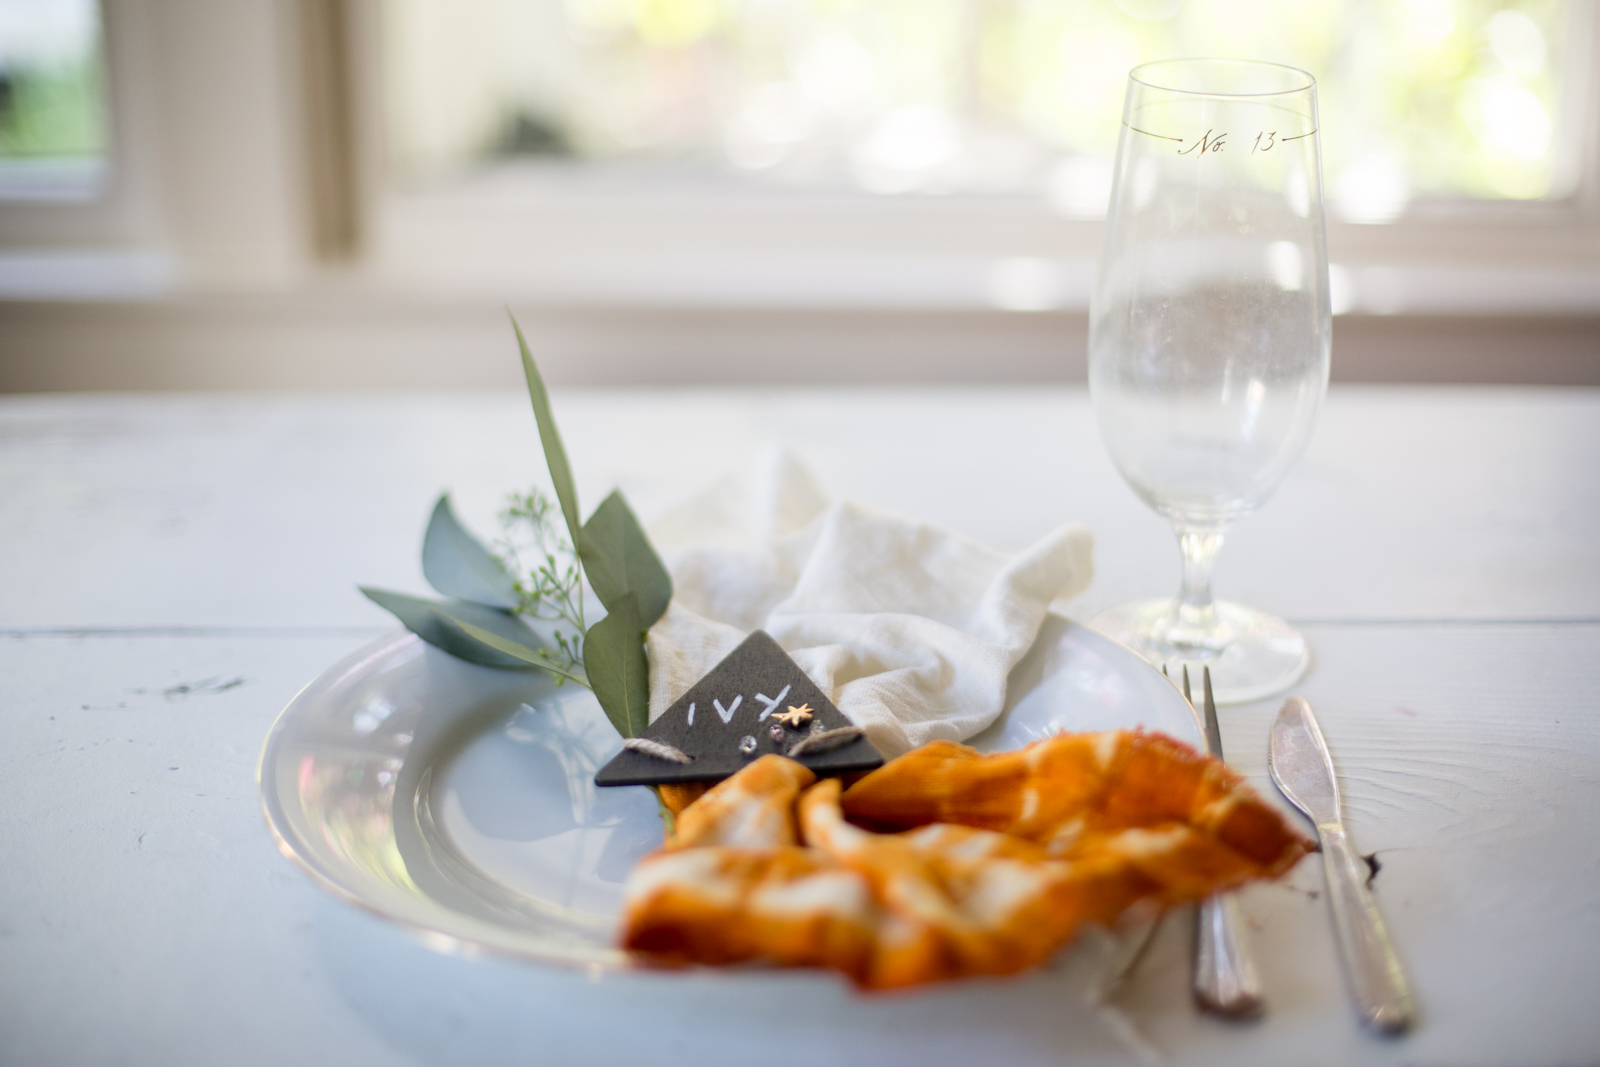
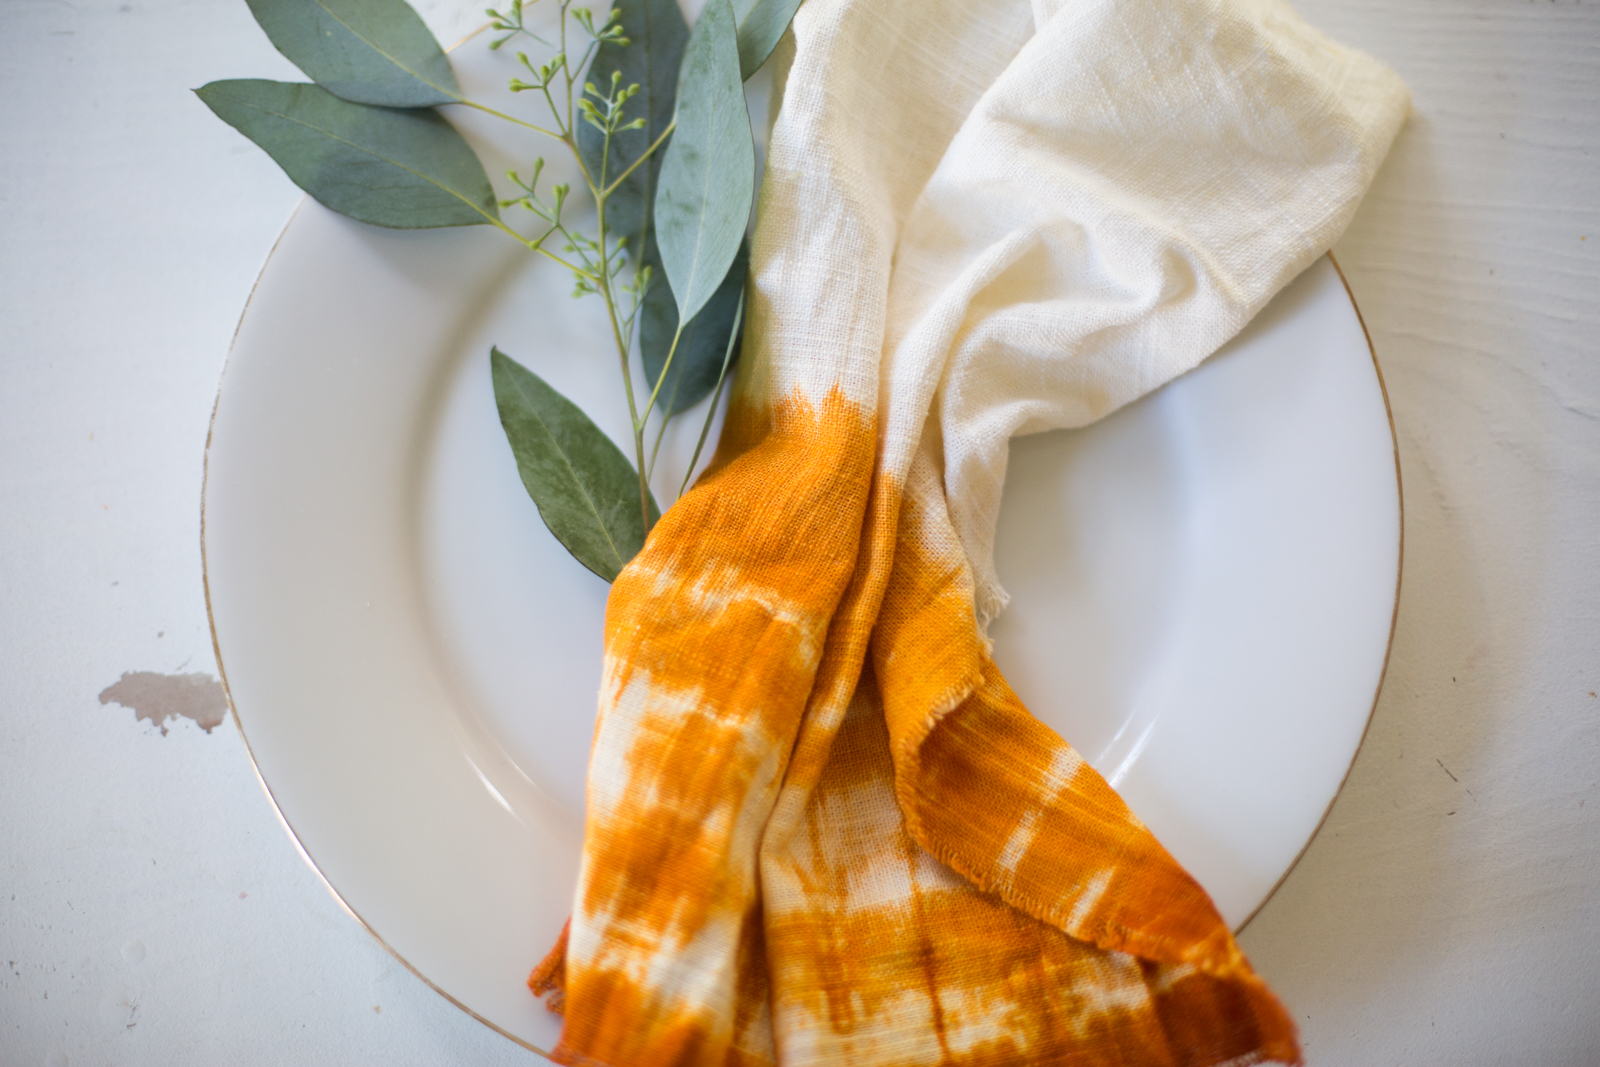
I am a sucker for tie-dye (I fell in love at summer camp and never looked back), but the kaleidoscope of colors usually created is probably a bit overwhelming for most dinner tables. For these napkins, instead, I chose a single burnt orange dye, and let the patterns be created out of negative space. It's a touch summer camp, a touch sophisticated, and a ton of perfection for a seasonal tablescape. AND, for your styling benefit and inspiration, I created two simple name tags from things found around the house or in the yard. Can't let those cool new napkins go without being accessorized!
Want to tailor this look for Thanksgiving? Check out these "Thanksgiving Fall Leaf Place Cards!"
Prep It:
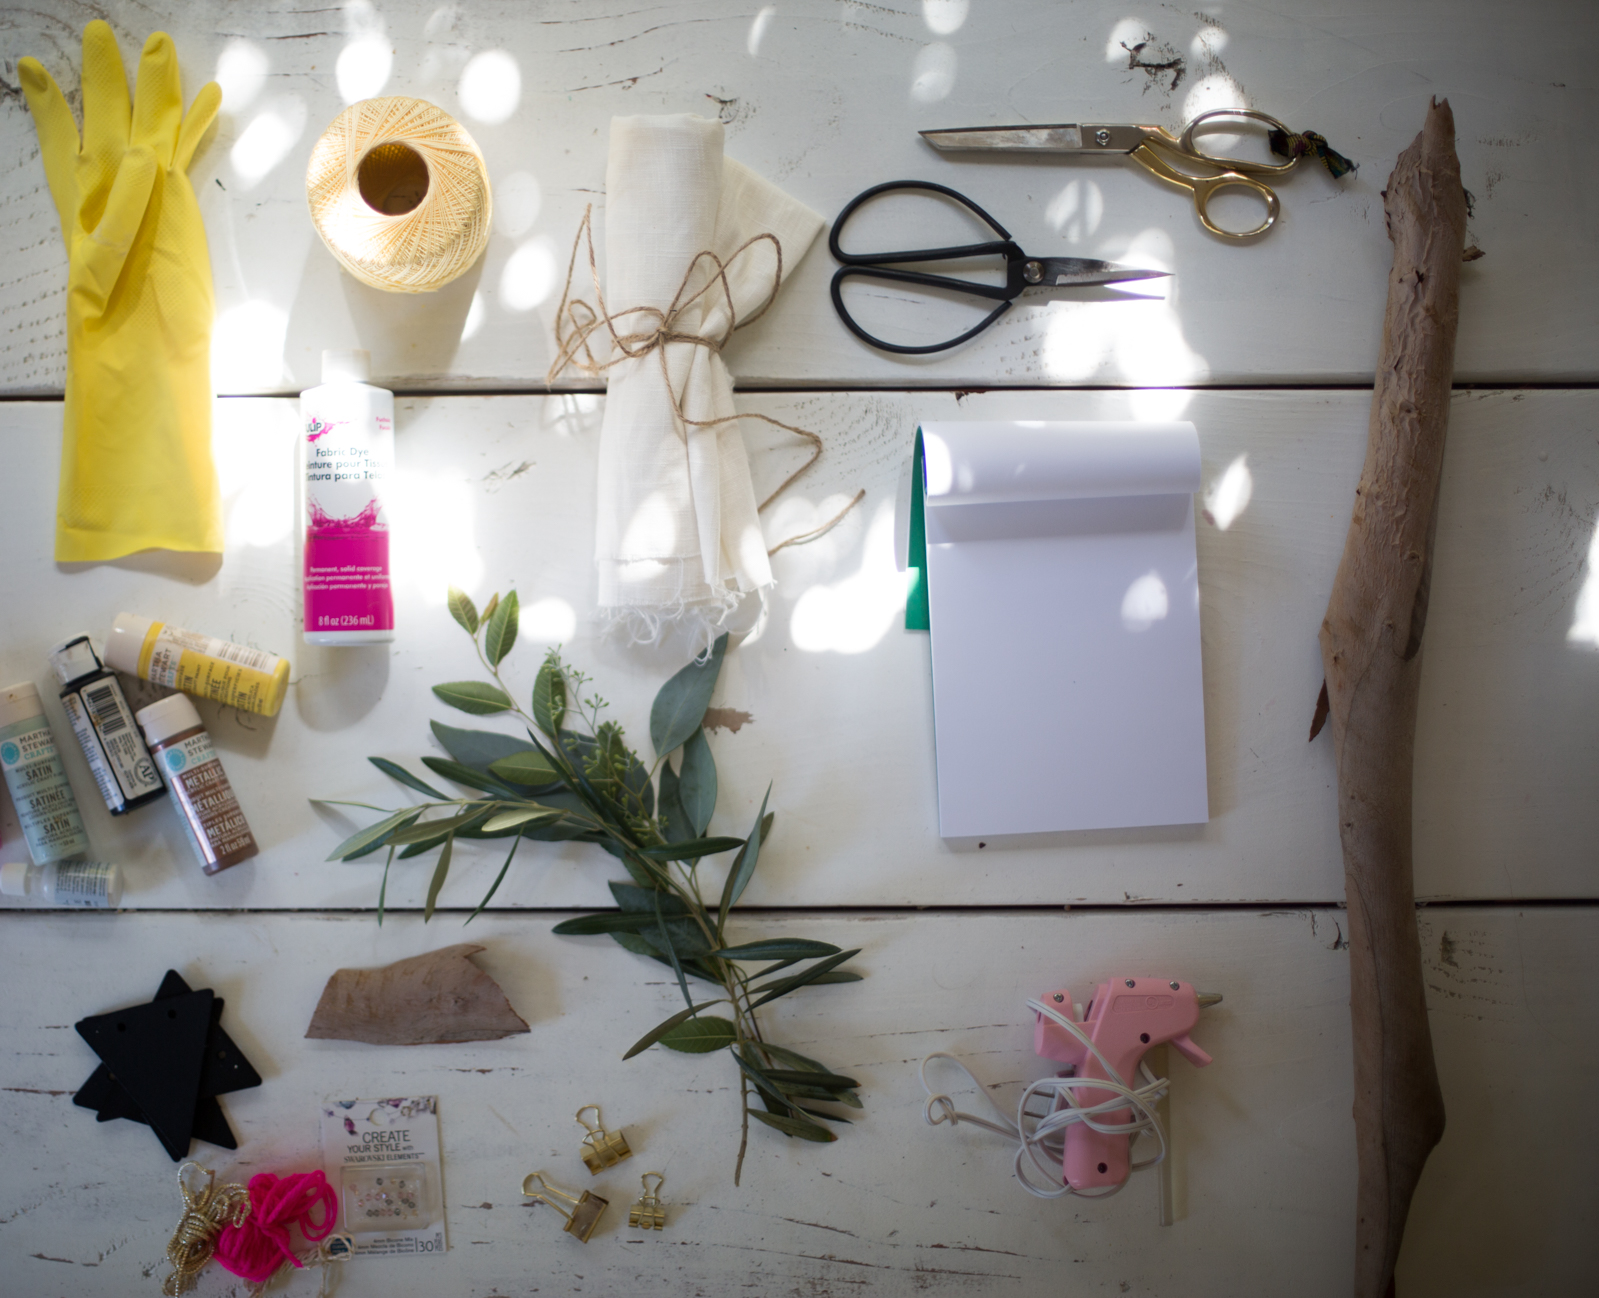
Linen Fabric Fabric Dye Fabric Scissors Stainless Steel Pot Thick Thread Salt Rubber Gloves Green Branches for Styling


 Do It!:
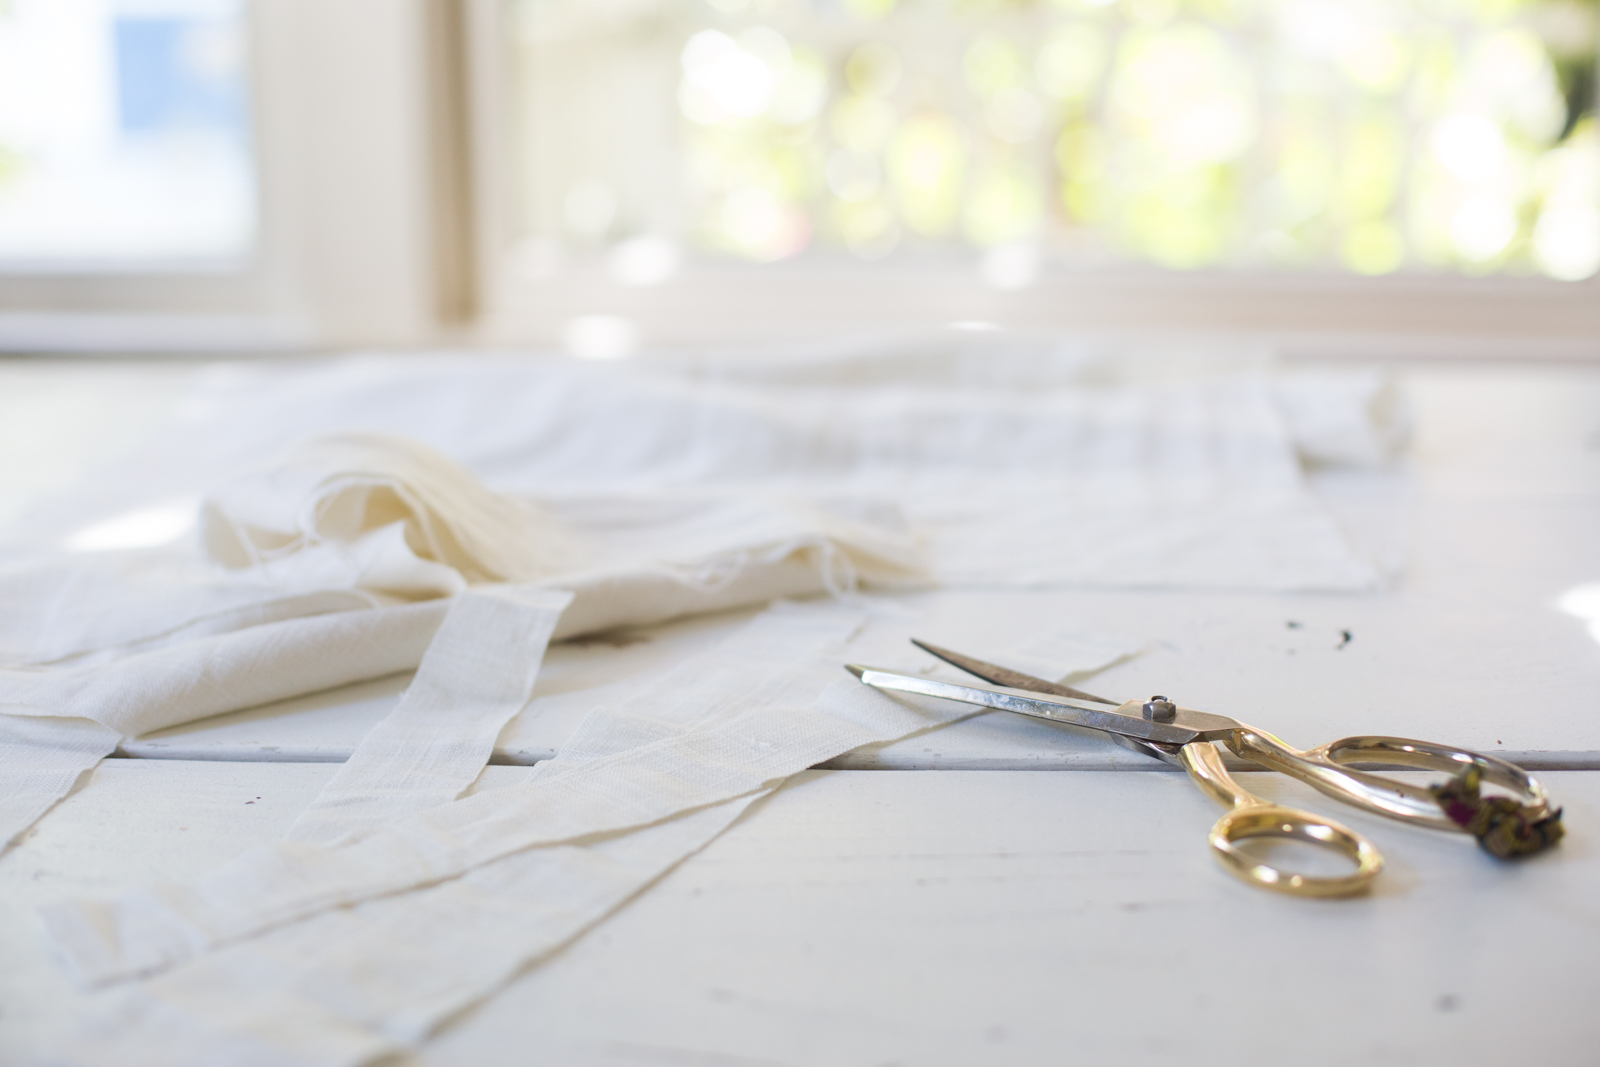
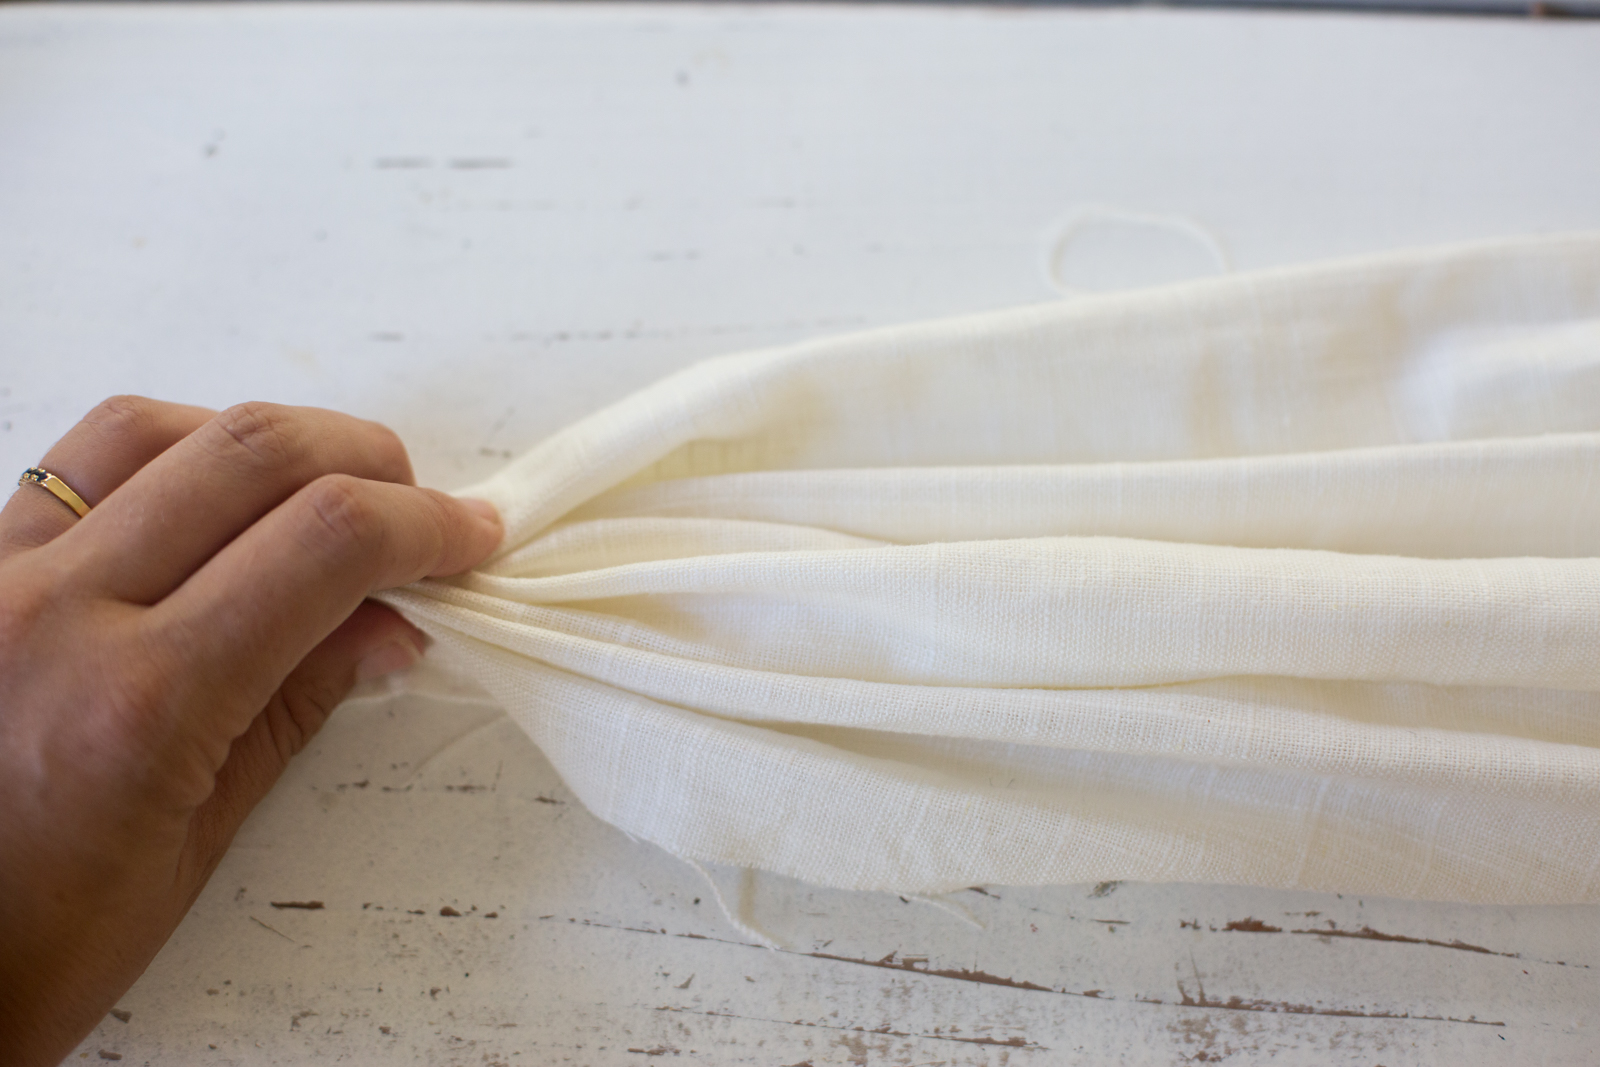

- Start by cutting the linen into napkin-sized piece. Fold your new napkin like a fan, back and forth, with about 1/2 of fabric per fold.
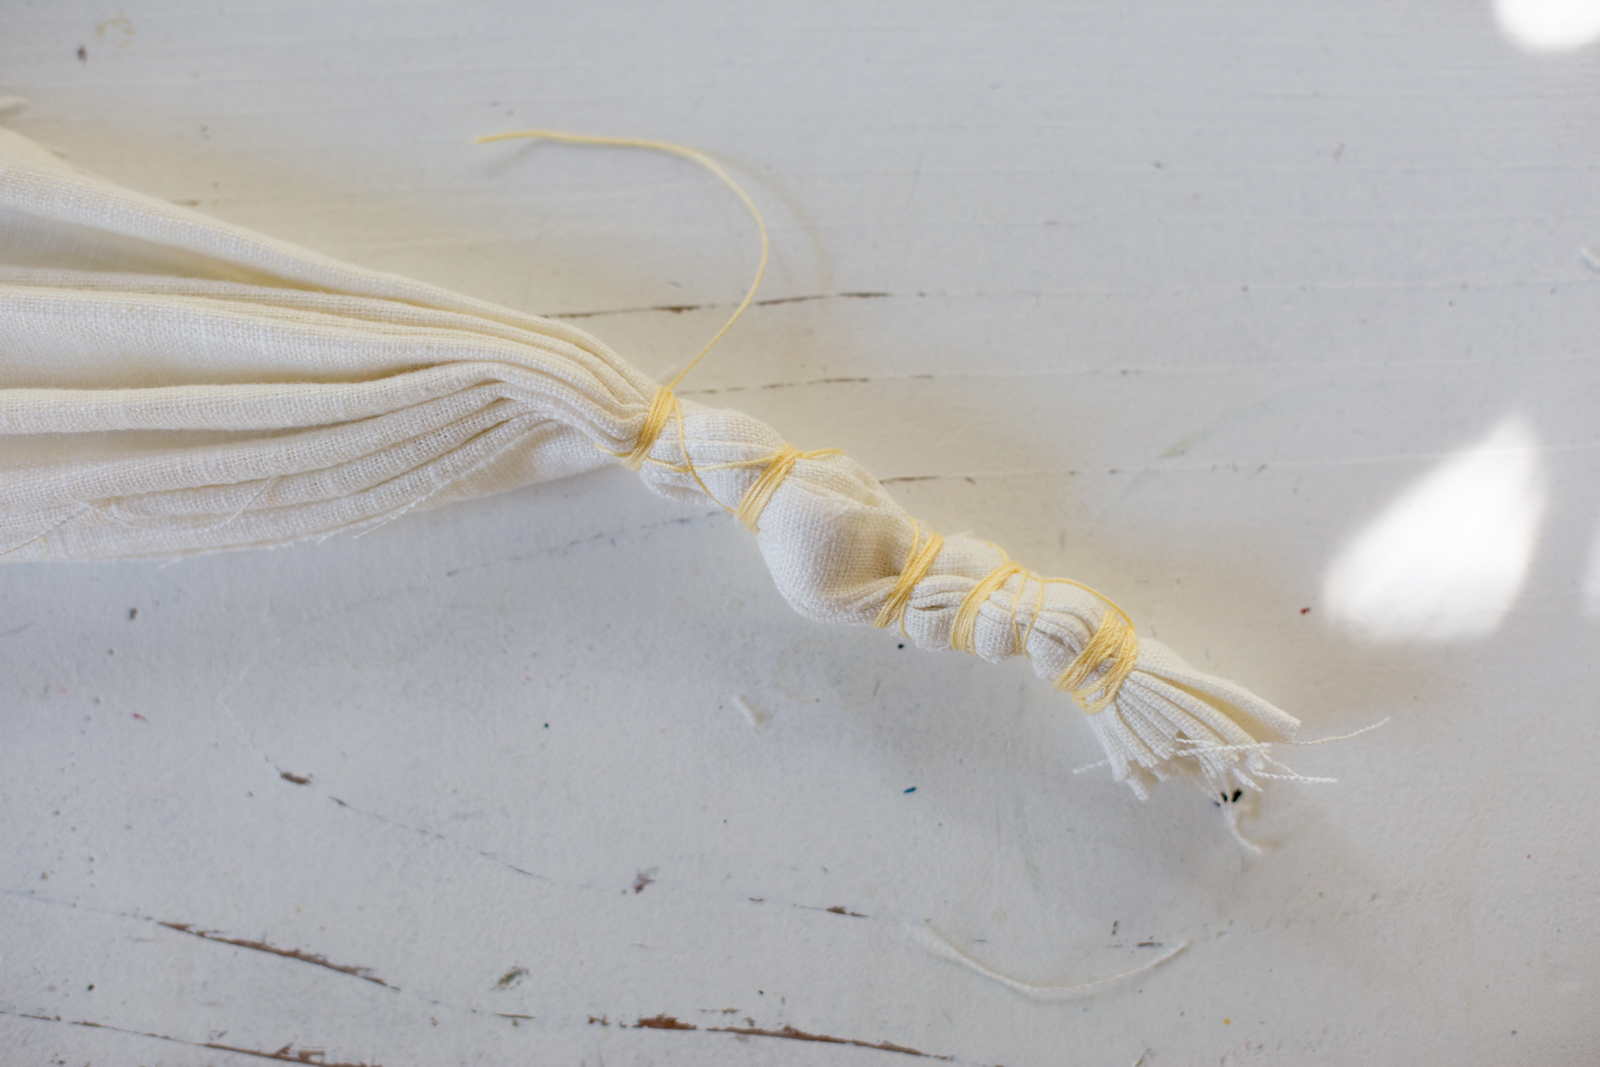
- Once the entire napkin is folded, wrap the string around it and tie it together. Keep in mind that the string prevents the dye from reaching the fabric, so its placement will create the negative space in your napkin. You can wrap the sting around the entire length of the napkin, or just tie down at the bottom, depending on what effect you'd like the dye to have. Since I dip dyed mine, I only tied down at the bottom.
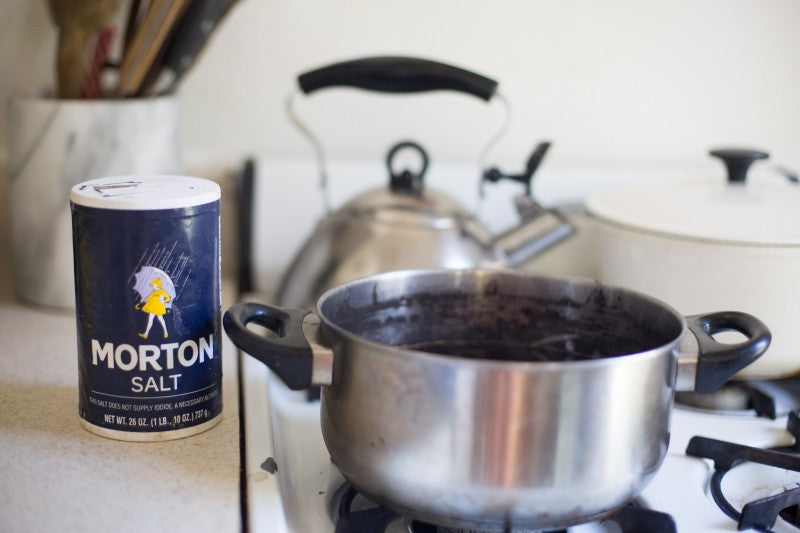
- Fill a stainless steel pot with water and heat. Mix in your dye, per its instructions, and add salt if needed. Soak your linen napkin in a separate bowl of water before dipping into the dye.
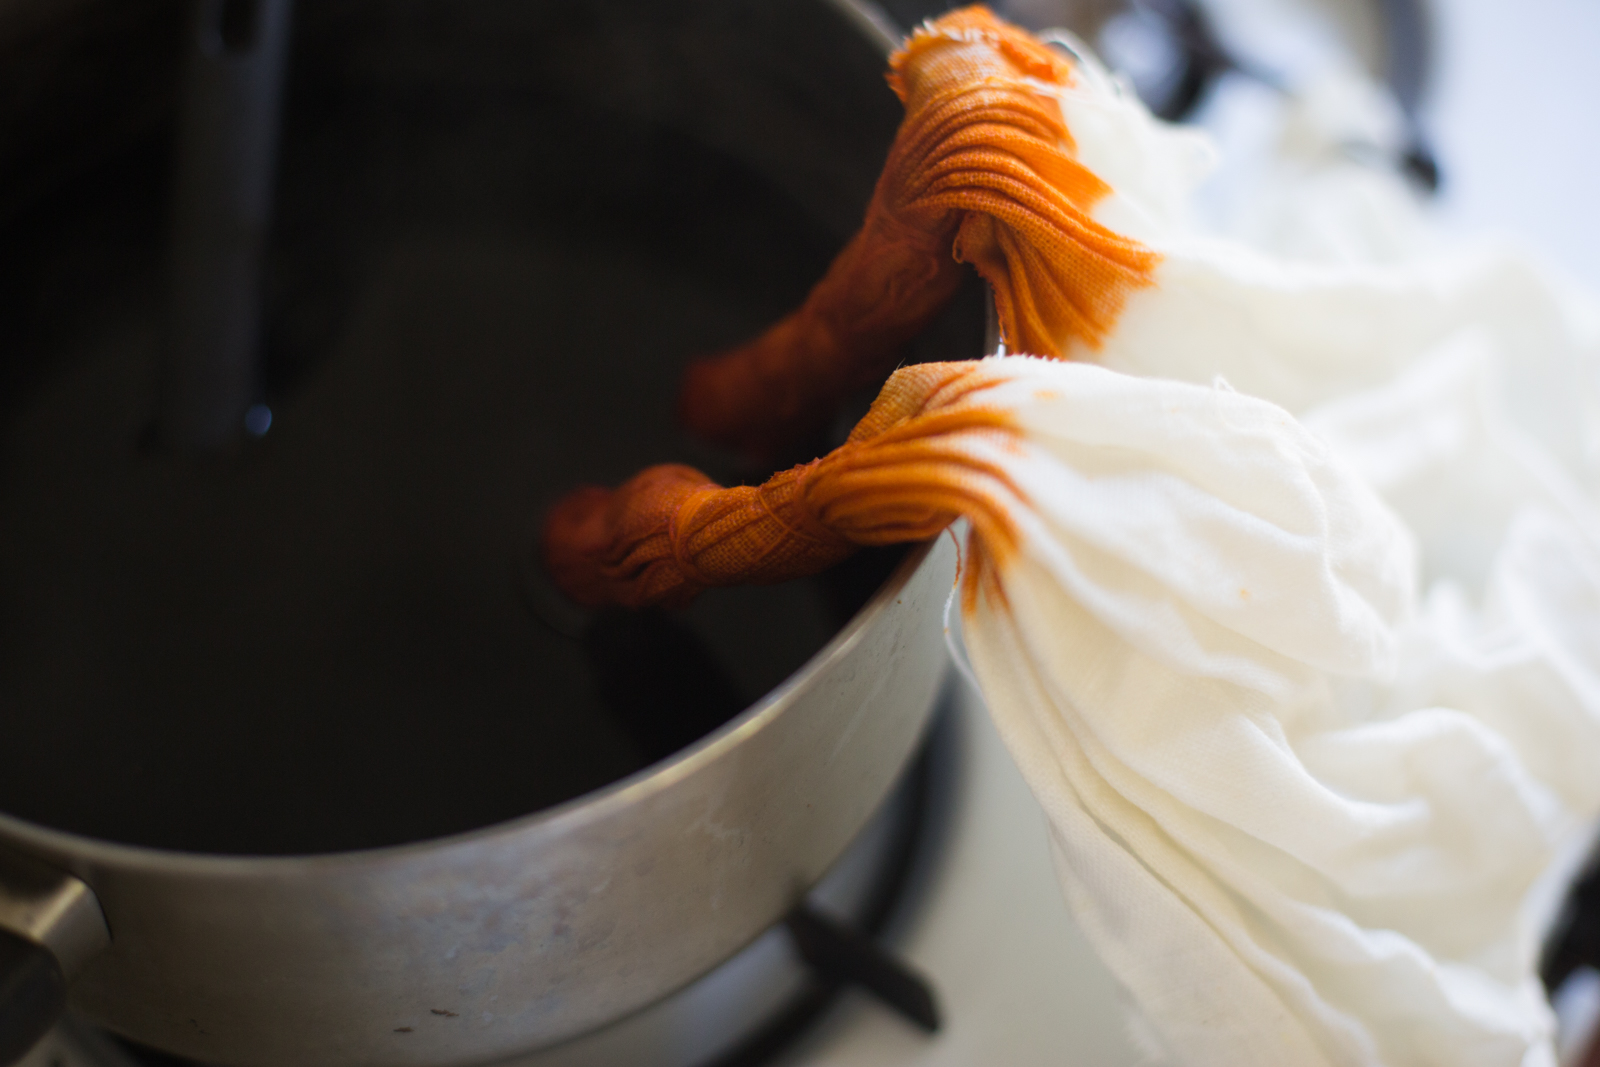
- Time to put on those gloves! Take your napkin out of its bath and hold it from the top, dipping it slowly into the pot of dye. This is where you get to be creative and design your own pattern. I wanted to have a darker color on the bottom so I let it sit for a bit and dipped it up to half of the napkin to leave a little ombre look. You can dip it all, just the bottom, or what ever you think looks good!
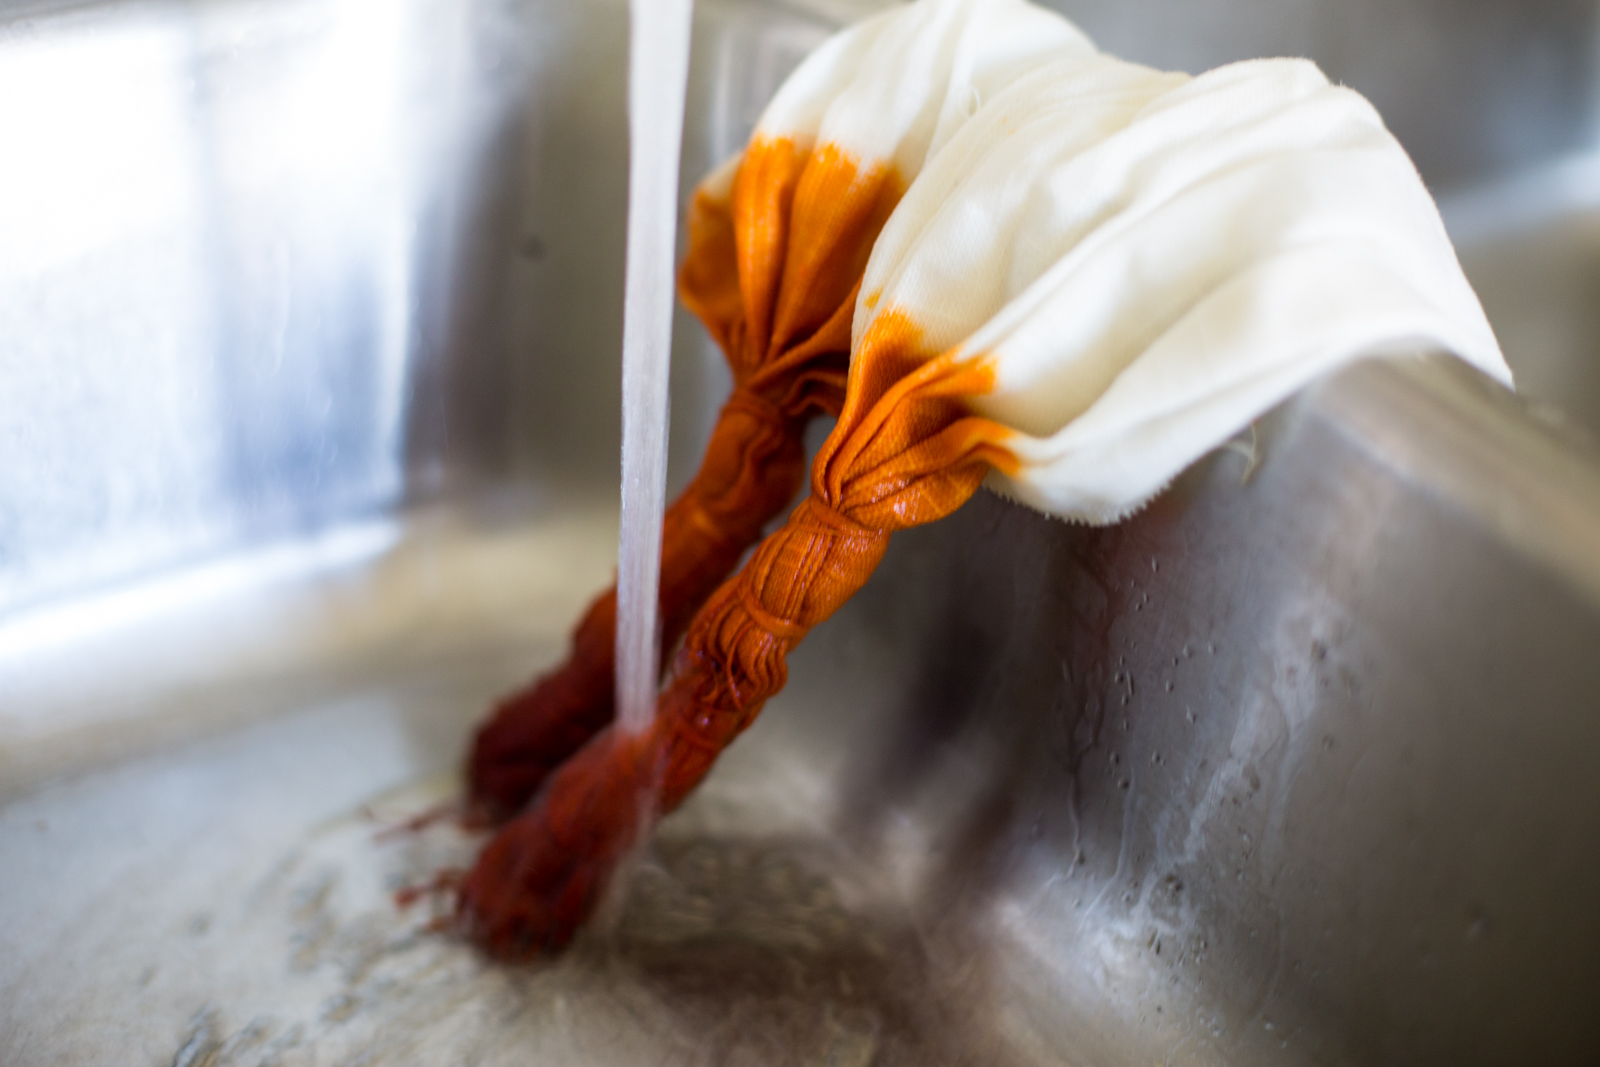
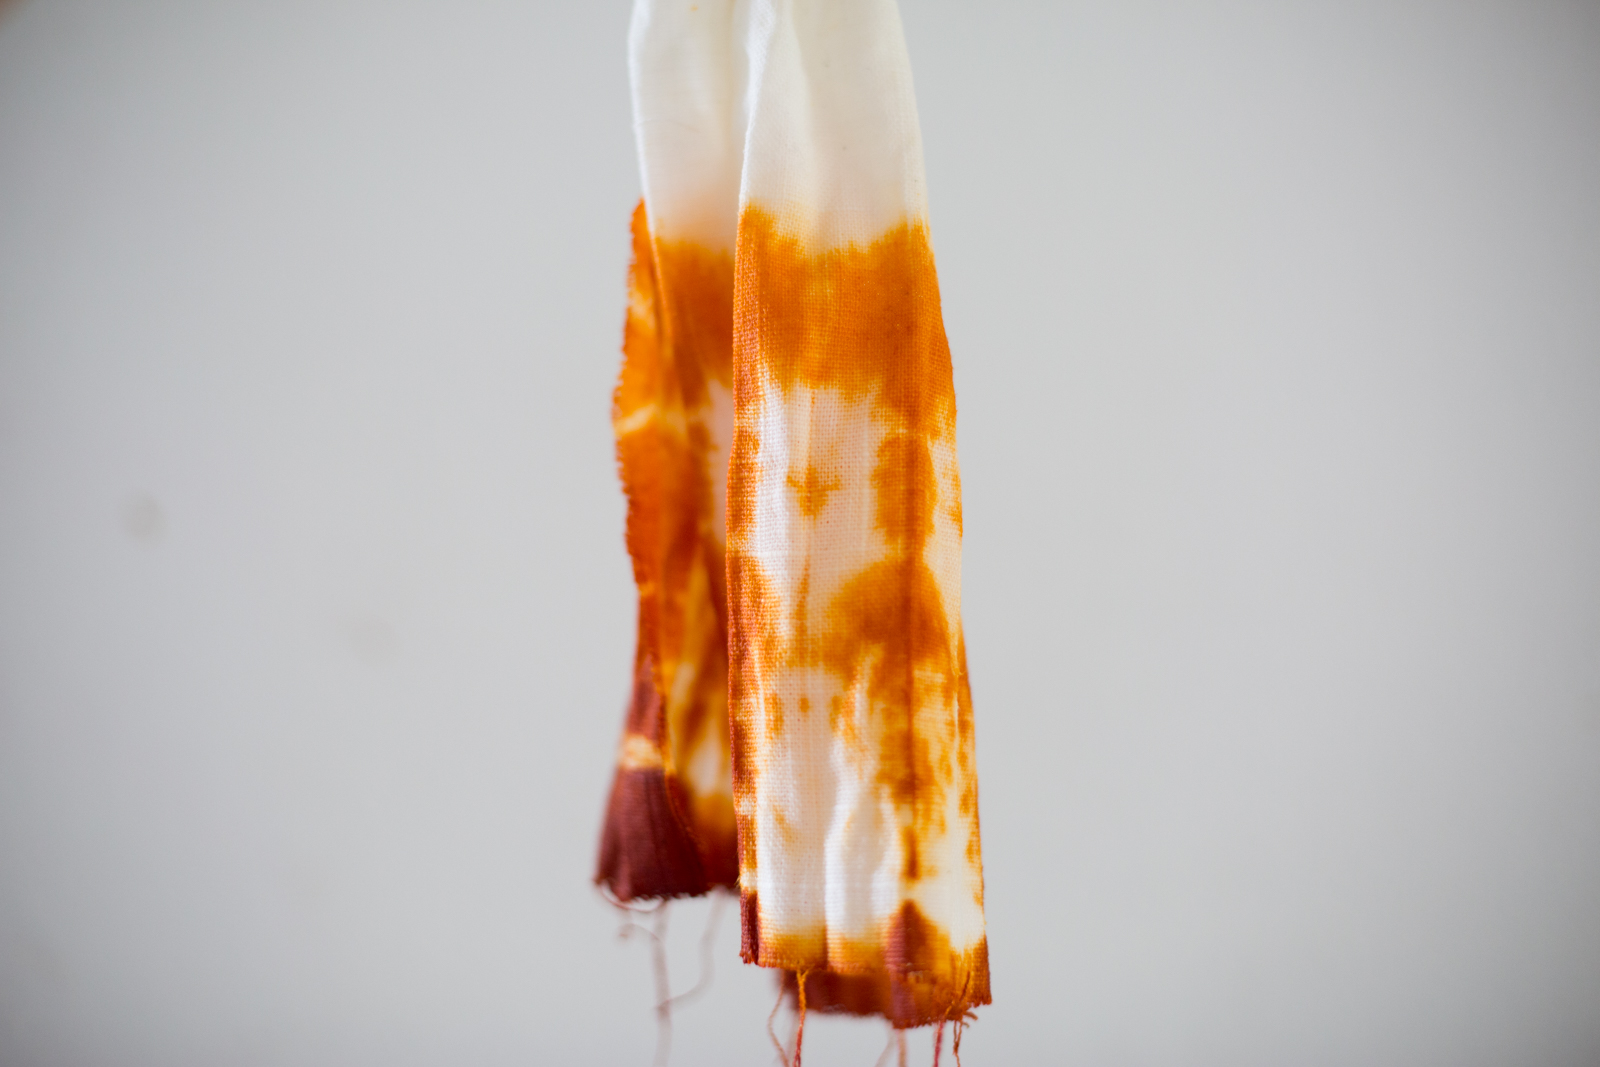
- The die colors the linen really quickly, so keep a watchful eye. When you’ve reached your desired color, remove the napkin from the dye and move to your sink. Be careful that the dye doesn'tt drip on the side you want white! I let the white side lean on the edge of the sink so I could rinse the color side separately before rinsing off the entire napkin. Make sure the water runs clear from the dyed end before rinsing the entire napkin.
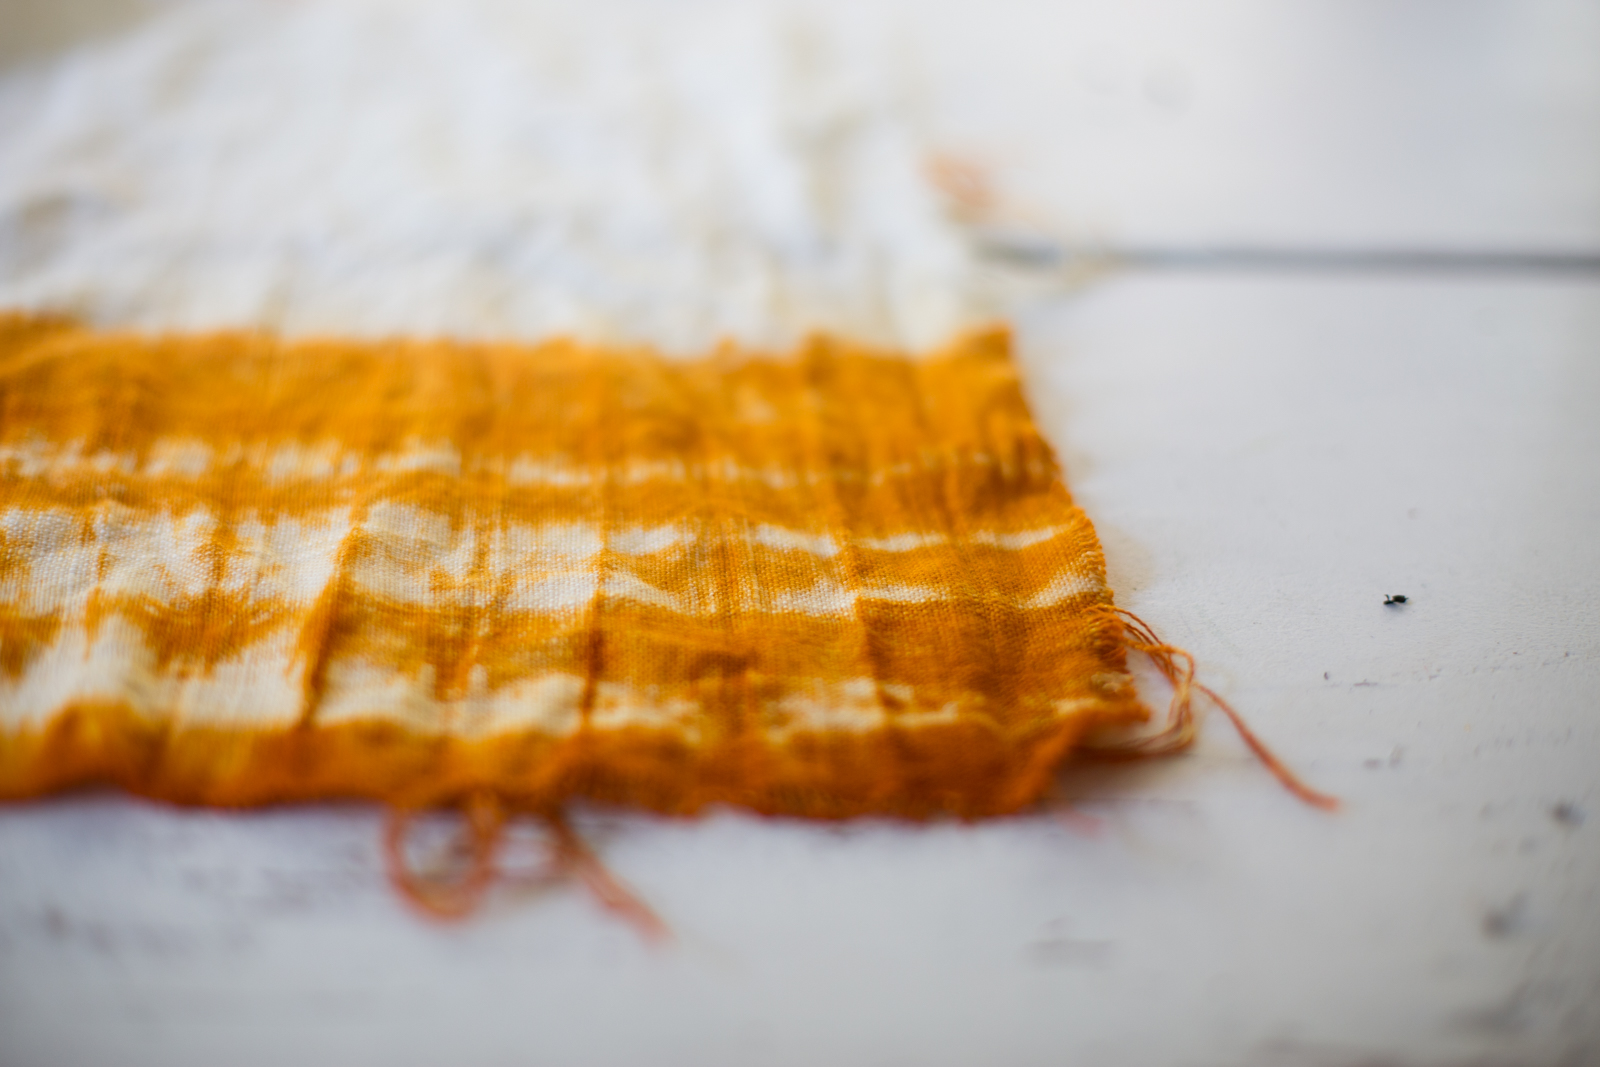
- Get your scissors and trim any loose threads. Now your new tie dye napkin is ready for some super cool name tags!