Though rainbows themselves are whimsical, magical, and free, the act of painting a rainbow onto a wall is, in fact, quite methodical and detailed.
That's not to say it's difficult! As it goes whenever you're painting a horizontal stripe across a wall, there is a routine that must be followed to make sure your lines are straight, sharp, and stunning. However, with not two, but FIVE colors going up on this statement wall we painted for Lilly Singh's (AKA IISuperwomanII) home office, we needed to plan the perfect way to ensure her rainbow wall was nothing short of magic.
Check out the steps, and helpful diagram, for our flawless stripe-painting technique below!

Prep It:
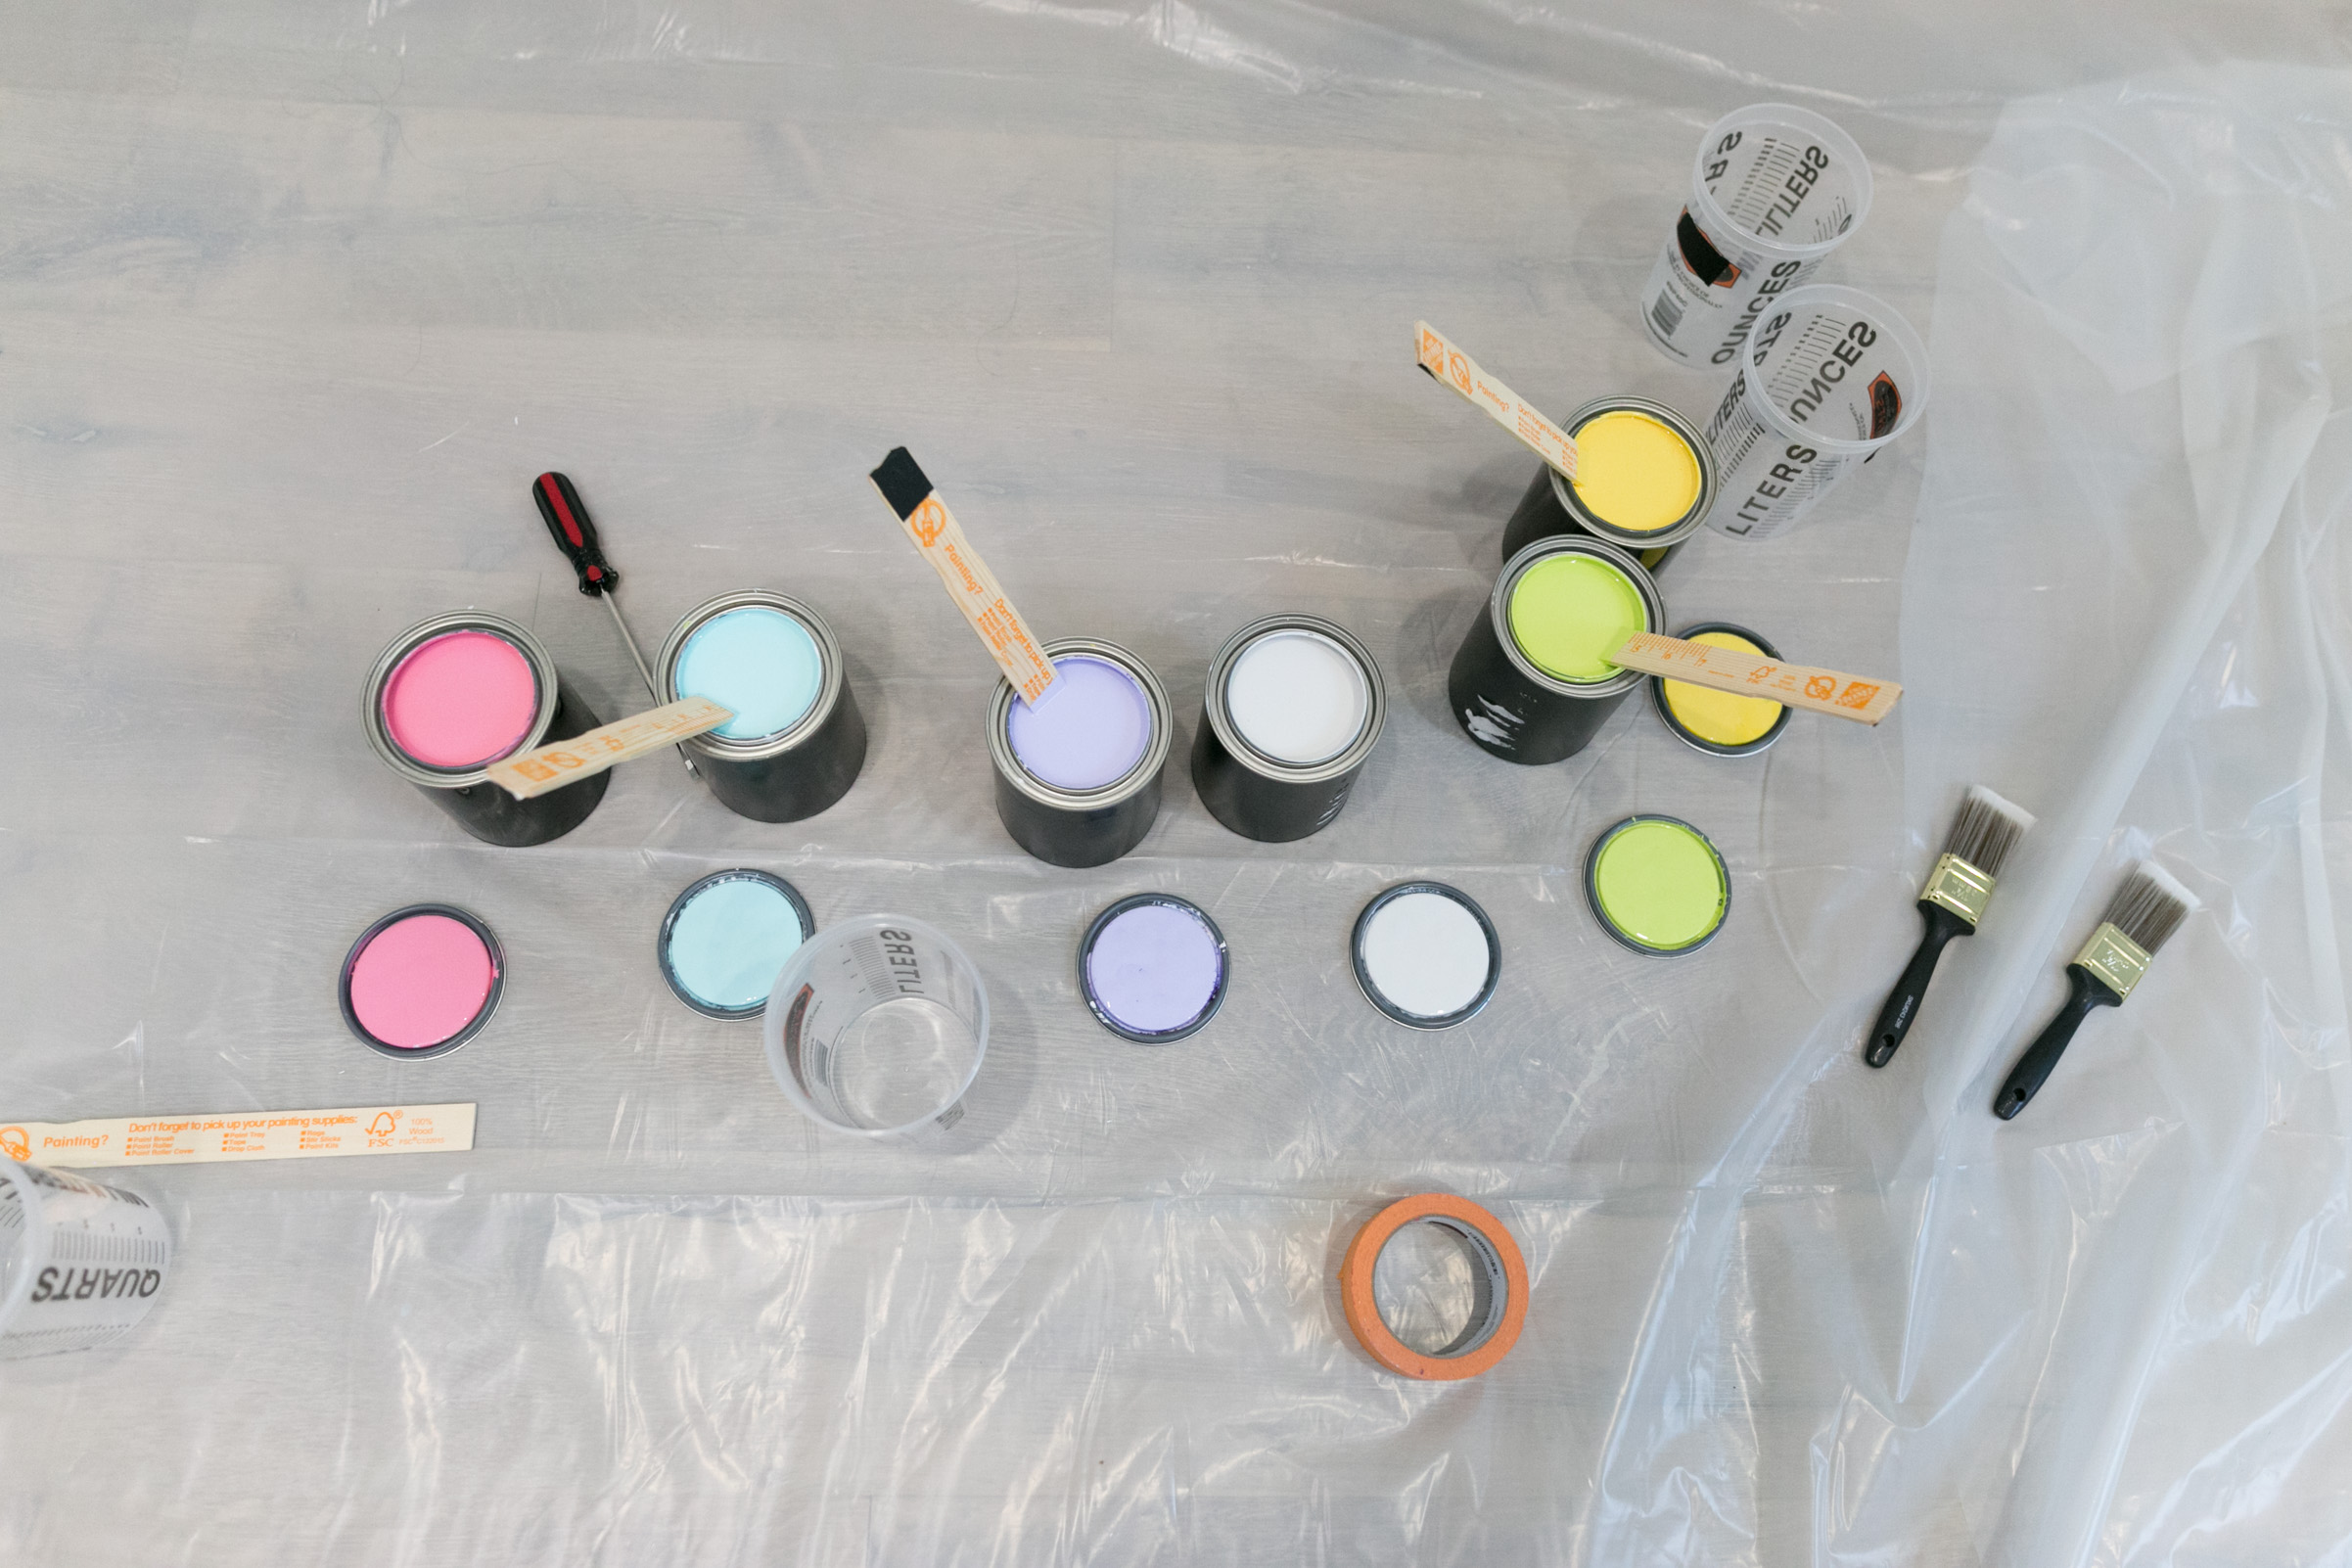
Laser level Painters tape Wall paint (pink, yellow, green, blue, purple) Paintbrush Small roller


 Do it!:
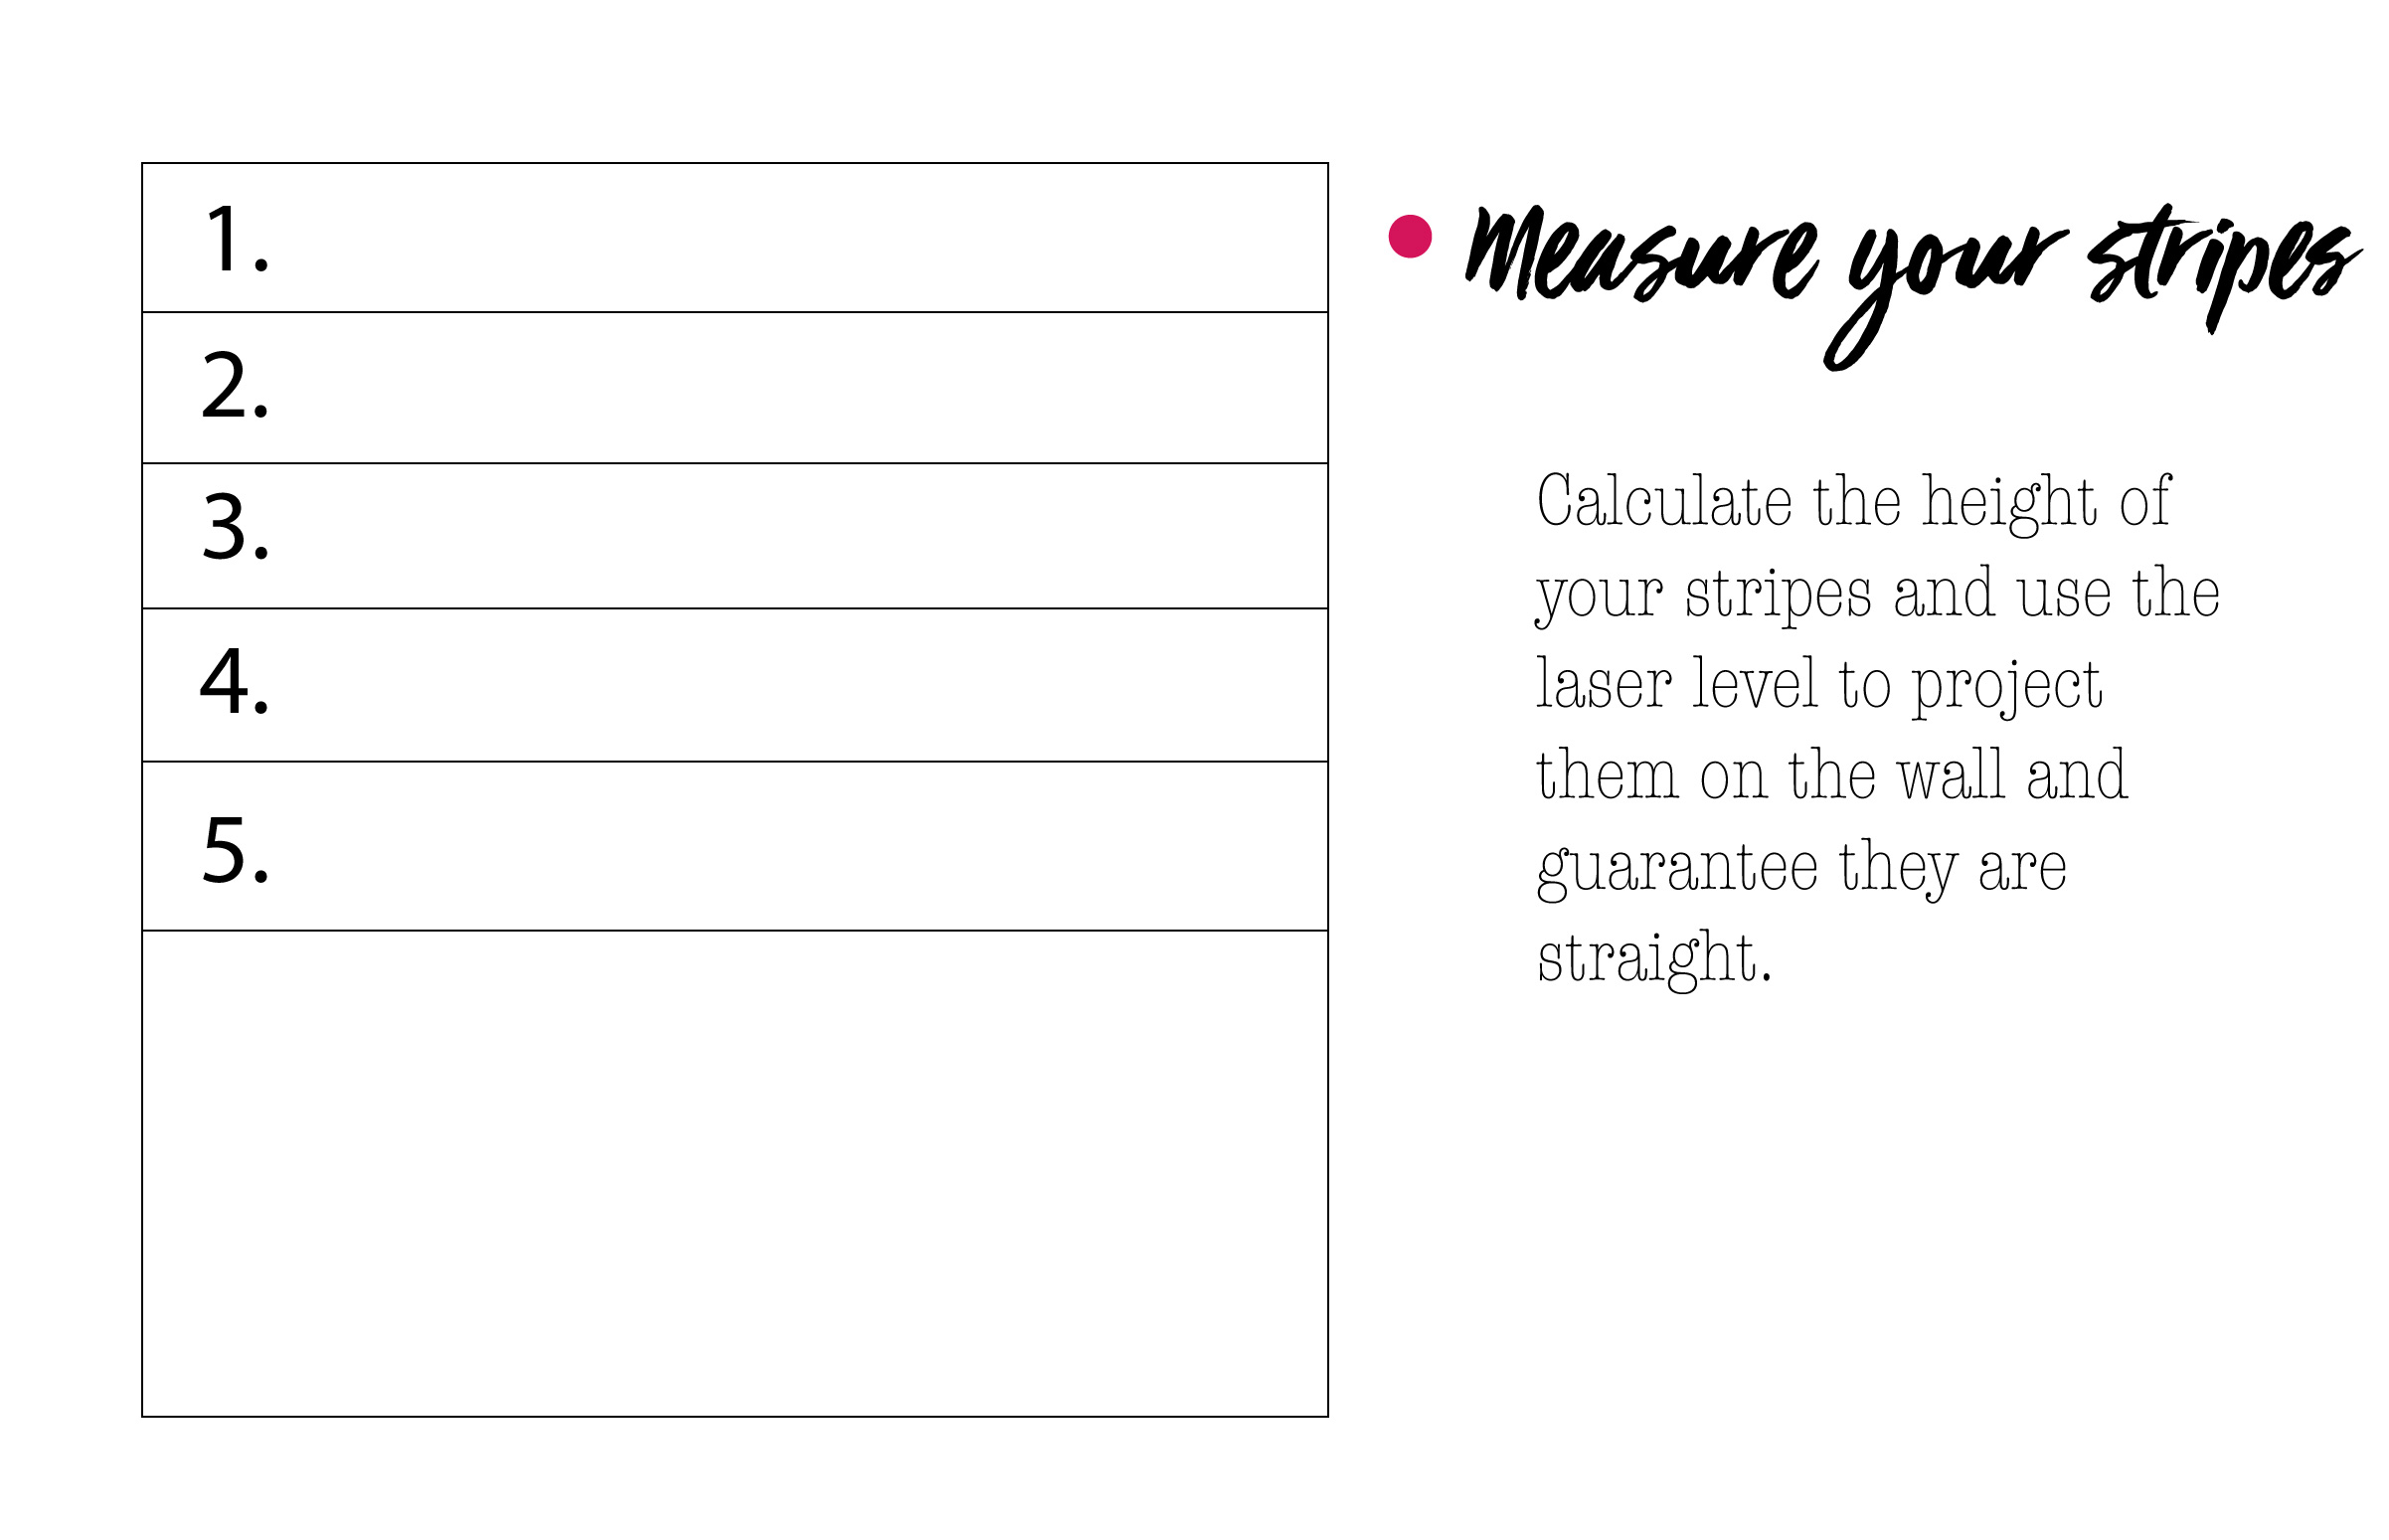


- Calculate the size of each stripe on the wall. We were installing a desktop on our wall, so we didn't paint the stripes all the way down!
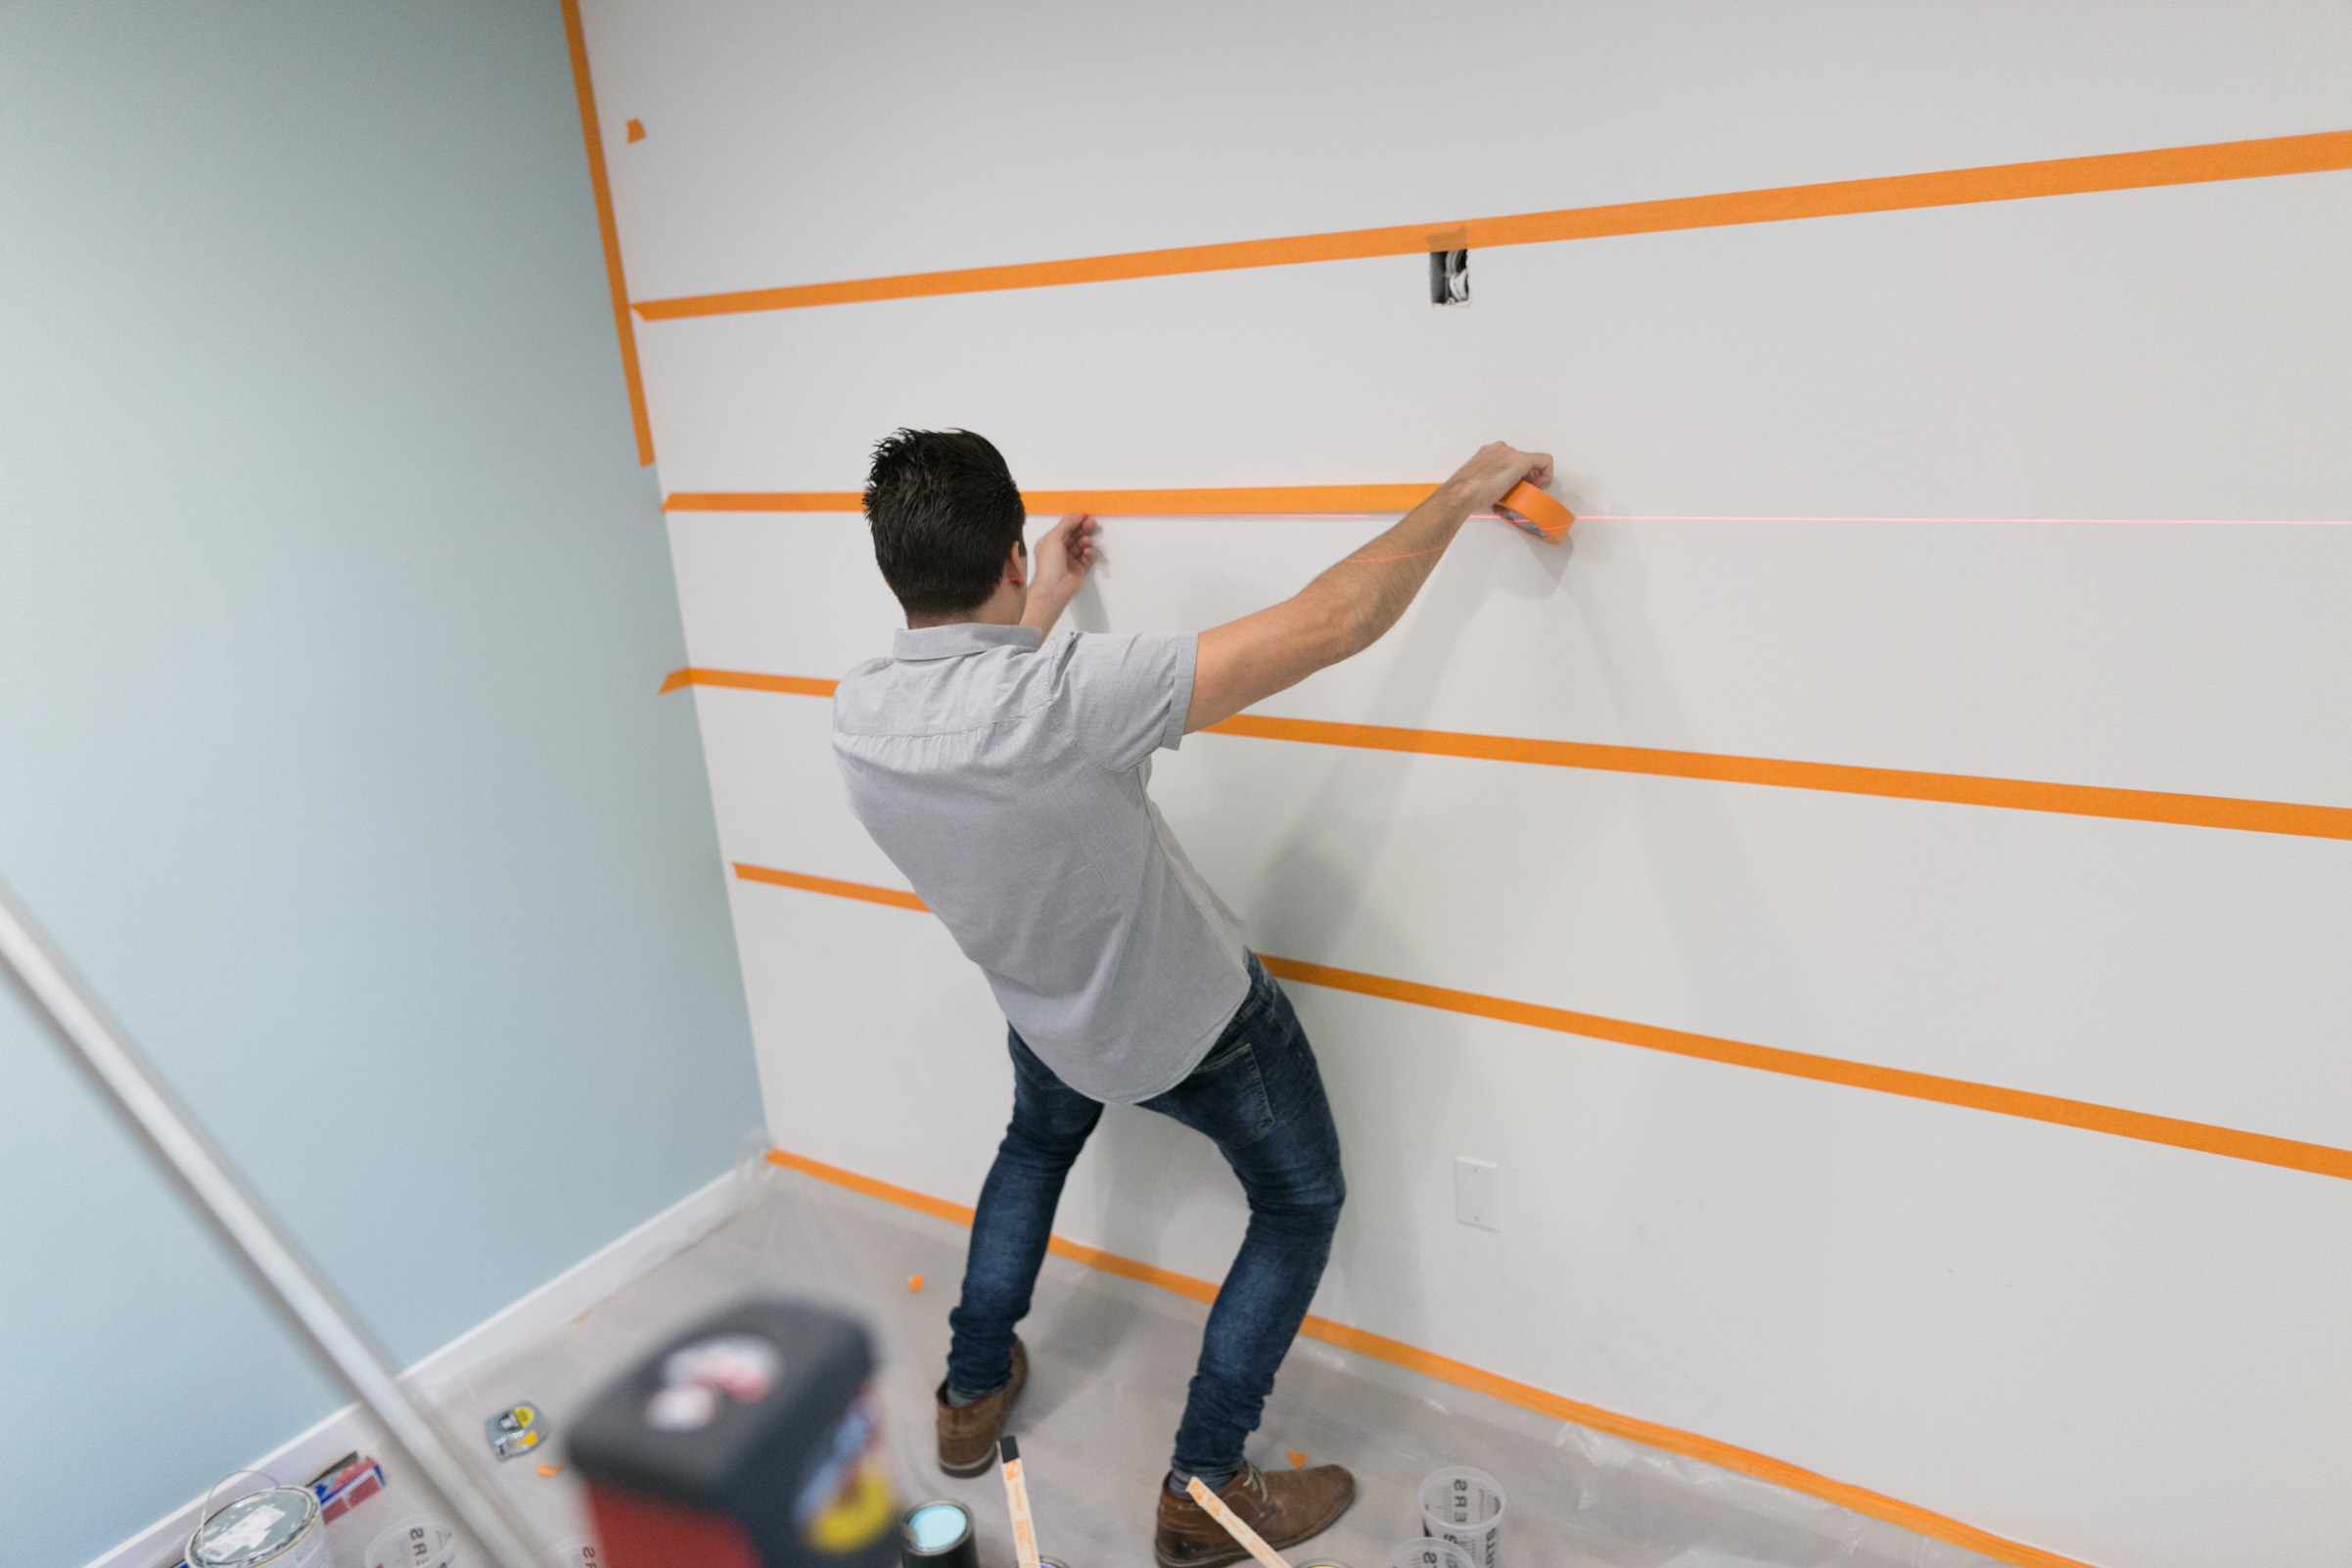
- Use a laser level to project the stripes onto the wall, making sure they are completely straight.
- Tape the edge of the ceiling where it meets the wall you will be painting.
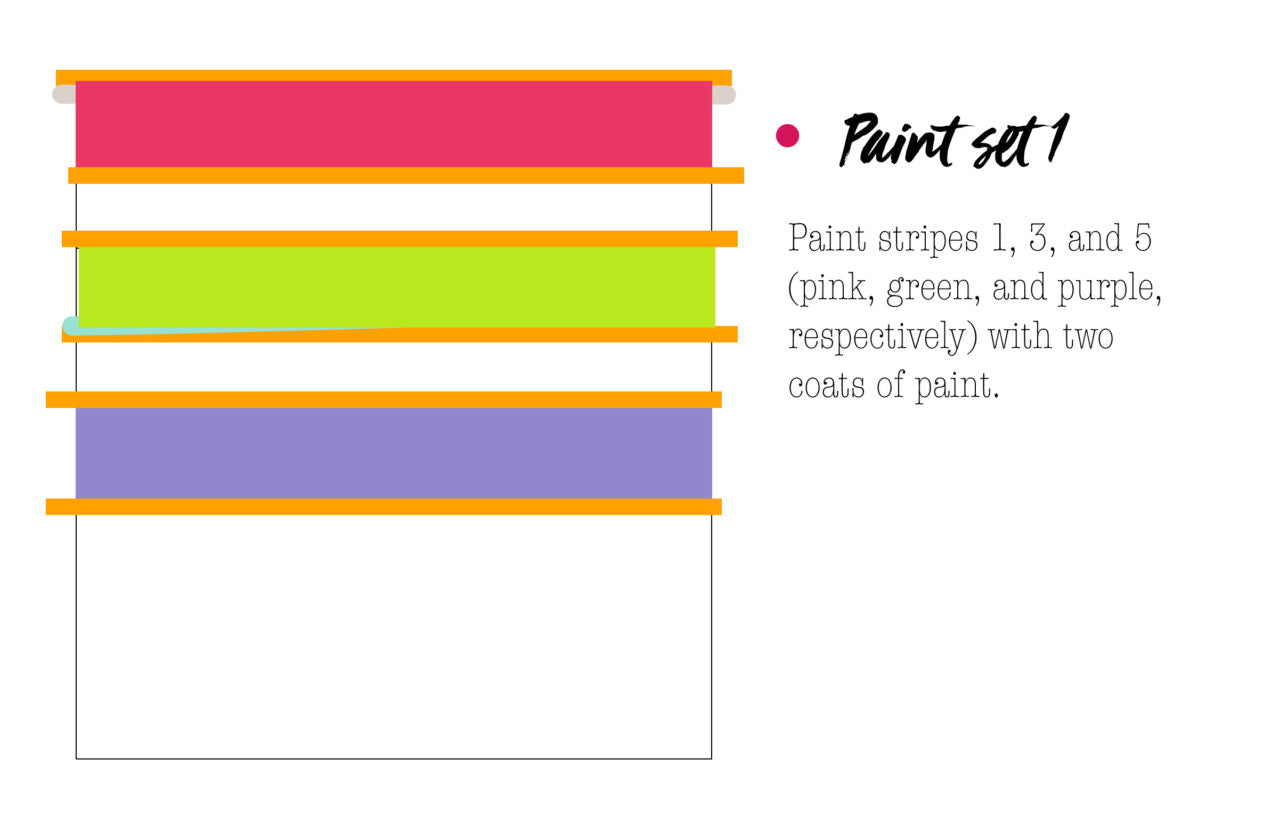
- Tape the exteriors of the stripes 1, 3, and 5 (1 being closest to the ceiling and 5 being closest to the floor). These entire stripes should be exposed to be painted! Don't worry stripes 2 and 4 right now, you will re-tape later for those.
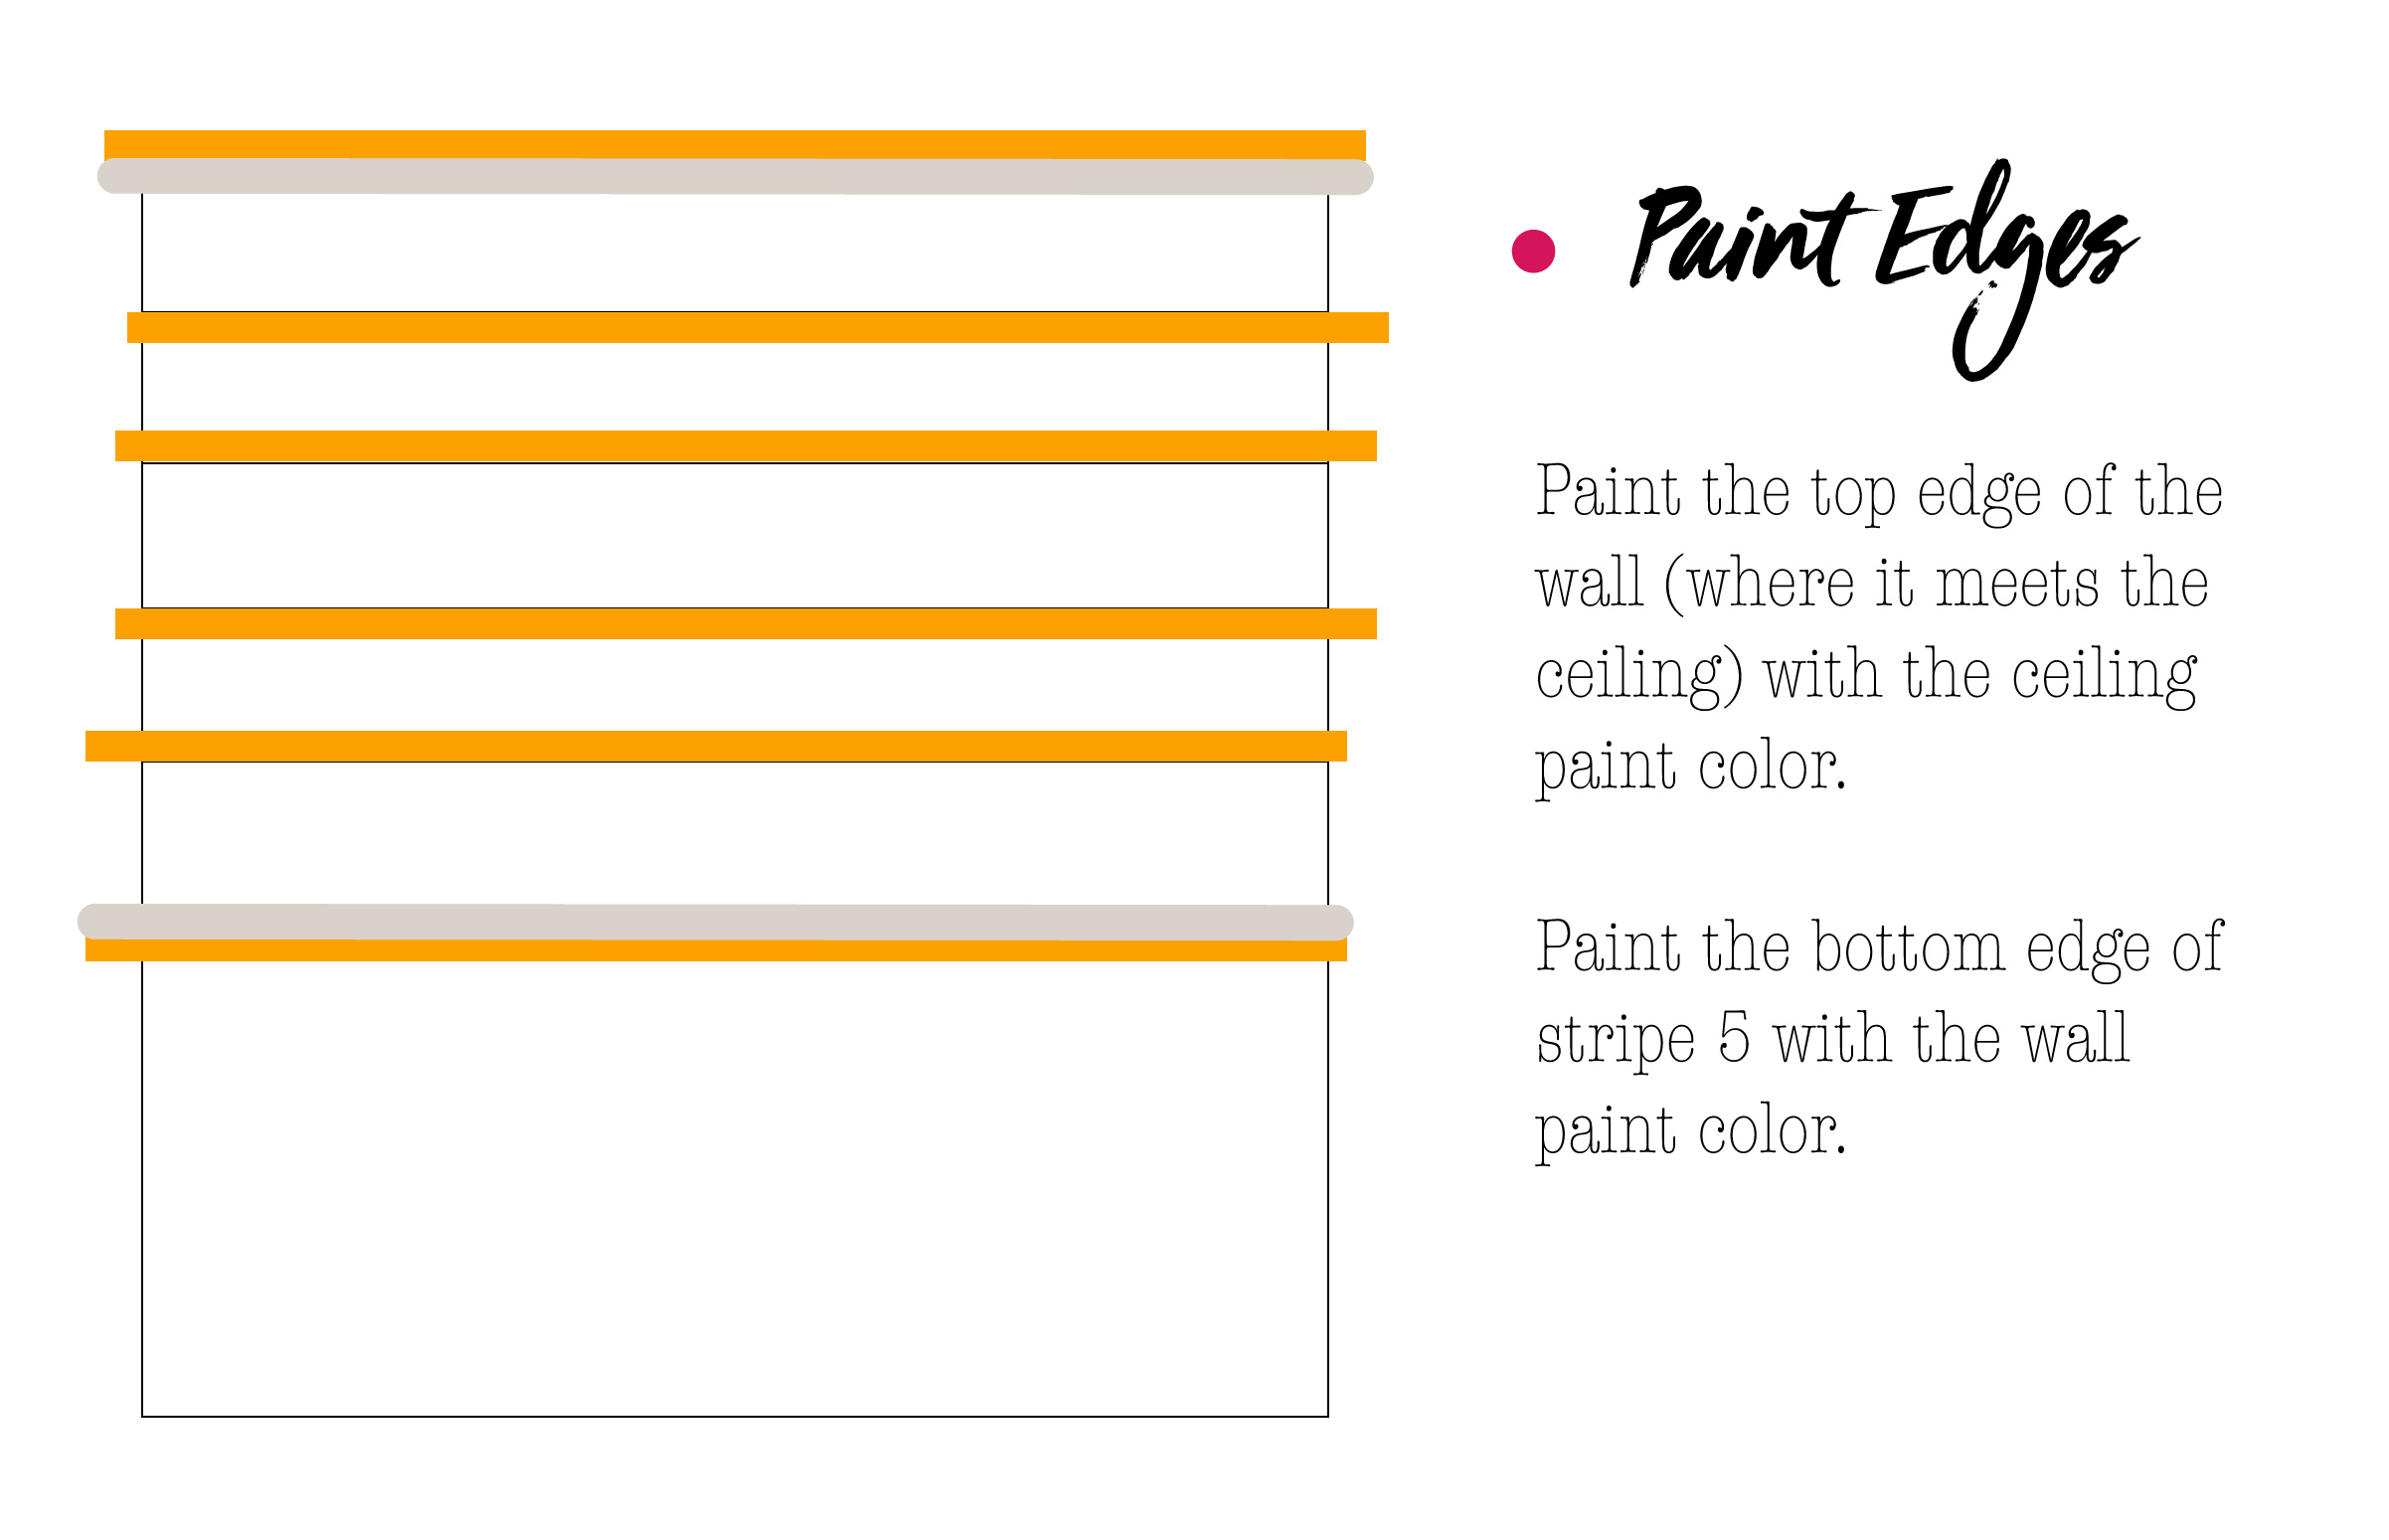
- Paint the top edge of stripe 1 (where it meets the ceiling) with the ceiling paint color with a paintbrush. Paint the bottom edge of stripe 5 with the wall paint color. This will guarantee that no bright color will bleed onto the wall or ceiling. If bleeding does occur through the tape, it will be in this first paint that matches the ceiling/wall! Pro trick to get clean stripes.
- After the edges have dried, paint stripes 1, 3, and 5 with their respective colors, pink, green, and purple using the small roller. Paint two coats to ensure coverage and brightness.
- Let these stripes dry completely.
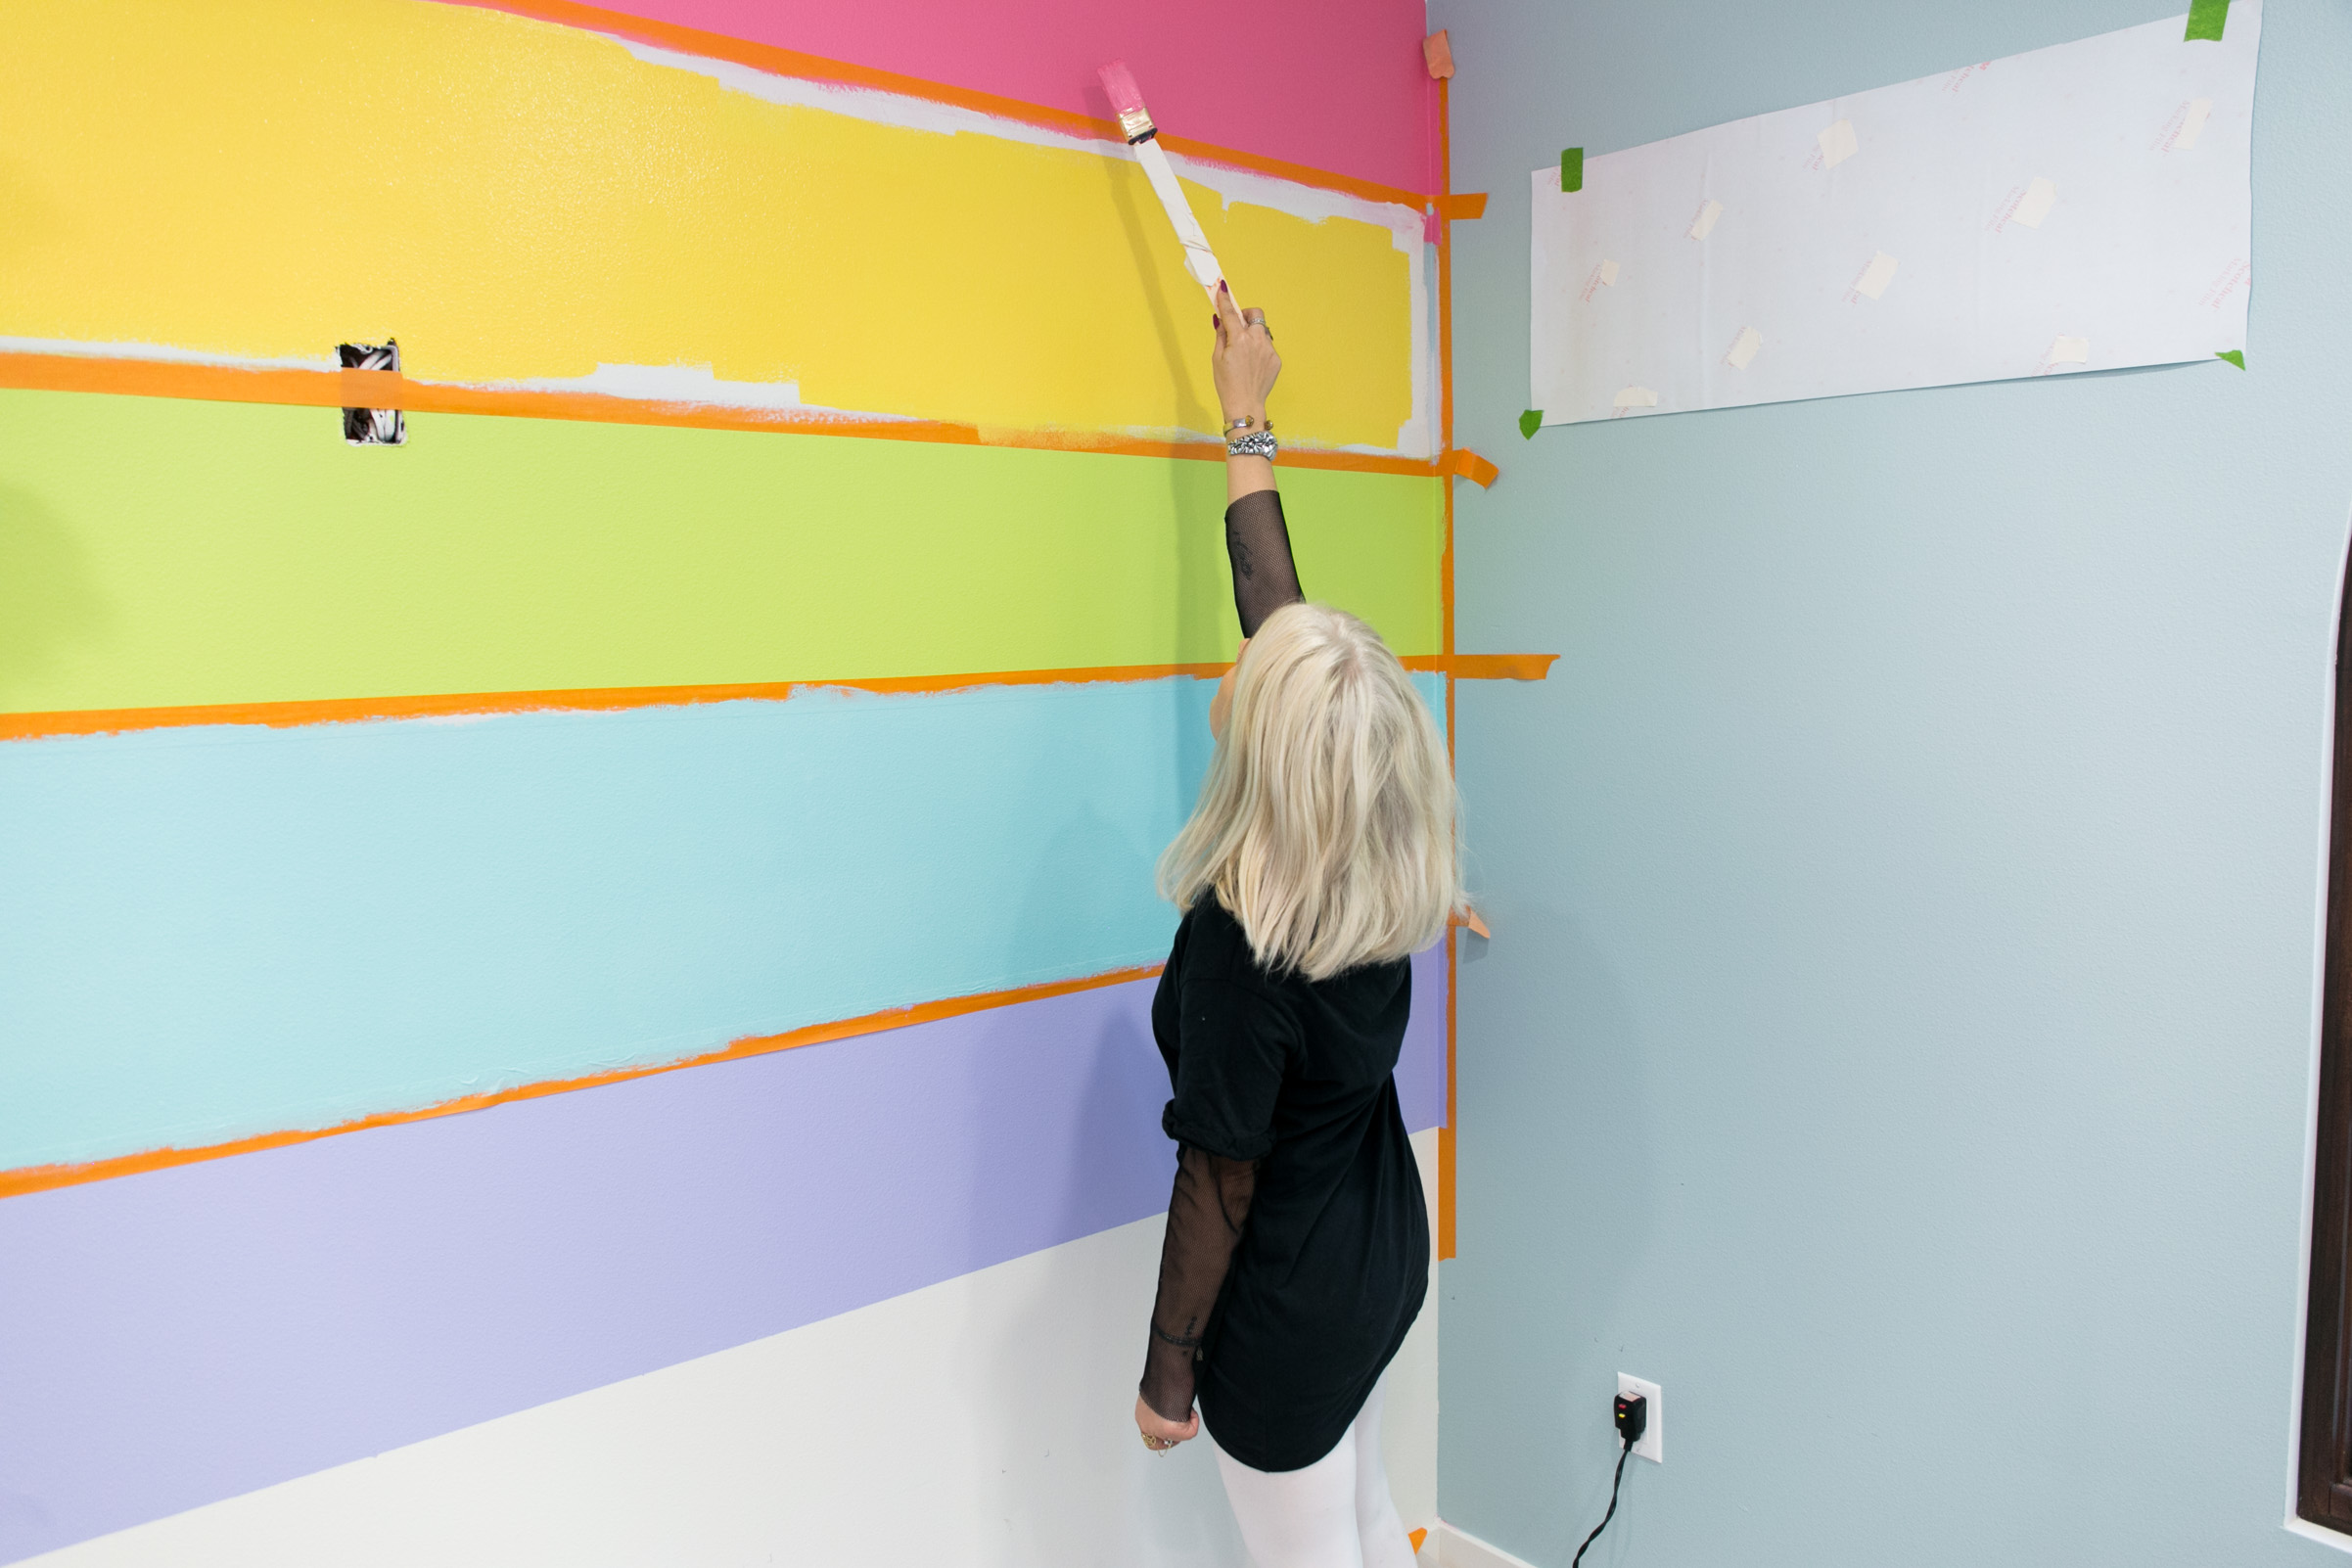
- Once dry, remove the tape and tape the exteriors of stripes 2 and 4. Your tape should line up exactly to the edge of the already painted stripe, so there is no white space between colors.
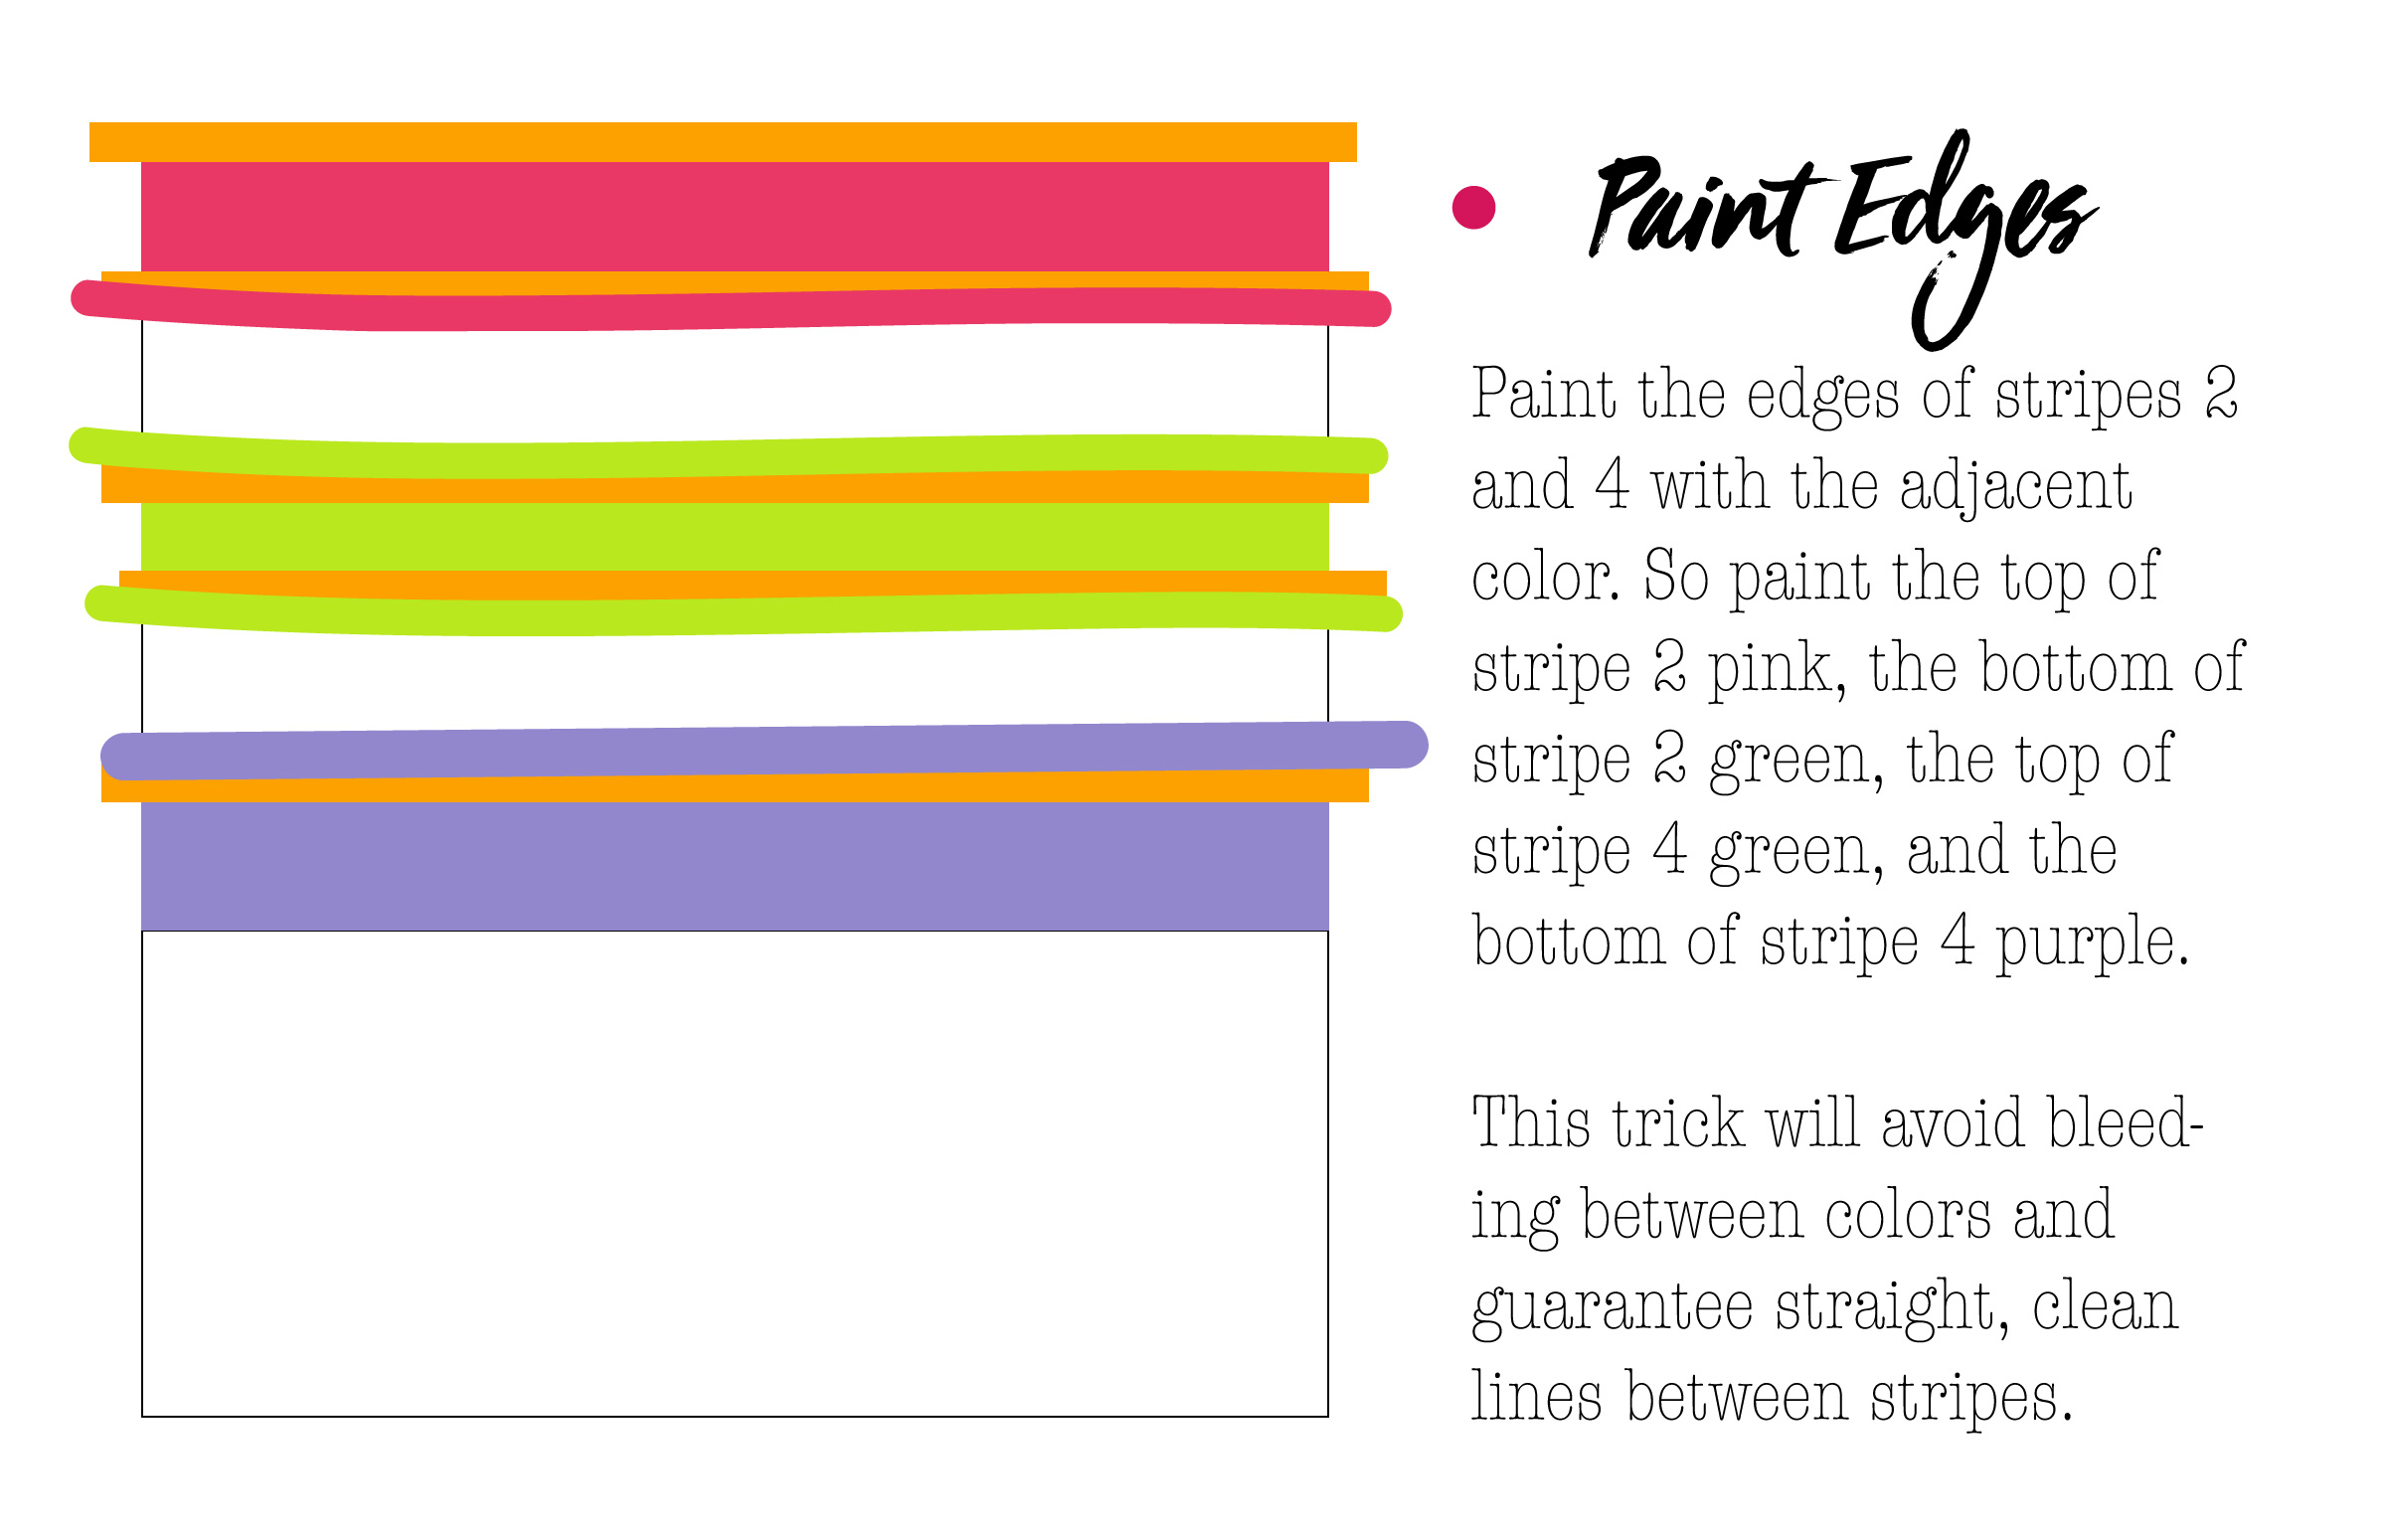
- Repeating the clean line trick from step 5, paint the edges of stripes 2 and 4 with the adjacent color. The top of stripe 2 should be pink. The bottom of stripe 2 should be green. The top of stripe 4 should be green. The bottom of stripe 4 should be purple.
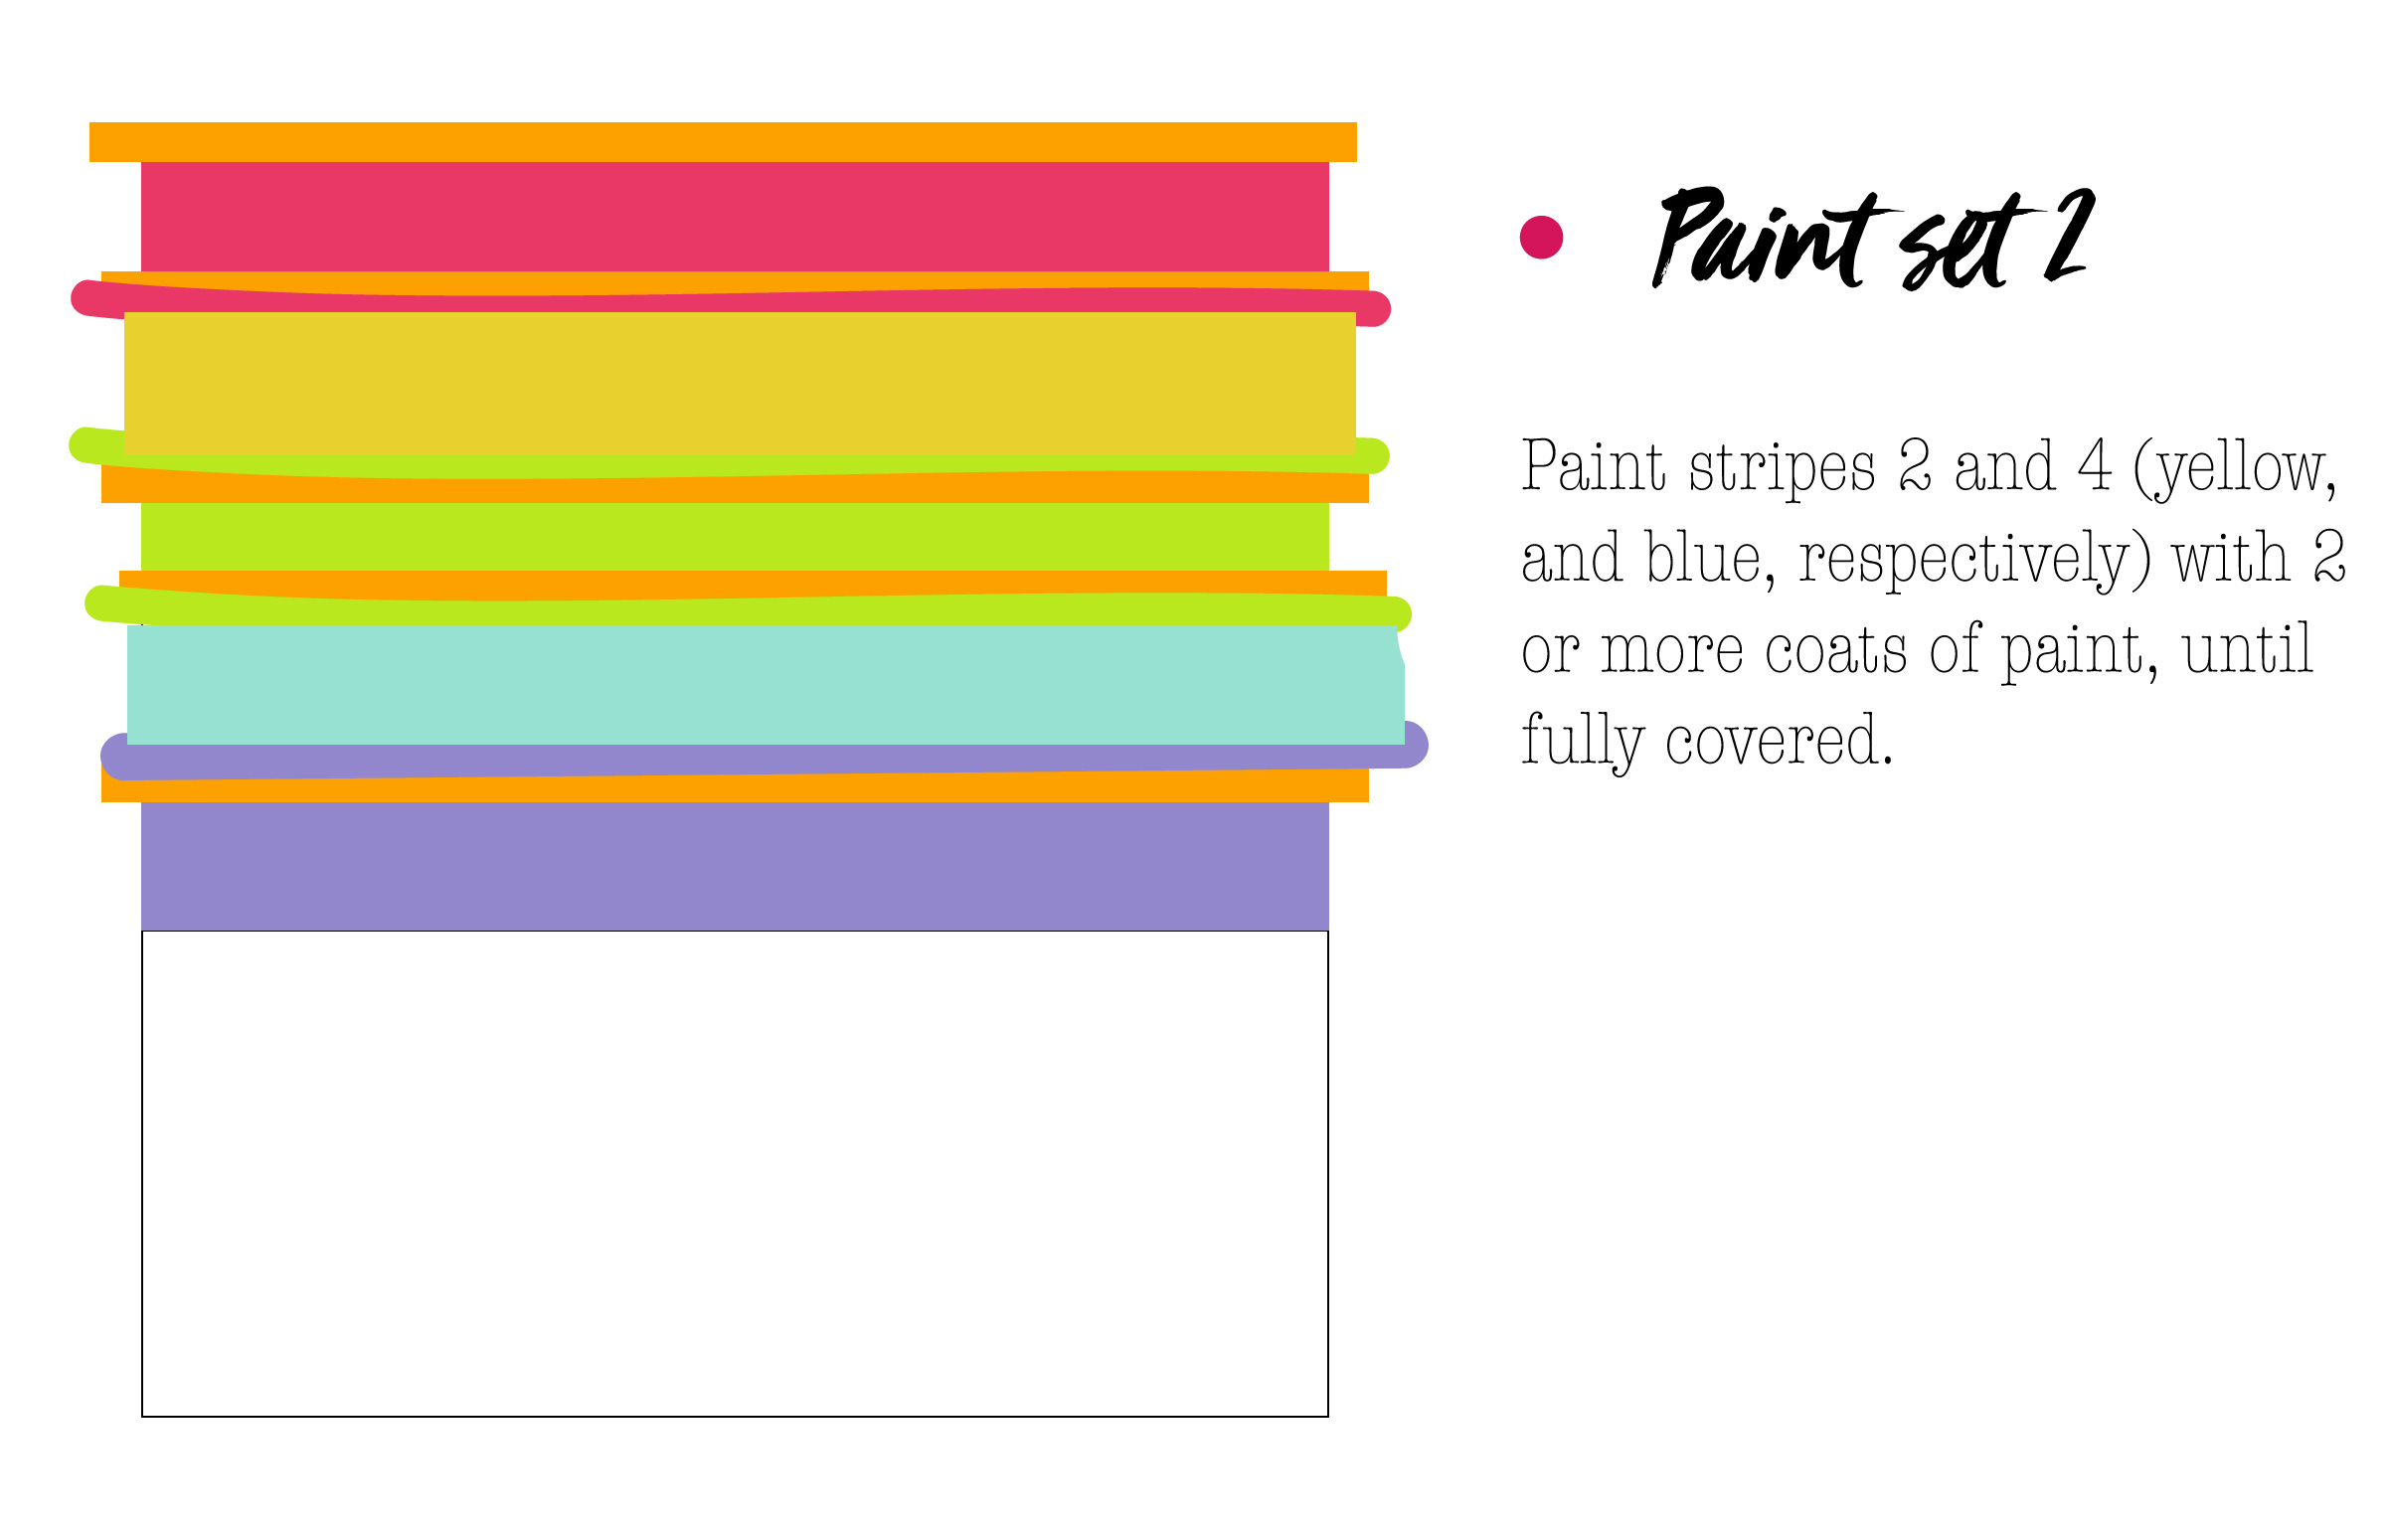
- Let these edges dry, then paint stripes 2 and 4 with their respective colors, yellow and blue. Use as many coats as needed to fully cover the stripe.
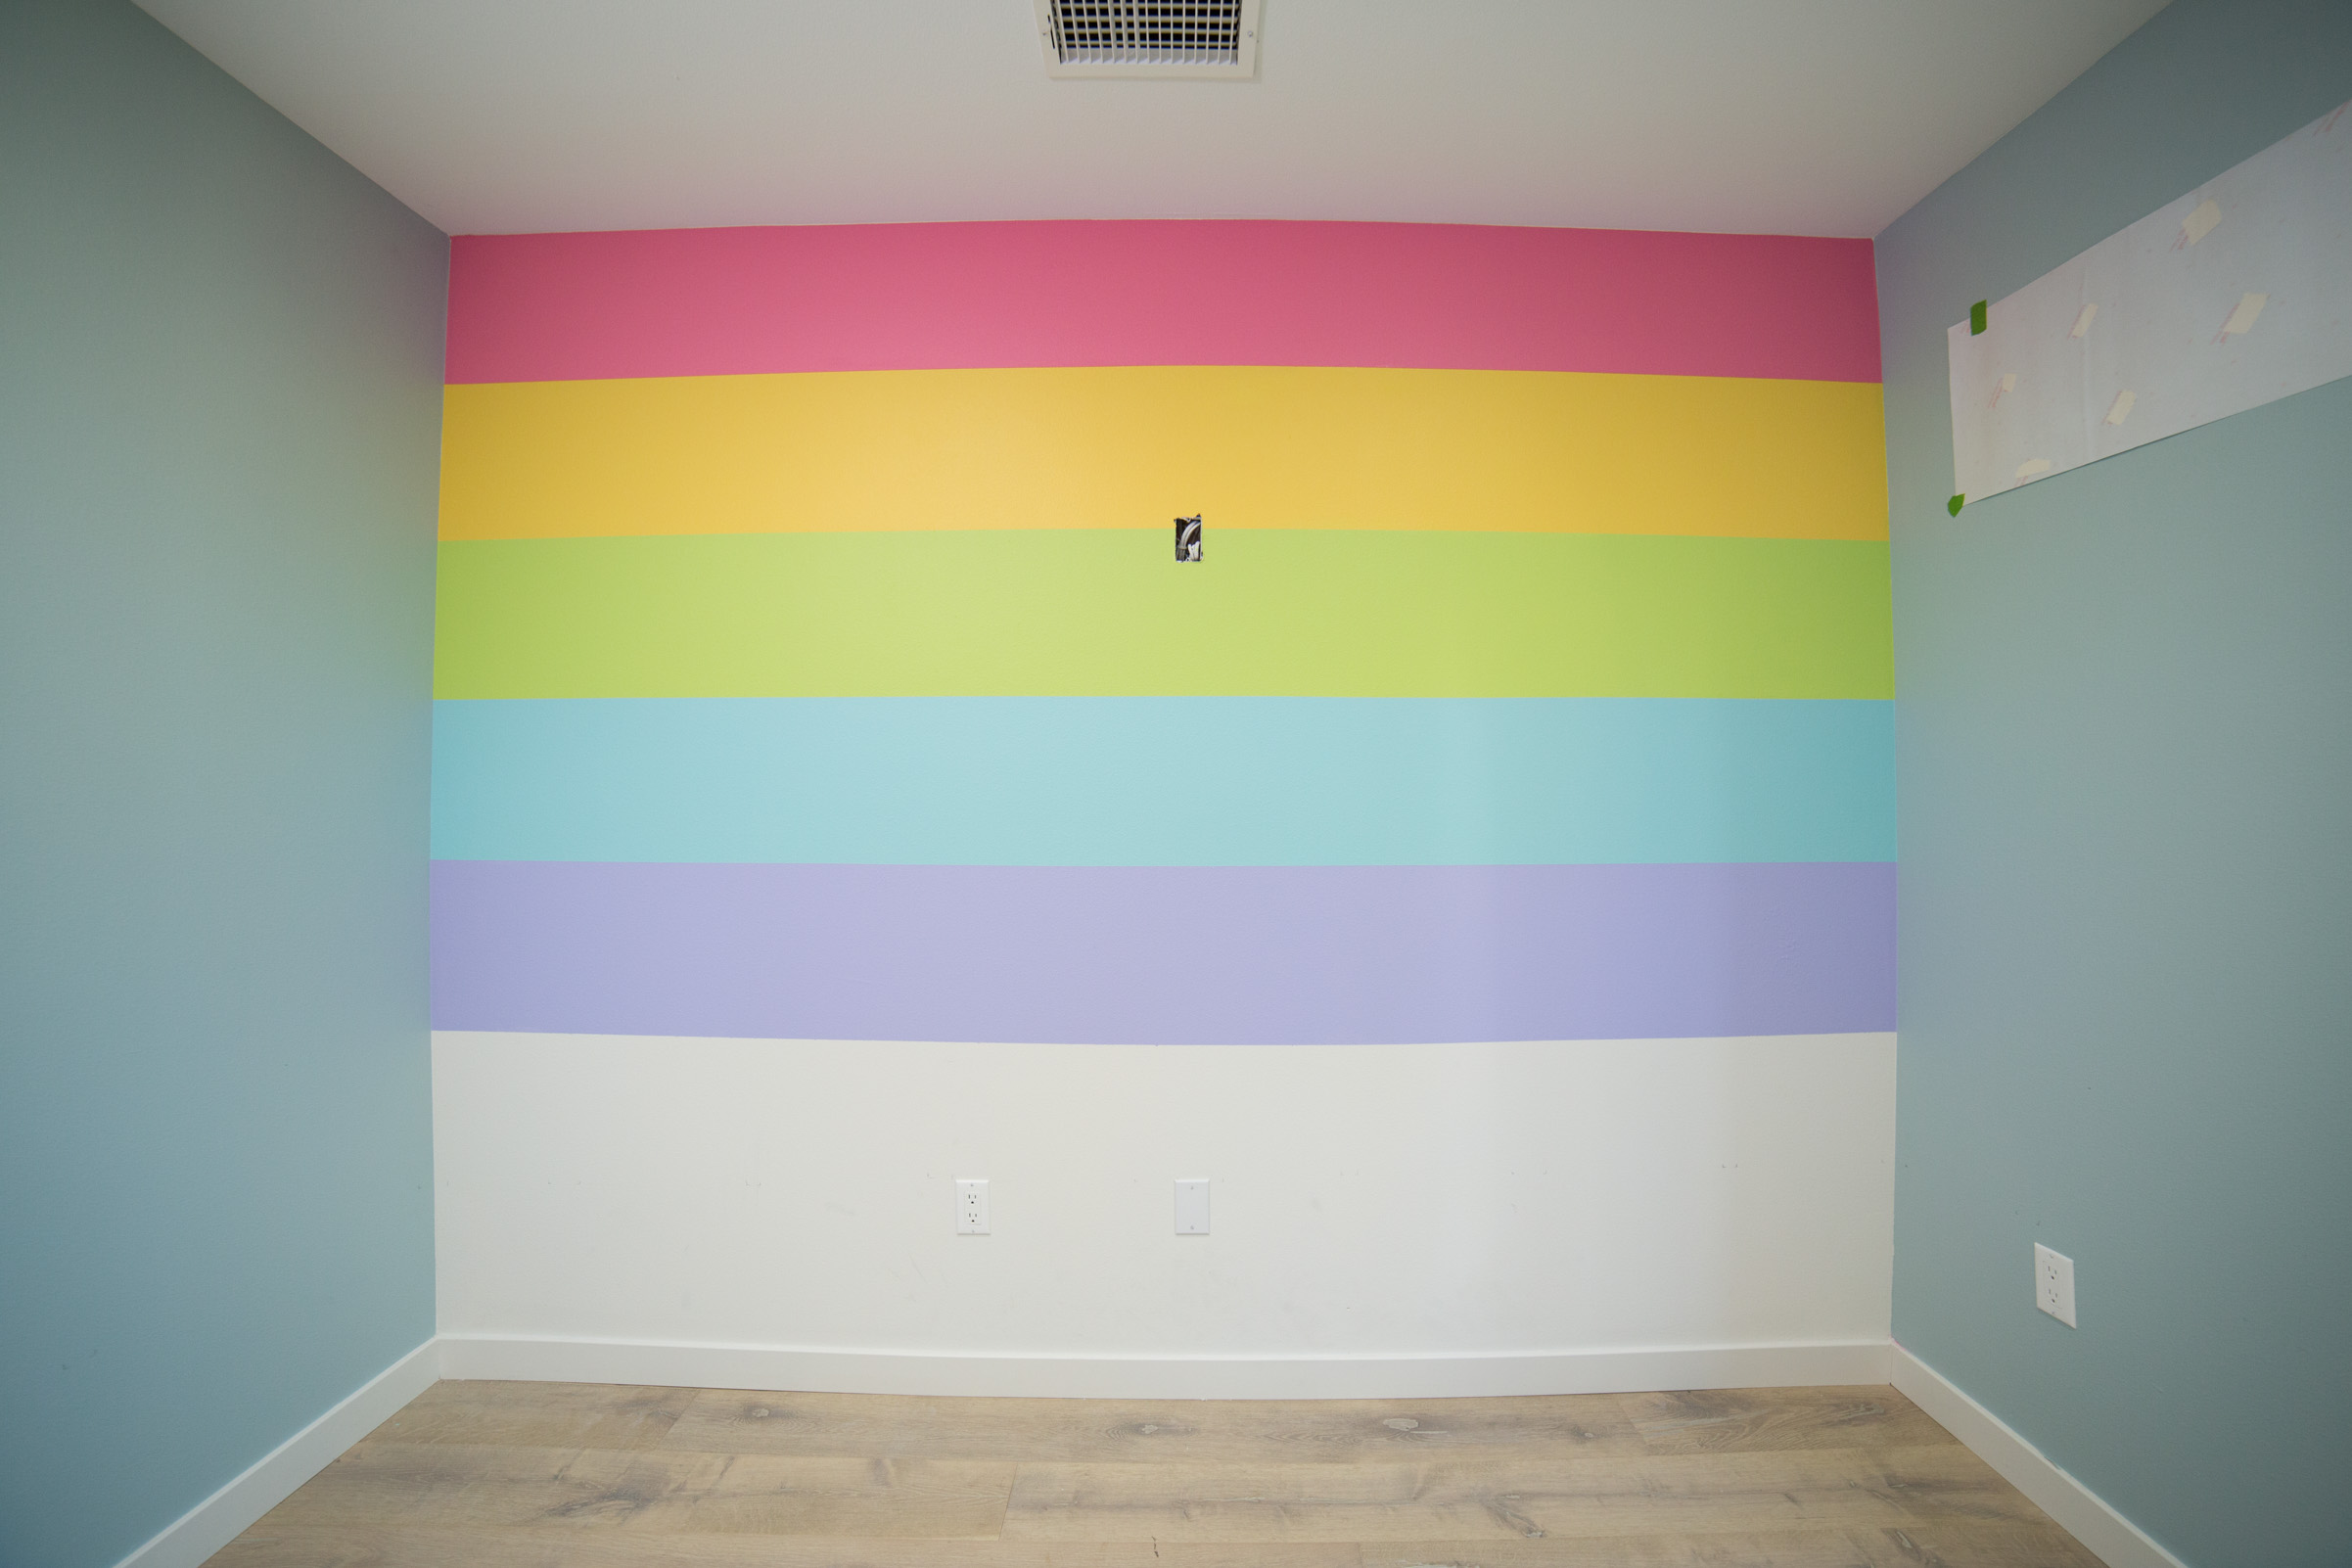
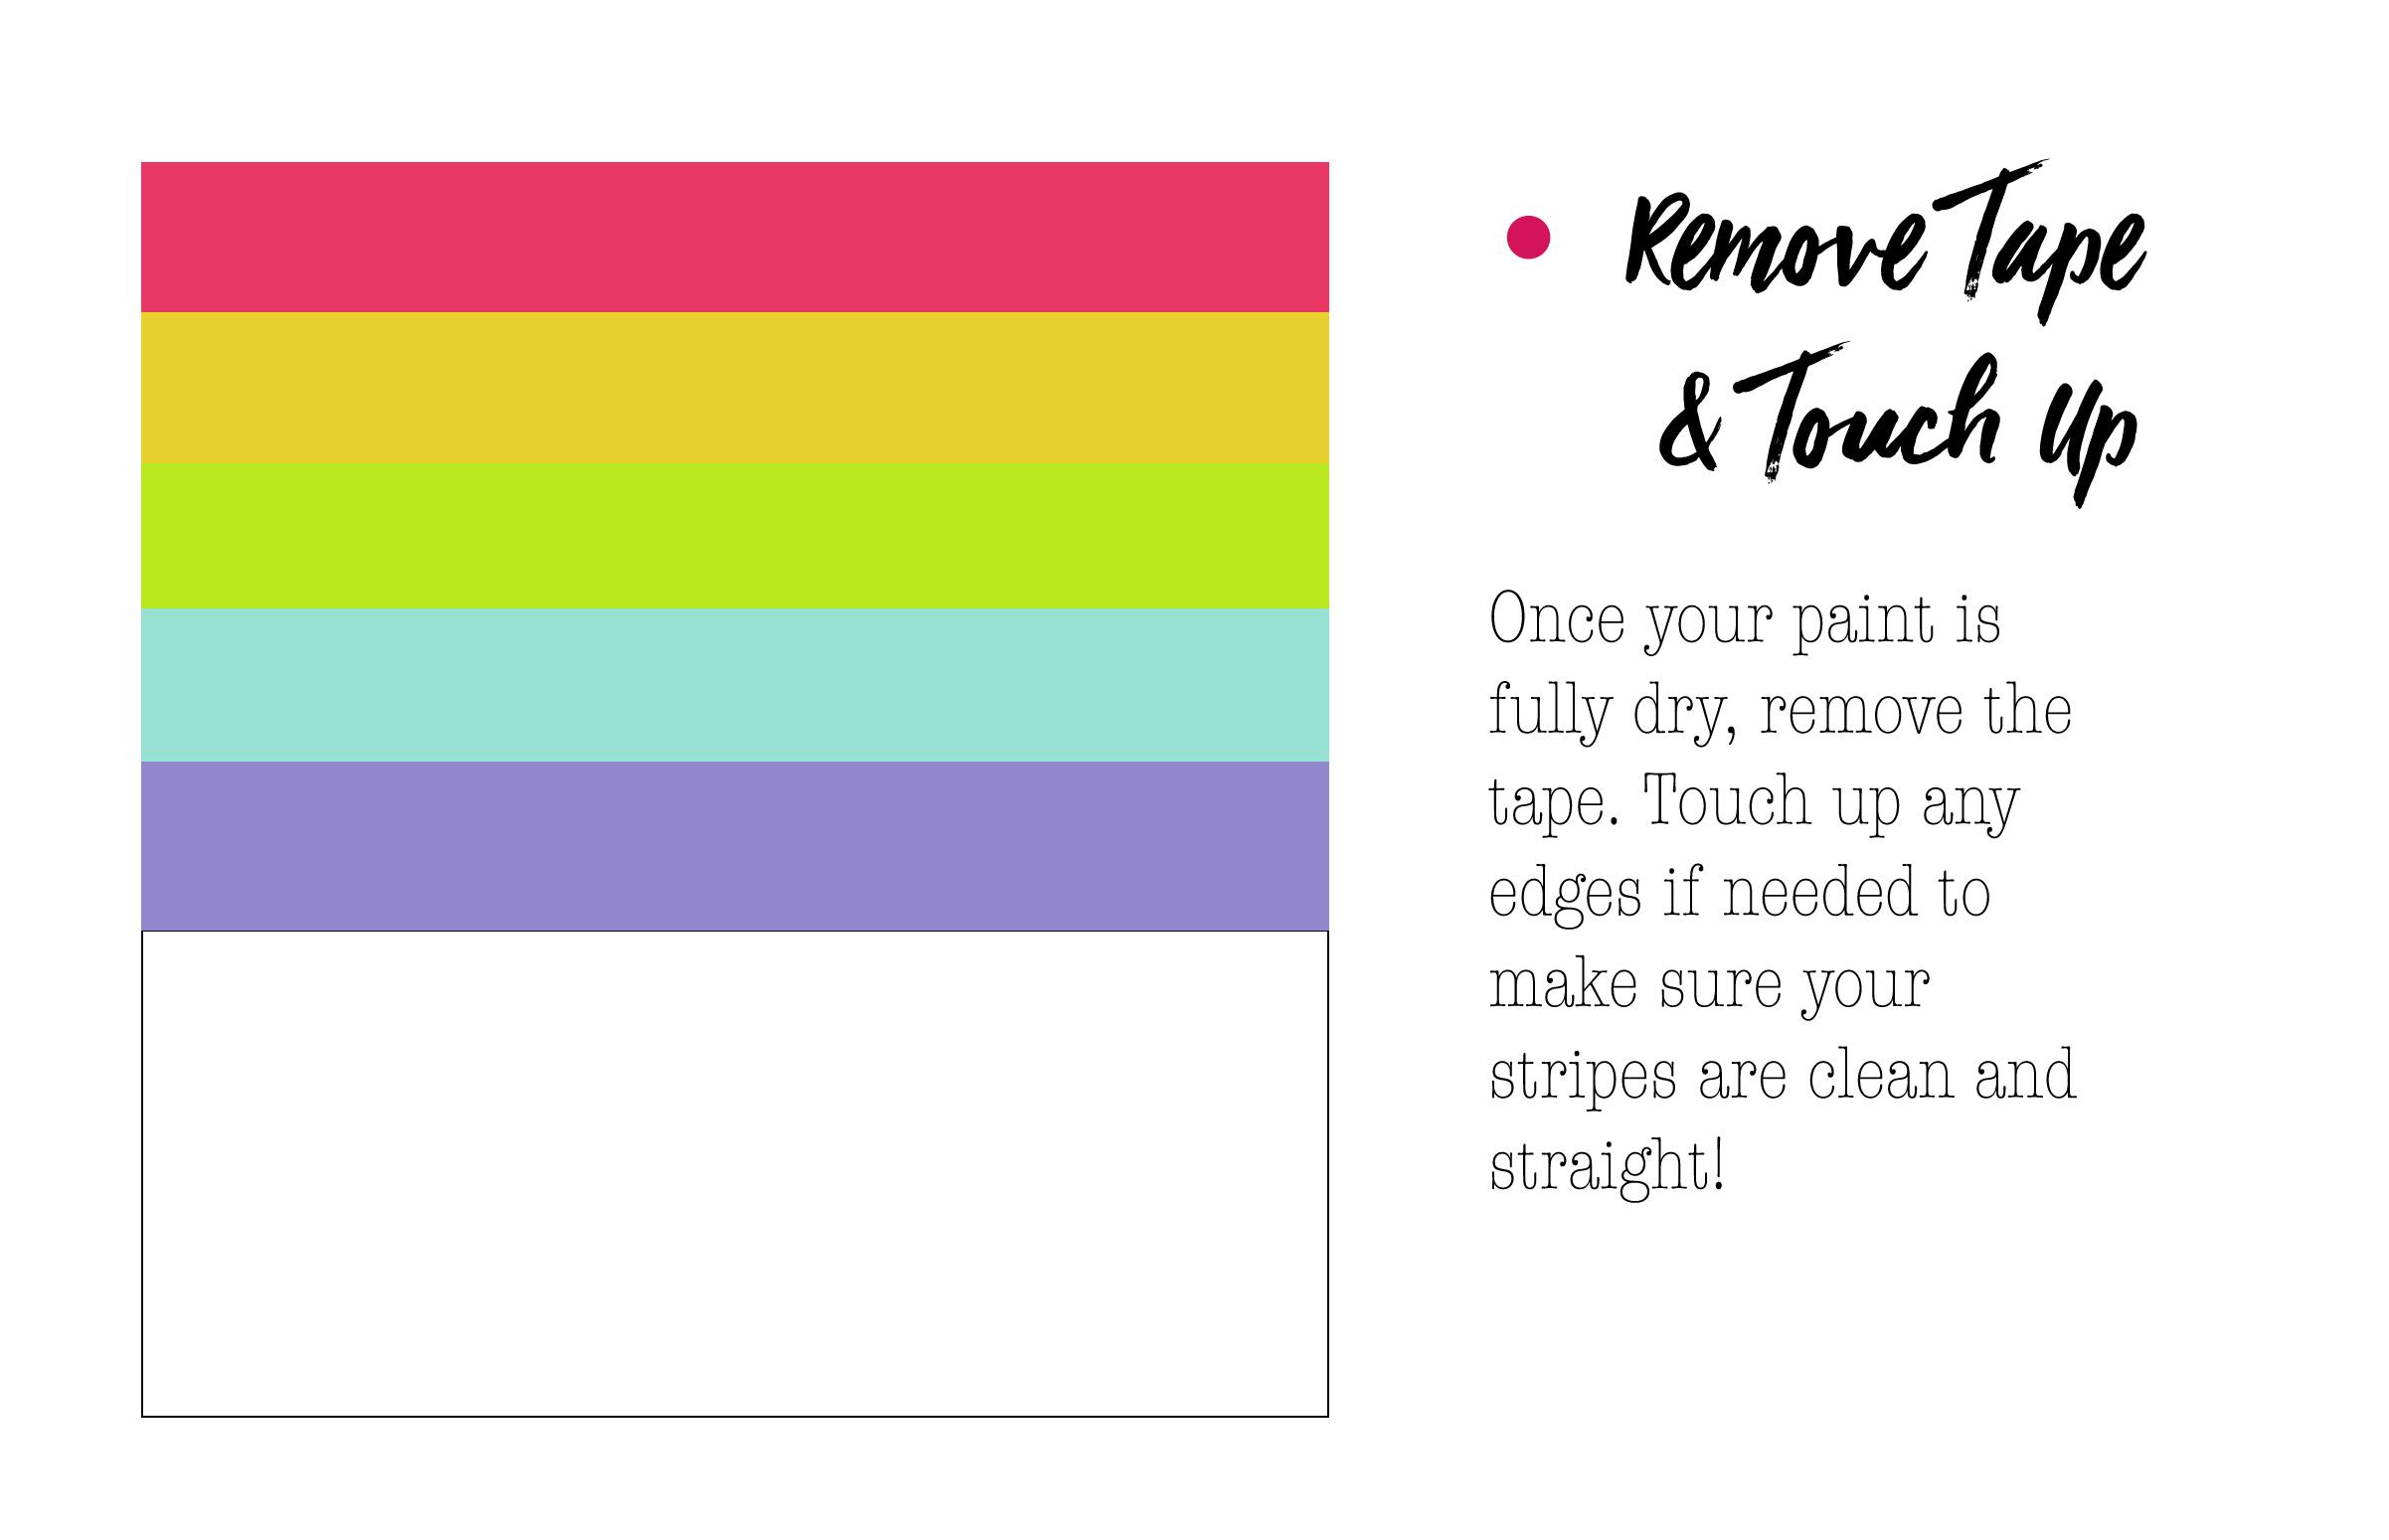
- Once dry, remove all tape.
- Use a small paintbrush to touch up any spots if needed. Then, enjoy your perfect stripes!