
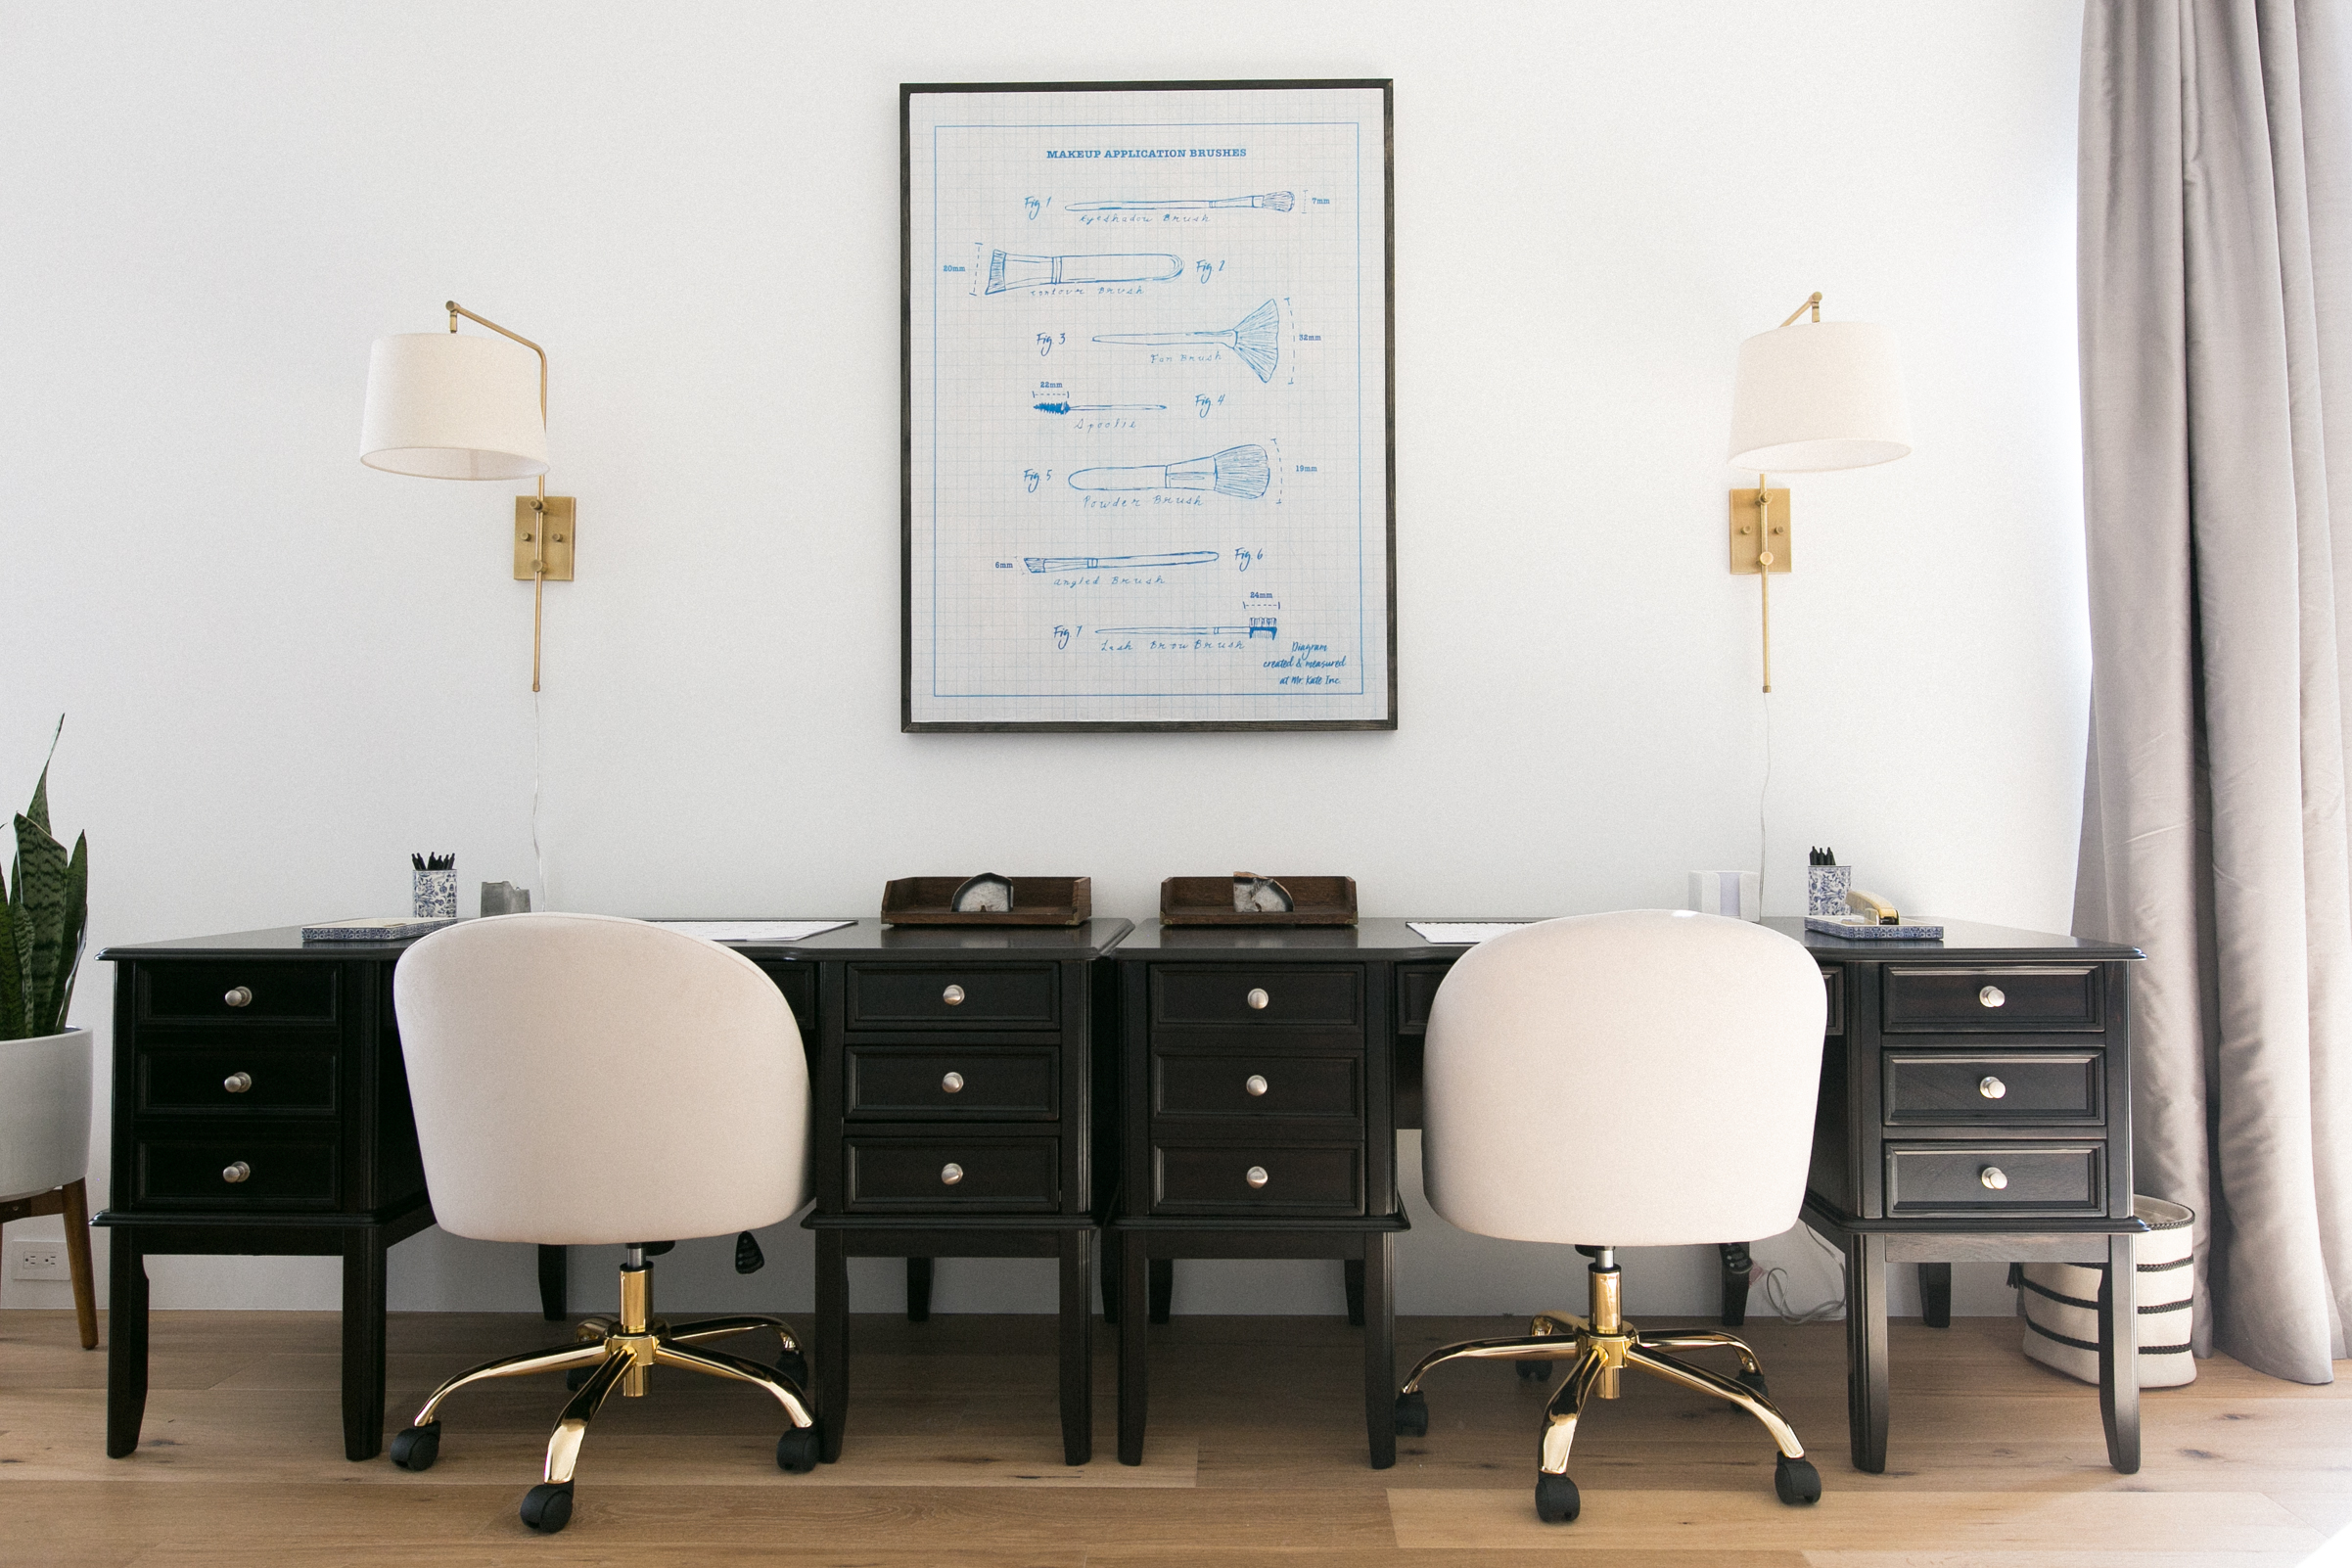
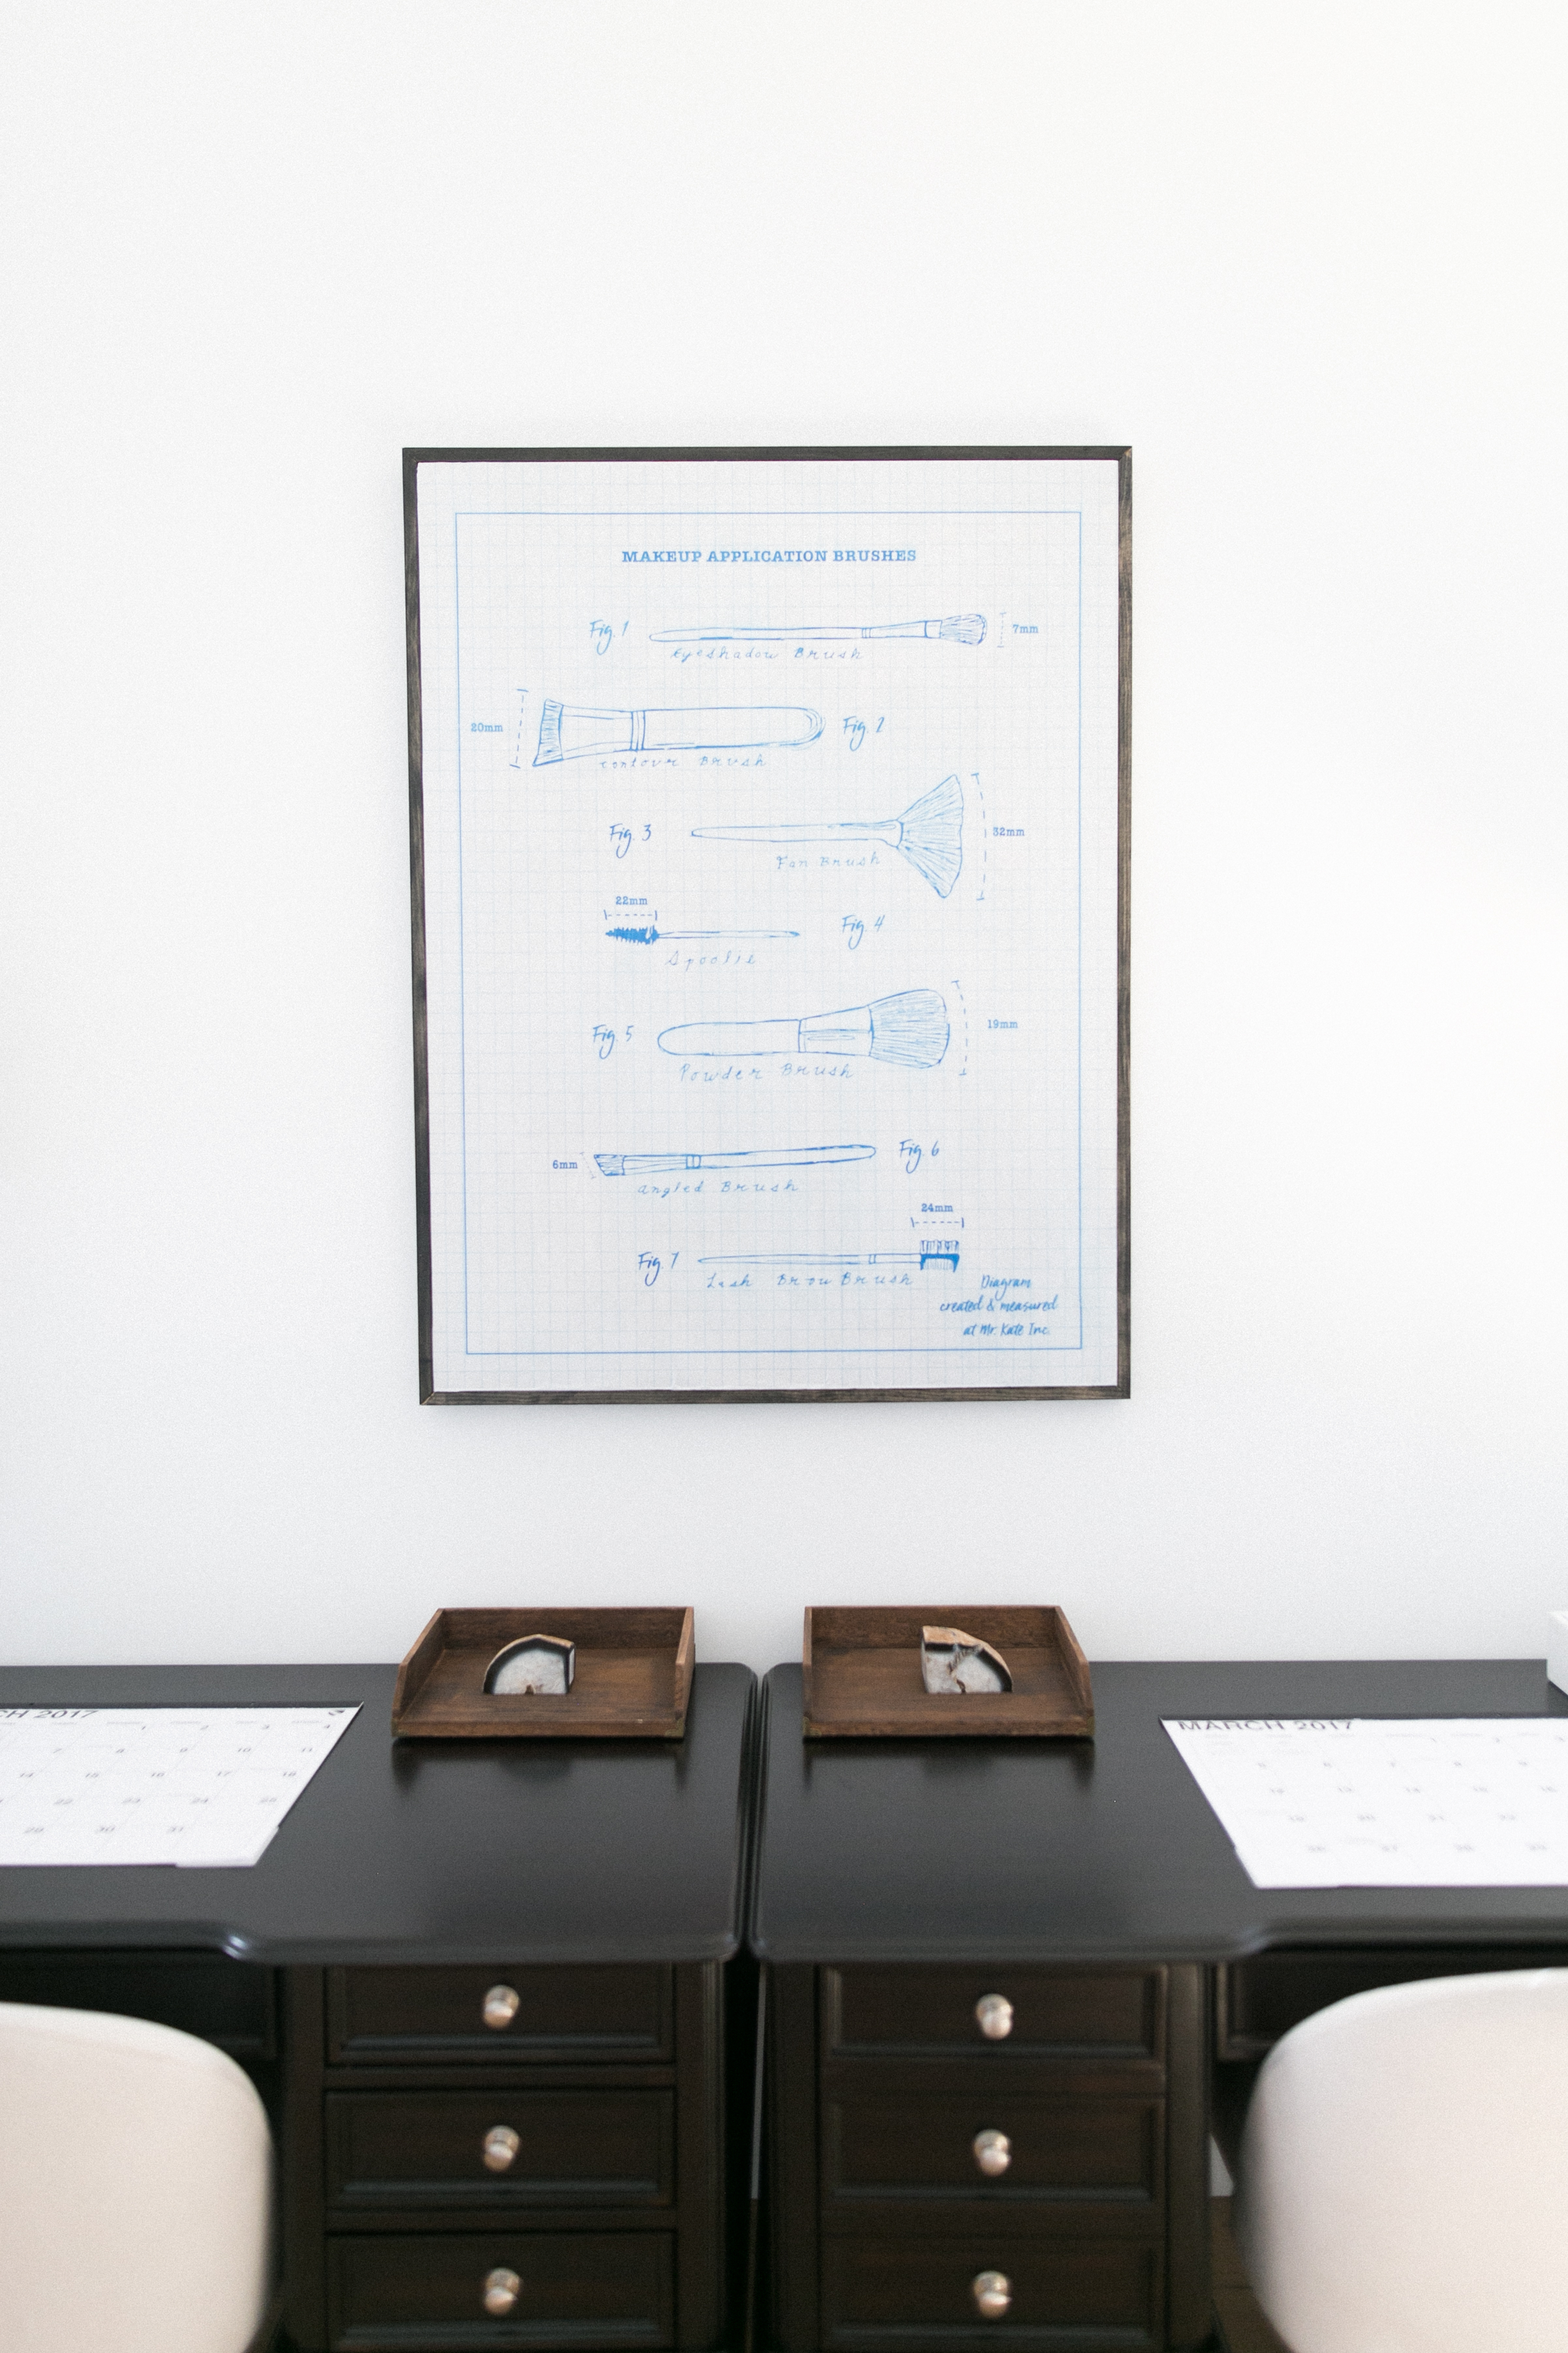
Want to get this look for your room? You're in luck! The exact size print we used is available for download for you to print and recreate this DIY exactly, or can be purchased as a print in a variety of sizes so all you need to do is frame!
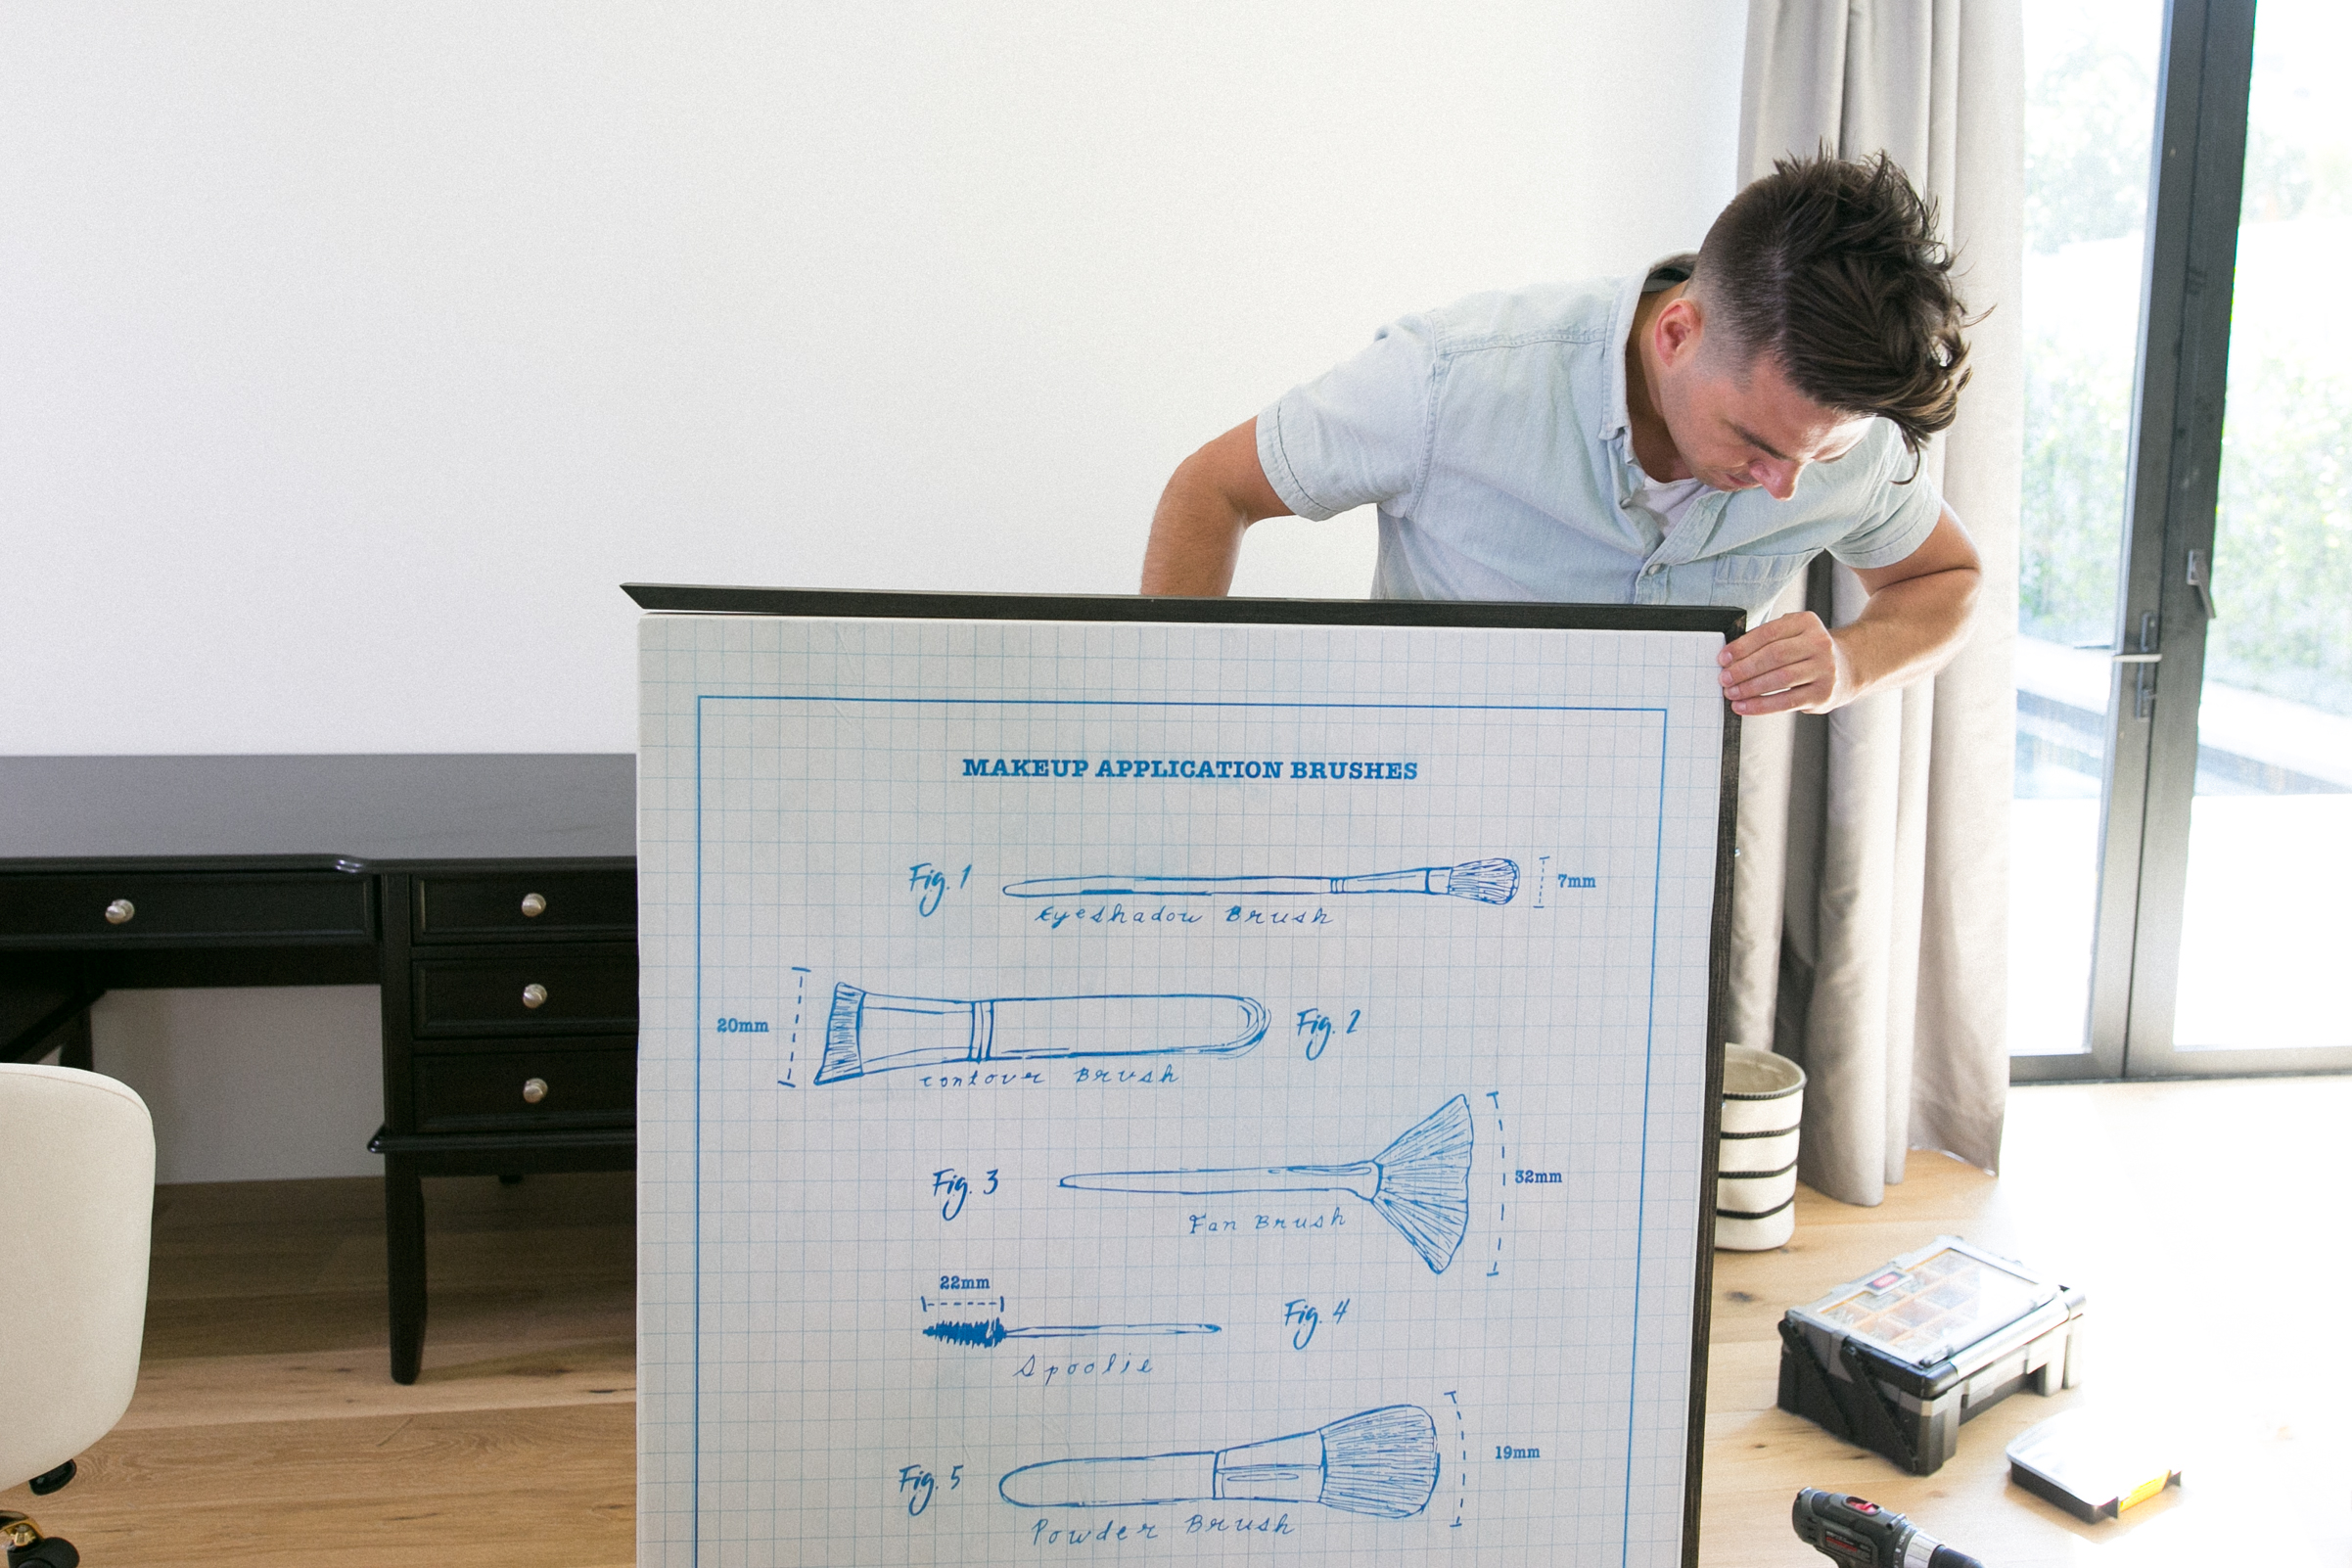
Blueprints are to an architect what beauty brushes are to a makeup guru. Forgive the straight-out-of-the-SAT's analogy, but I needed to get the importance across. For those who do not wear makeup or invest in it as a hobby or career, it can be hard to realize that without these little brushes, makeup looks just couldn't happen! (Or at least not to the degree of fun and precision that we all like them.)
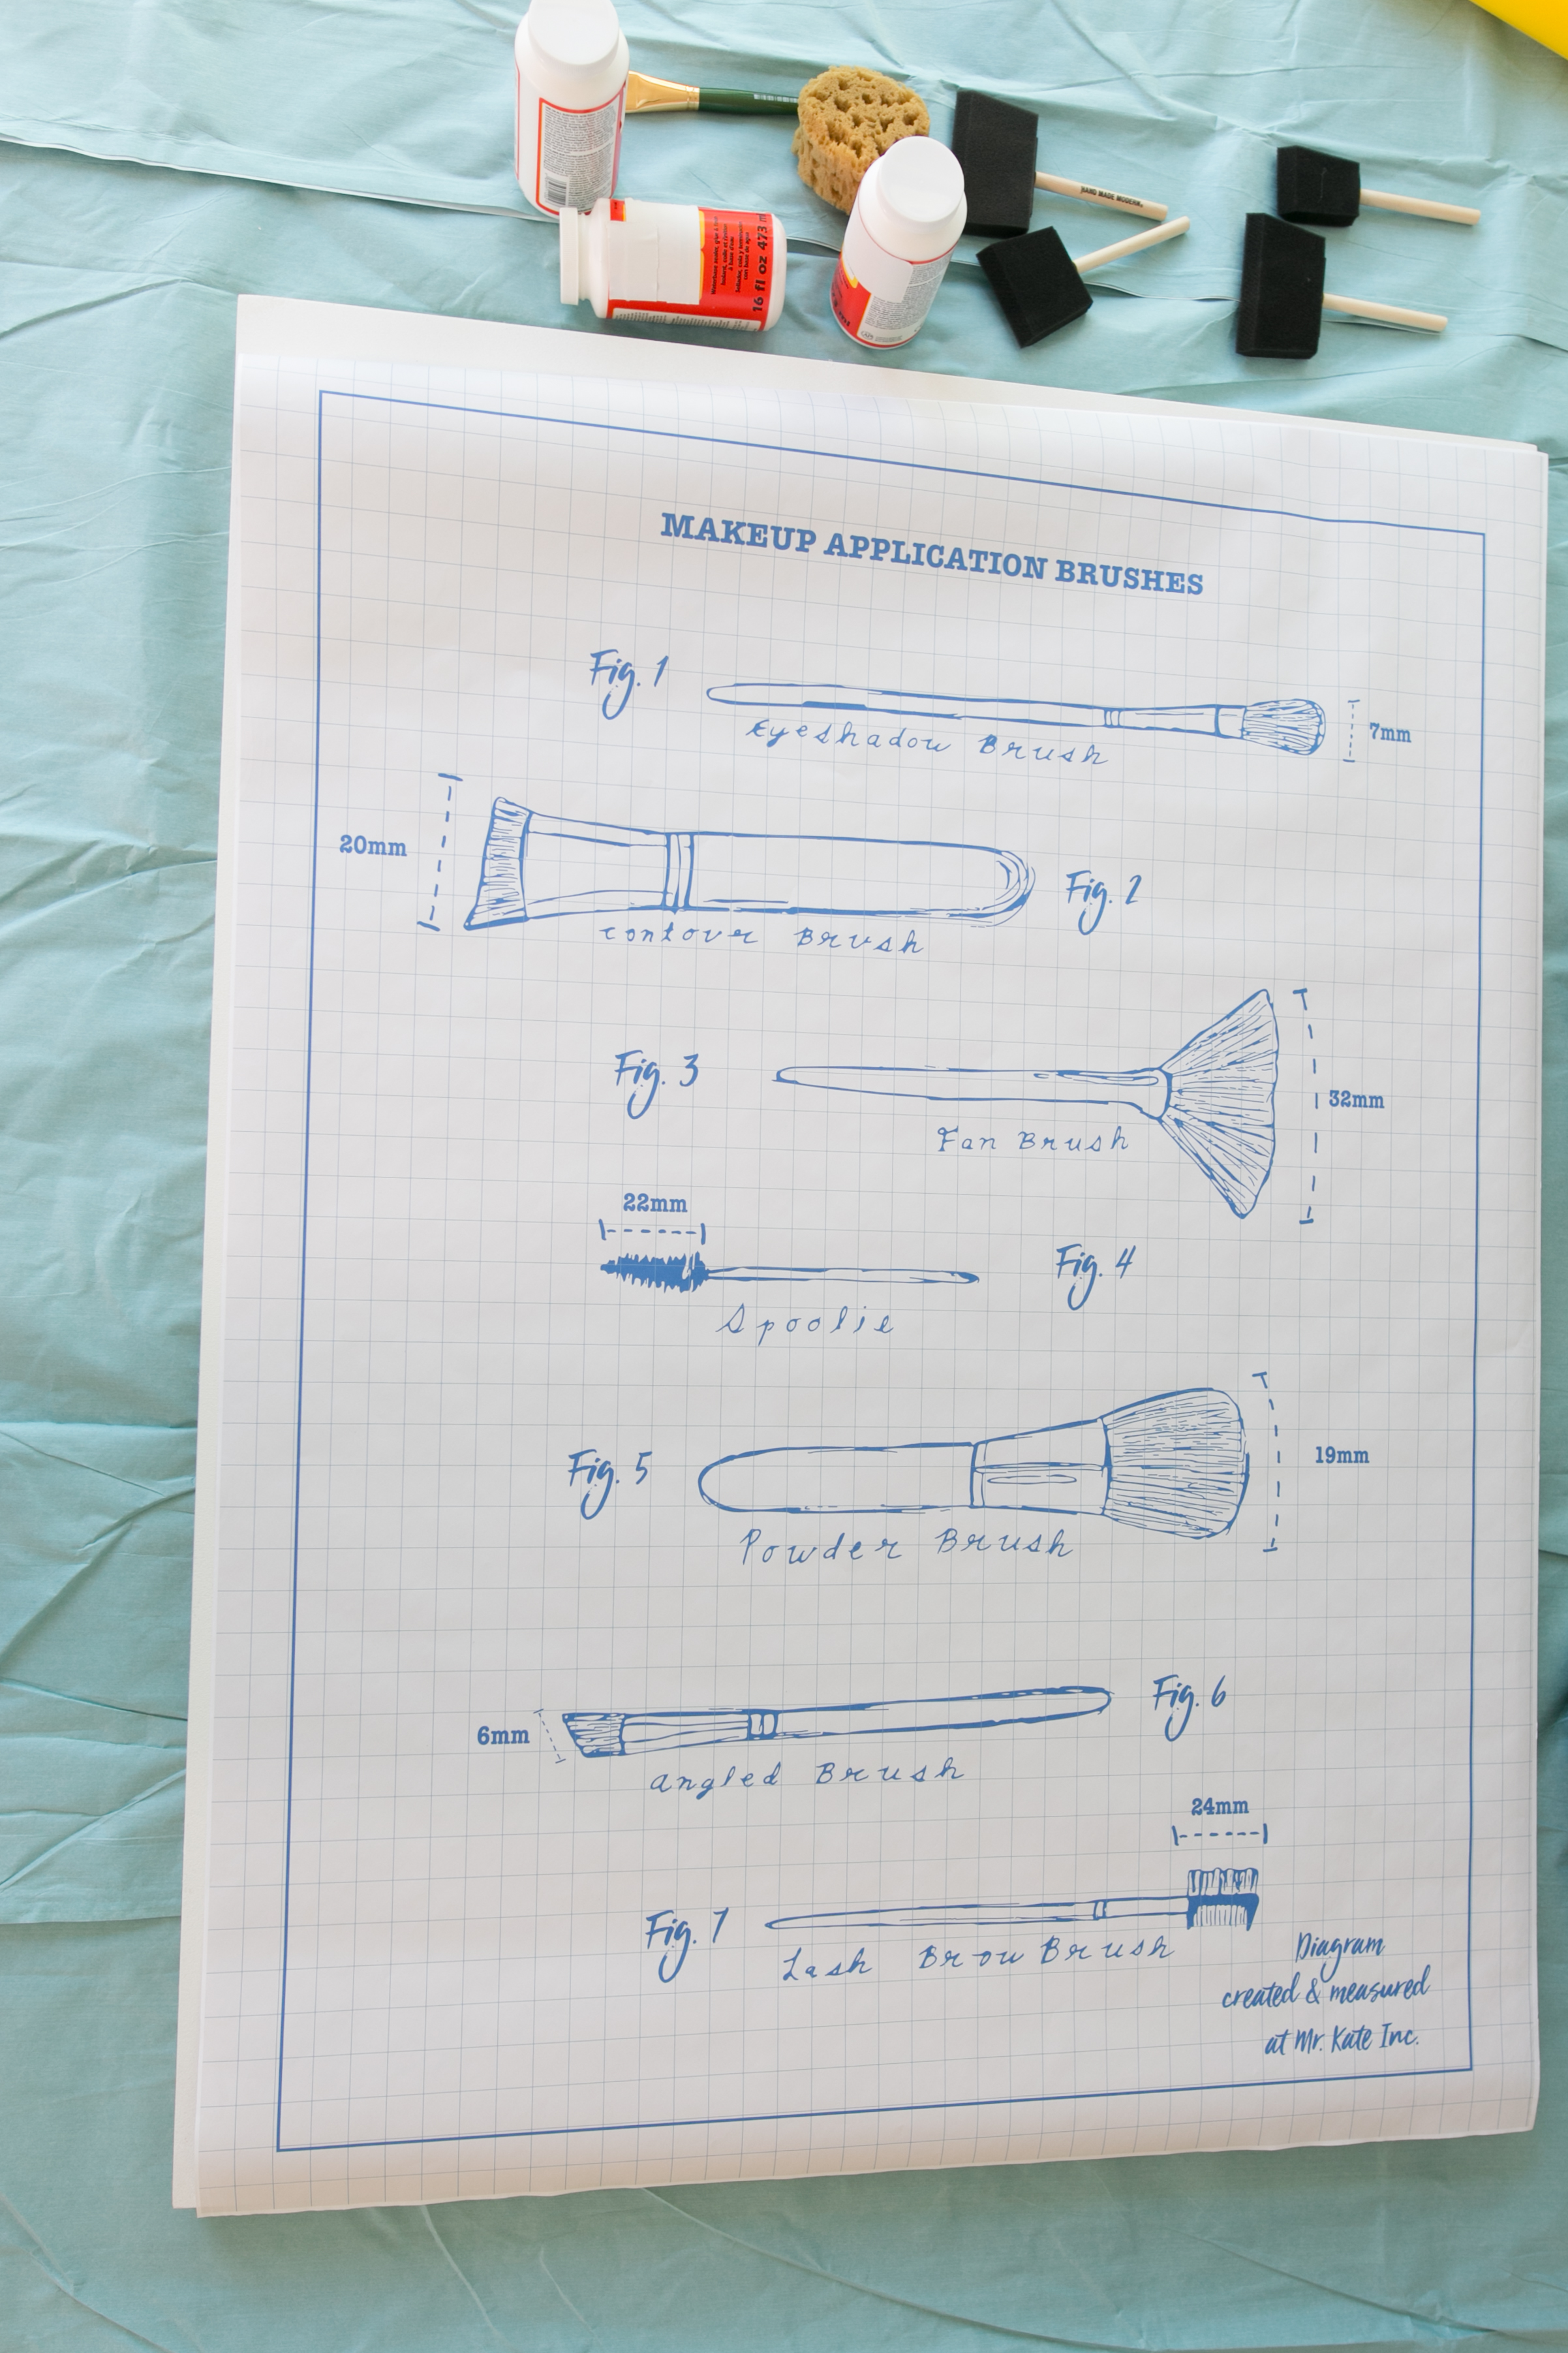
For all the beauty beasts out there (hehe, get it?), I made this blueprint of some of my favorite brushes as a piece of wall art that celebrates the little things that make the biggest difference. Instead of just it (though it is also available on the shop as a print!), I opted to decoupage this custom-sized print to a wood canvas for some art with texture and impact!
Prep It:
Beauty Brush Blueprint 36"x48" wood canvas Decoupage Water Foam brush Long wood pieces the same depth as your canvas (check out this post for DIY Frame steps!) Saw Wood stain Power drill


Do It!:
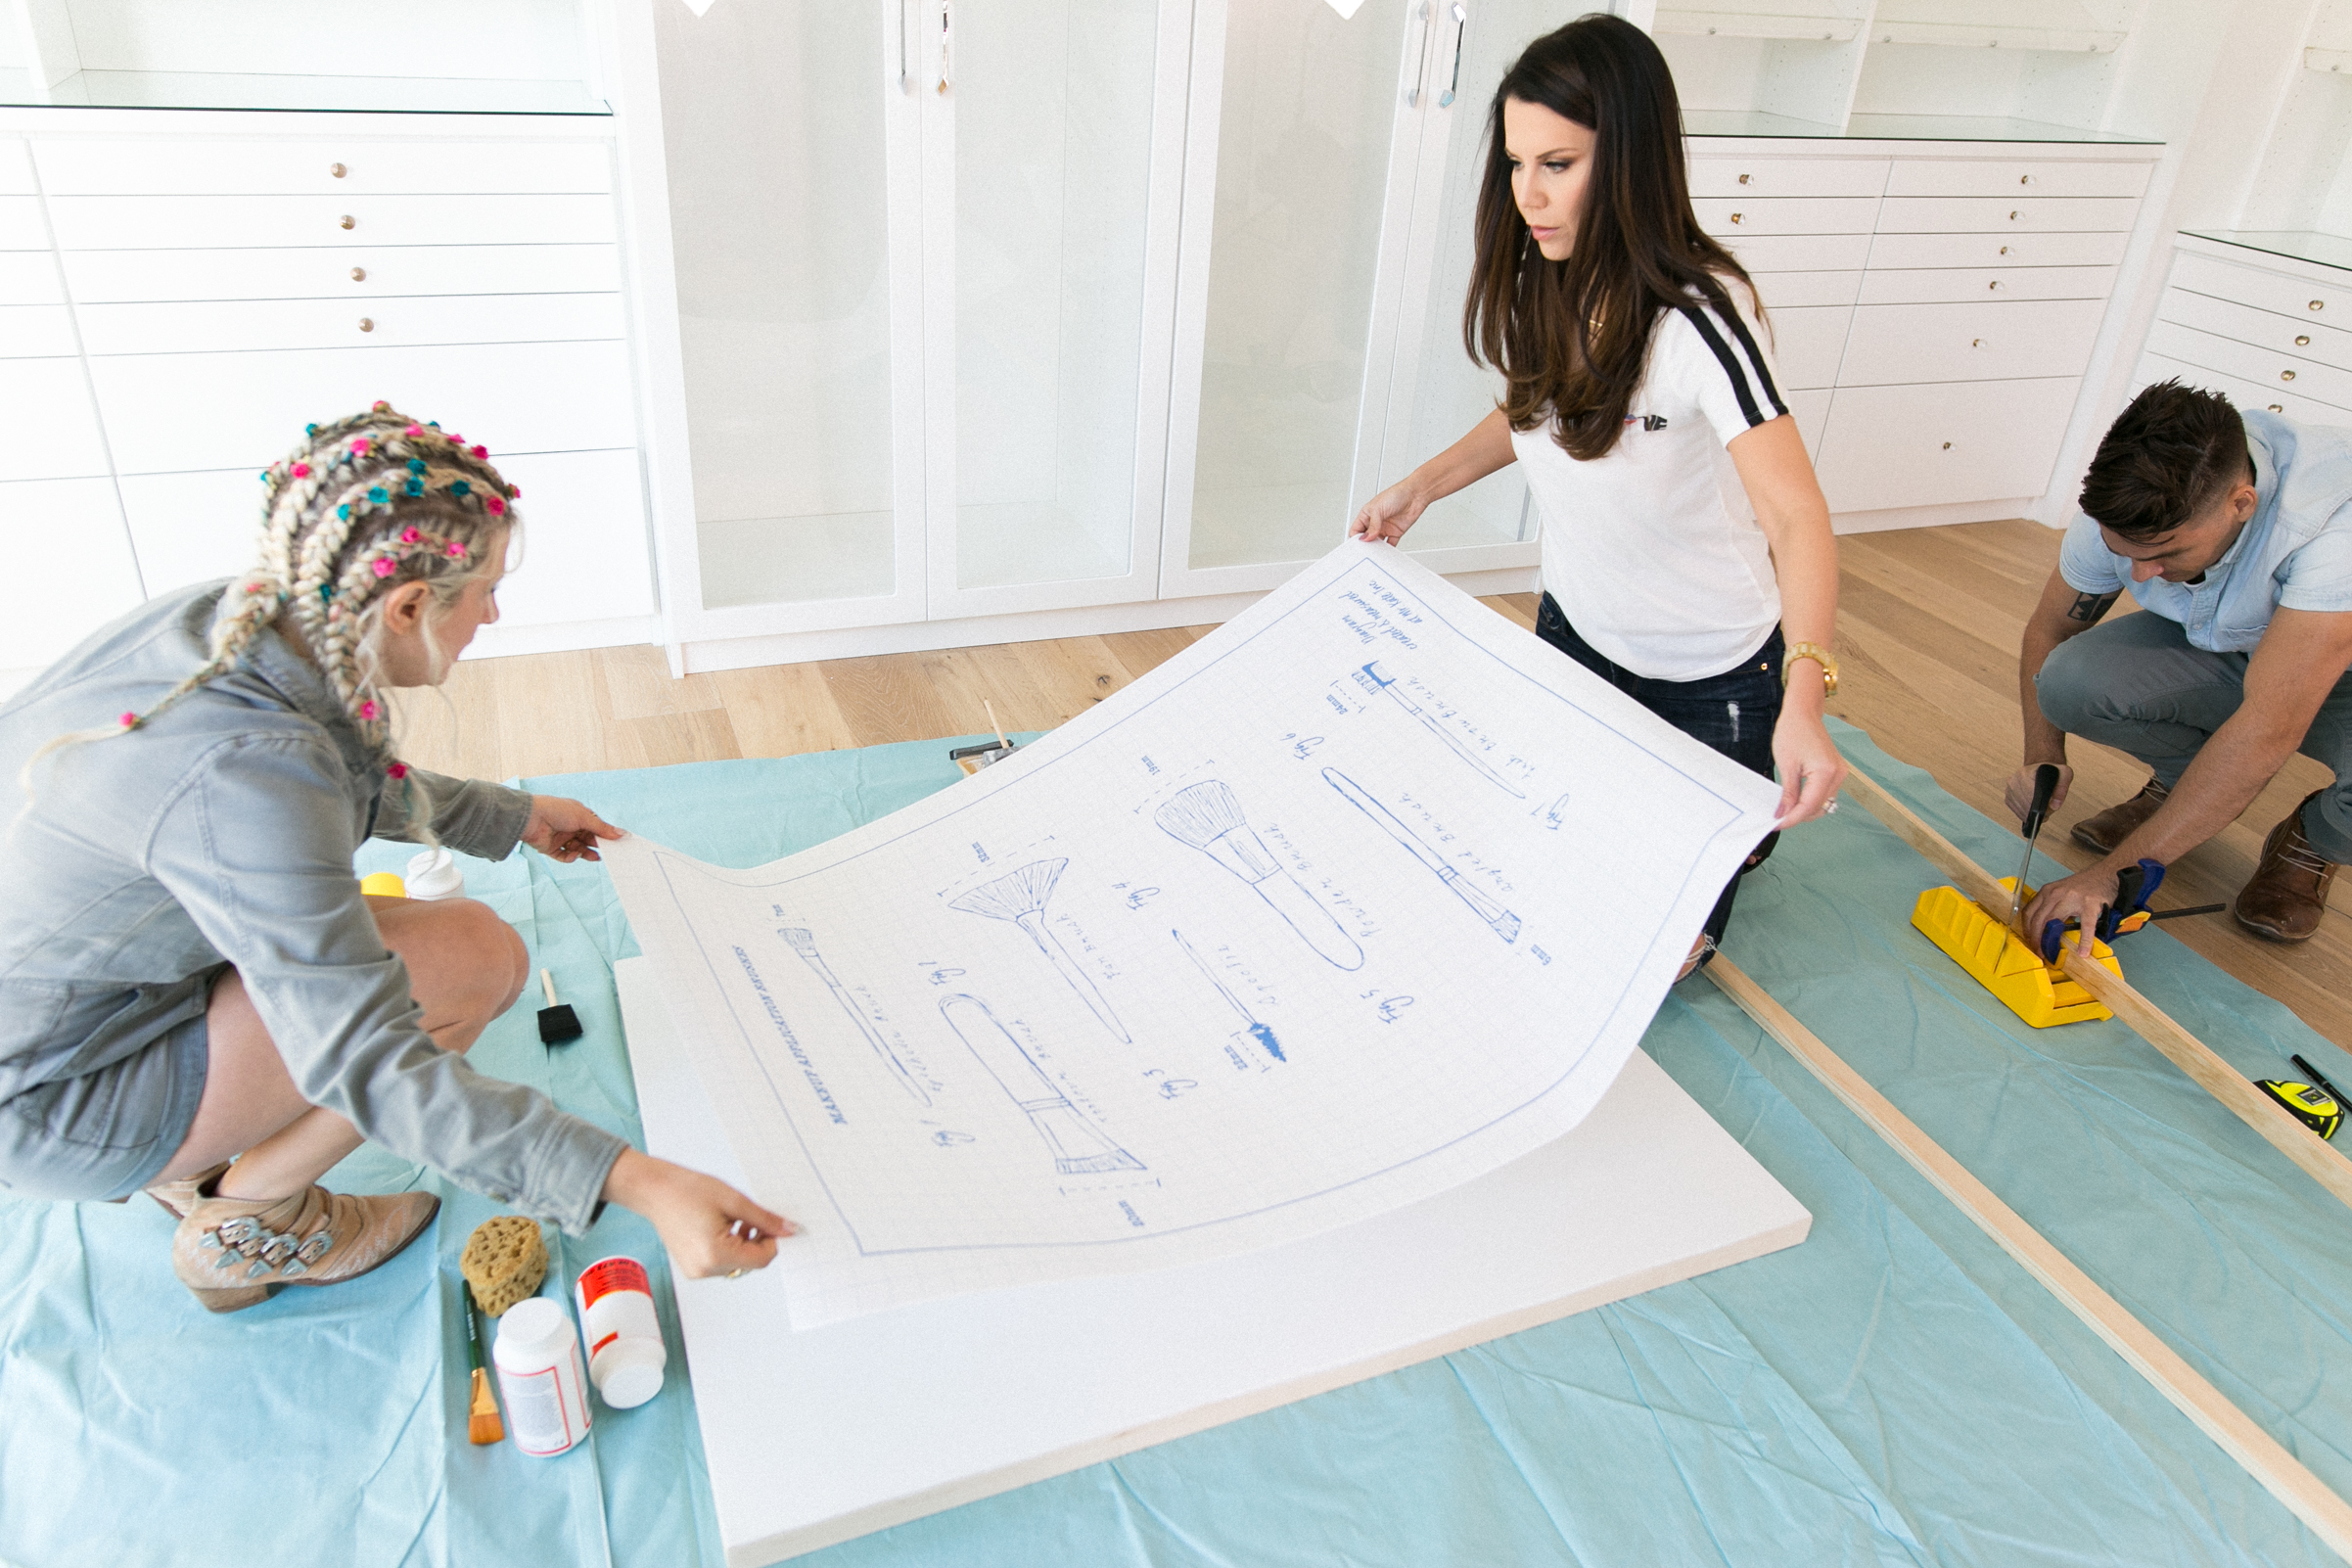
- Get your art printed out at a local print shop (should only cost around $25!) Roll out your print over your wood canvas to make sure that it will cover it completely! Once you're sure, take the print off and put aside.
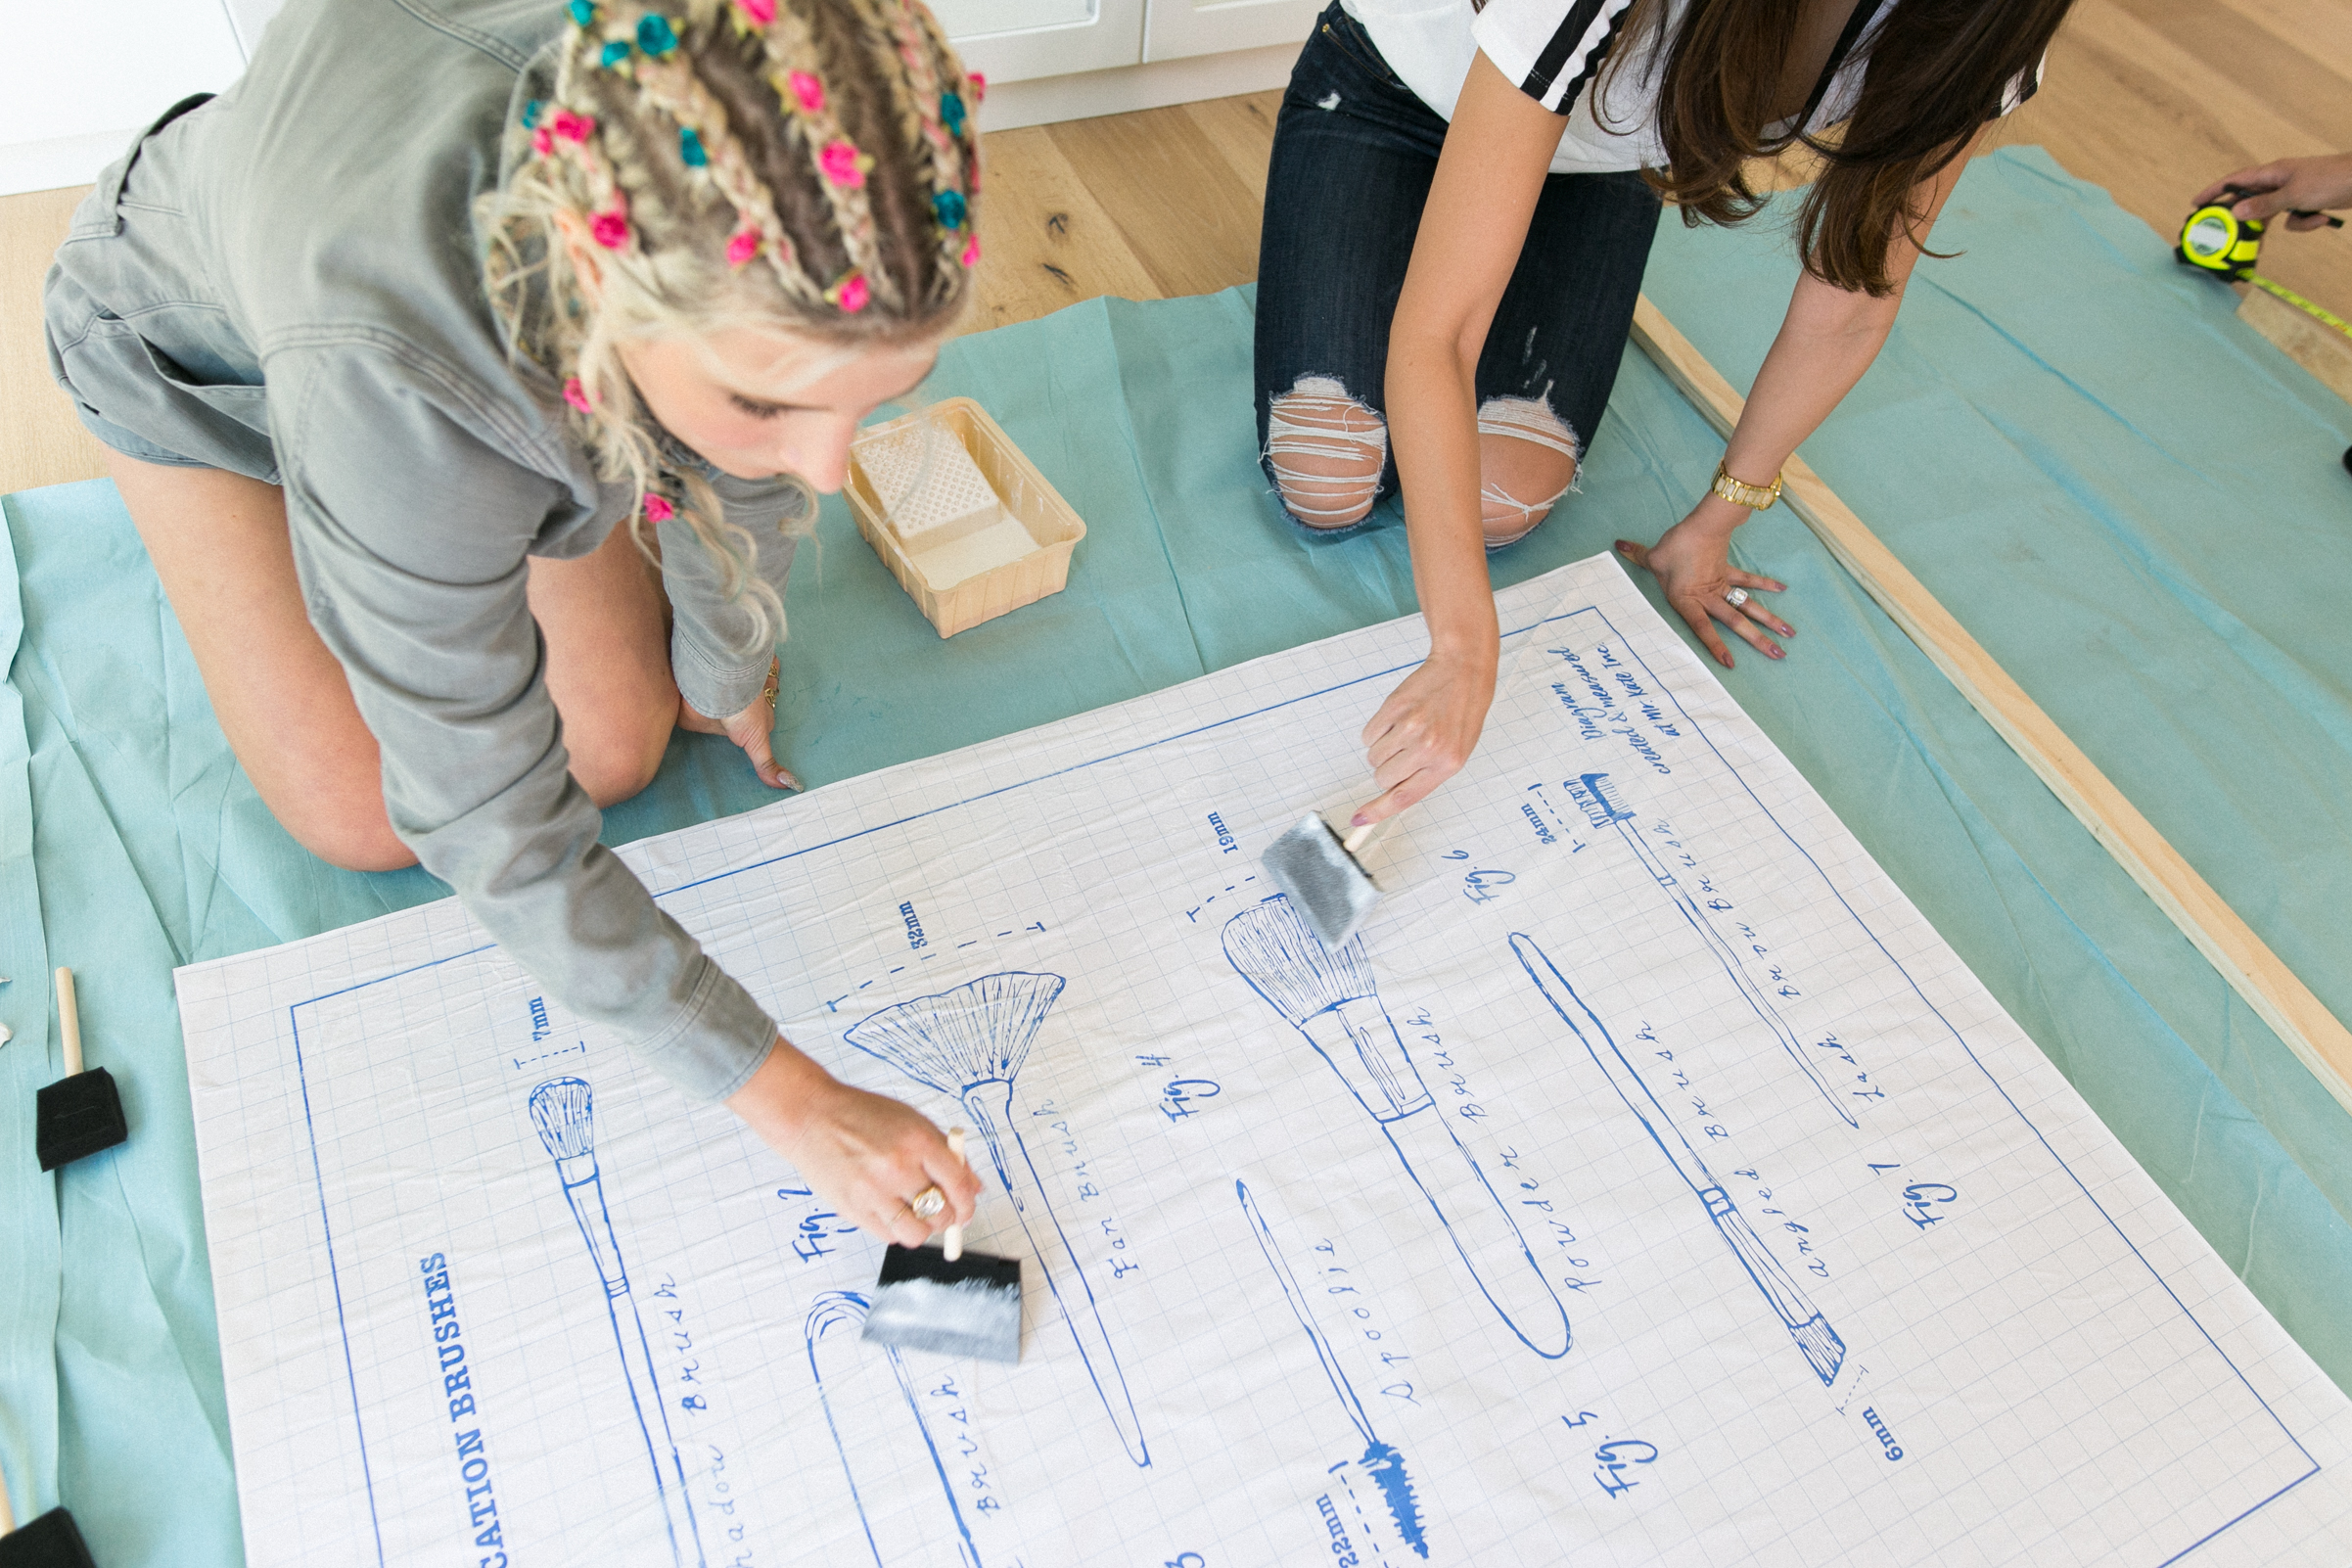
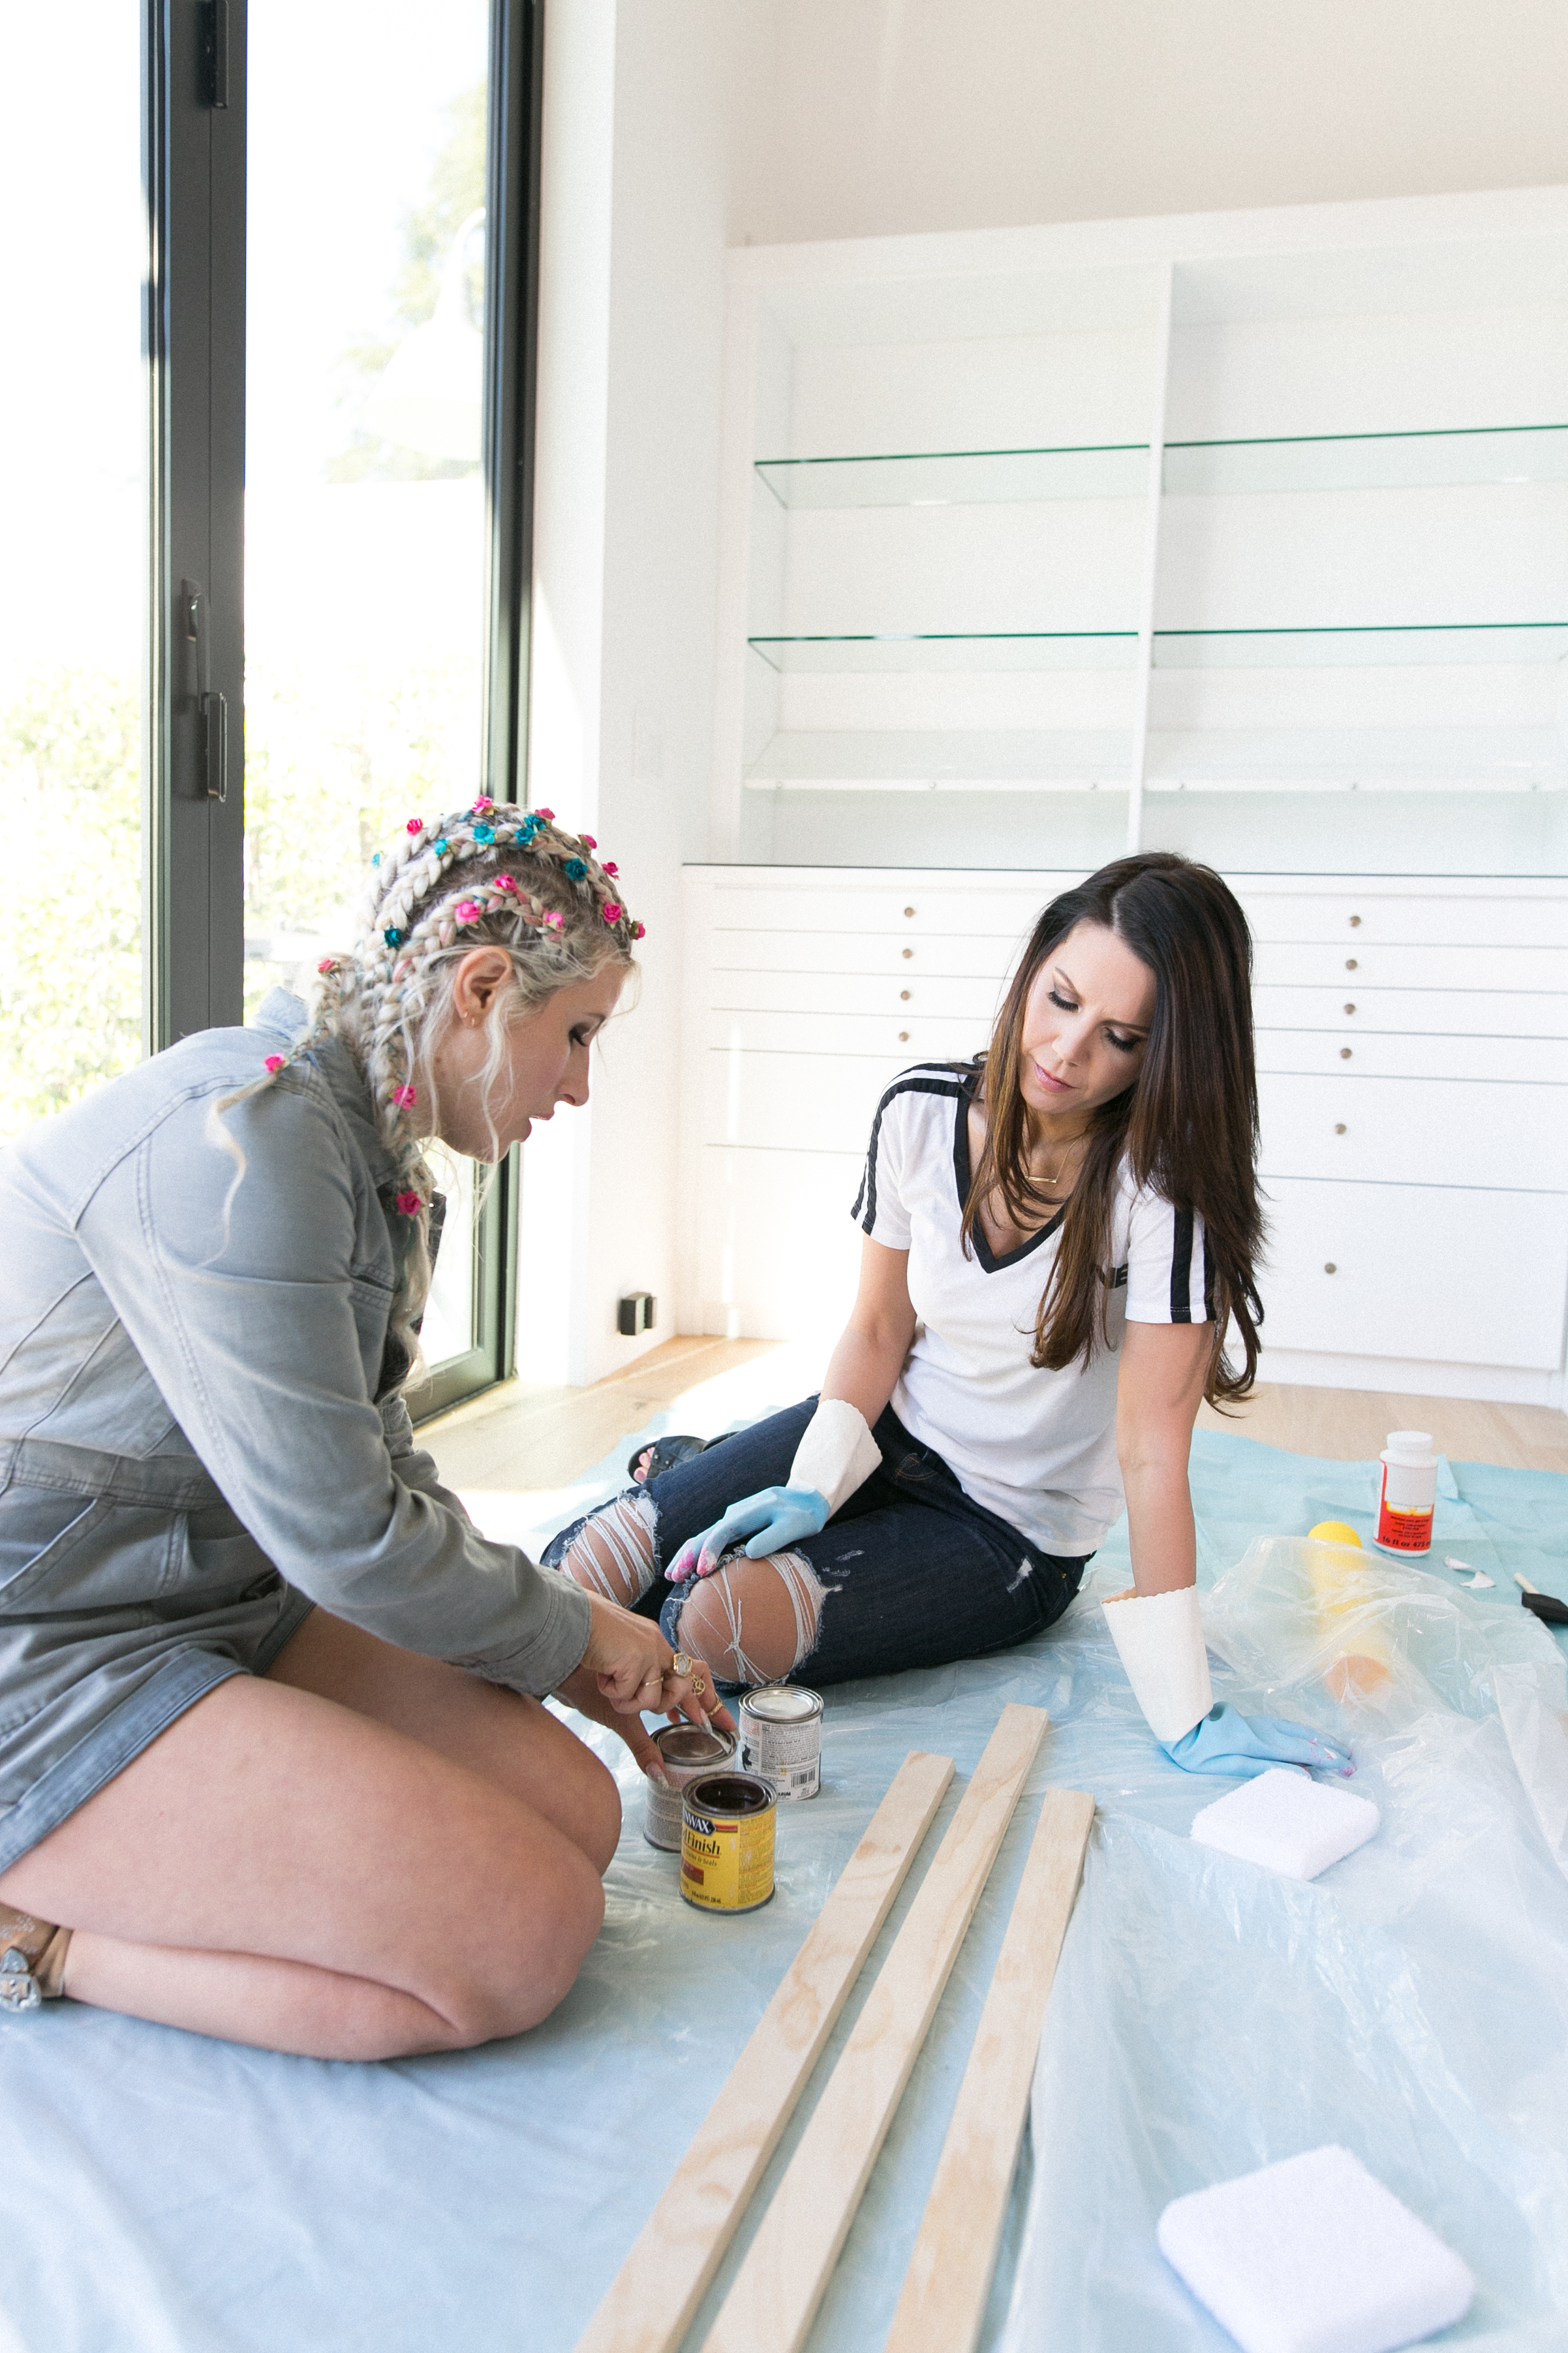
- Mix together some decoupage and water, and use the sponge brush to paint this mix all over the wood canvas. Carefully roll the print back out over the canvas, and cover with another layer of the decoupage/ water mix. Make sure to keep your brush strokes moving towards the edges of the art, to eliminate any air bubbles!
- Let your art dry!!
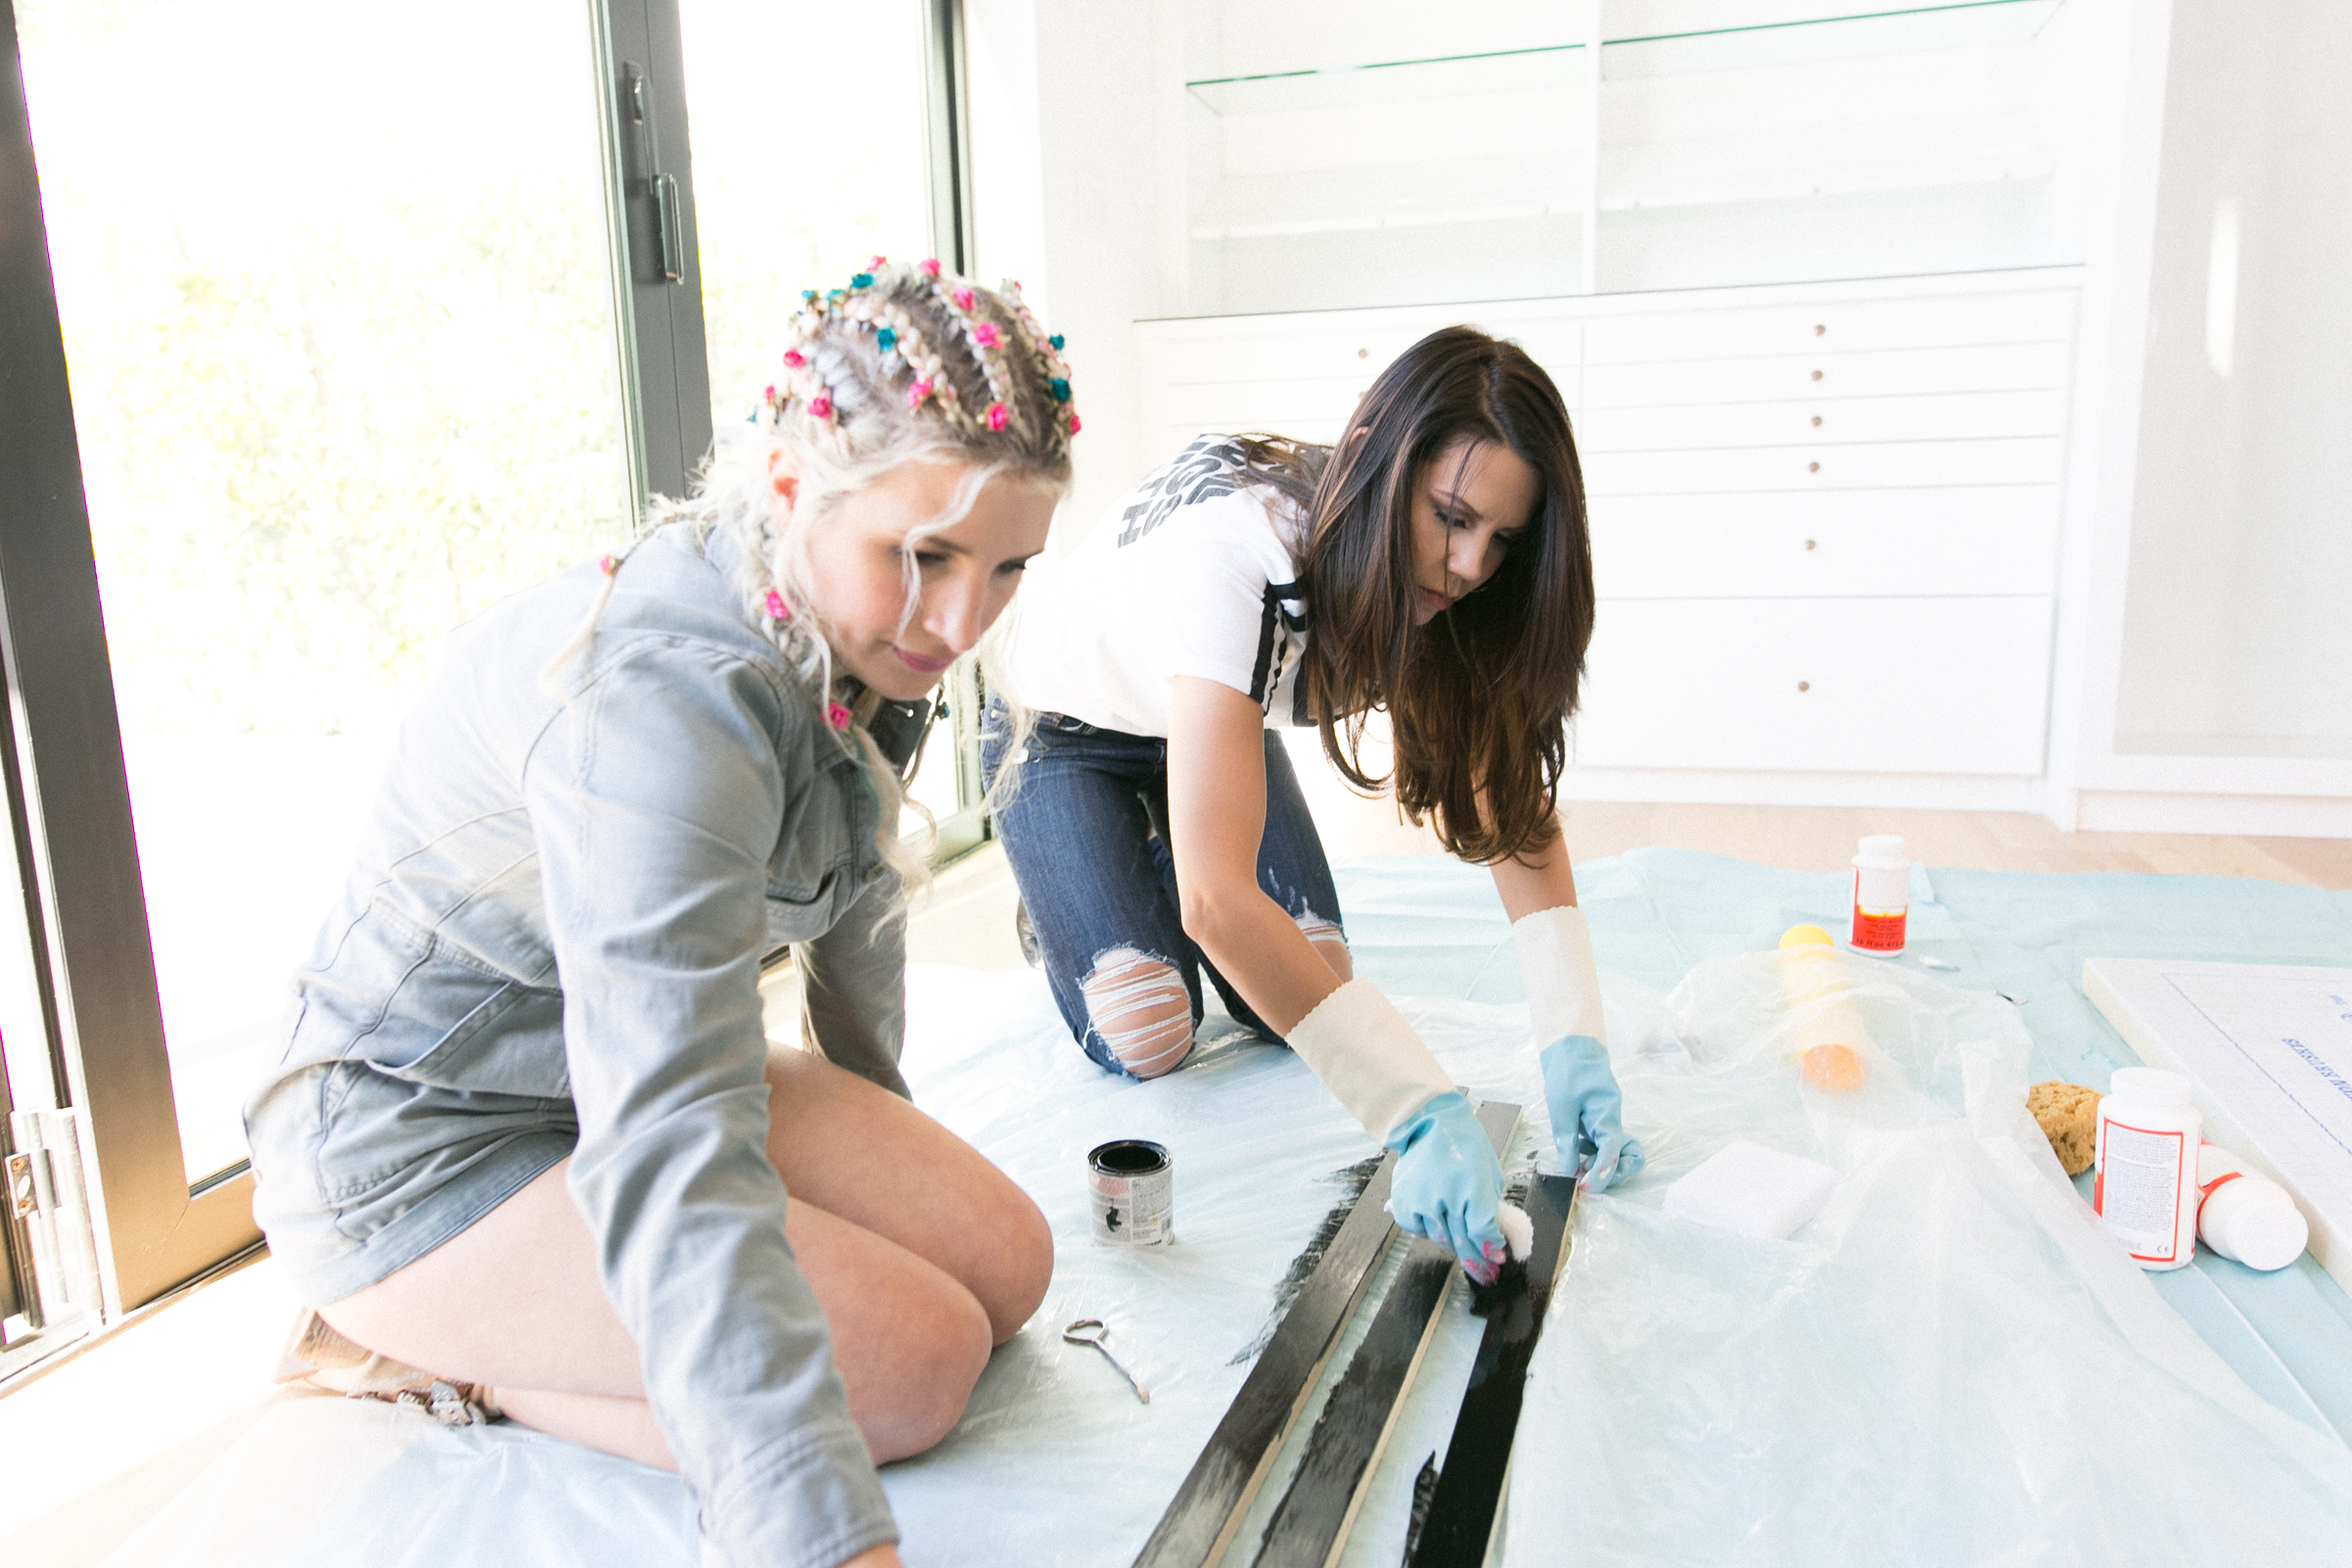
- Stain and build your frame, as explains in this tutorial!
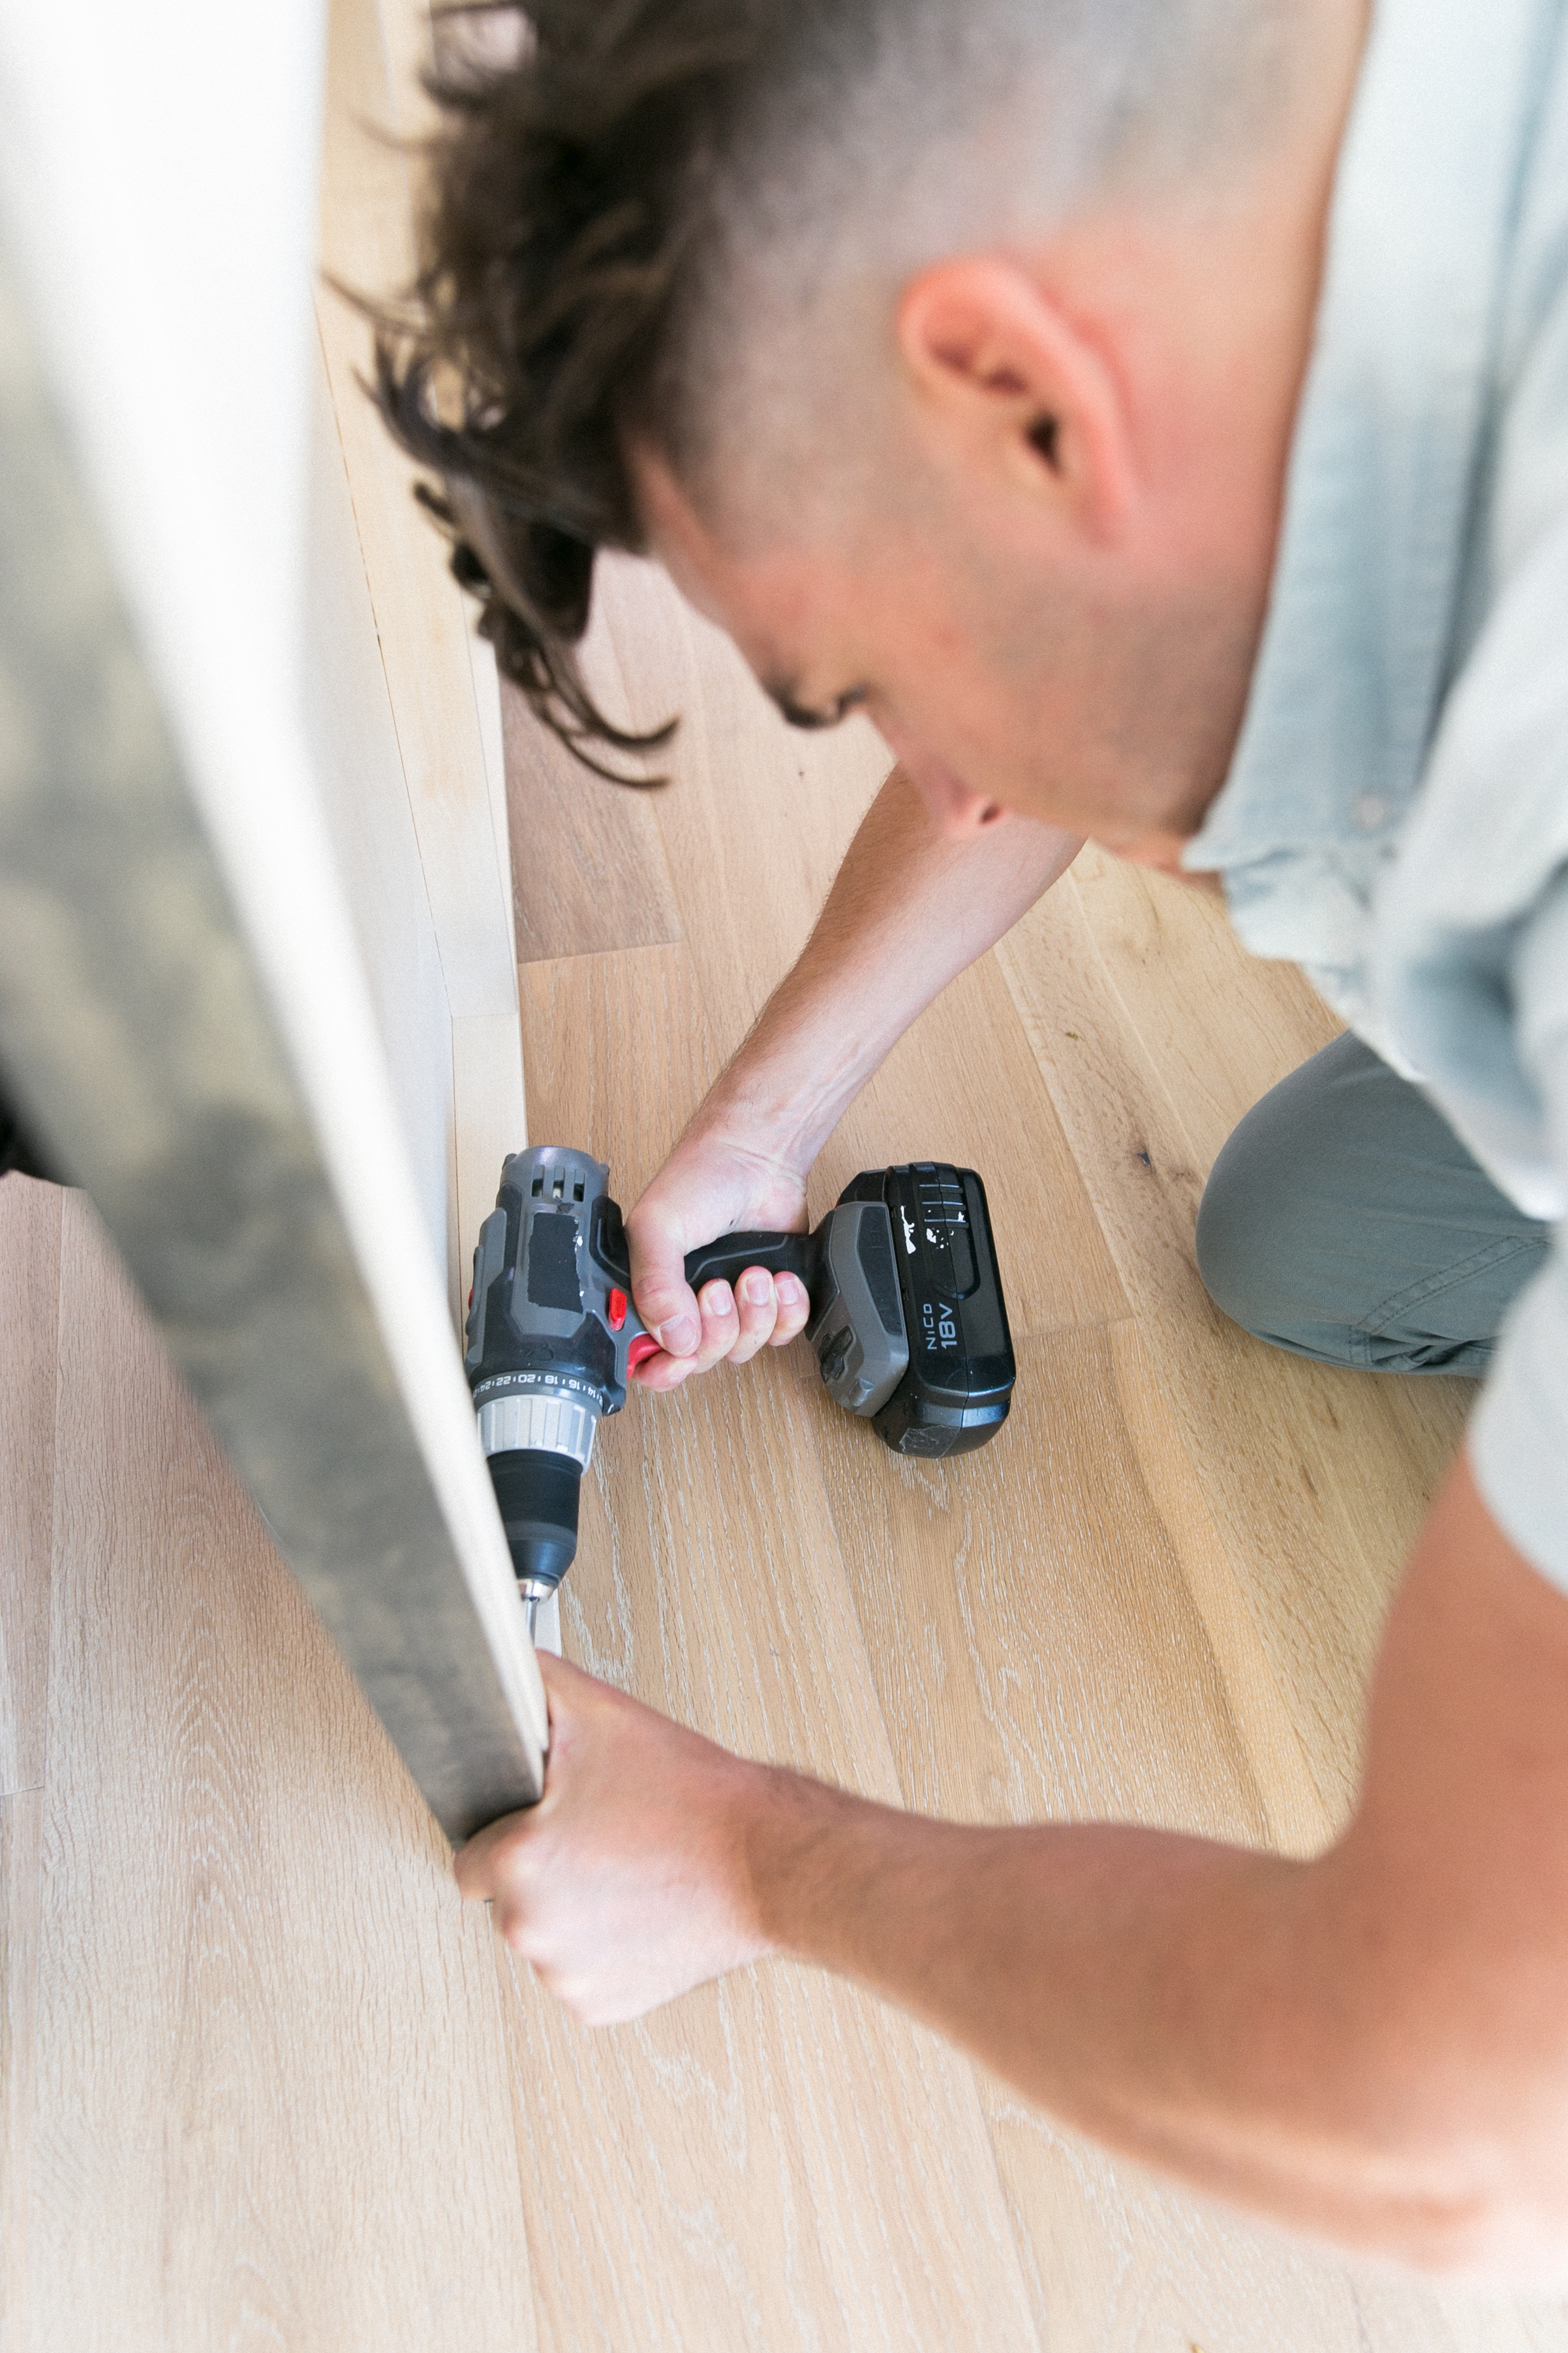
- Once your frame pieces and art have both dried, screw the frame pieces to canvas, working from the inside (the back of a wood canvas is hollow) so no screw heads show on the sides, attaching your frame and finishing your wall art!
- Properly hang on the wall (noting that this piece will be smidge heavier than your average wall art!) and voila!
Get the full steps for creating a custom frame here!

