We're so happy to be LIVING in our living room! It's done! It was a relatively easy process but it always takes time to move, create a design and implement it with furniture, textiles and decor. The tones of white, mixed metals and masculine moments from my inspo tray (in Episode 2) are now manifested in real life in this room...what do you think!?
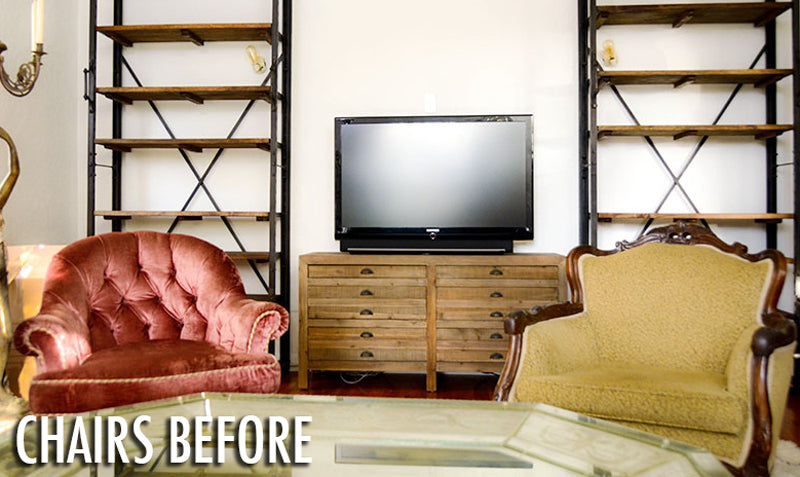
The stand out moments, to me are: the media wall with the mounted TV, swing arm sconces from Lamps Plus above the bookcases and the DIY gold-leafed, paper mache animal heads above the TV as well as the reupholstered thrift store chairs and mirror used as a coffee table! What's your favorite part? Watch the video to get all the design details.

If you missed Episode 7: Living Room Part 1, watch it here and see all of the OMG We Bought A House series here!


The chairs were too complex for me to attempt a DIY reupholstery so I took them to my local upholstery shop along with the fabric I bought from the fabric store for each chair. I had 6 yards for the tufted chair and 5 yards for the white/wood frame chair. I also had them stain the frame and legs black and add nail head detail. I love how they turned out and pssssttt... the white chair is pleather and Joey loves it and it's so easy to clean!


I also bought some of the other fabric I liked in 1 to 2 yard pieces and had the upholsterer make custom pillows for the couch and one for the white chair. It ends up being cheaper than if you were to buy high end throw pillows at a store... they even made them with zippers so I can get the cases dry cleaned if needed.

The knit pillow I got on sale from Ballard Designs

The cream colored, vintage velvet curtain panels are from Restoration Hardware and give such a luxurious vibe to the room! The plant is a fiddle leaf fig and the pot is from Cost Plus World Market.

You don't have to cram a bookshelf! Careful styling and placement of a few chosen items make open shelving so much more pleasing to the eye. If you have a ton of not-so-cute books etc. try housing them in shelves with cabinets or use pretty bookends.

Annd, of course, the DIY gold leafed paper mache animal busts...


DIY Gold Leaf - this is a great technique to use on any large scale, sculptural element you want to make look like it's made from real gold!
Prep It:
- paper mache animal head
- spray mounting adhesive
- gold leaf sheets - I didn't use real gold because it's expensive but there is always that option too!
- protective finishing spray
- paint on gold leaf
- a soft bristled paint brush


Do It!:
- Spray the adhesive onto your animal head in small portions and carefully drape the gold leaf over it. Use the paint brush to softly dab the gold leaf into the crevices of the animal to make sure every detail of the animal is revealed.
- Repeat the first two steps until the animal head is covered - don't worry if the gold sheets rip a little, you can fill it in with another piece of the liquid leaf.
- Optional: Go over any tears or gaps in the gold leaf with the paint-on gold leaf to give your animals more definition and a tarnished, more antique look.
- Let dry and spray your now gold casted (looking) animal head with the protective finishing spray and let dry - this will help seal the leaf and also prevent further tarnishing.
- Mount on your wall and enjoy!

Comment and let us know what you think of the transformation and thanks for watching and reading! xo
(lighting provided by Lamps Plus)


