

For a long time, orange was a color oft avoided in beauty. Being in the color family of my, and a lot of people's, fair/olive skin tone, trying to rock orange on your face could delve from "high fashion" to "fake tan" all too easily.
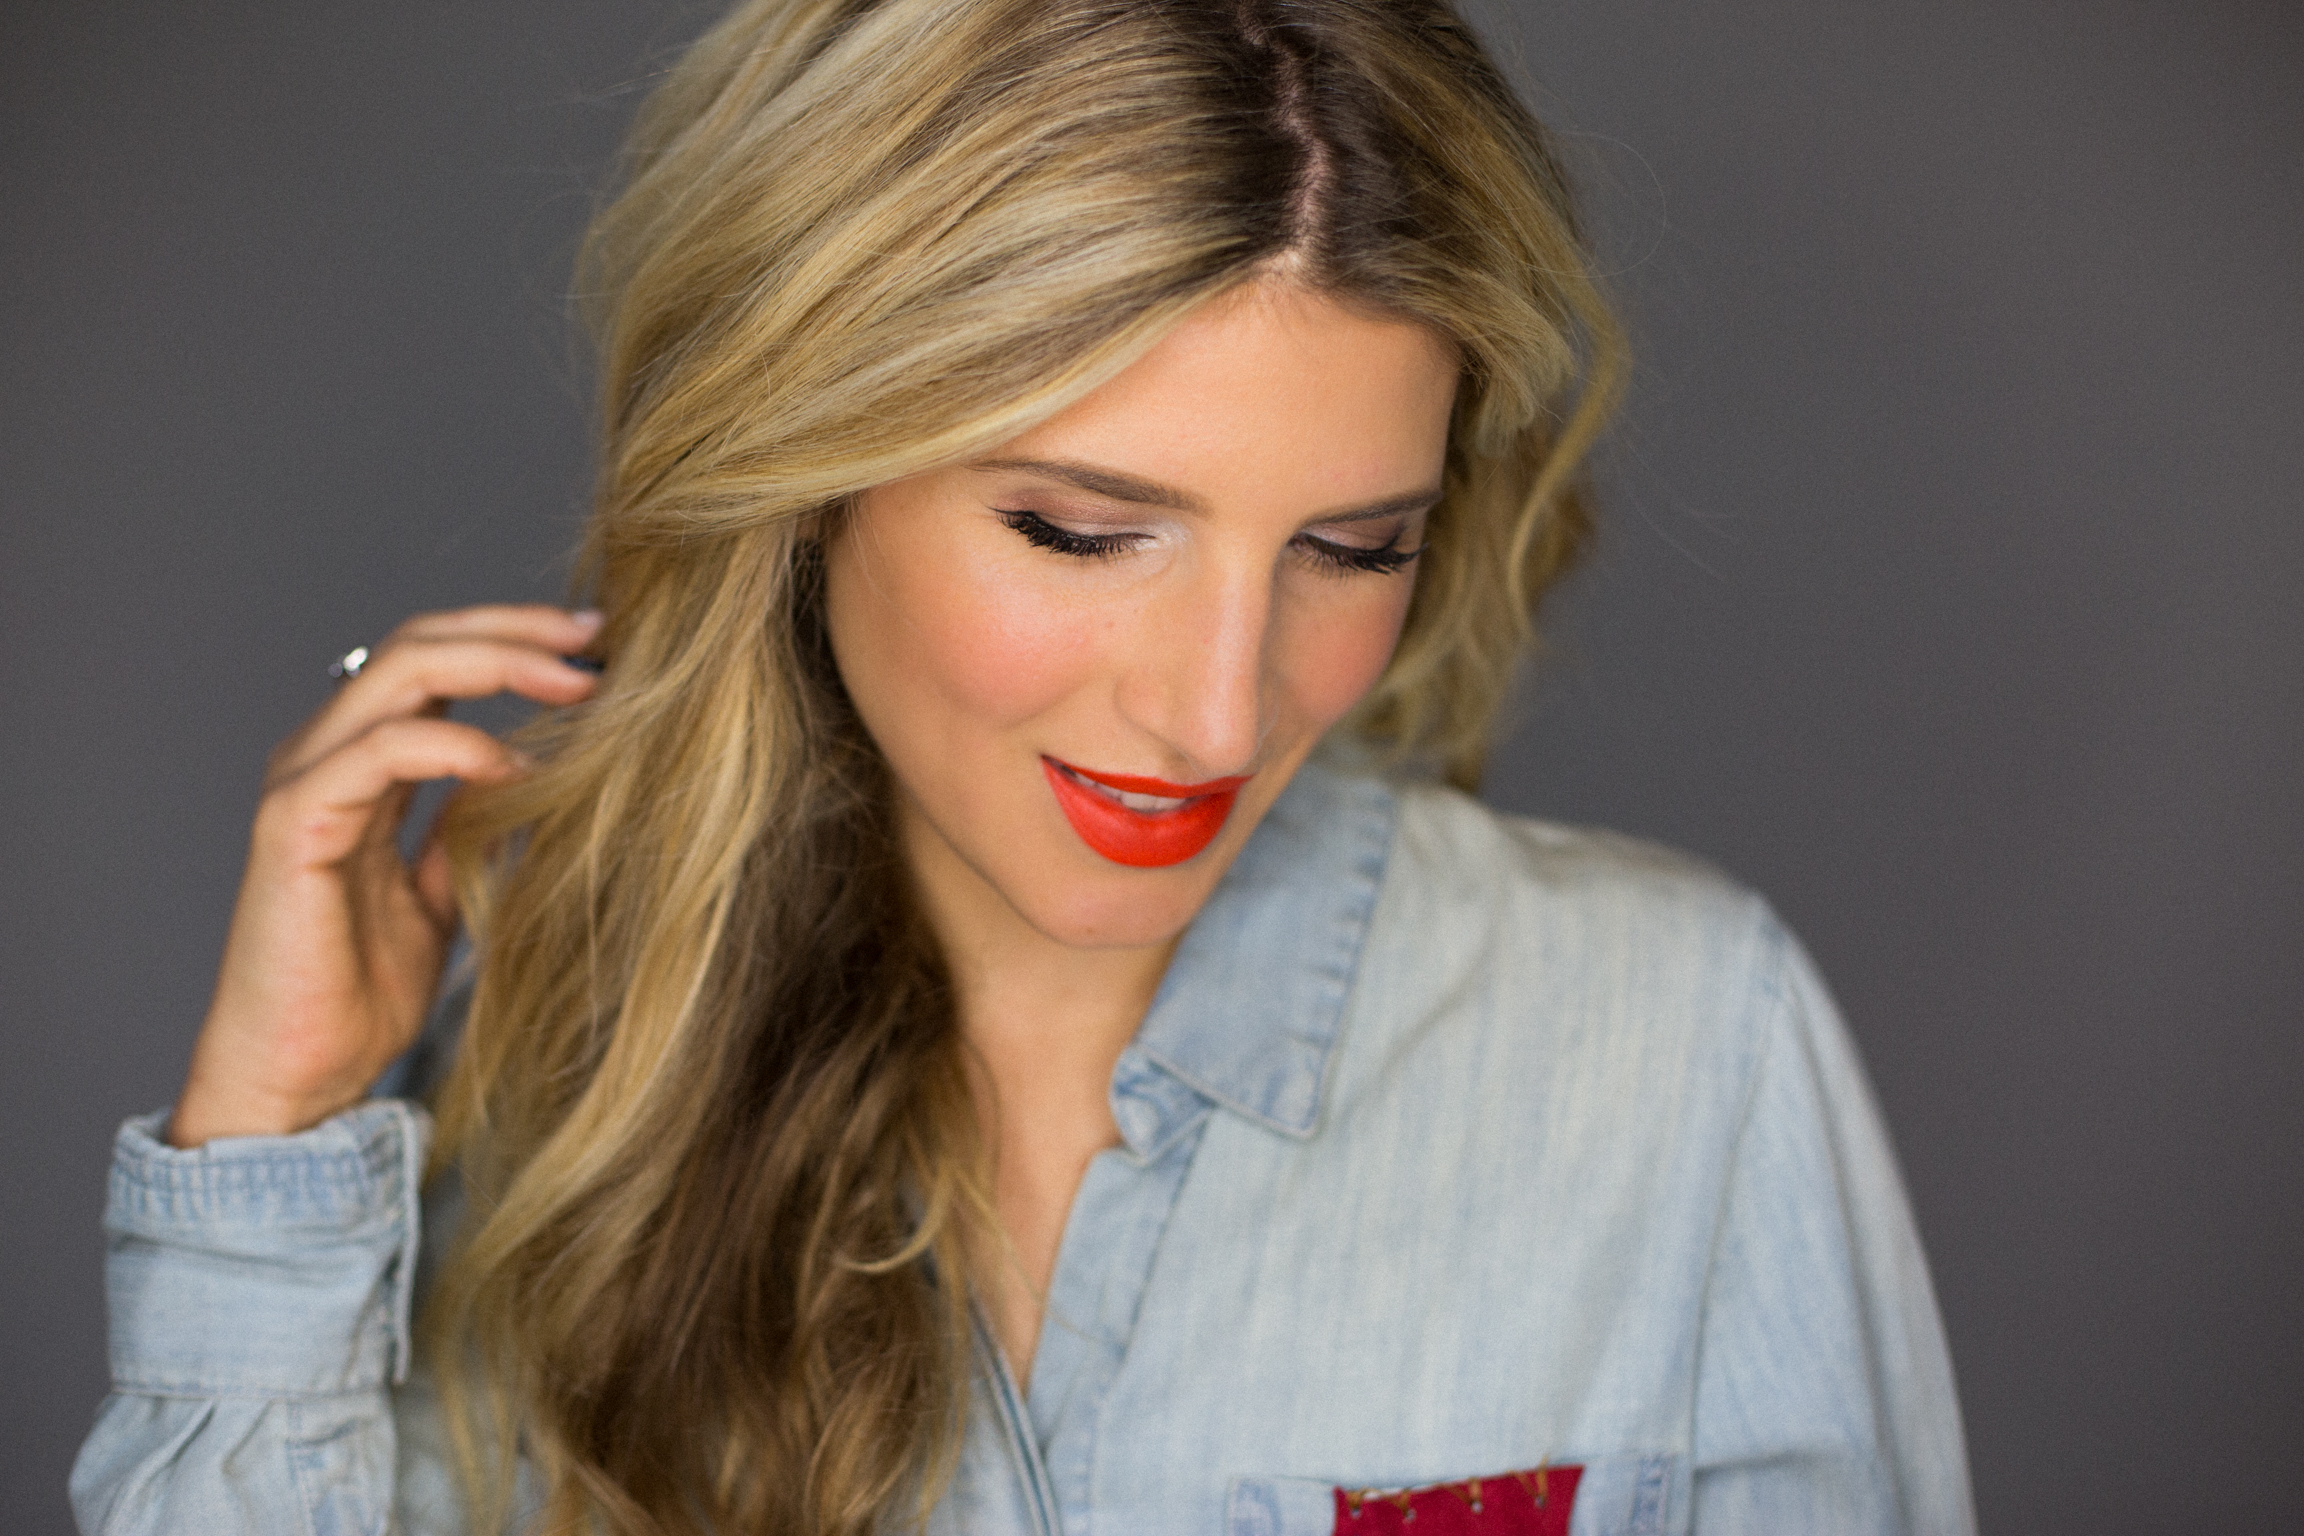
But, being the brave soul with a #whynot attitude, I decided not only to wear orange makeup — but two different tones of it! The trick with this secondary color (which for the record, looks much better in makeup than it did on our exterior Office walls) is to think on the ends of the spectrum. A soft peach is beautiful on eyes, lips, or cheeks, and a daring, fiery orange red kisses almost any other lipstick shade bye bye.
So ... orange you glad we can end this feud between beauty and this bold, brilliant color? Check out the makeup deets below!
Prep It:
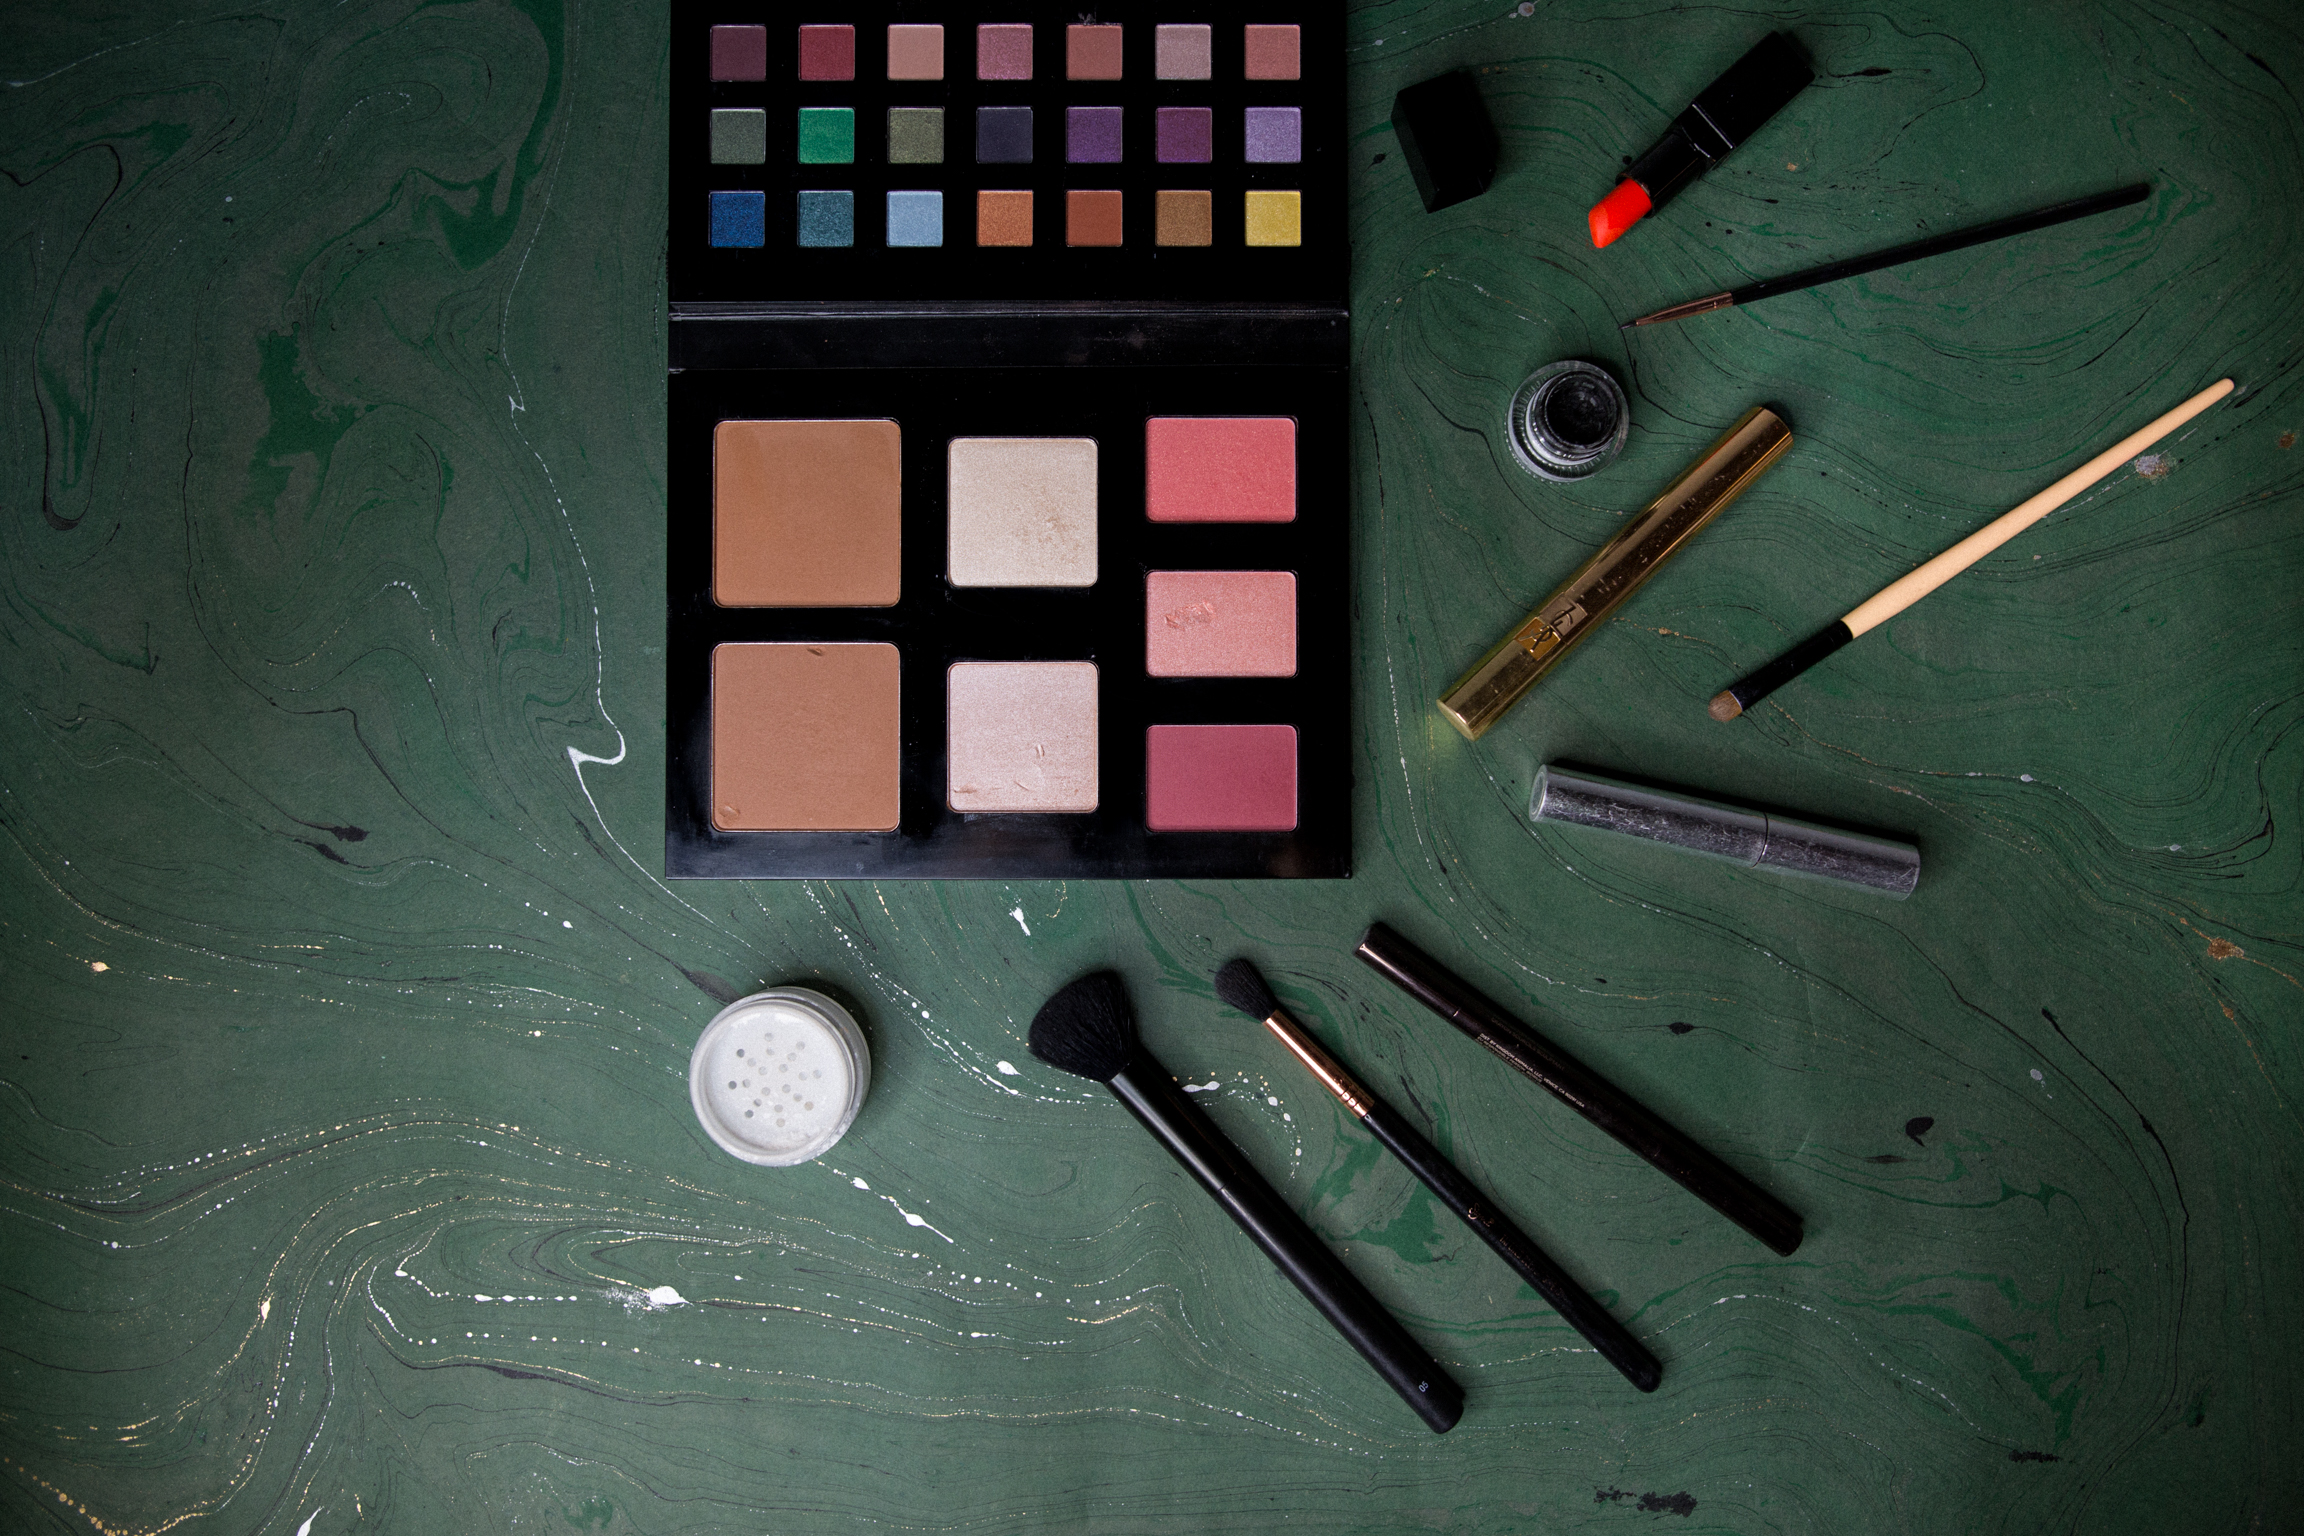
NYX Beauty School Dropout Palette in Graduate Smashbox Eyeshadow Primer Laura Mercier Secret Brightening Powder Sigma E40 Tapered Blending Brush Sigma E06 Winged Liner Brush Sigma Stand Out Eyes Gel Liner in Wicked YSL Volume Effect Faux Cils Mascara Ardell Baby Demi Lashes Hourglass Arch Brow Shaping Pencil Smashbox Be Legendary Lipstick in Fireball Matte

Do It!:
- Prep your eyes with eyeshadow primer and setting powder. Got to get your workspace ready before the masterpiece is made!
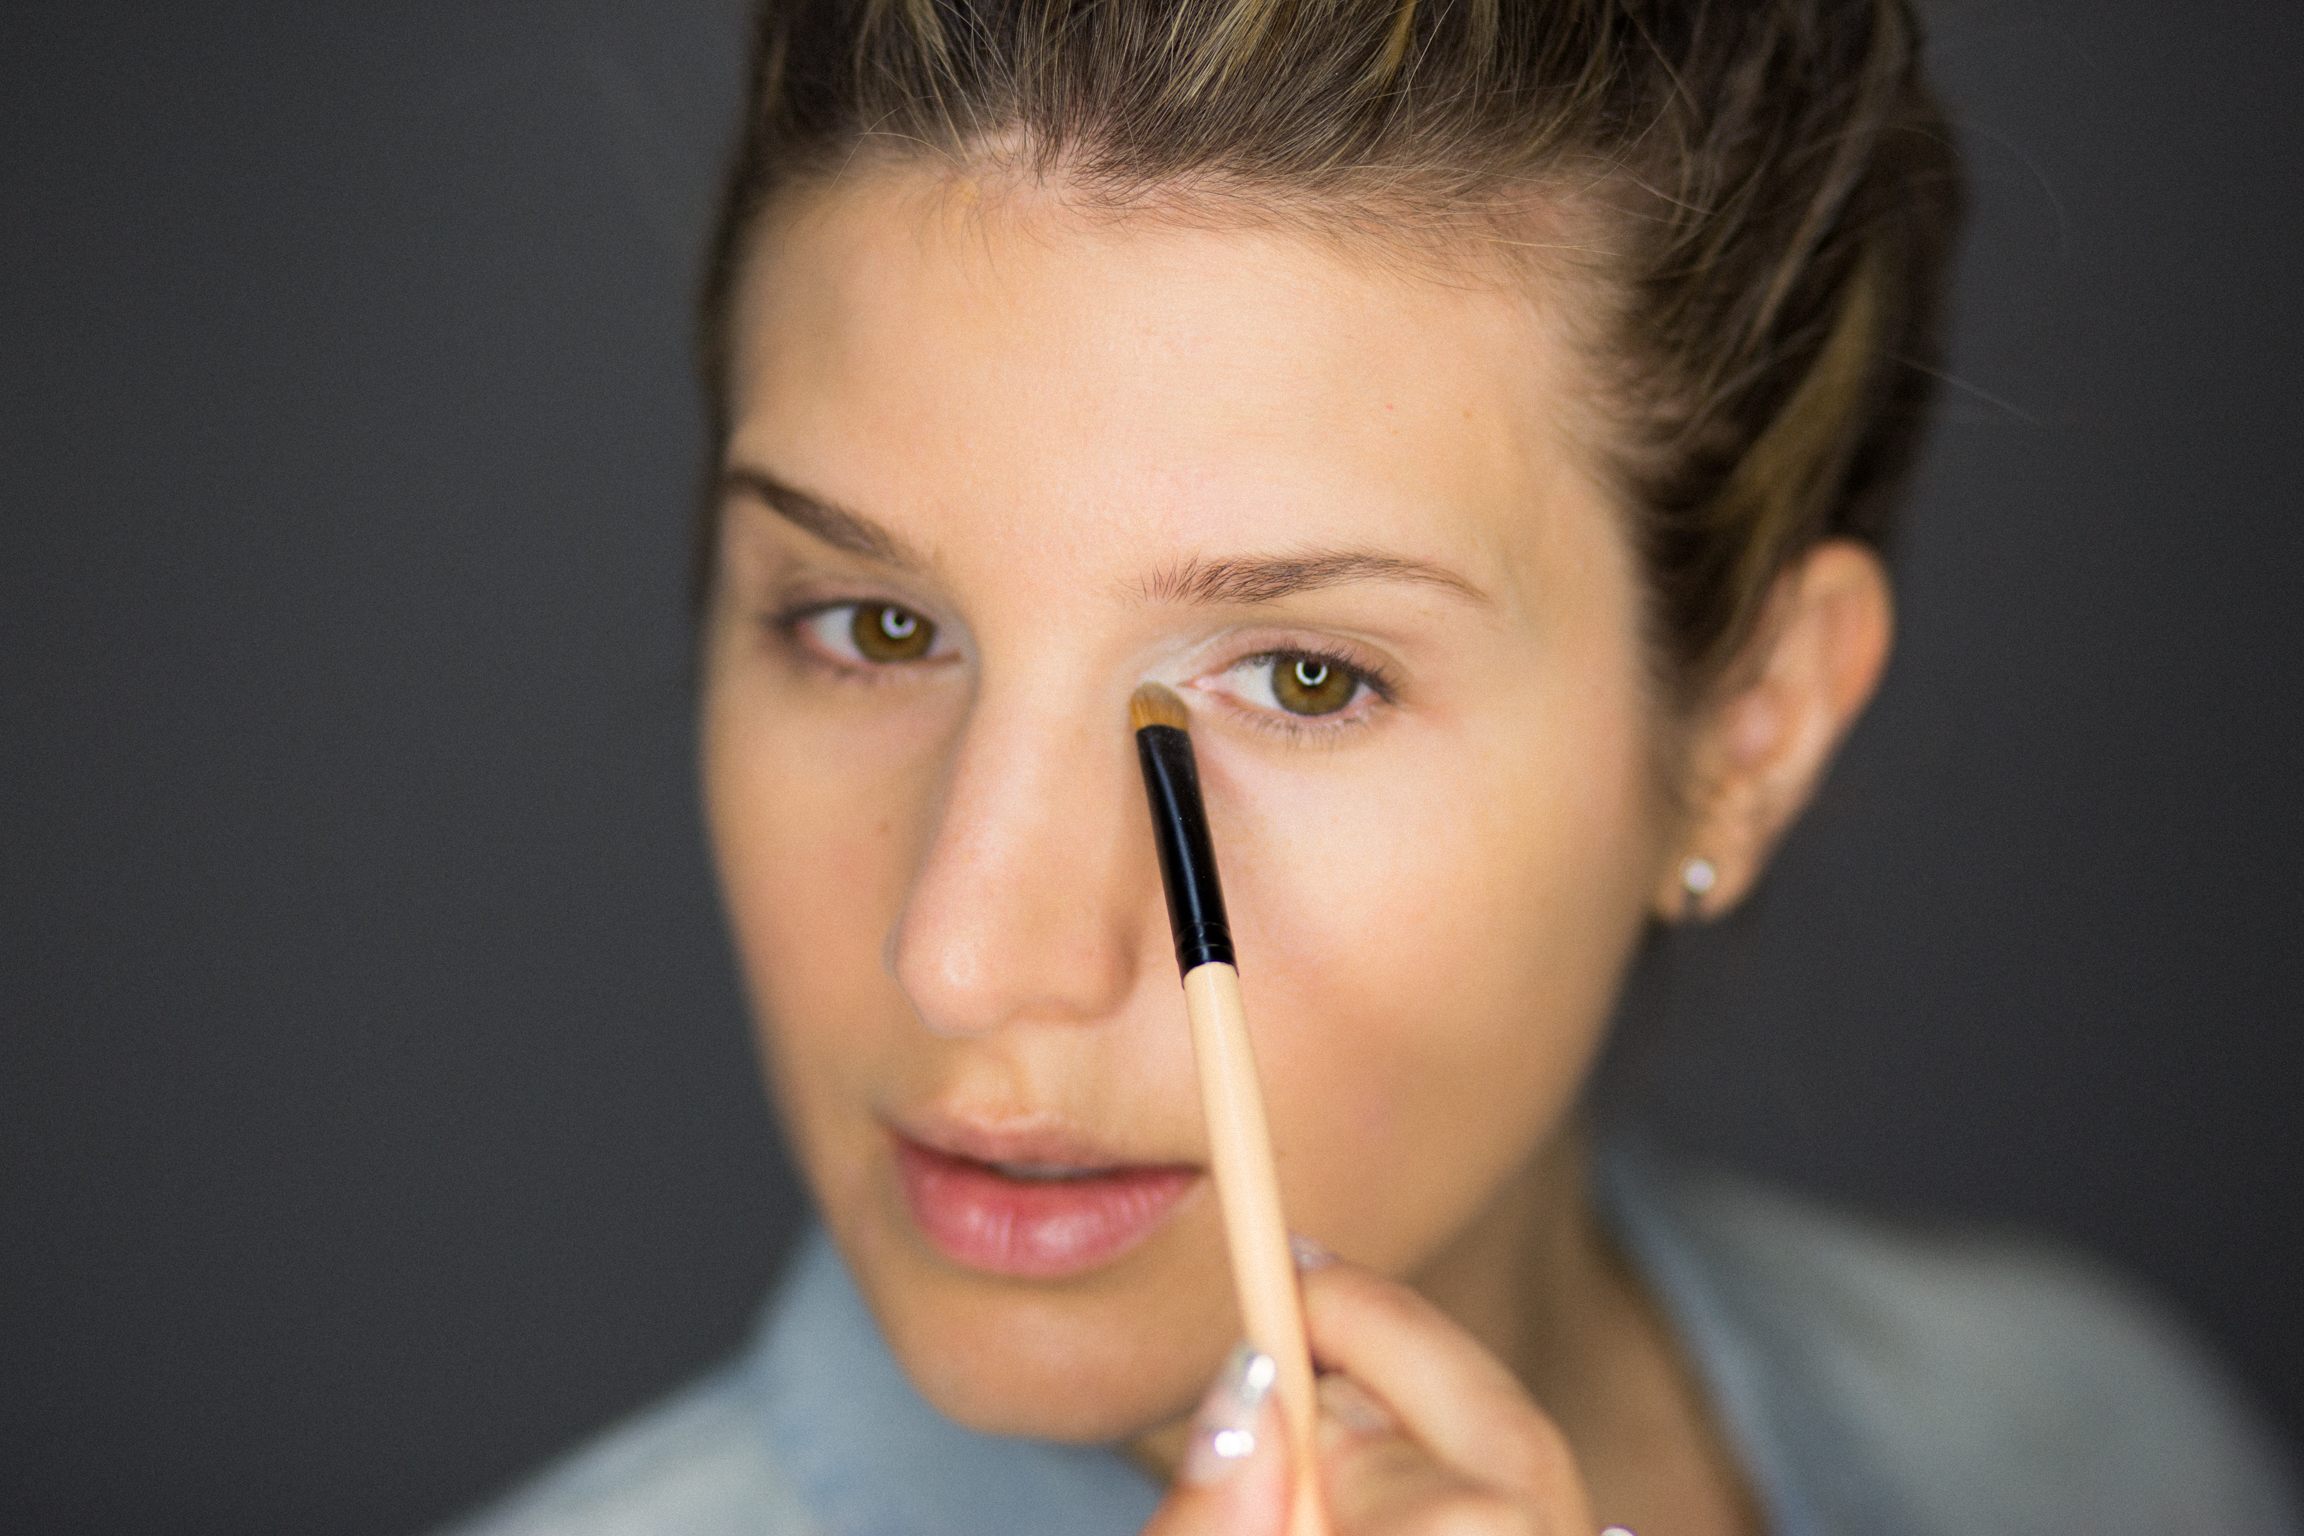
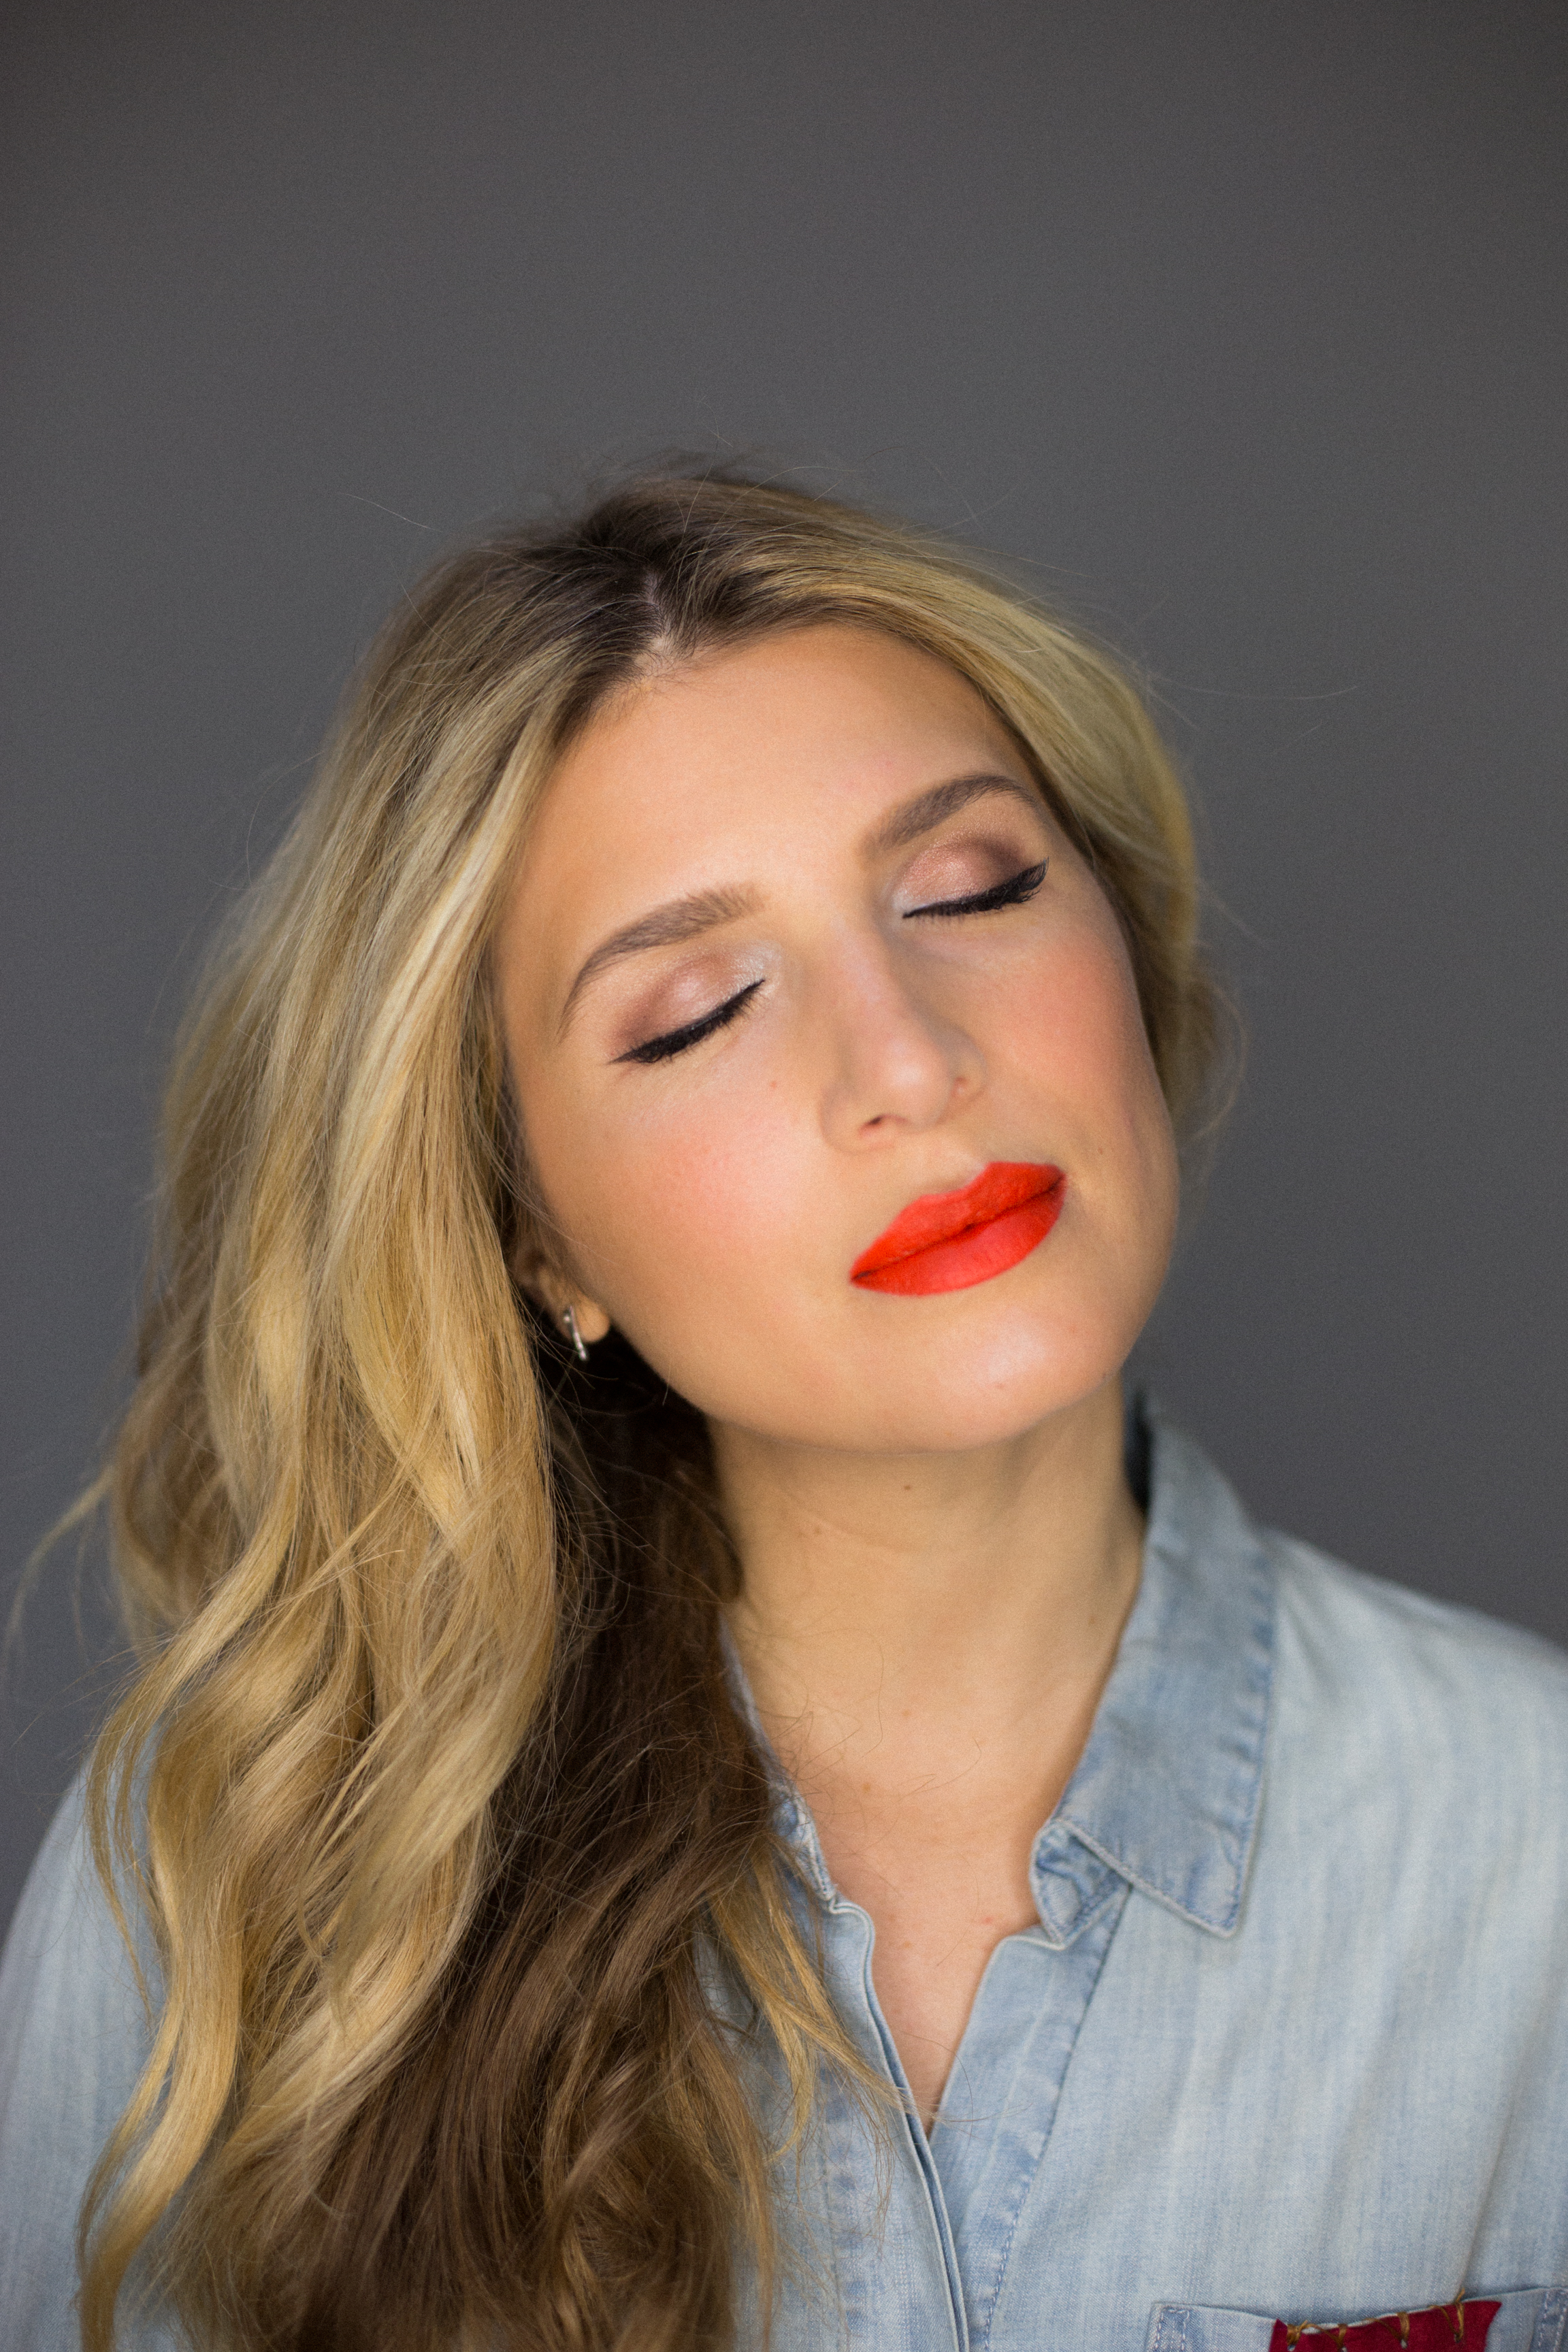
- Using a fluffy eyeshadow brush, like the Sigma Tapered Blending Brush, to apply the bone colored NYX shadow all over your lid, and a smaller flat shadow brush to apply the pearlescent shadow in the inner corners.
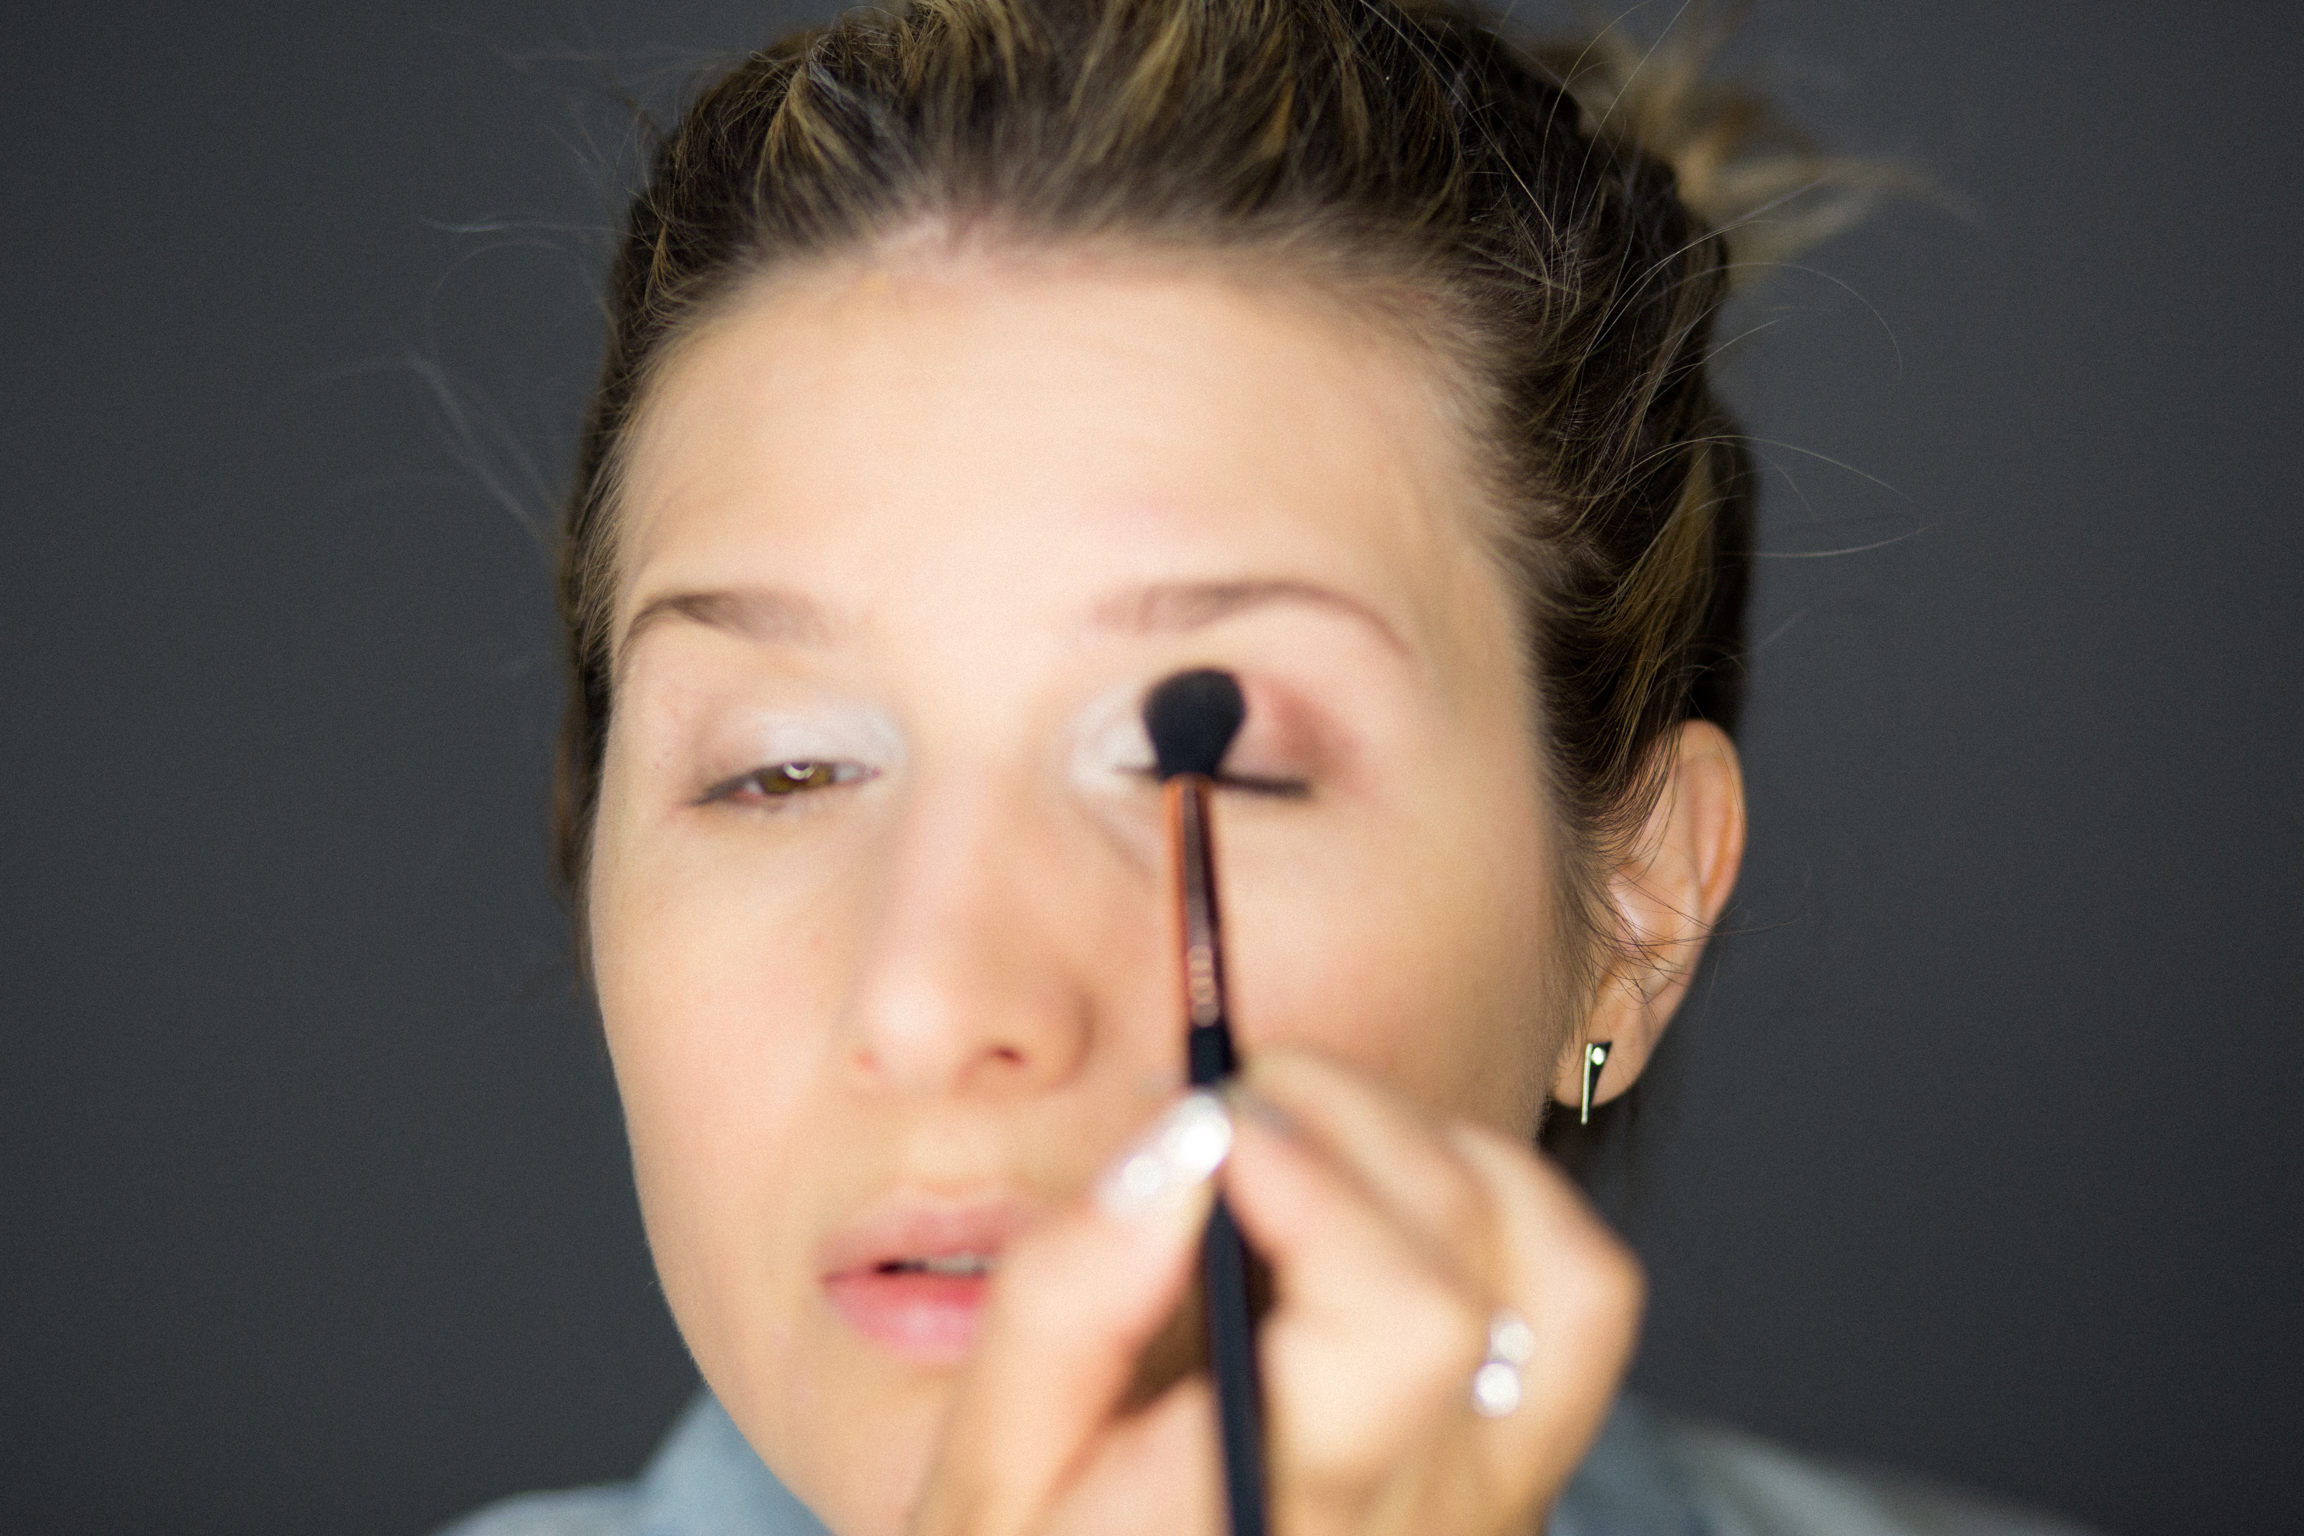
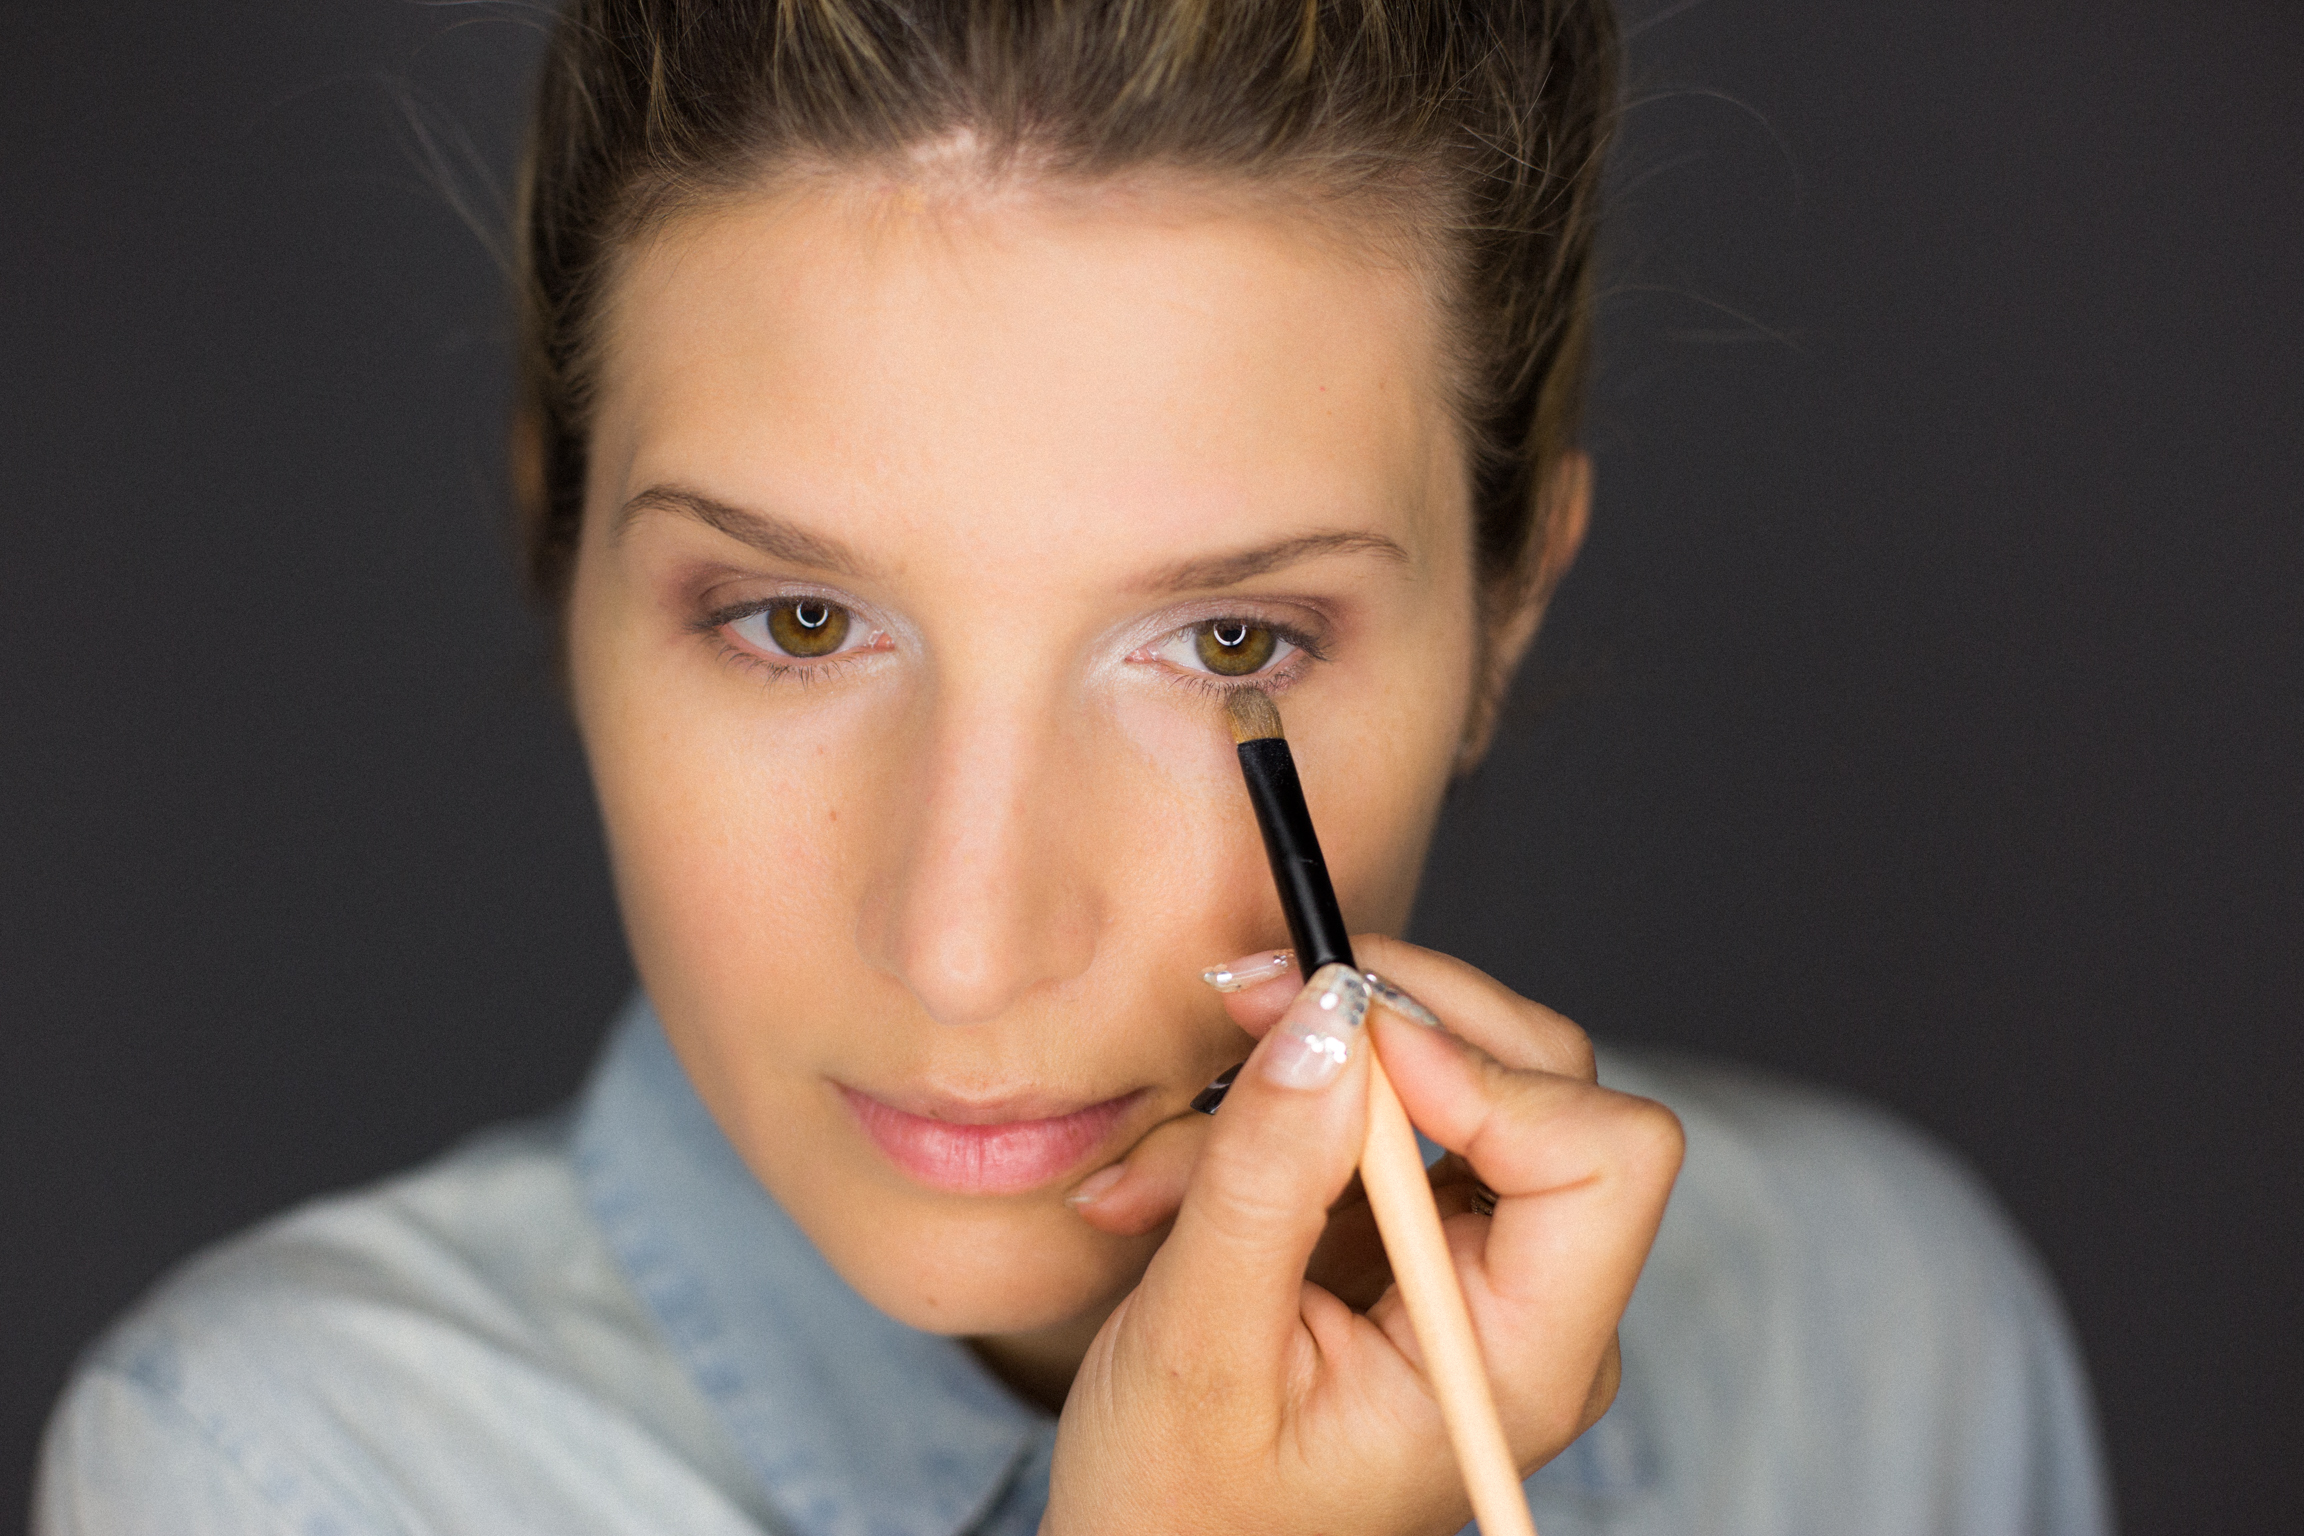
- Now let's get coppery! Using the same fluffy shadow brush, apply the dark copper color in the crease of your eyes. Then use the flat shadow brush to work it across your lower lash line.
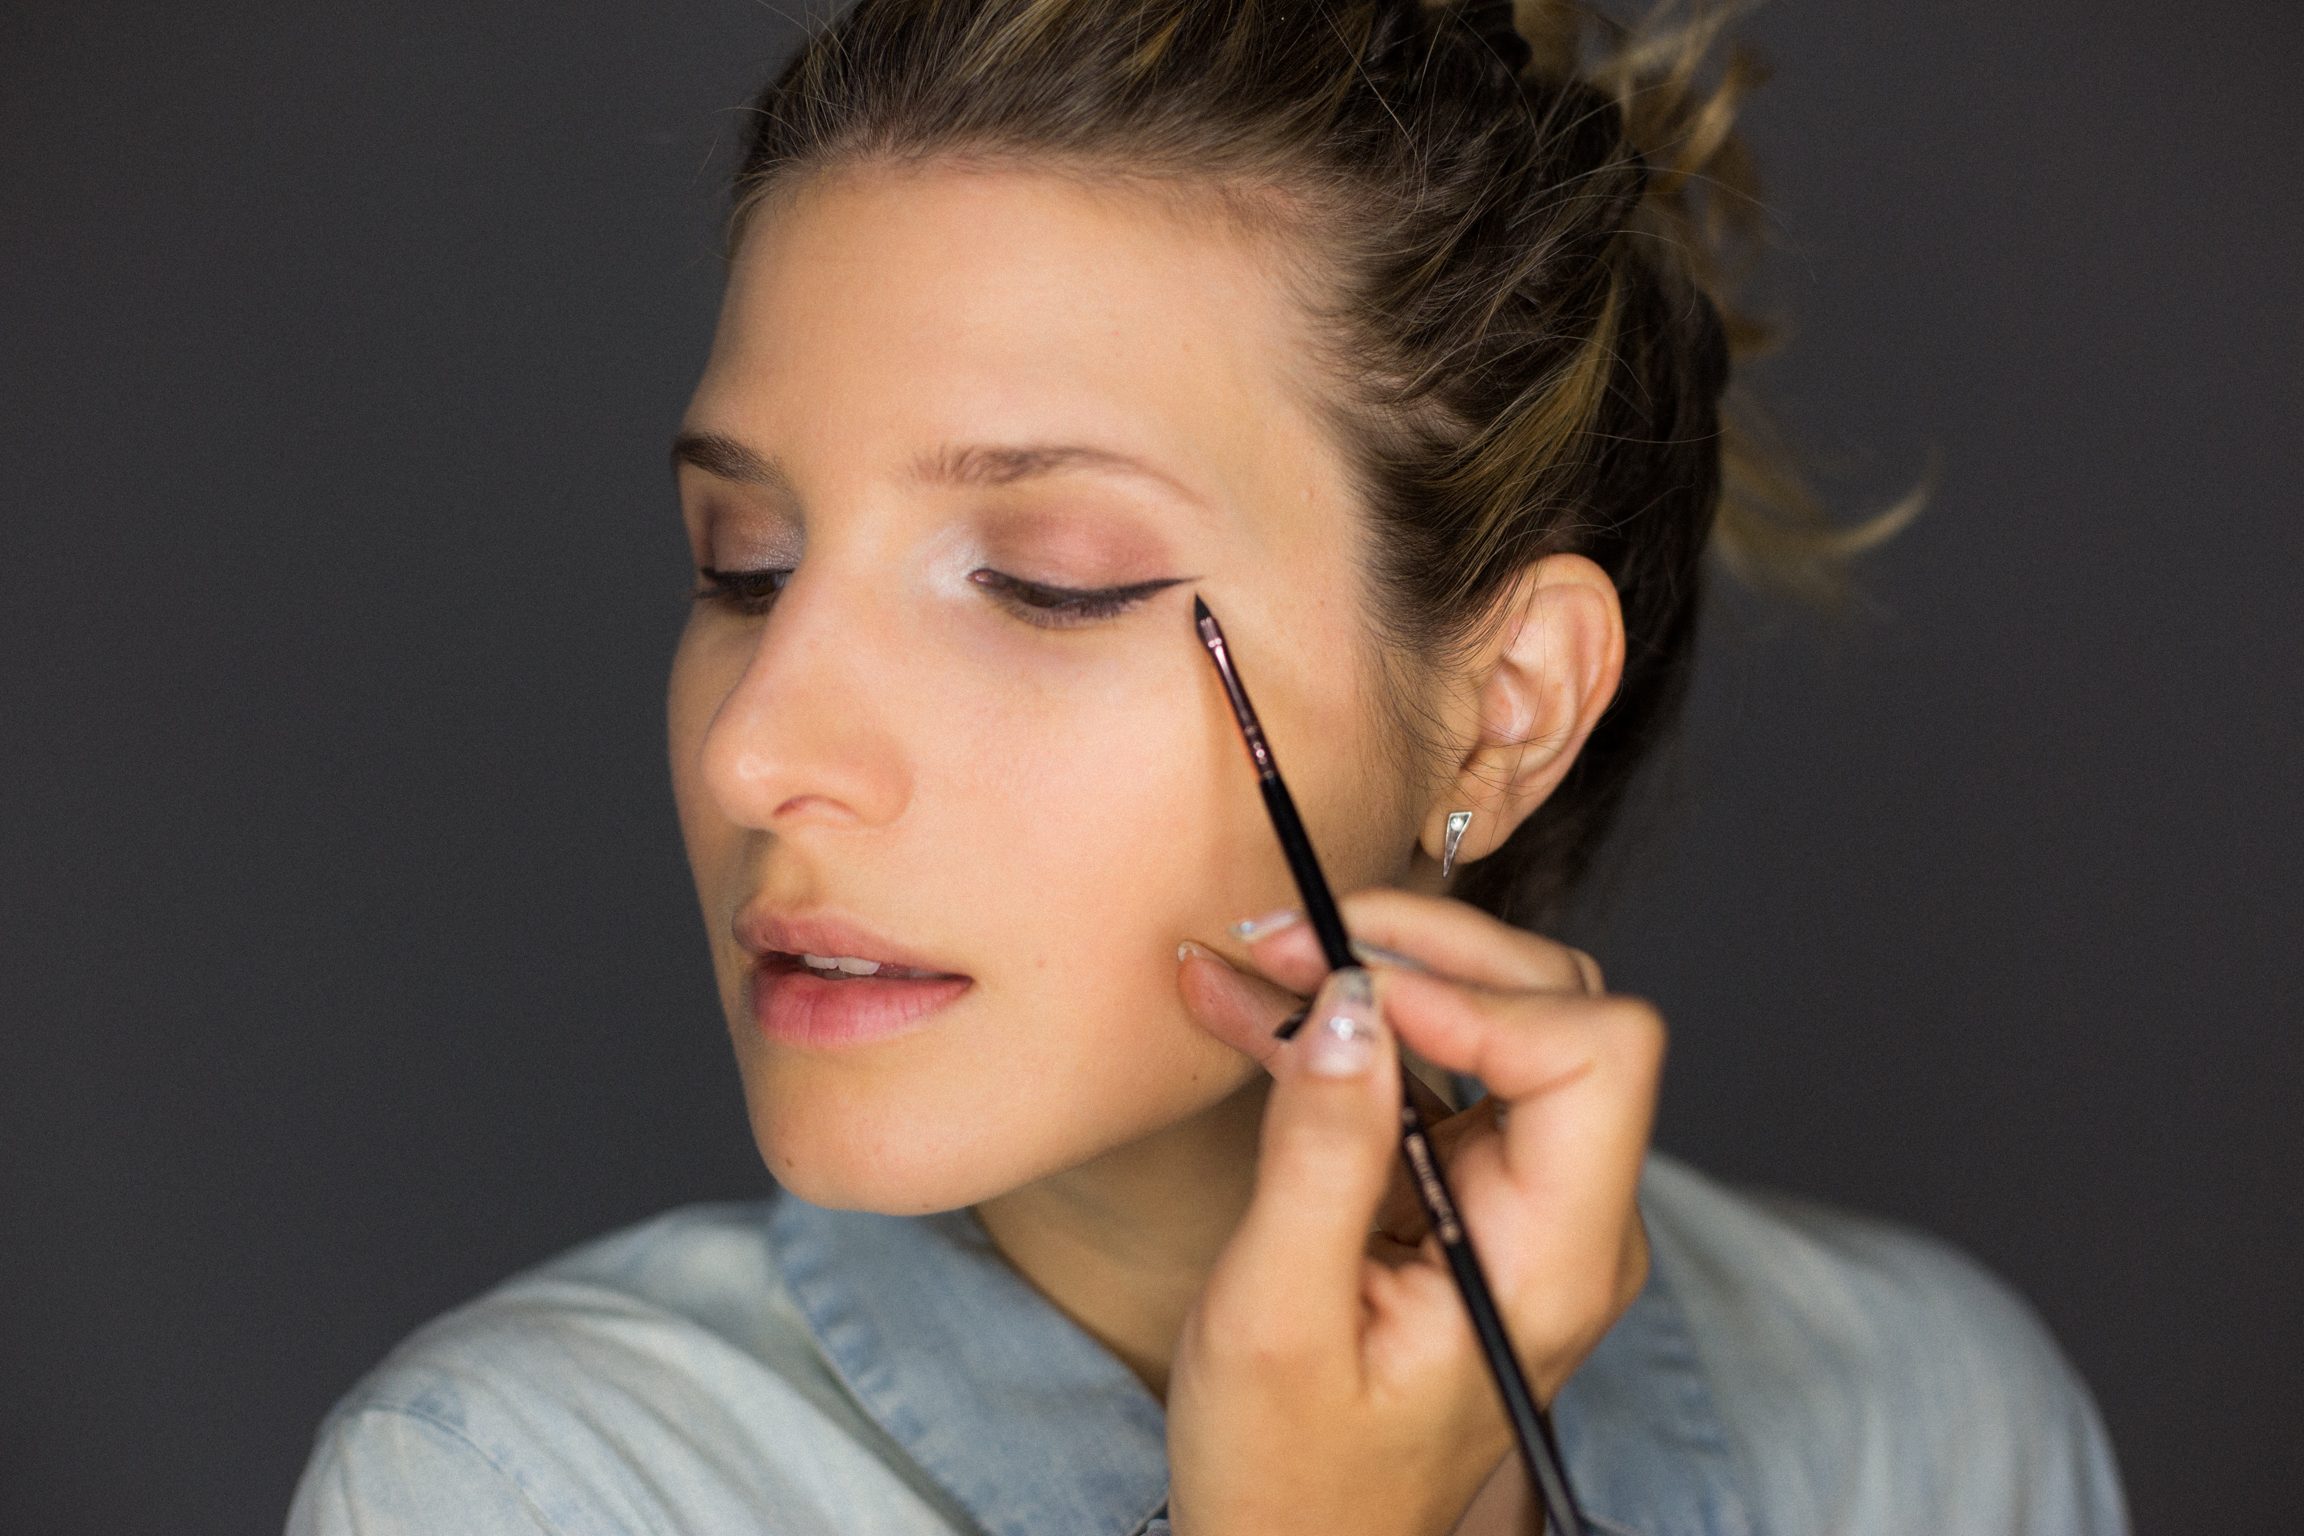
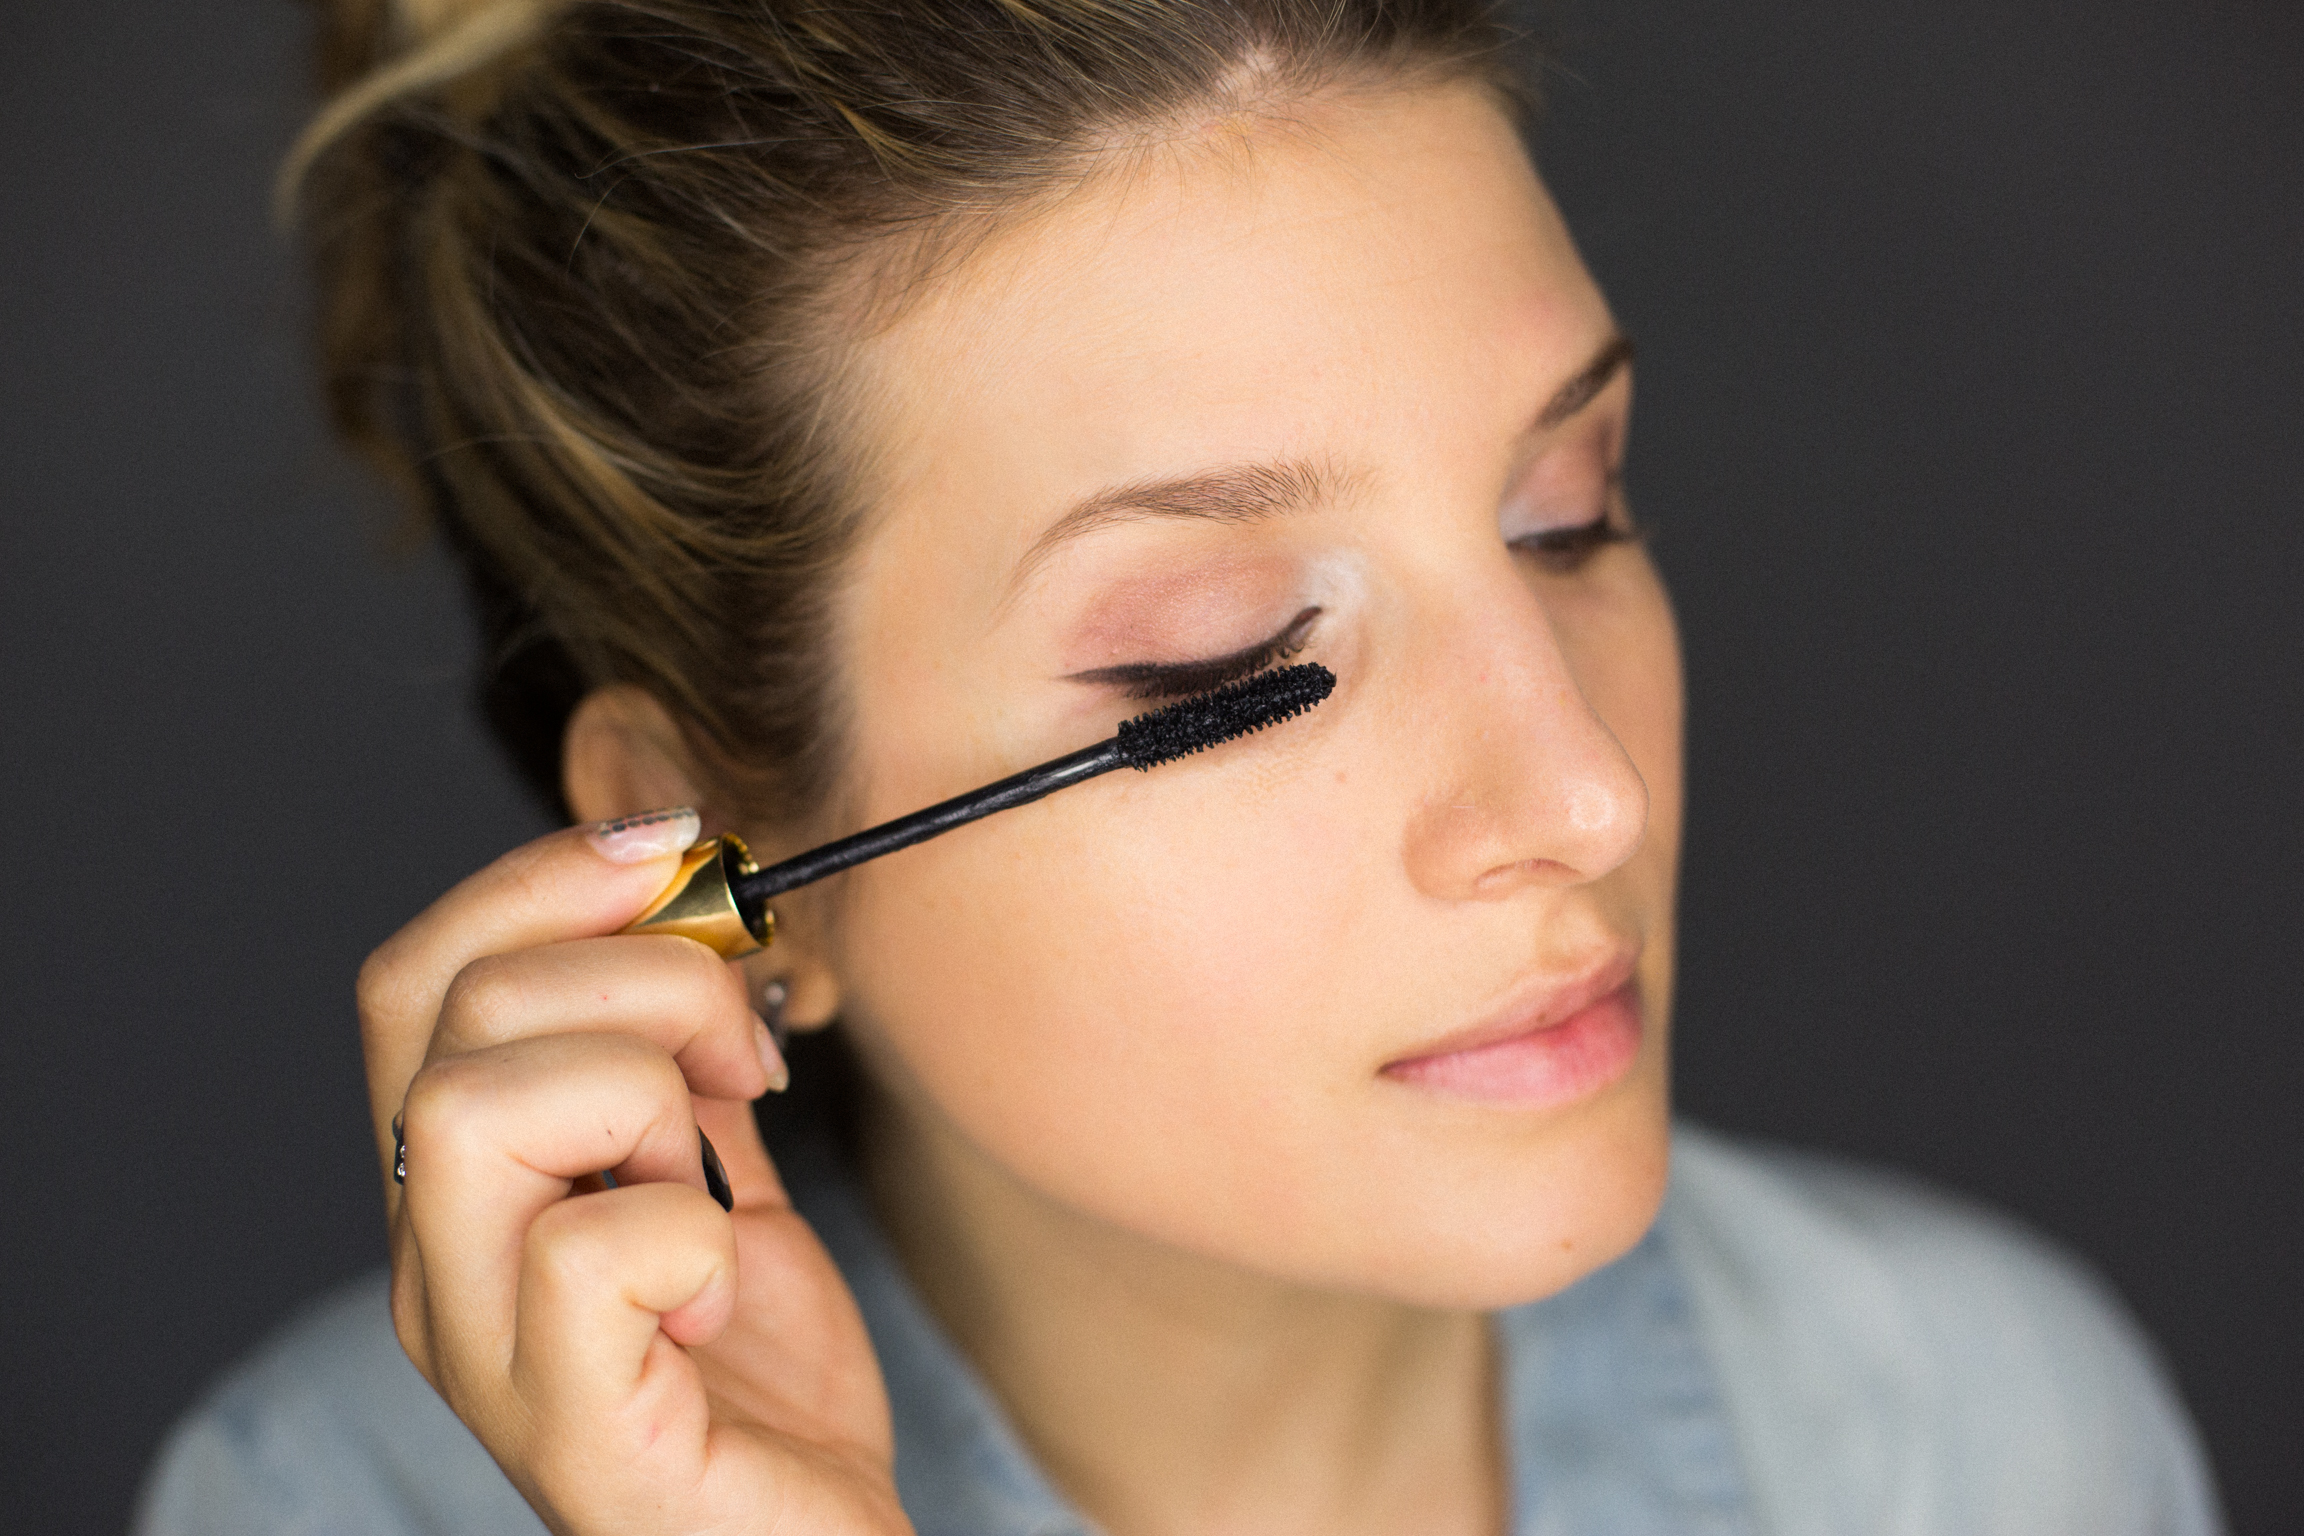
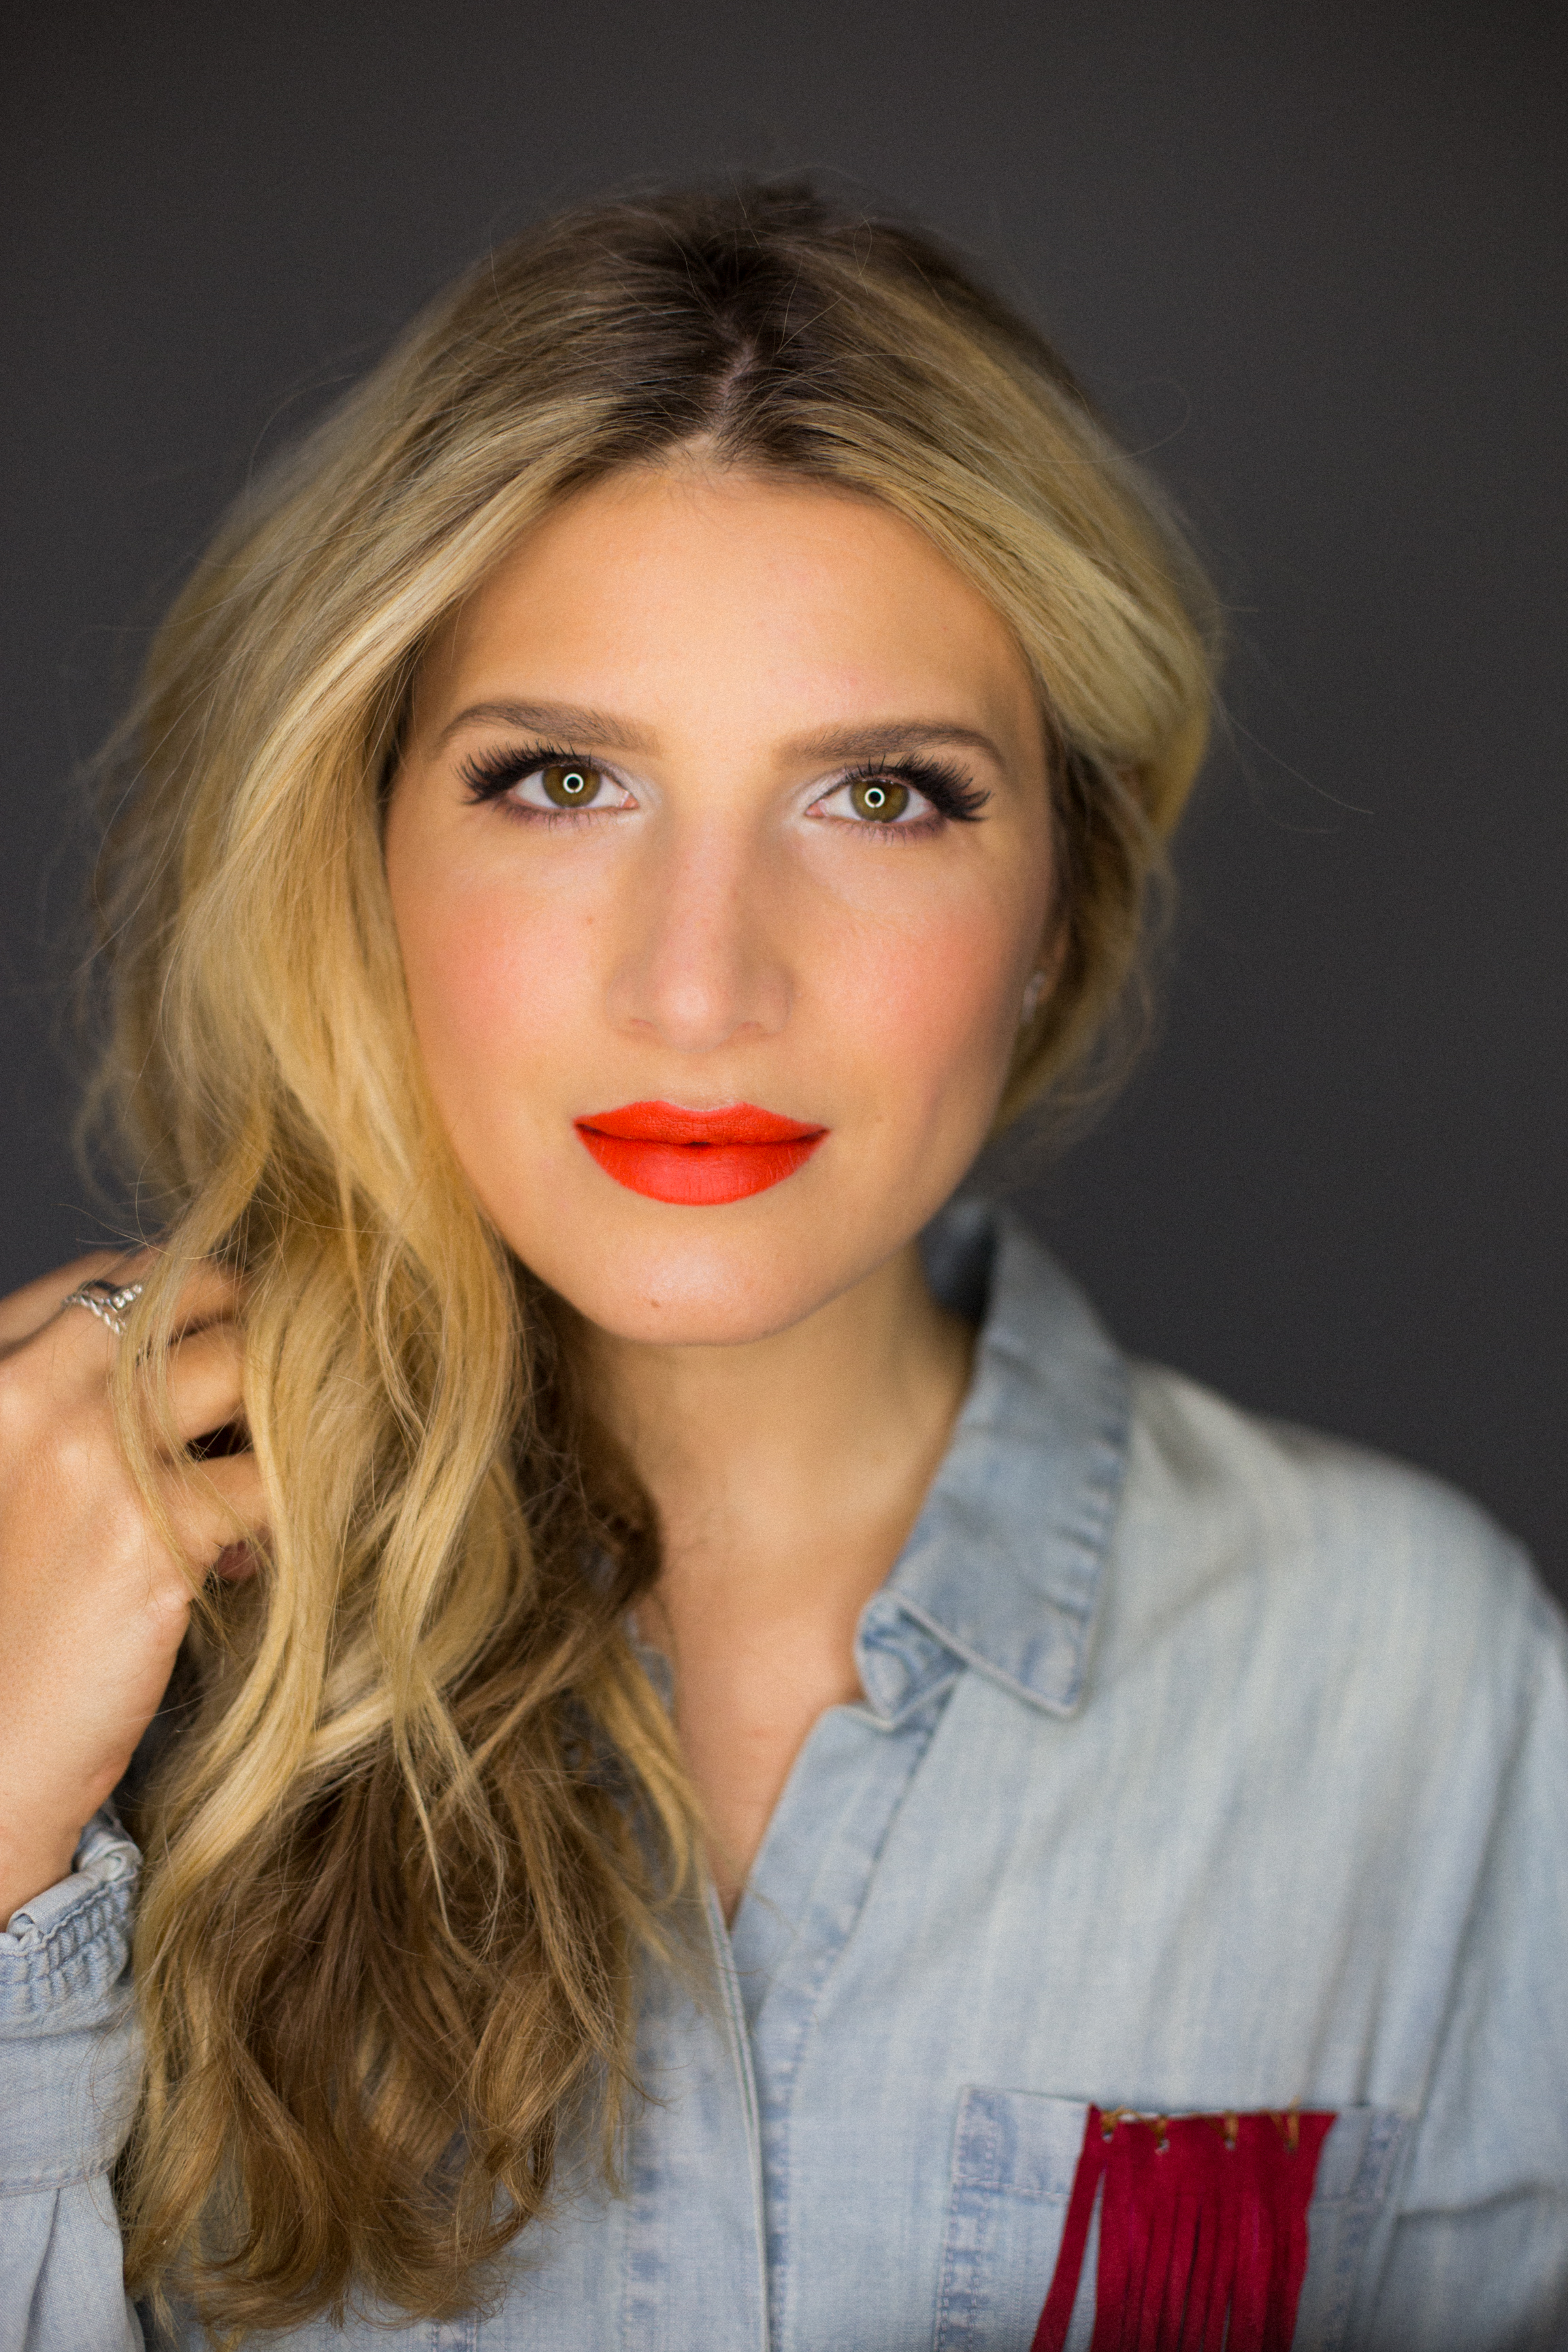
- To give the look some drama, work a gel liner from your inner creases out, using a winged liner brush. Give yourself a subtle kitty-cat flick, then top both upper and lower lashes with a healthy helping of black mascara.
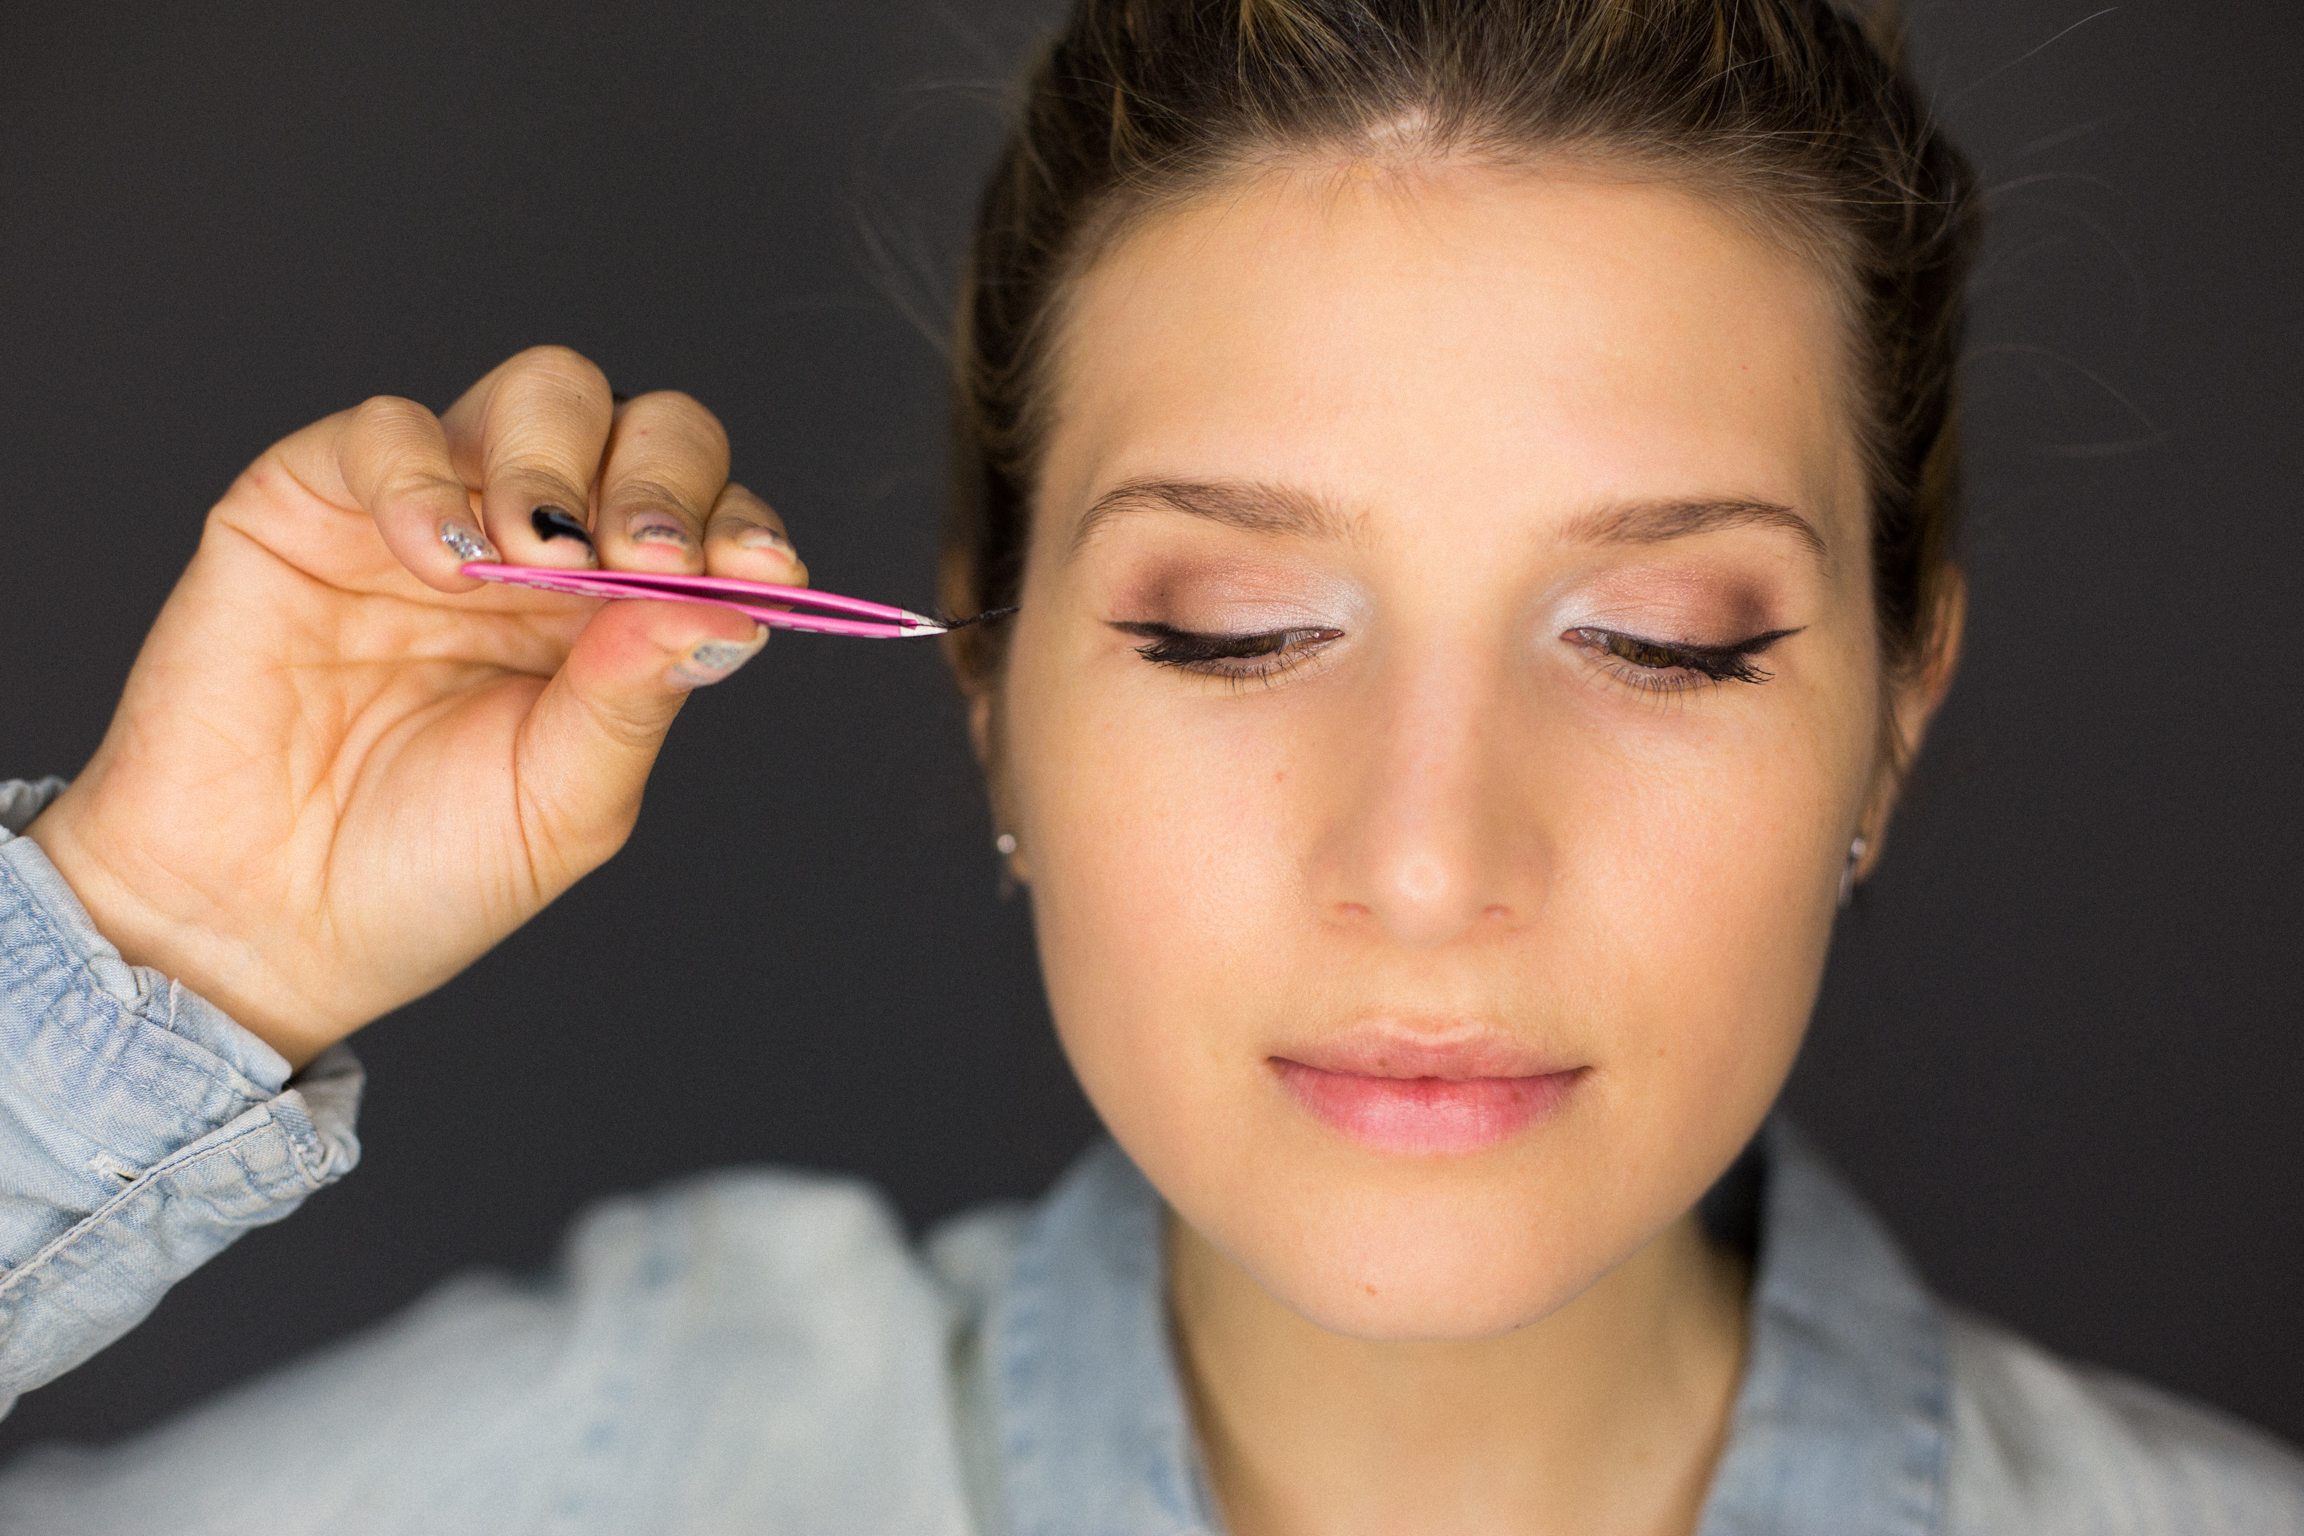
- If you're looking for even more of a eye-popping pow, add on some demi lashes to the outer corners of your eyes and top with another coat of mascara so they blend in.
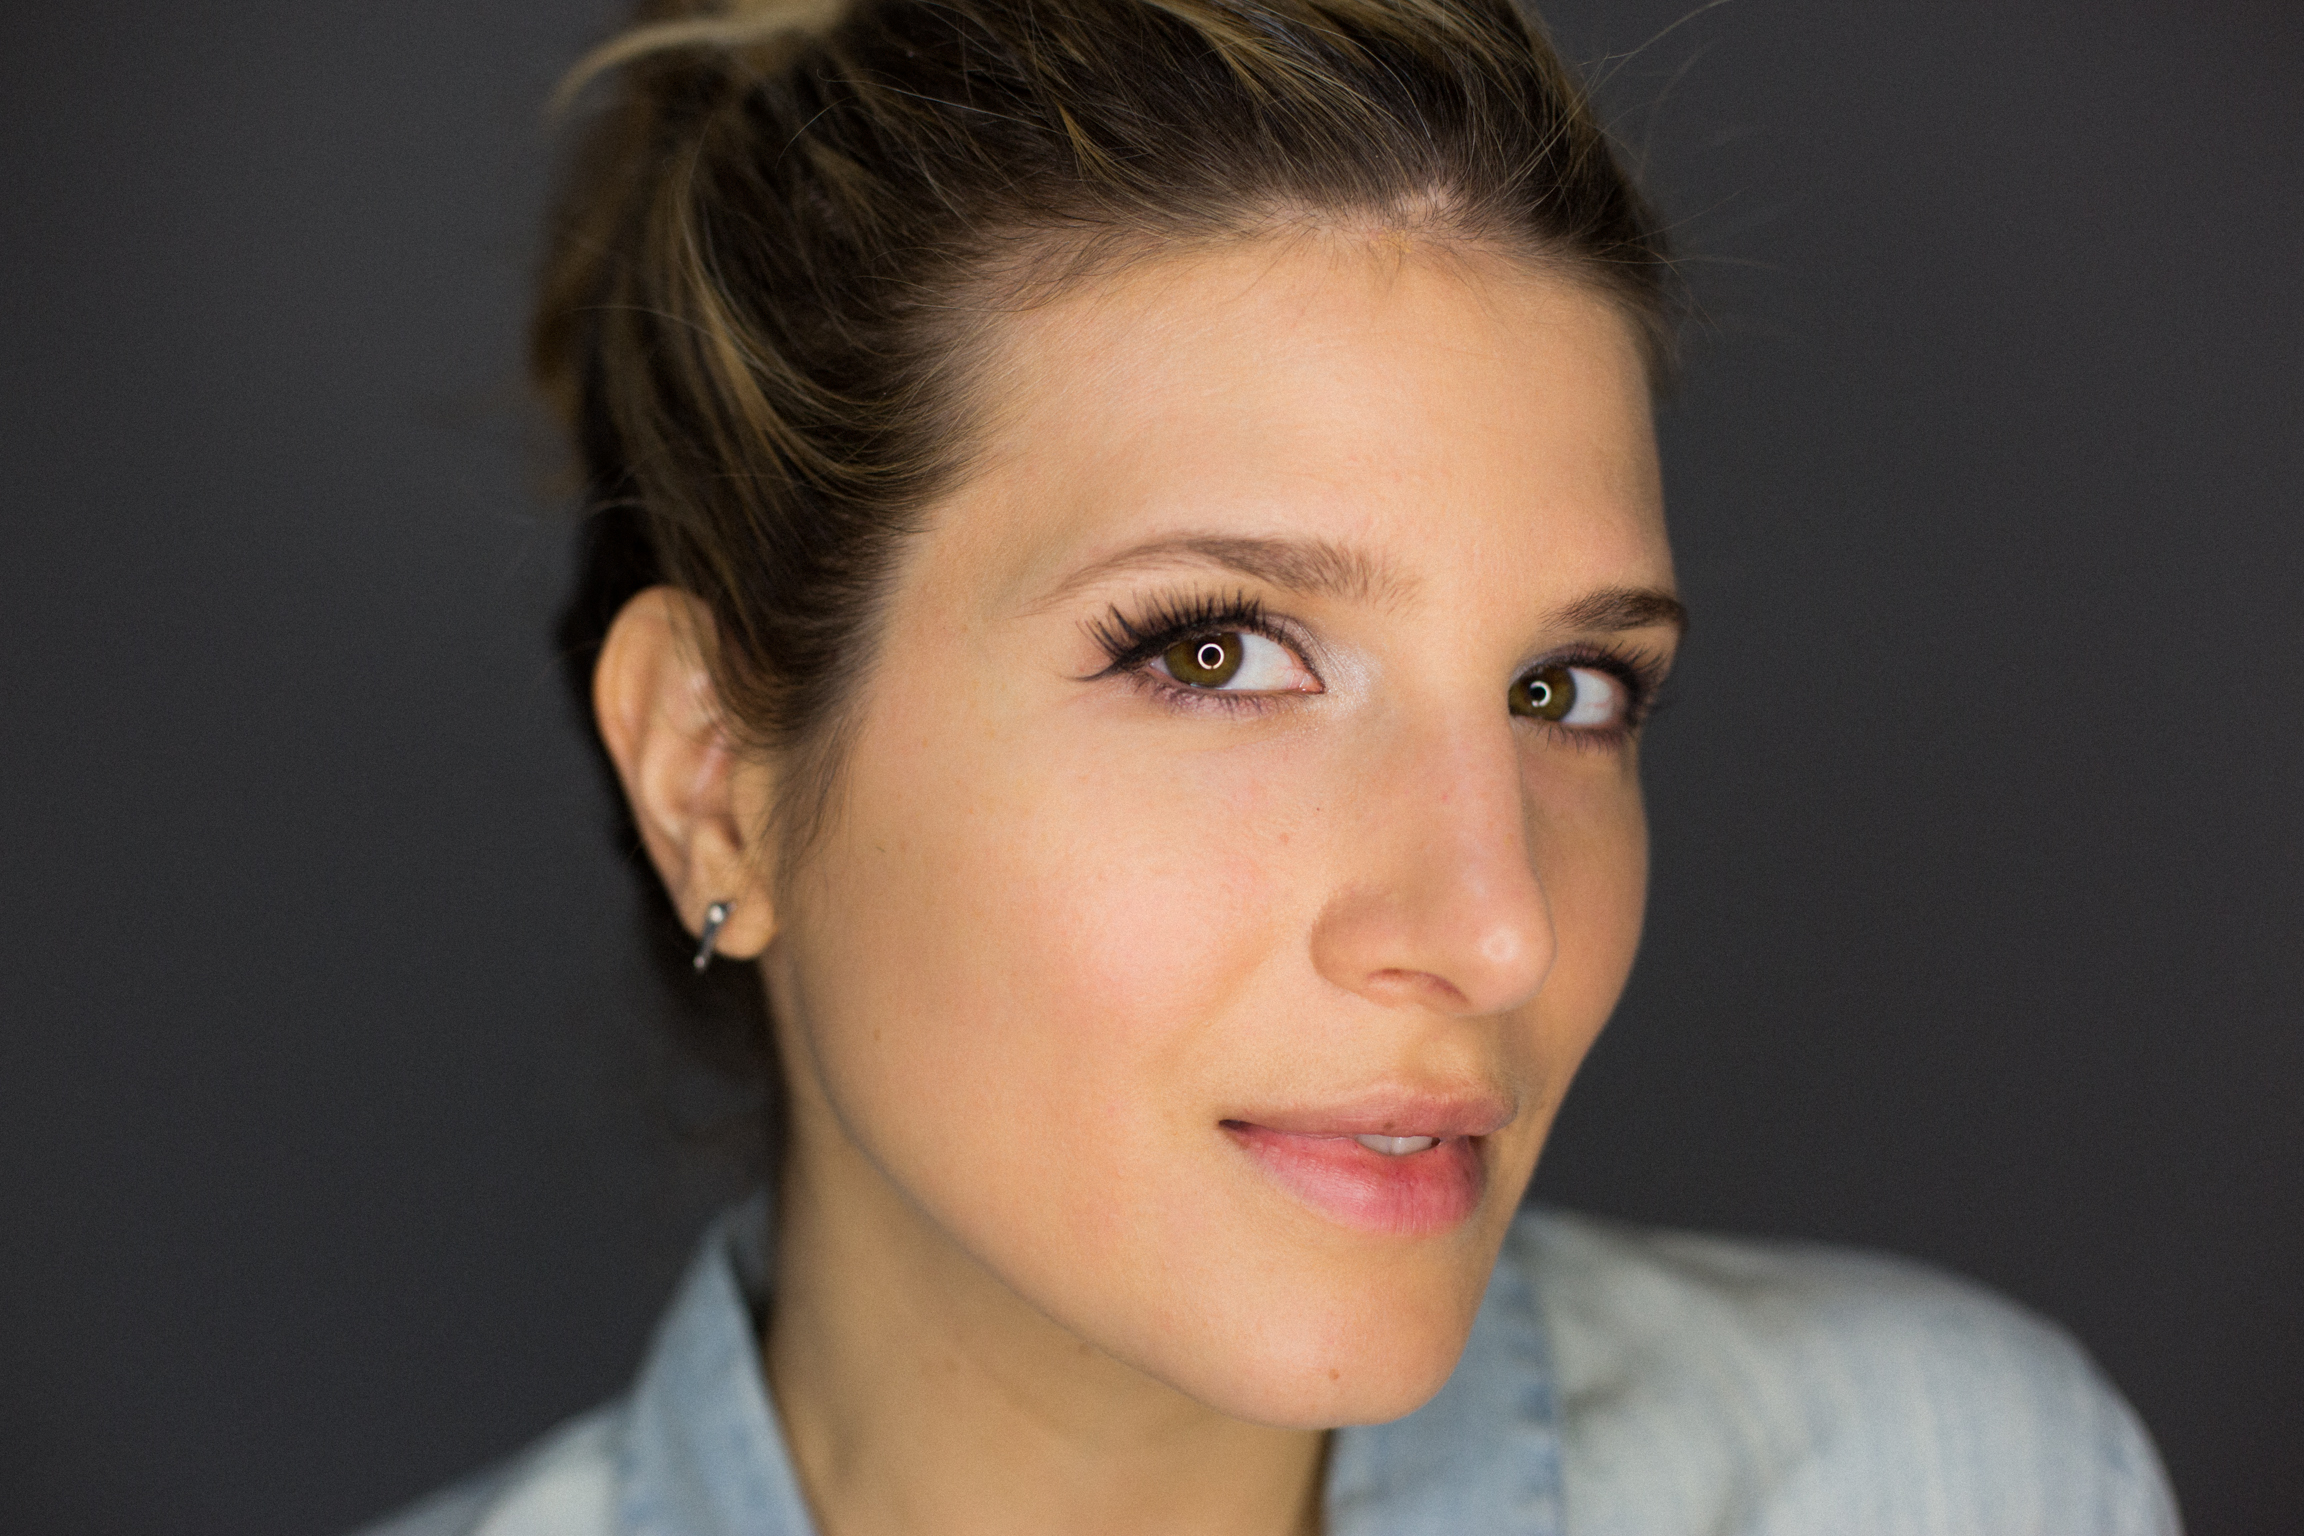
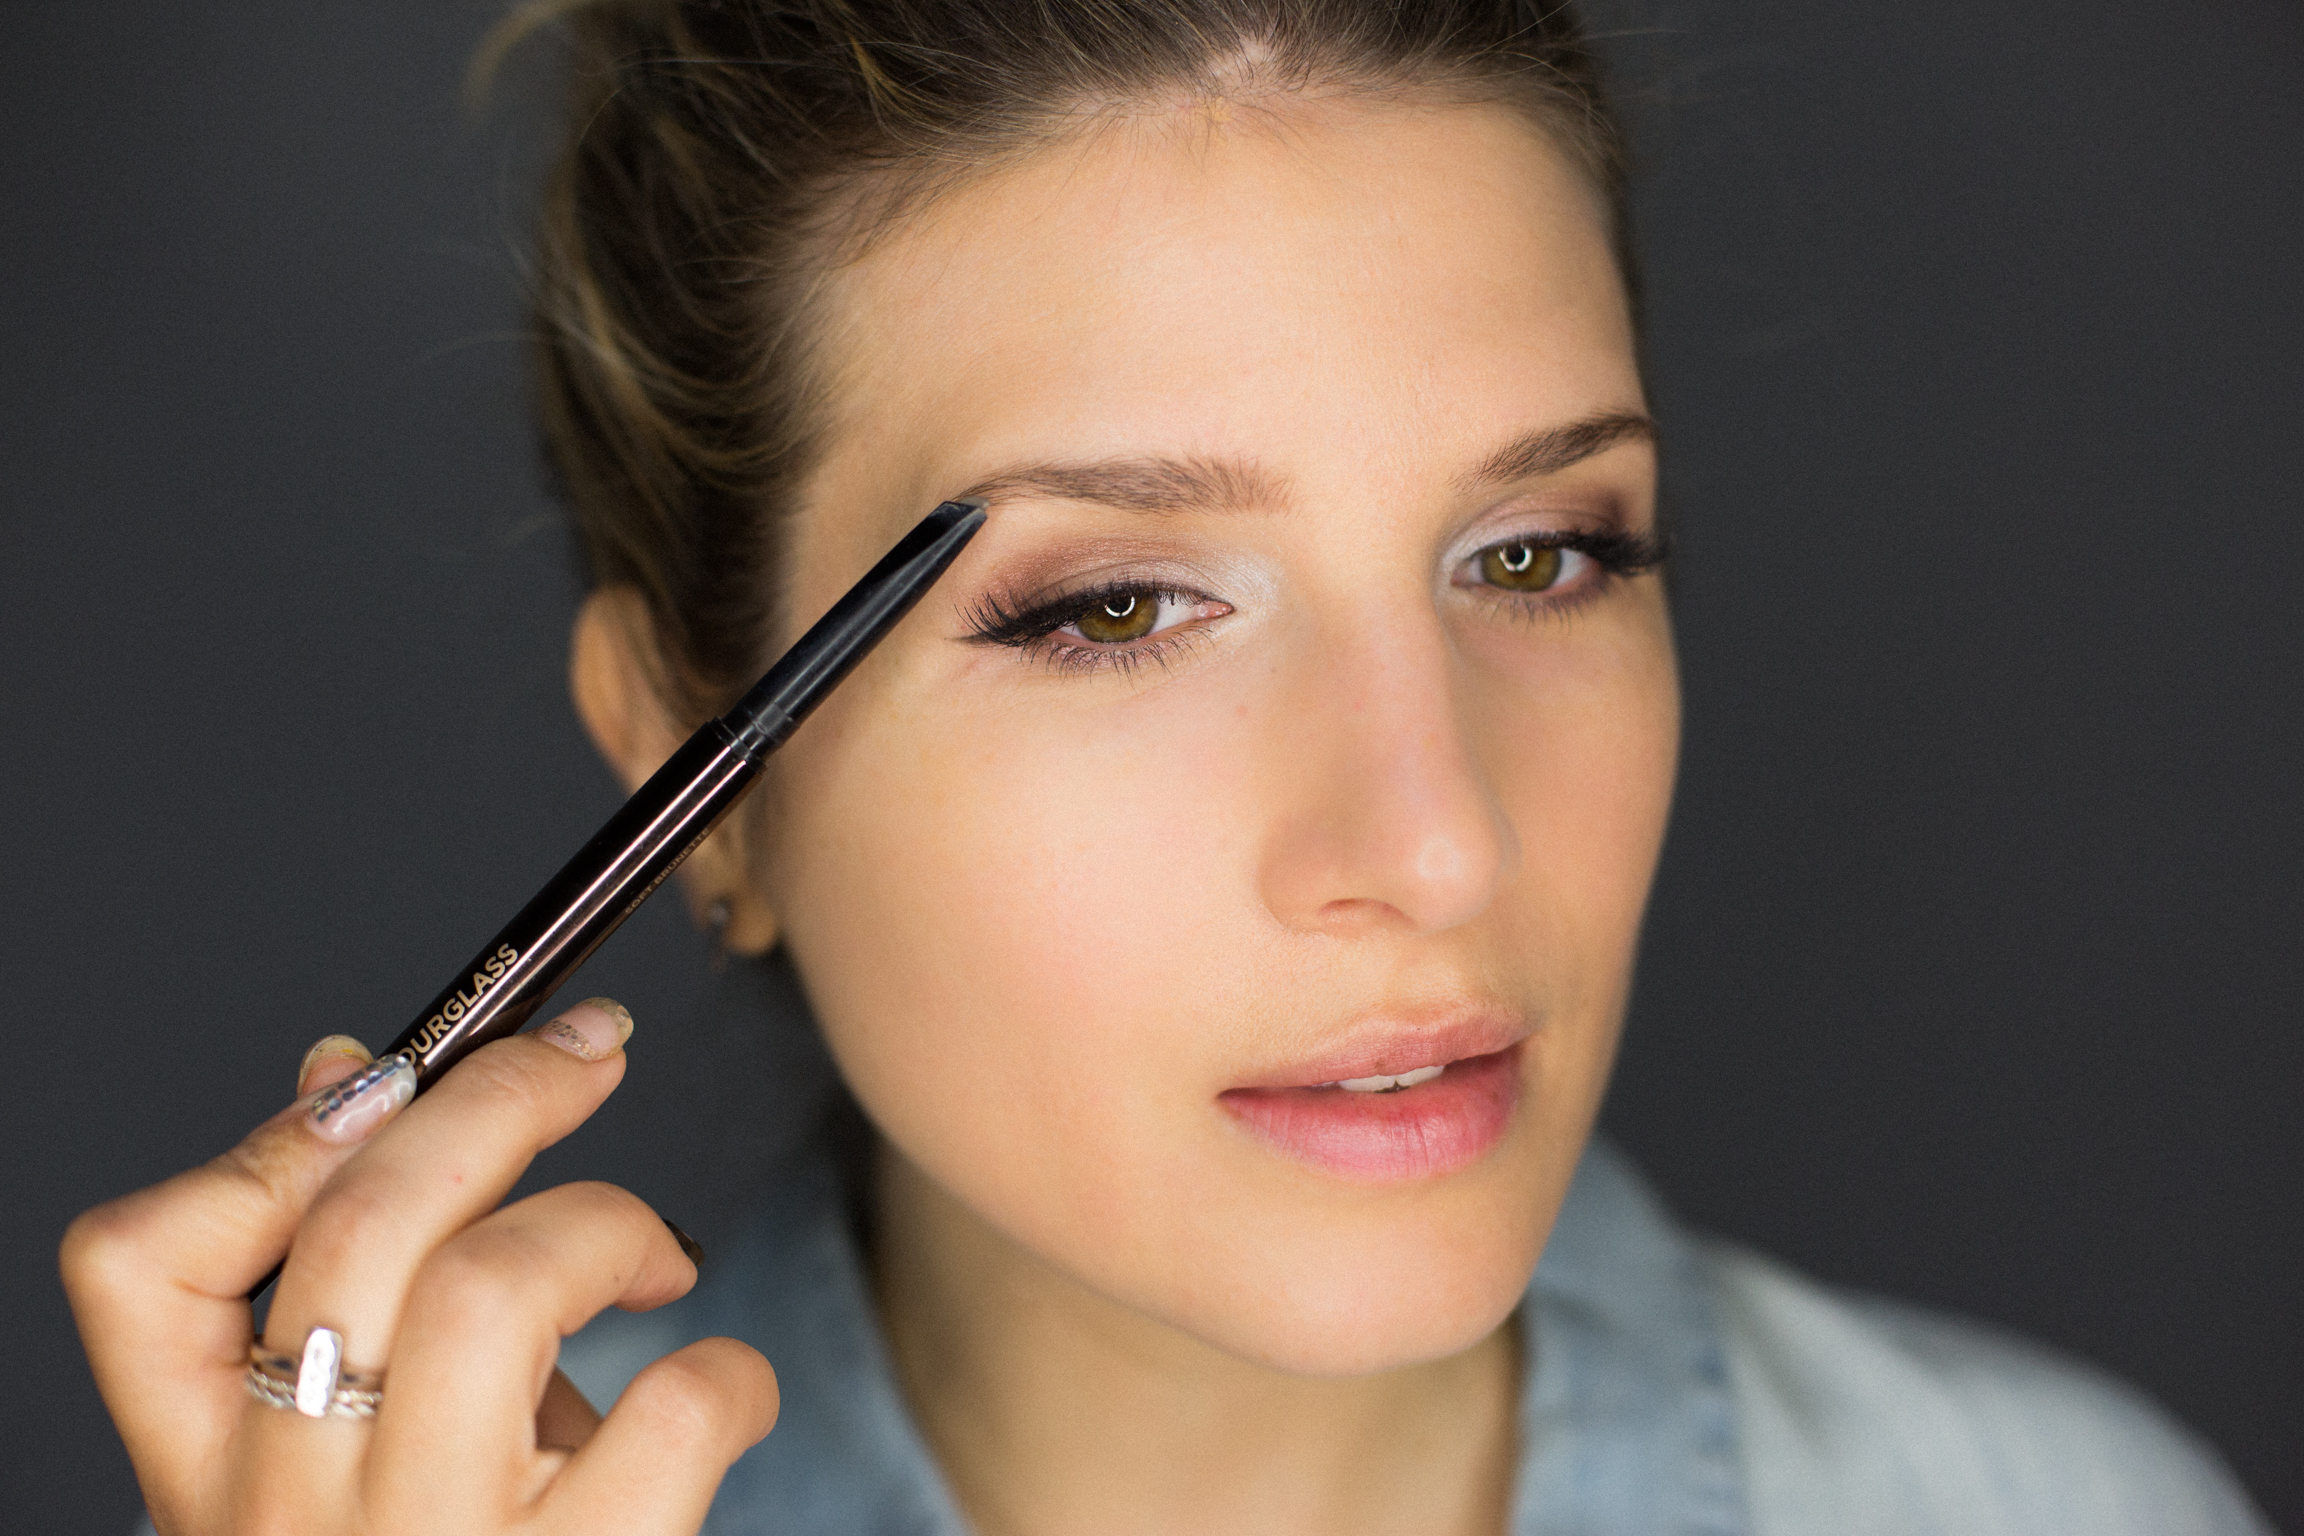
- Fill out your eyebrows with an eyebrow pencil, but don't fill them in. Your lips will be the boldest part of this look, and it's better not to have your features competing!
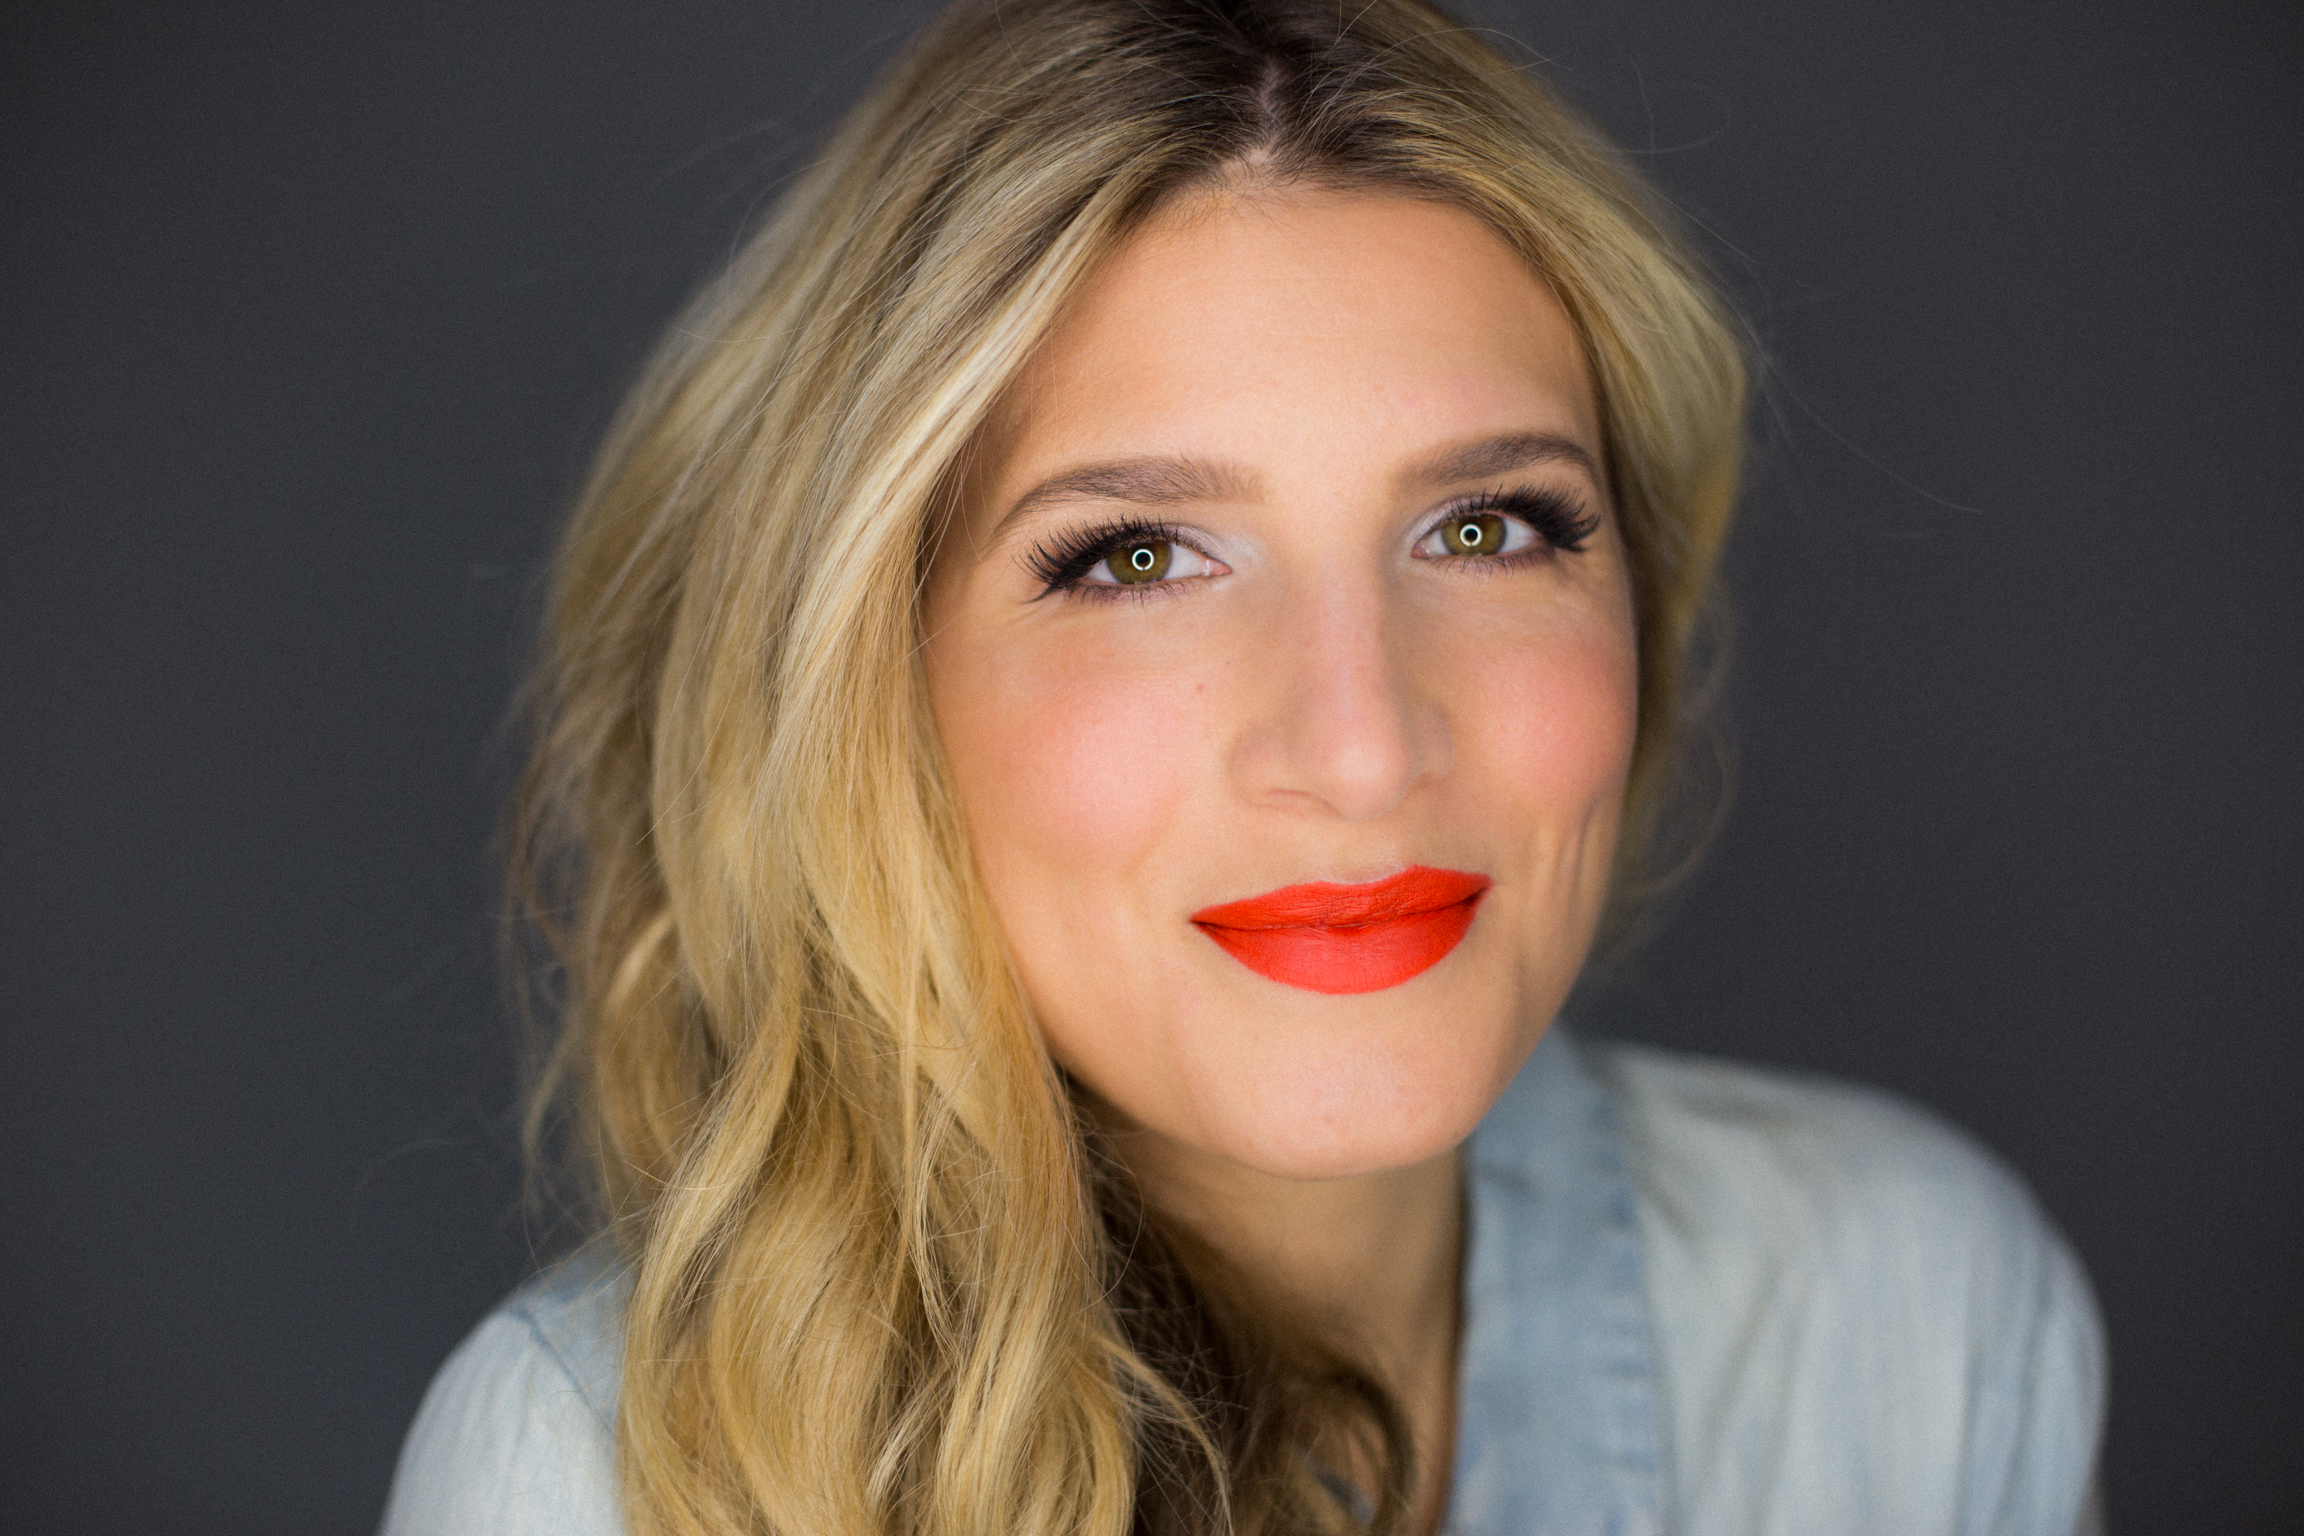
- Eye see that we're about halfway done with this look! Now on to the cheeks! Use the darker NYX bronzer to contour under your cheekbones, temples, and jawline. Then add some color to your cheeks with the berry-toned blush.
- Time for highlighting! Apply the peachy highlight to the tops of your cheekbones, brow bones, bridge of your nose and cupid's bow for some nice, sunny shimmer.
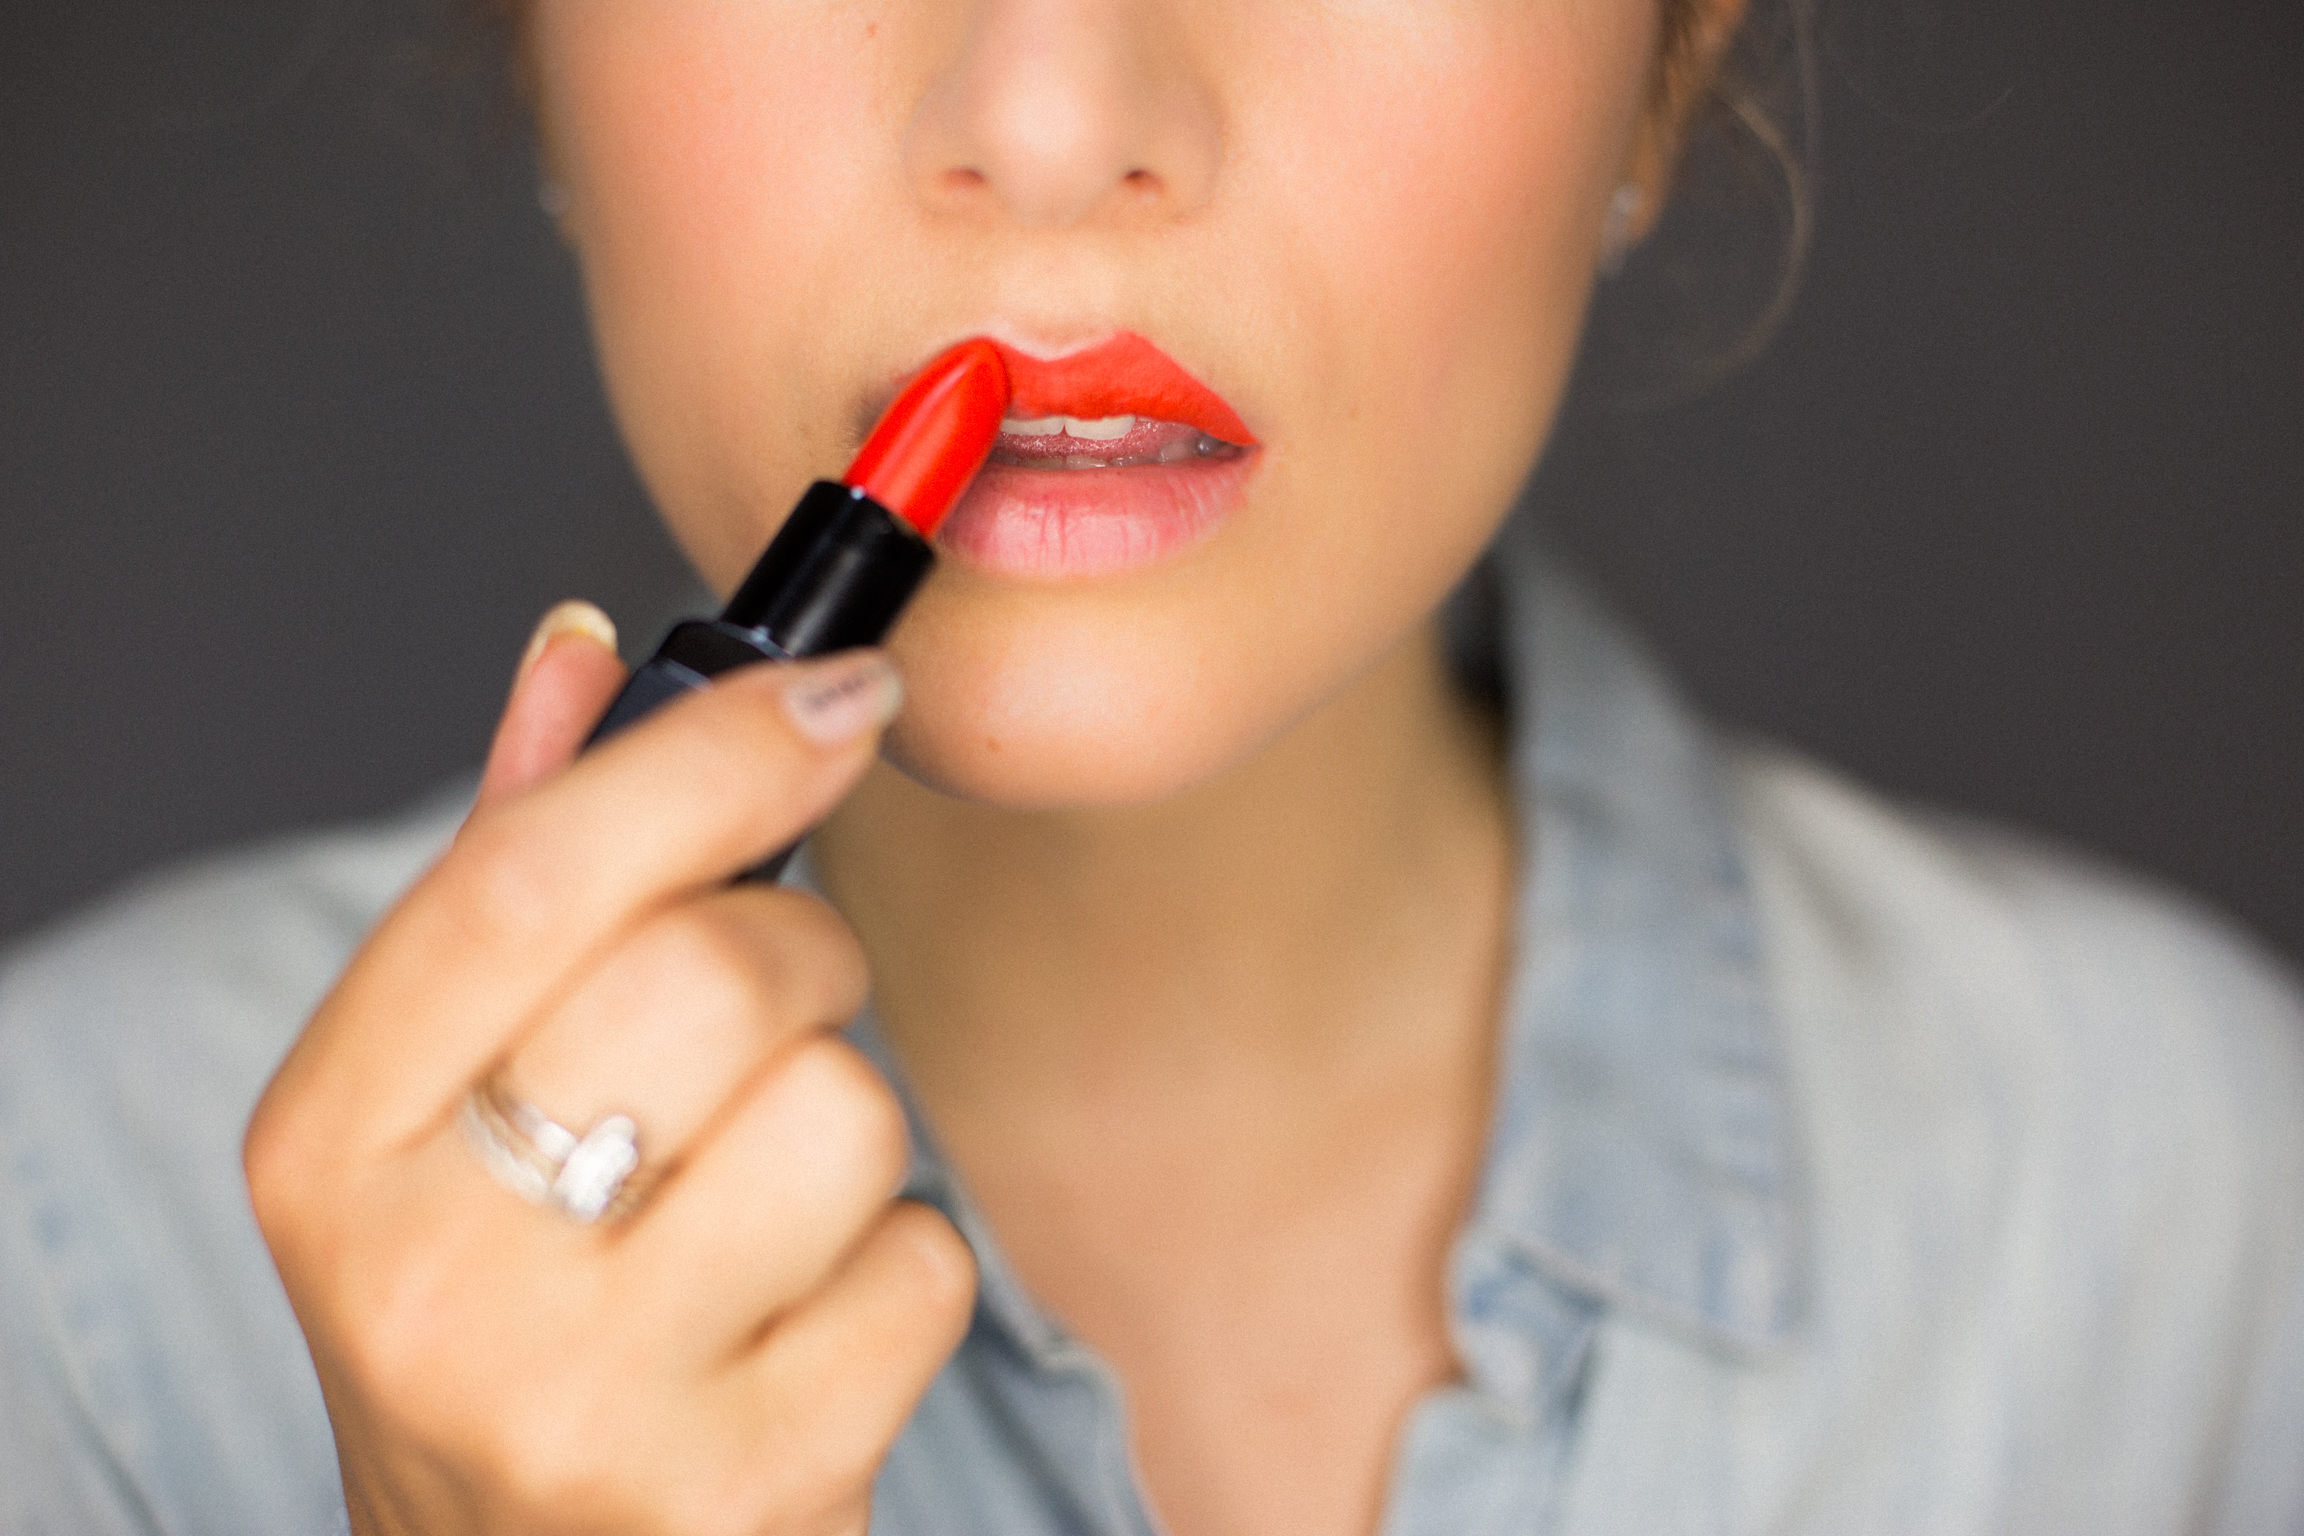
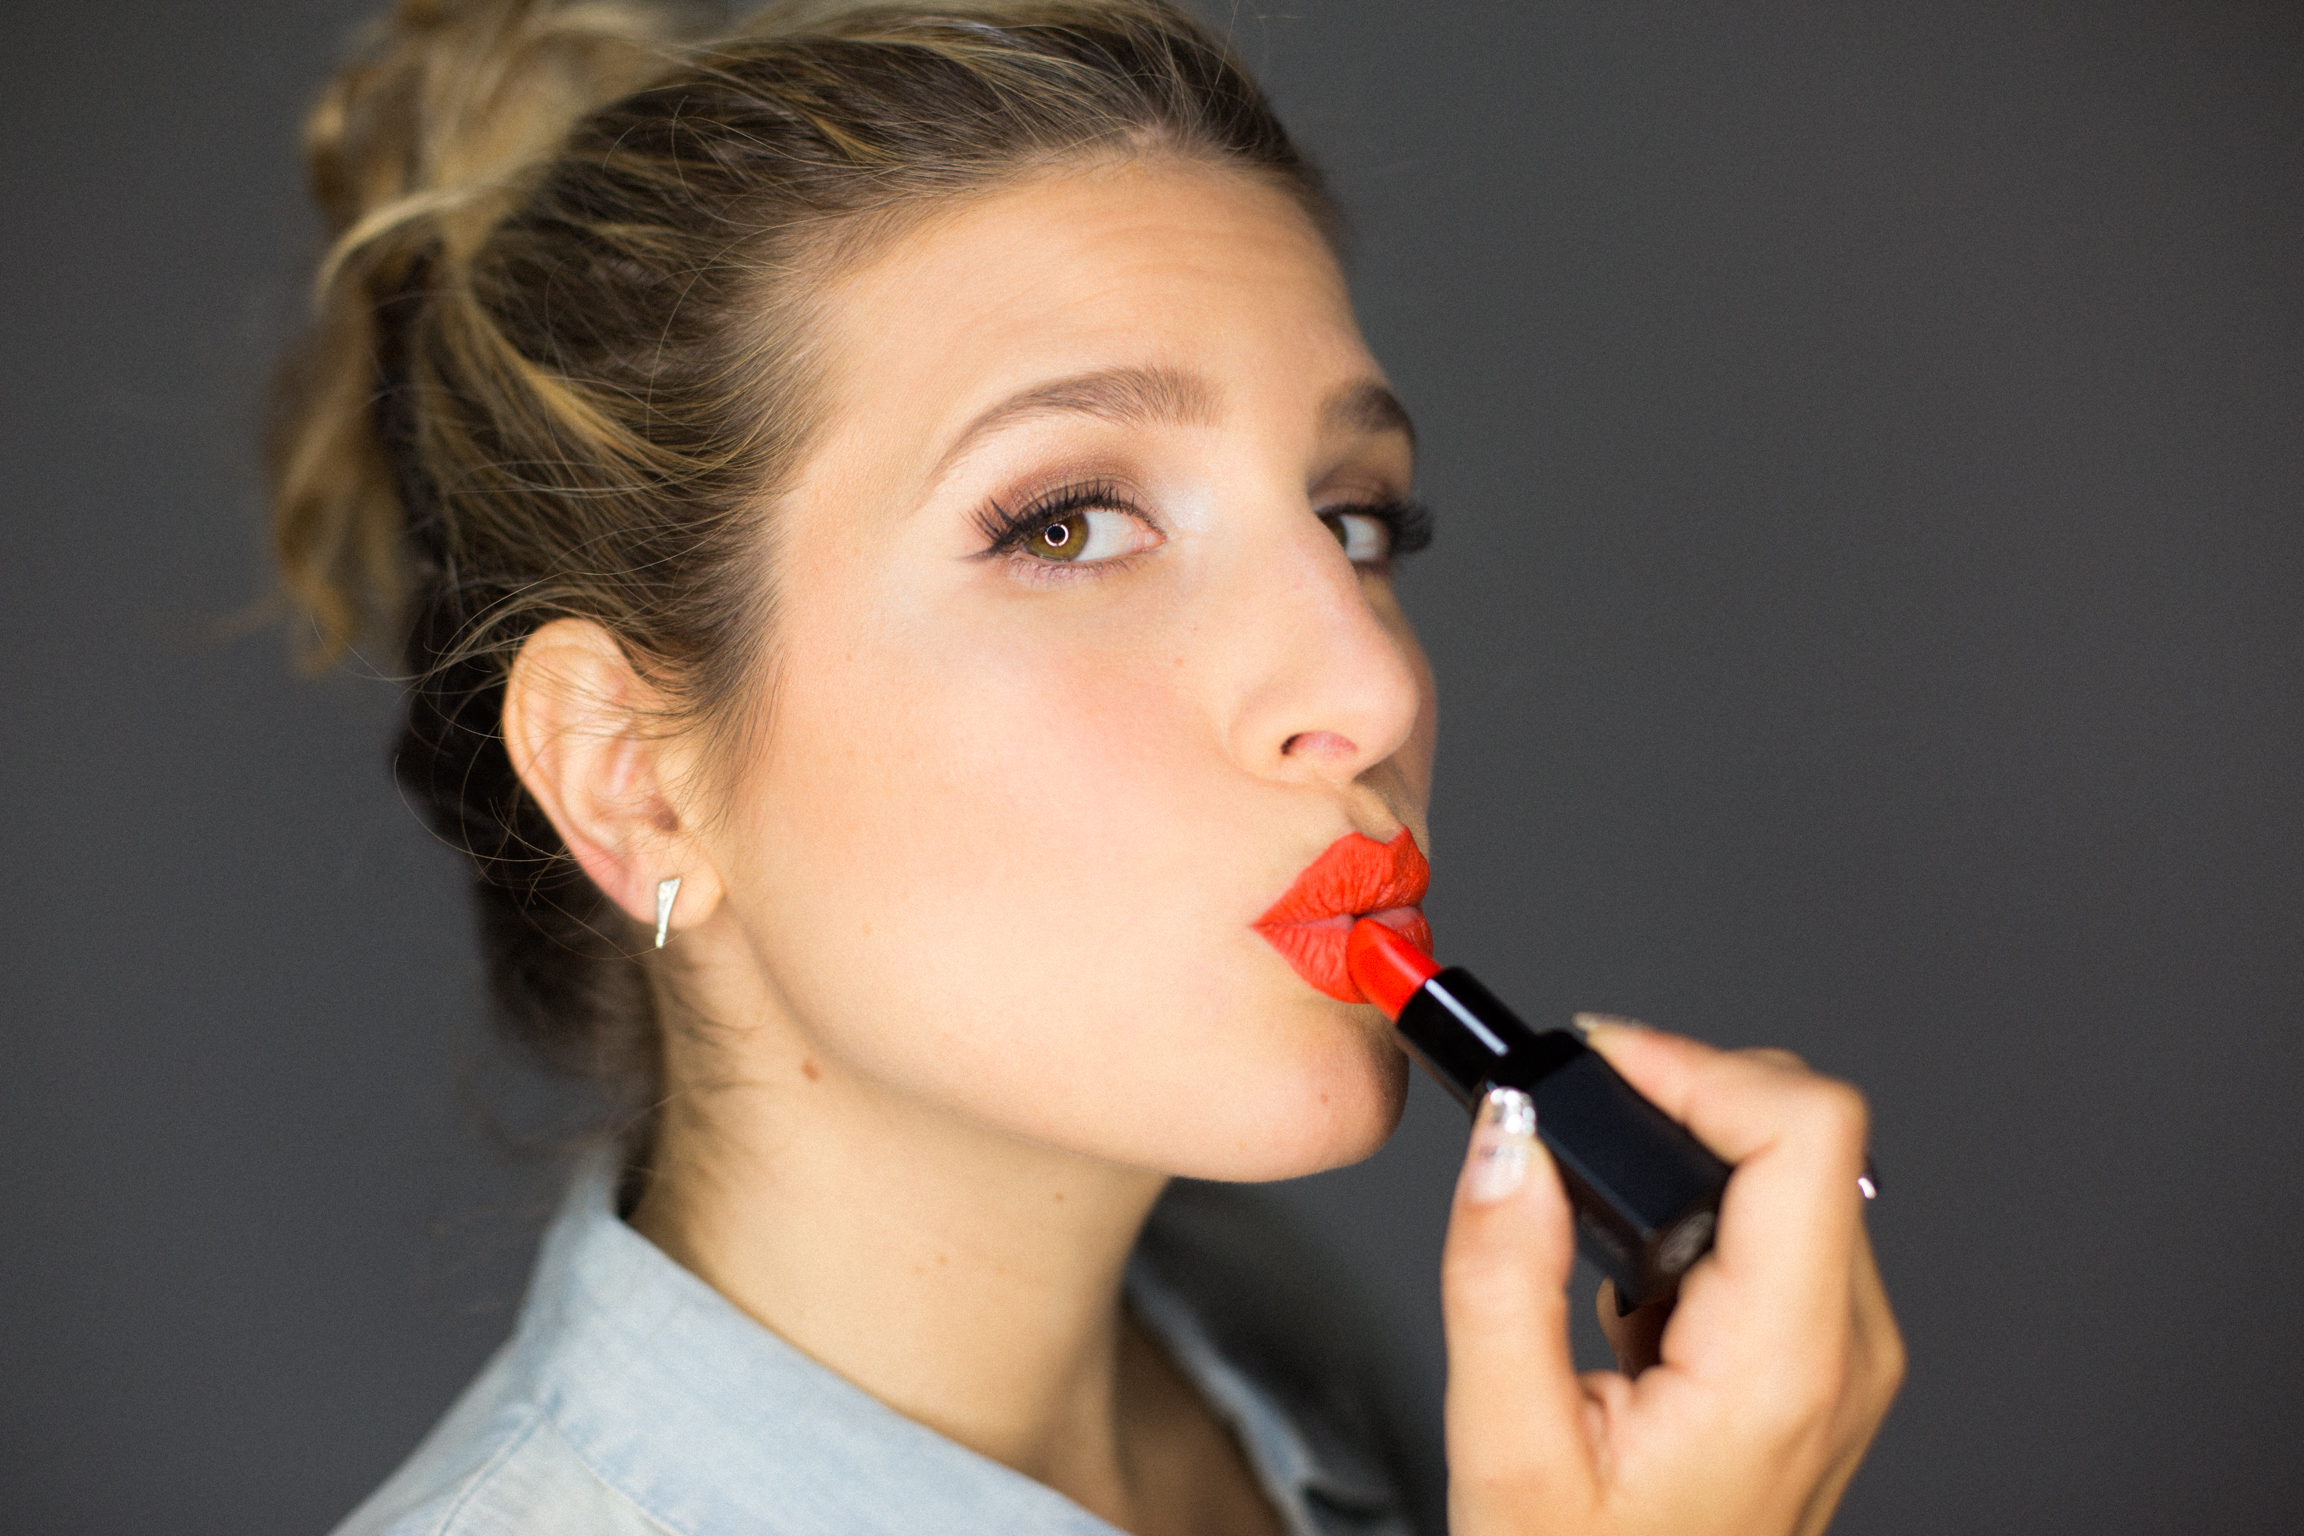
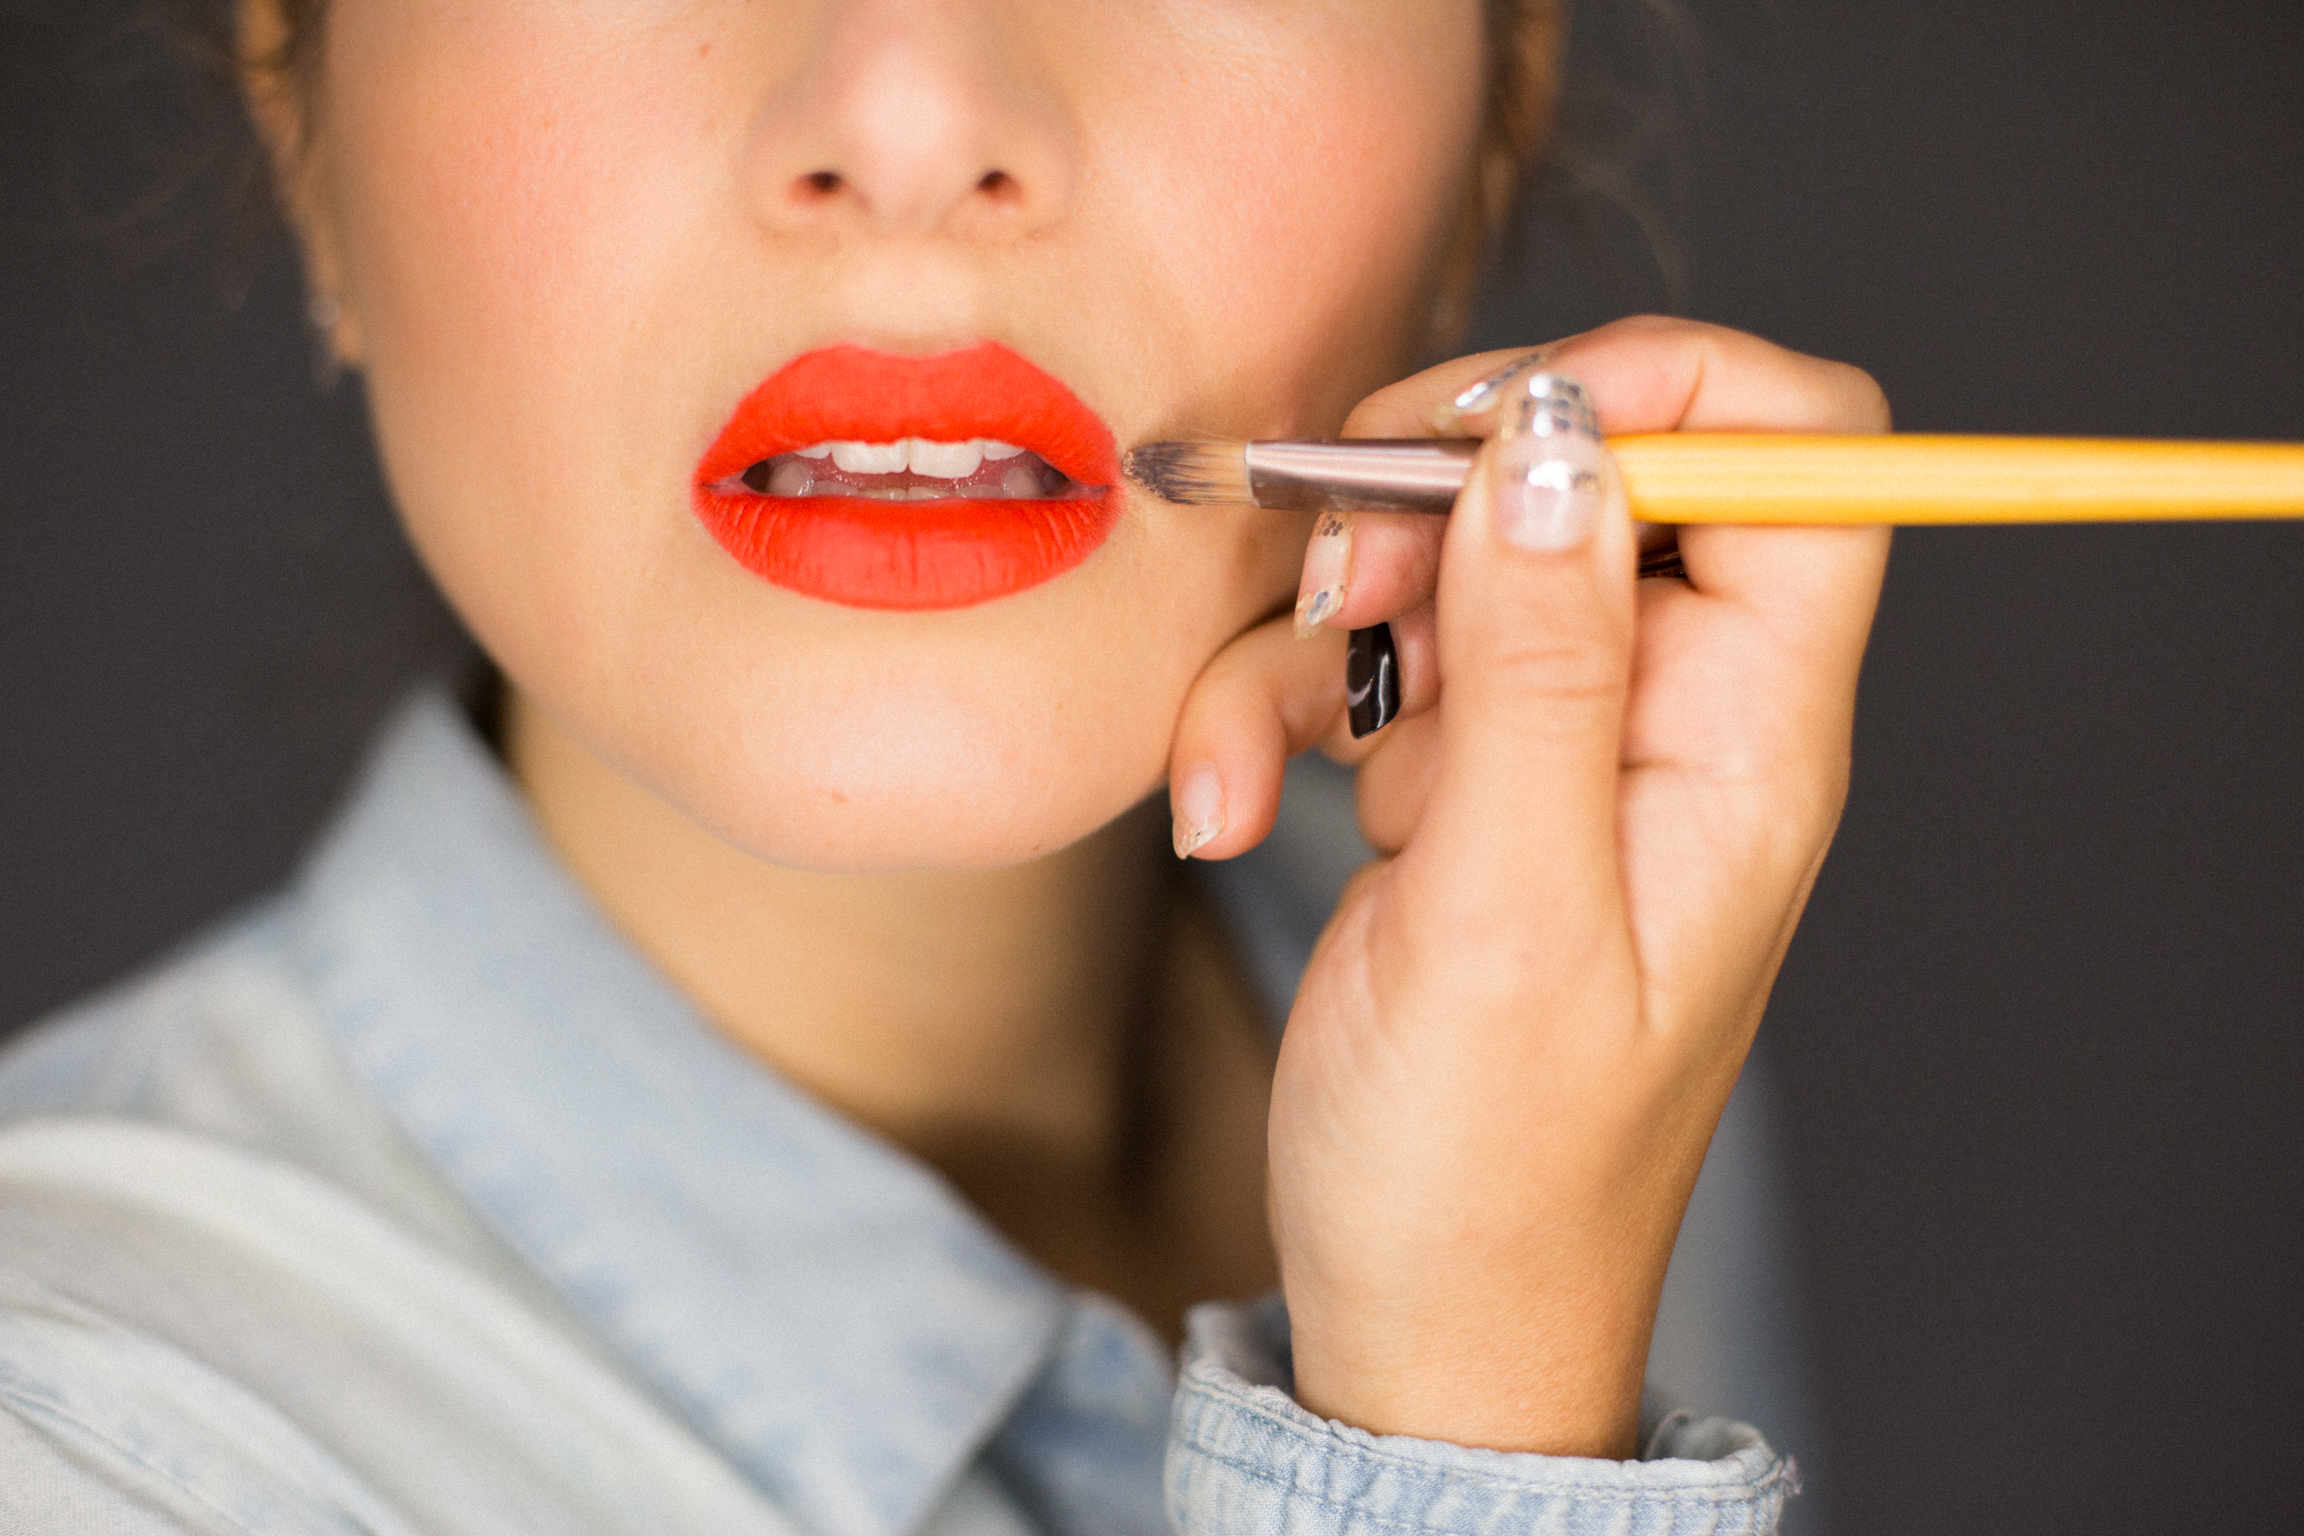
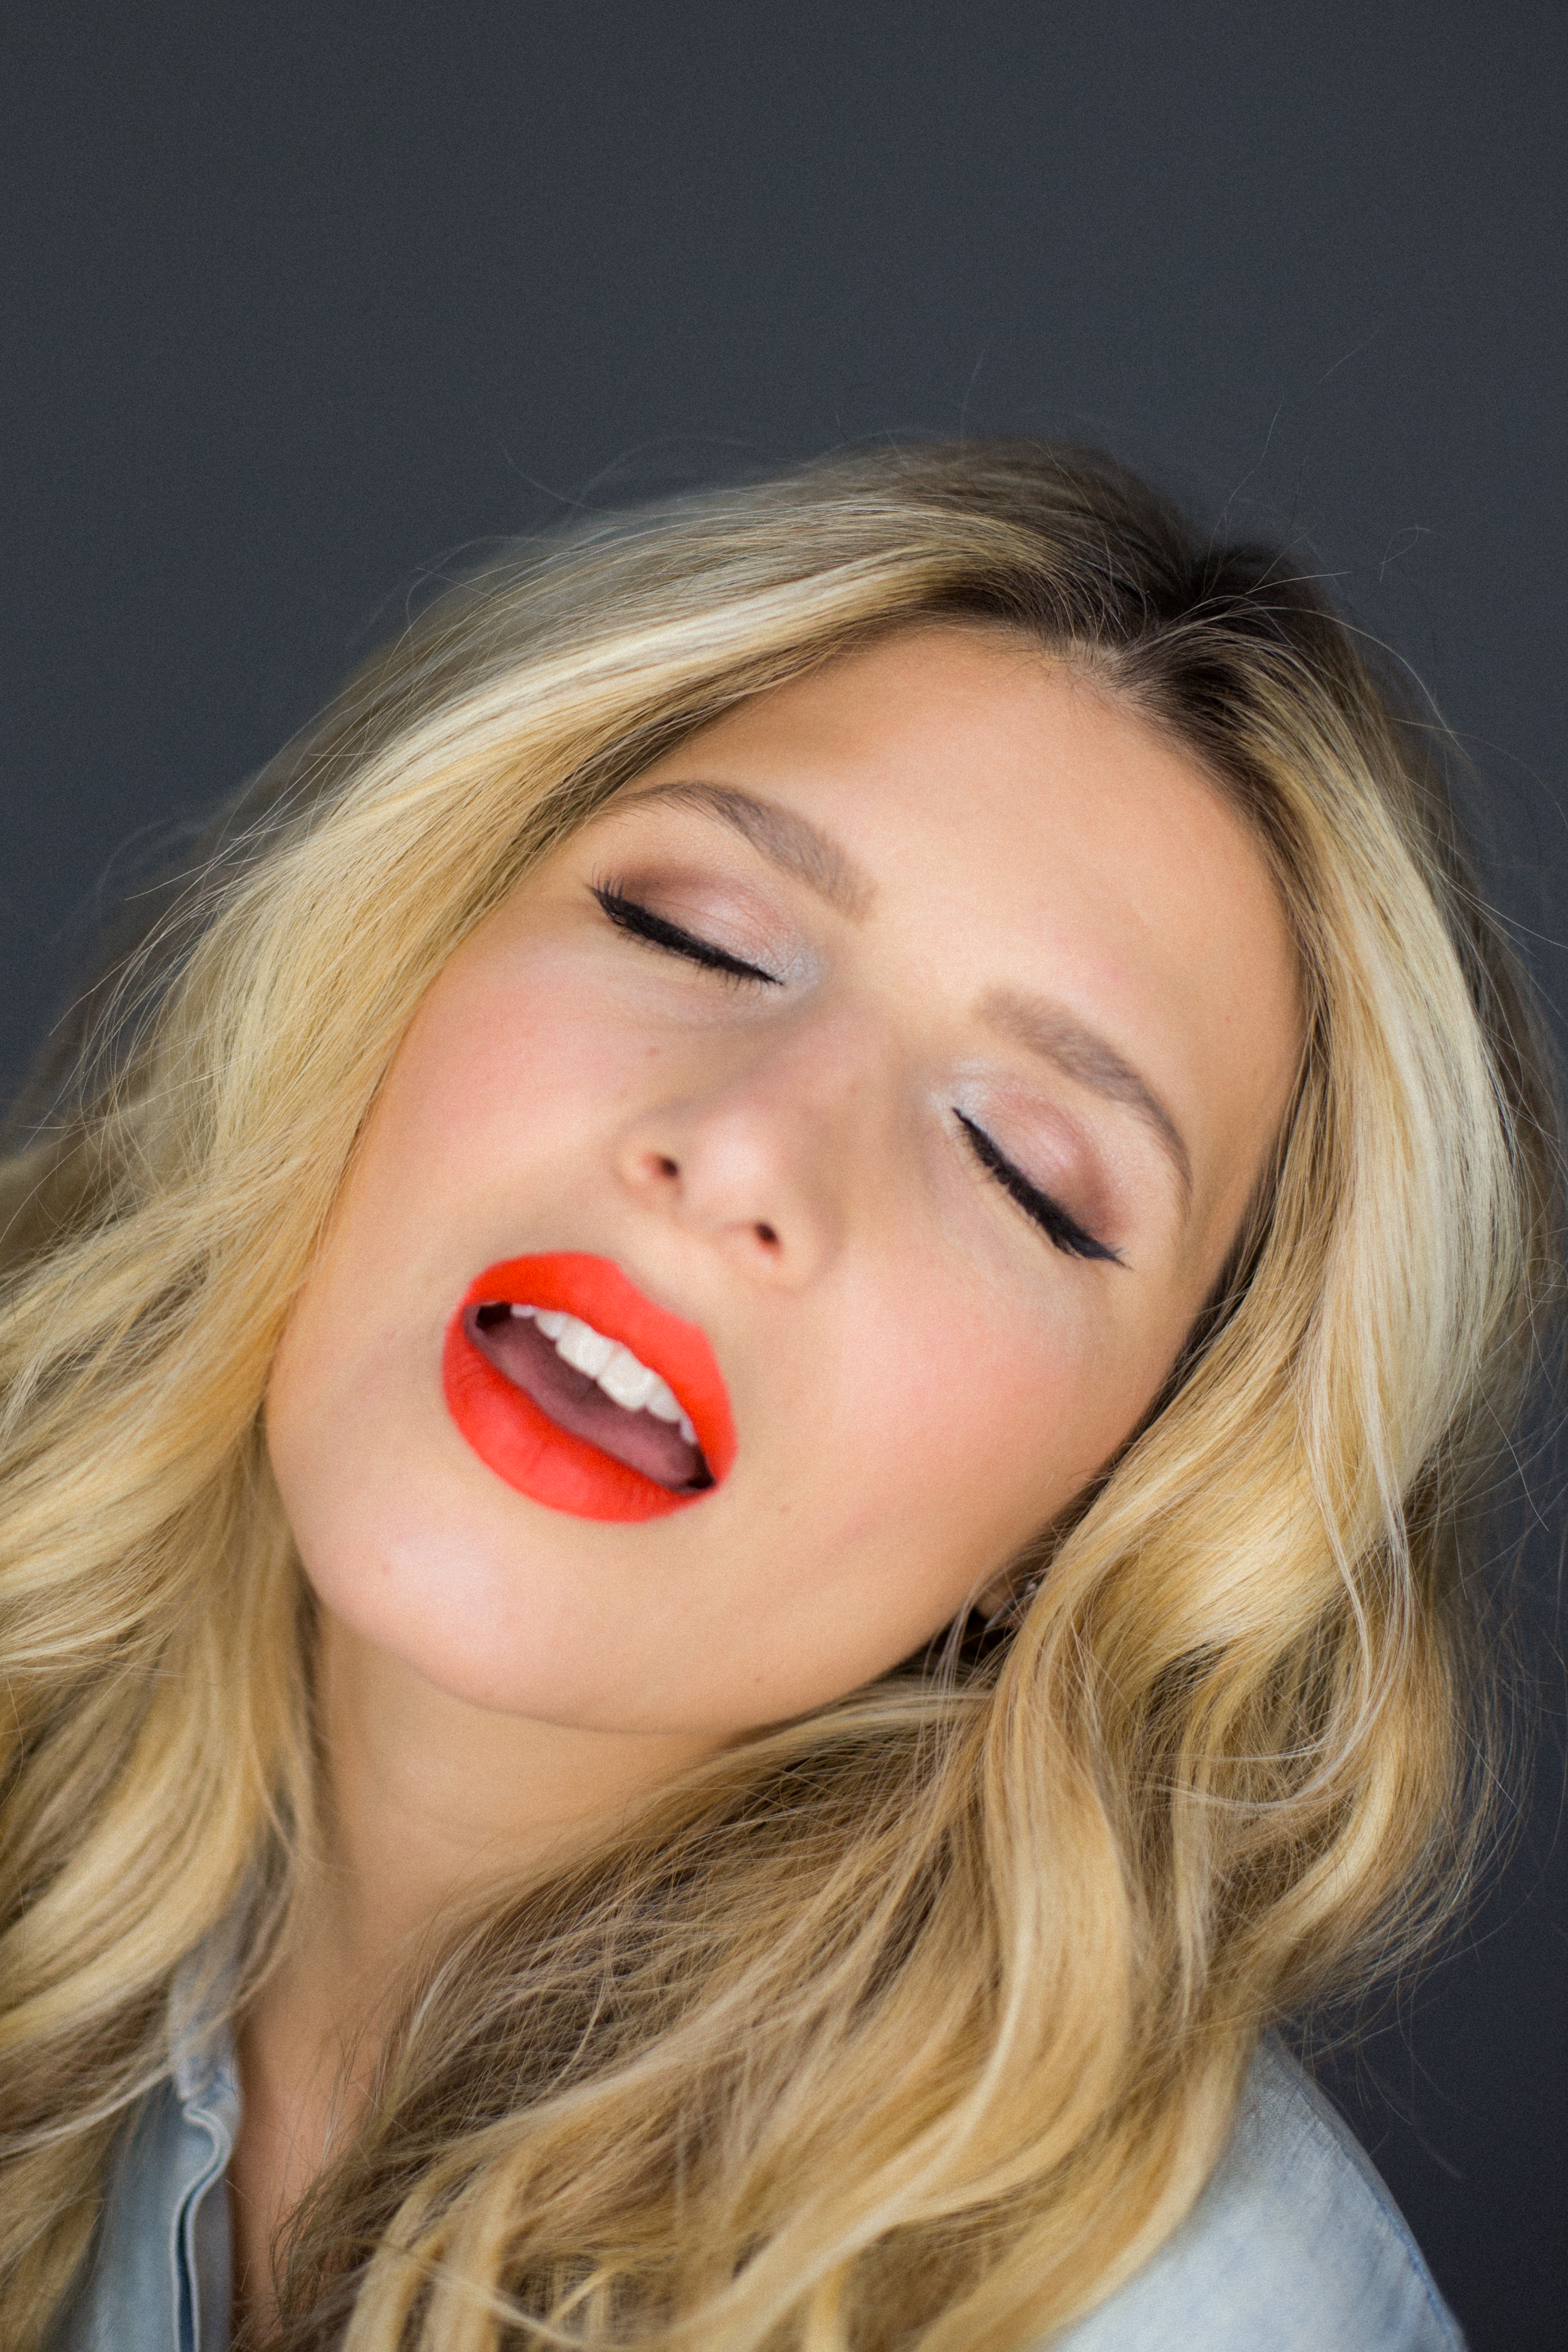
- To top this whole look off, the pièce de résistance, apply a bright orangey red lipstick. The trick with a color this bold is to apply once, blot, and then apply a second time. This will give it more longevity and less fading throughout the day. To make your lips nothing short of perfection, use a concealer brush and some concealer to cover up any stray pigment and to get a crisp color line around your lips.
- Dang, you look hot!! Commemorate your bold orange beauty with a selfie, a sweet night out, or whatever makes you feel beautiful, because that's what matters!


