For a long time, when prints were hung on the wall, they were framed and placed like the traditional square or rectangle they were.
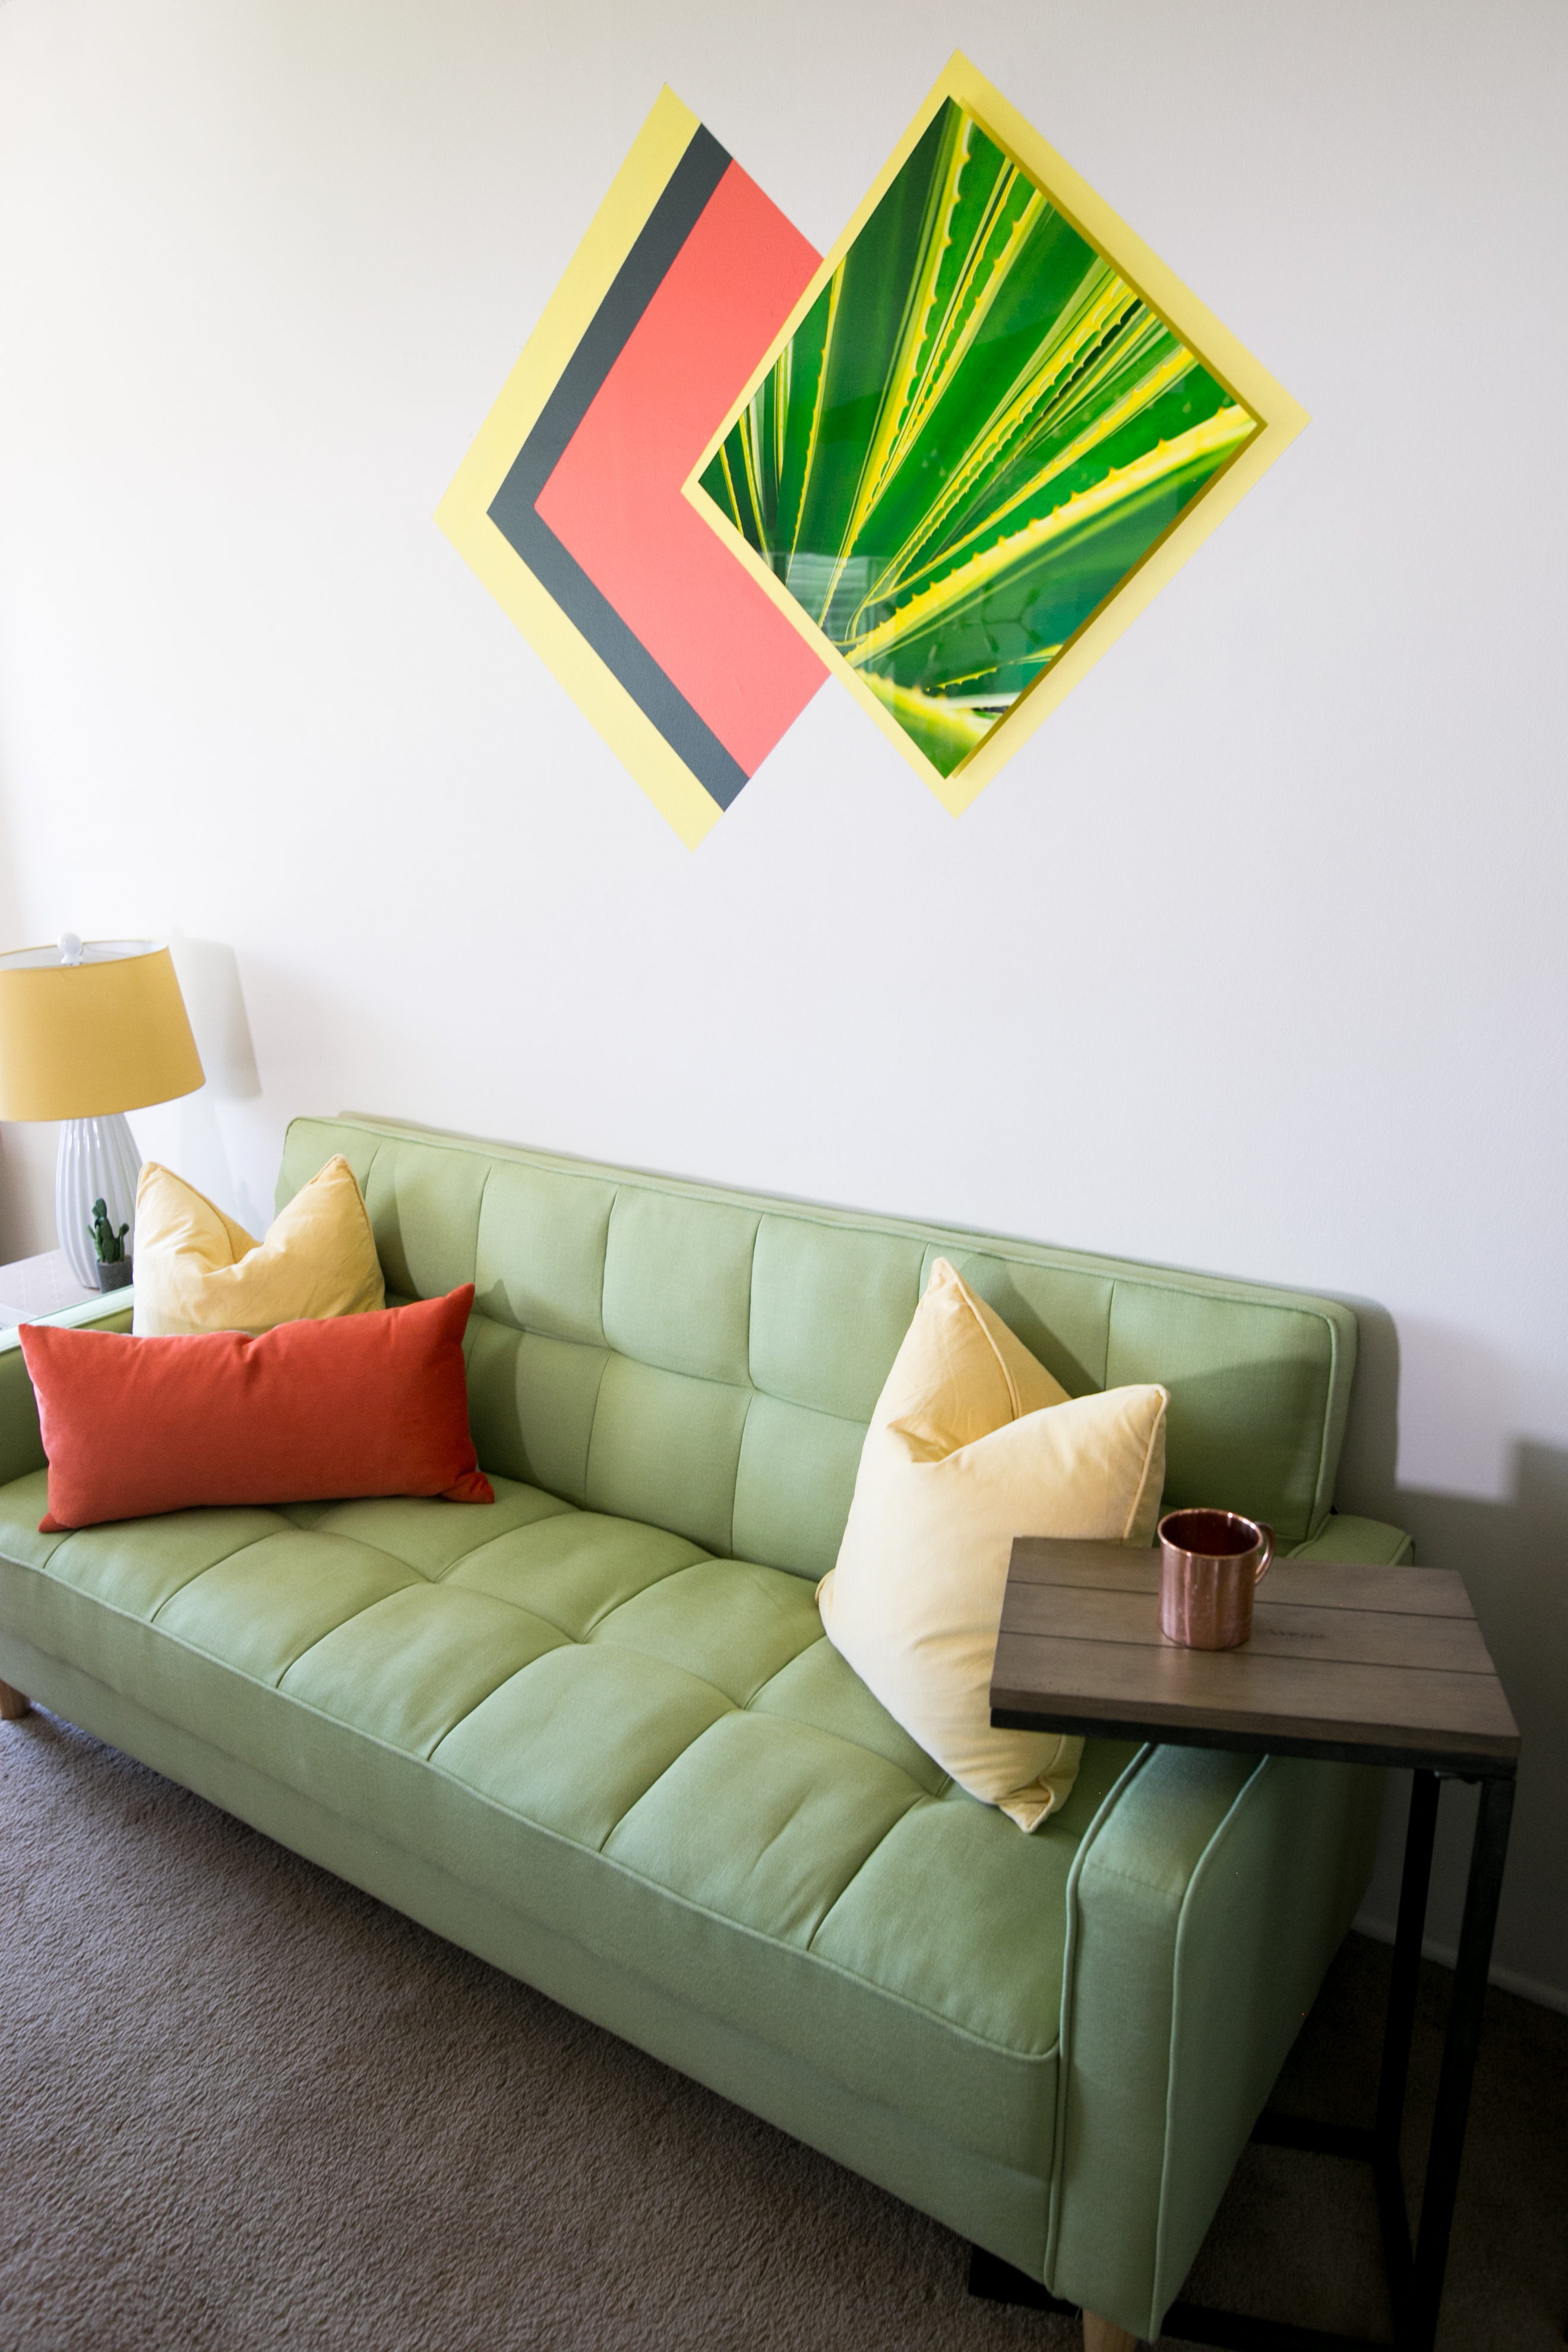
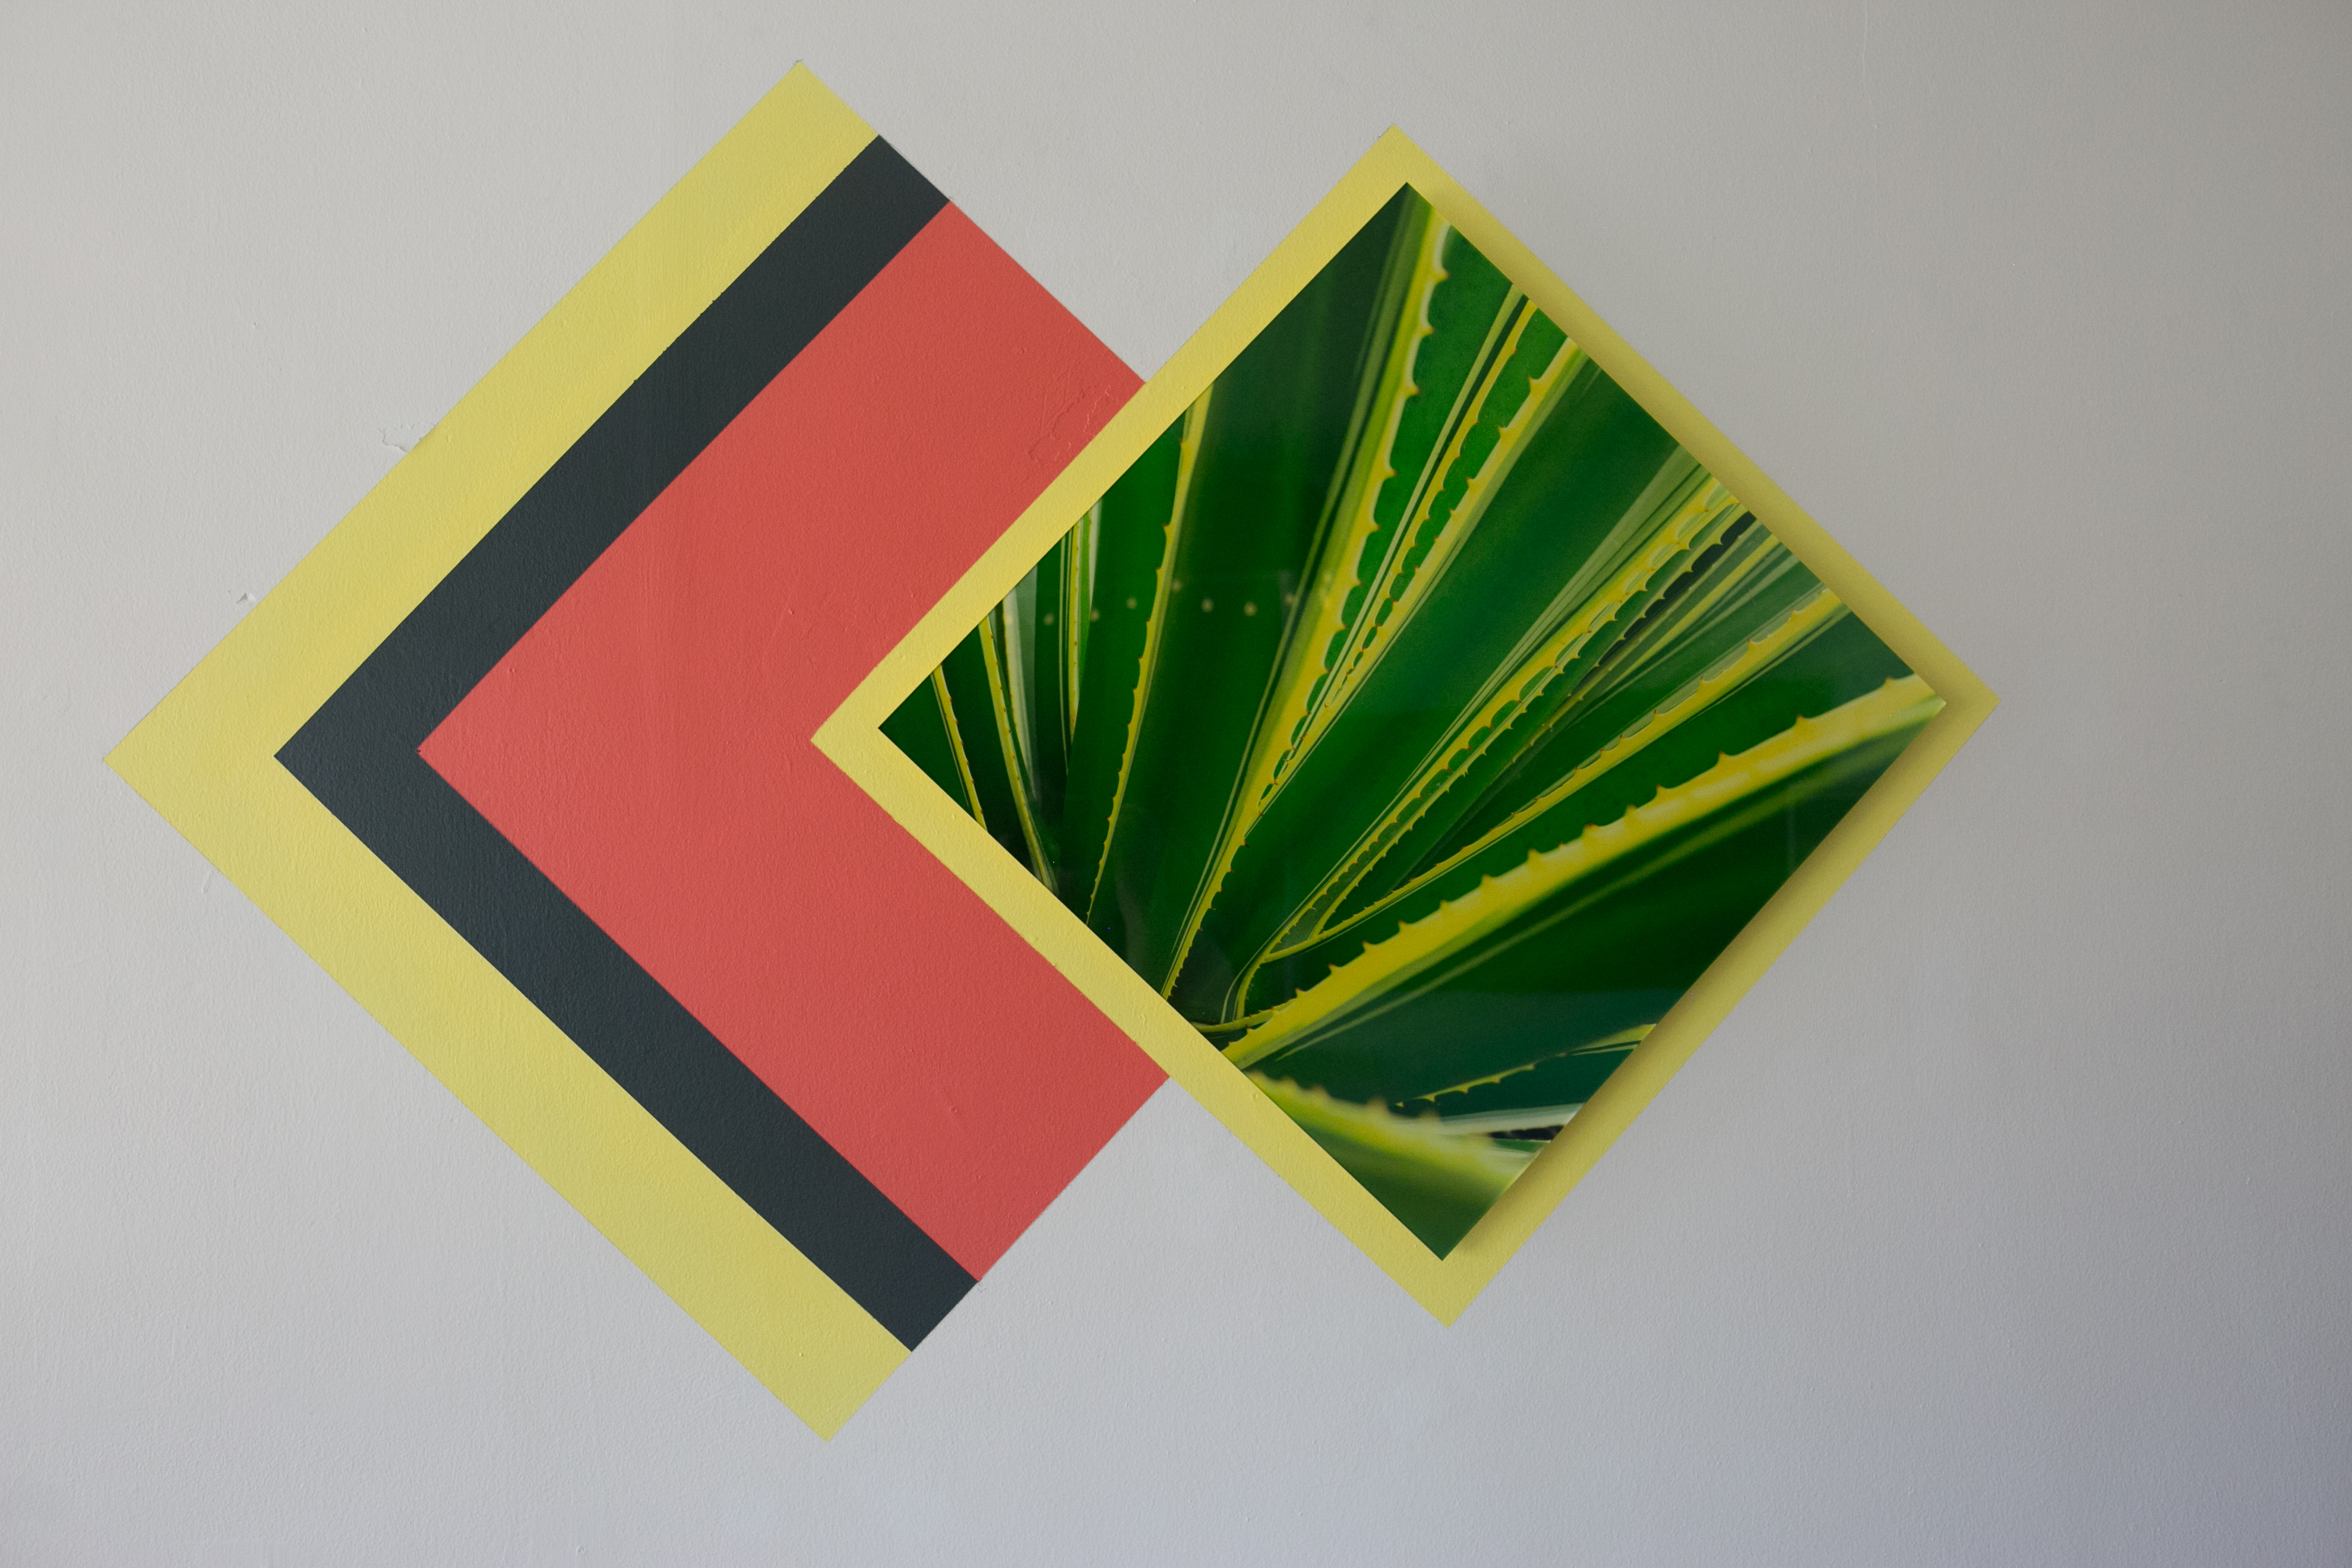
But it's 2017, and this is Mr. Kate, where Creative Weirdos rule the land and traditional just means "hasn't been redefined yet." After hanging this agave print on its side and painting a geometric design around it, I'm quite convinced that traditional frames have some catching up to do to look this cool.
Of course, if you have the right tools to hang it up, you could always do this DIY with a framed print. A mirror is also a really good option, for a bathroom or living room!
P.S. Get this exact print at LIK Squared and use the code MRKATE40 at check out for a discount!
Prep It:
Laser level Tape measure Pencil Wall Paint (in the original color of the walls, and a few others!) Paintbrush Agave Print/ mirror/ whatever you're hanging!

Do It!:
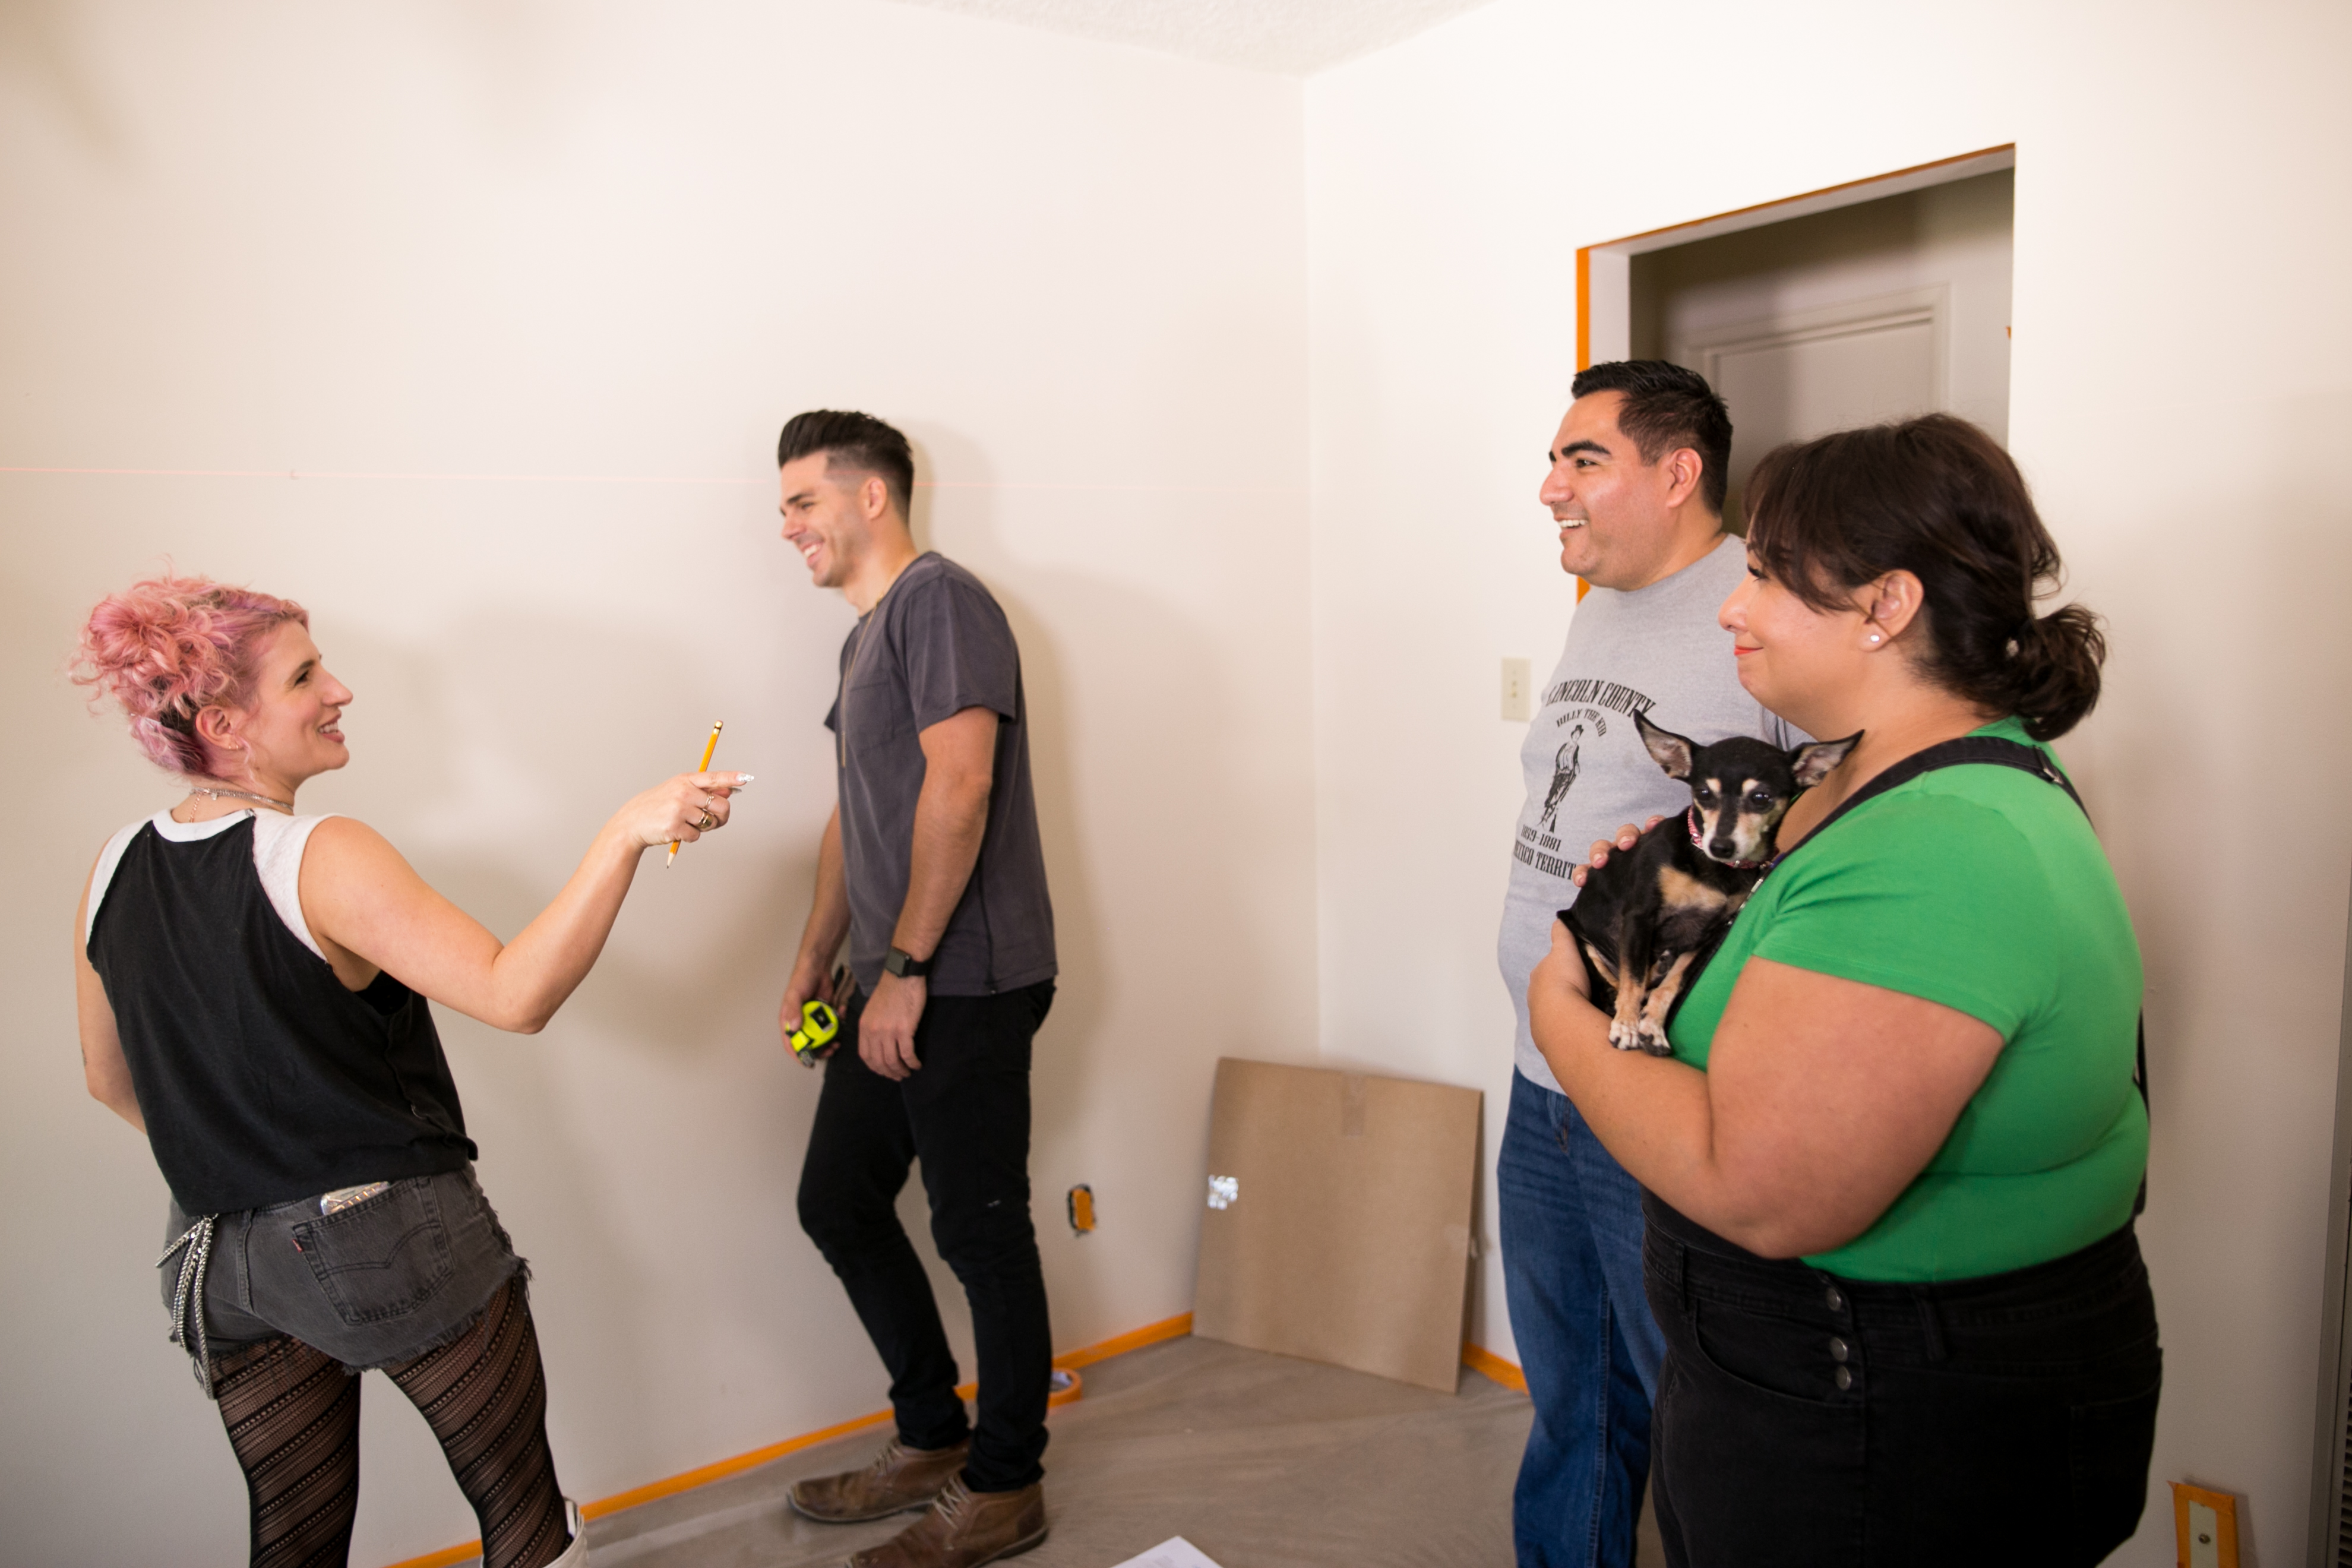
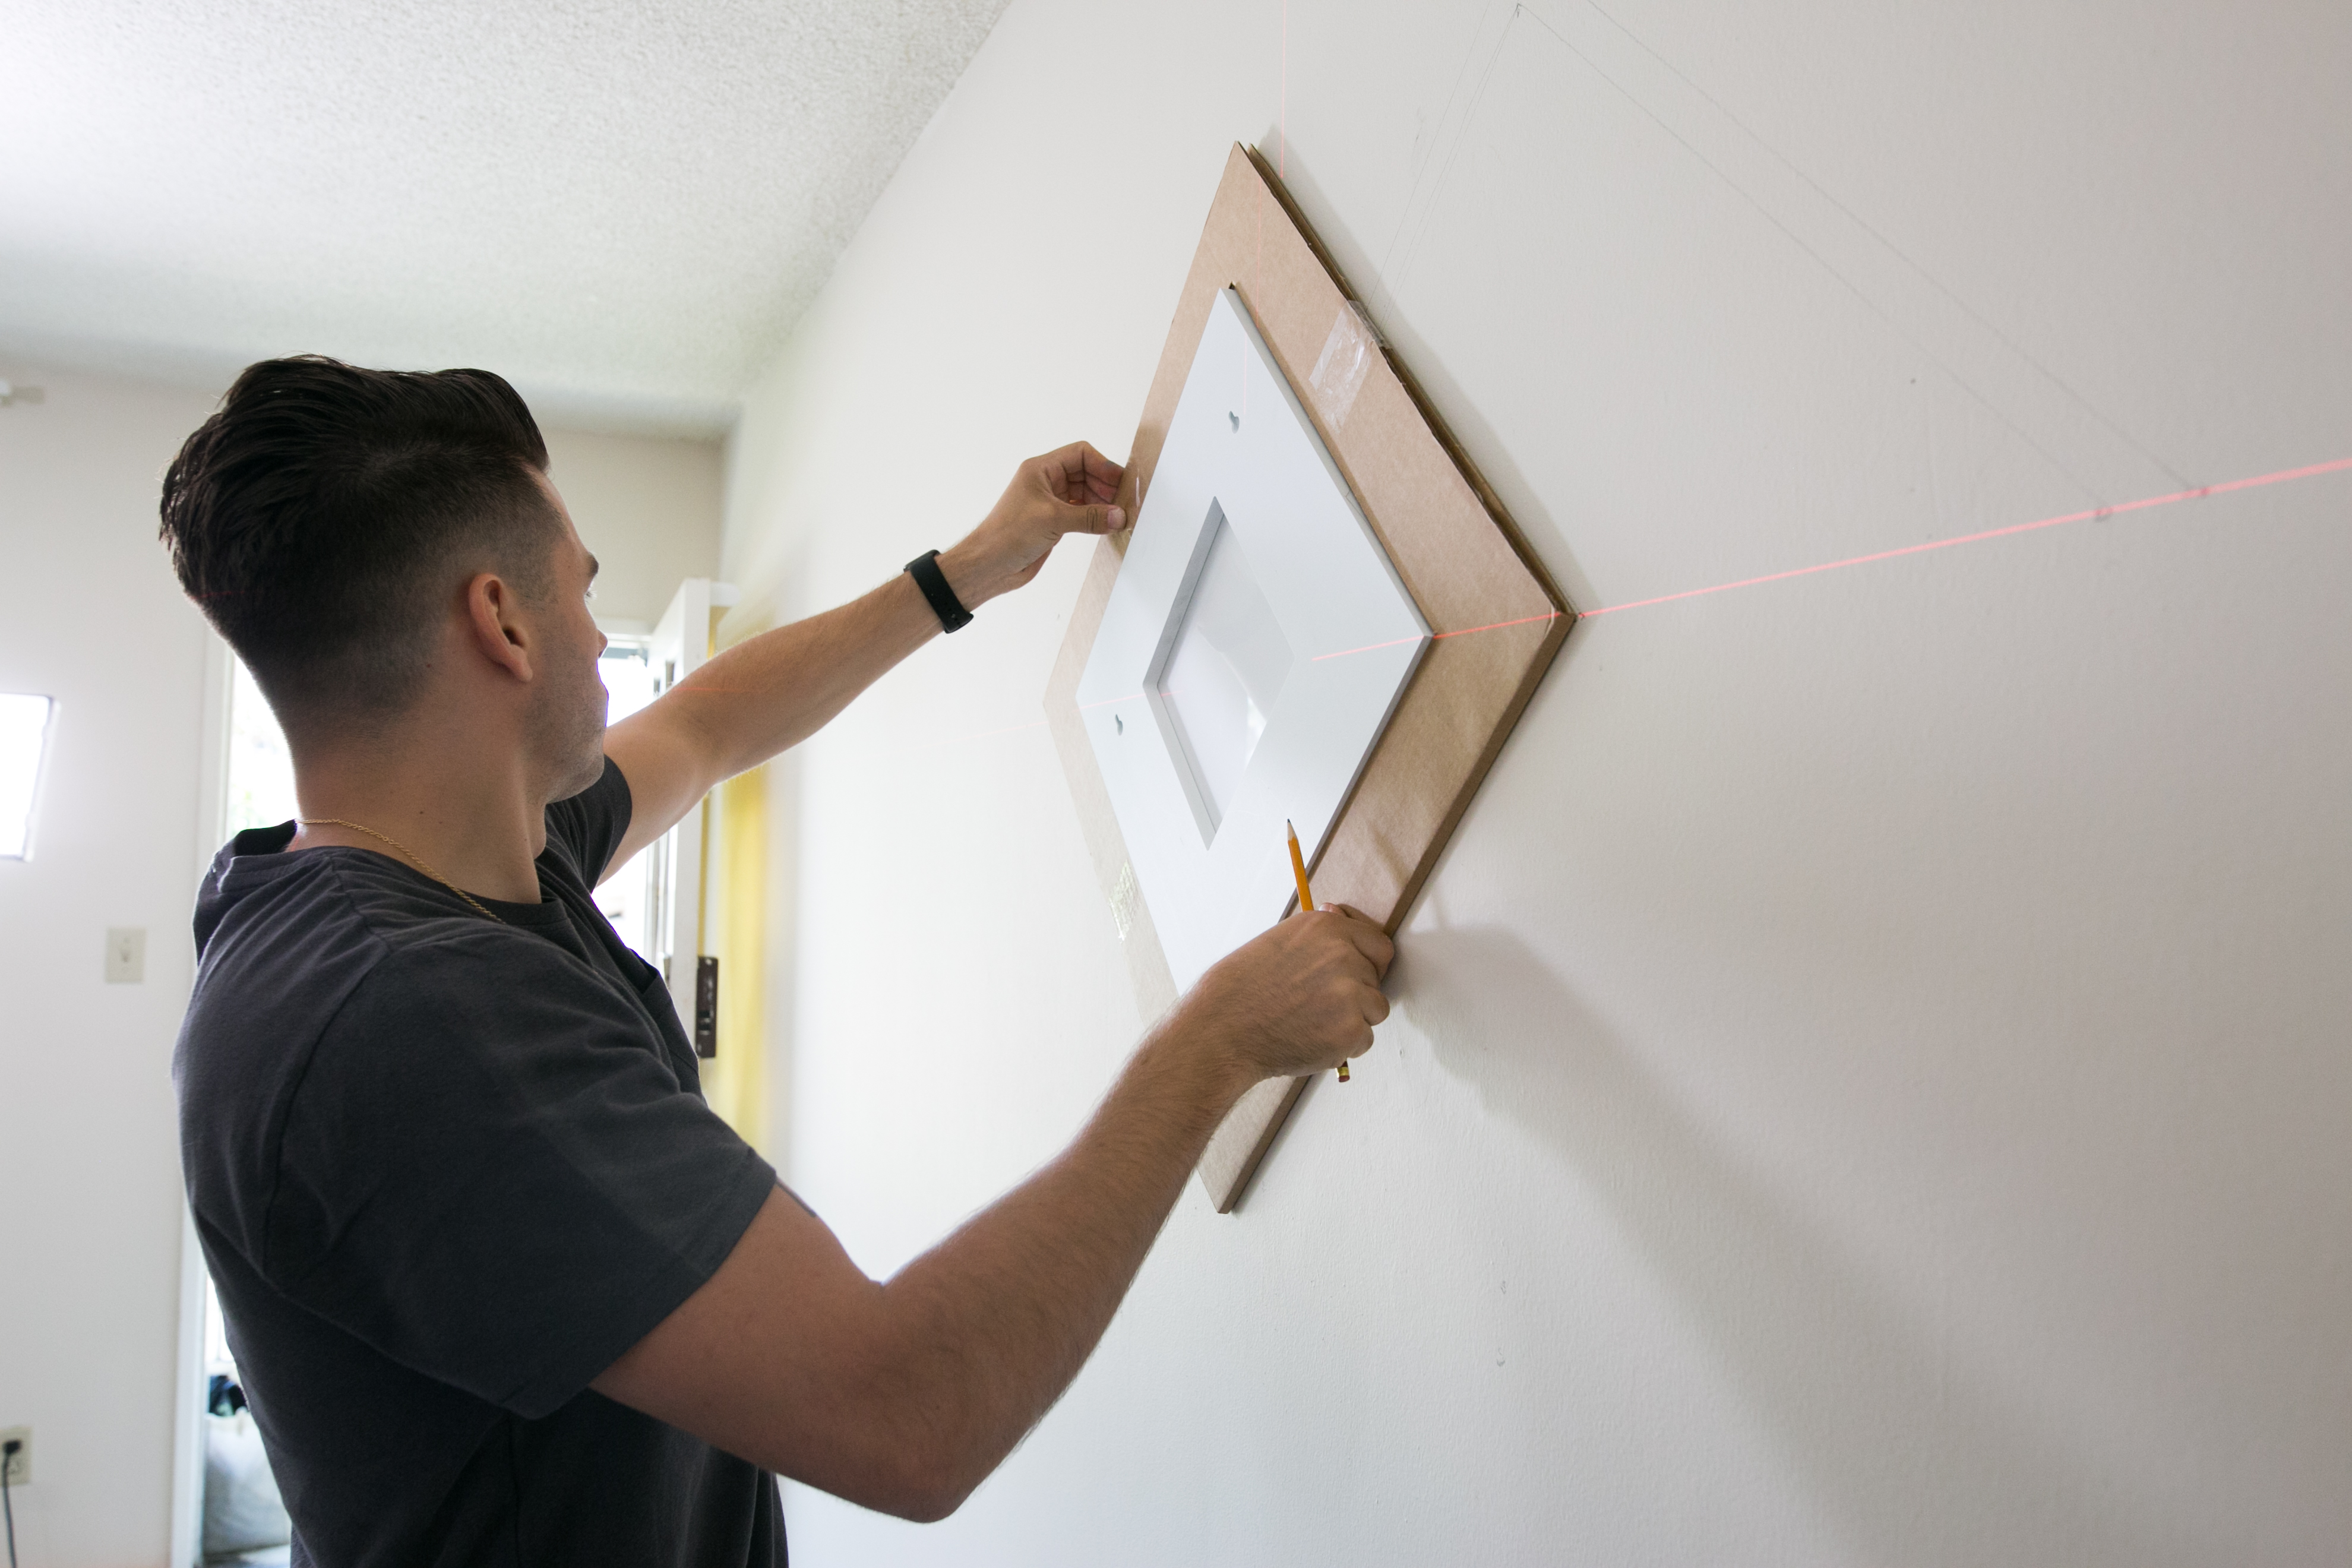
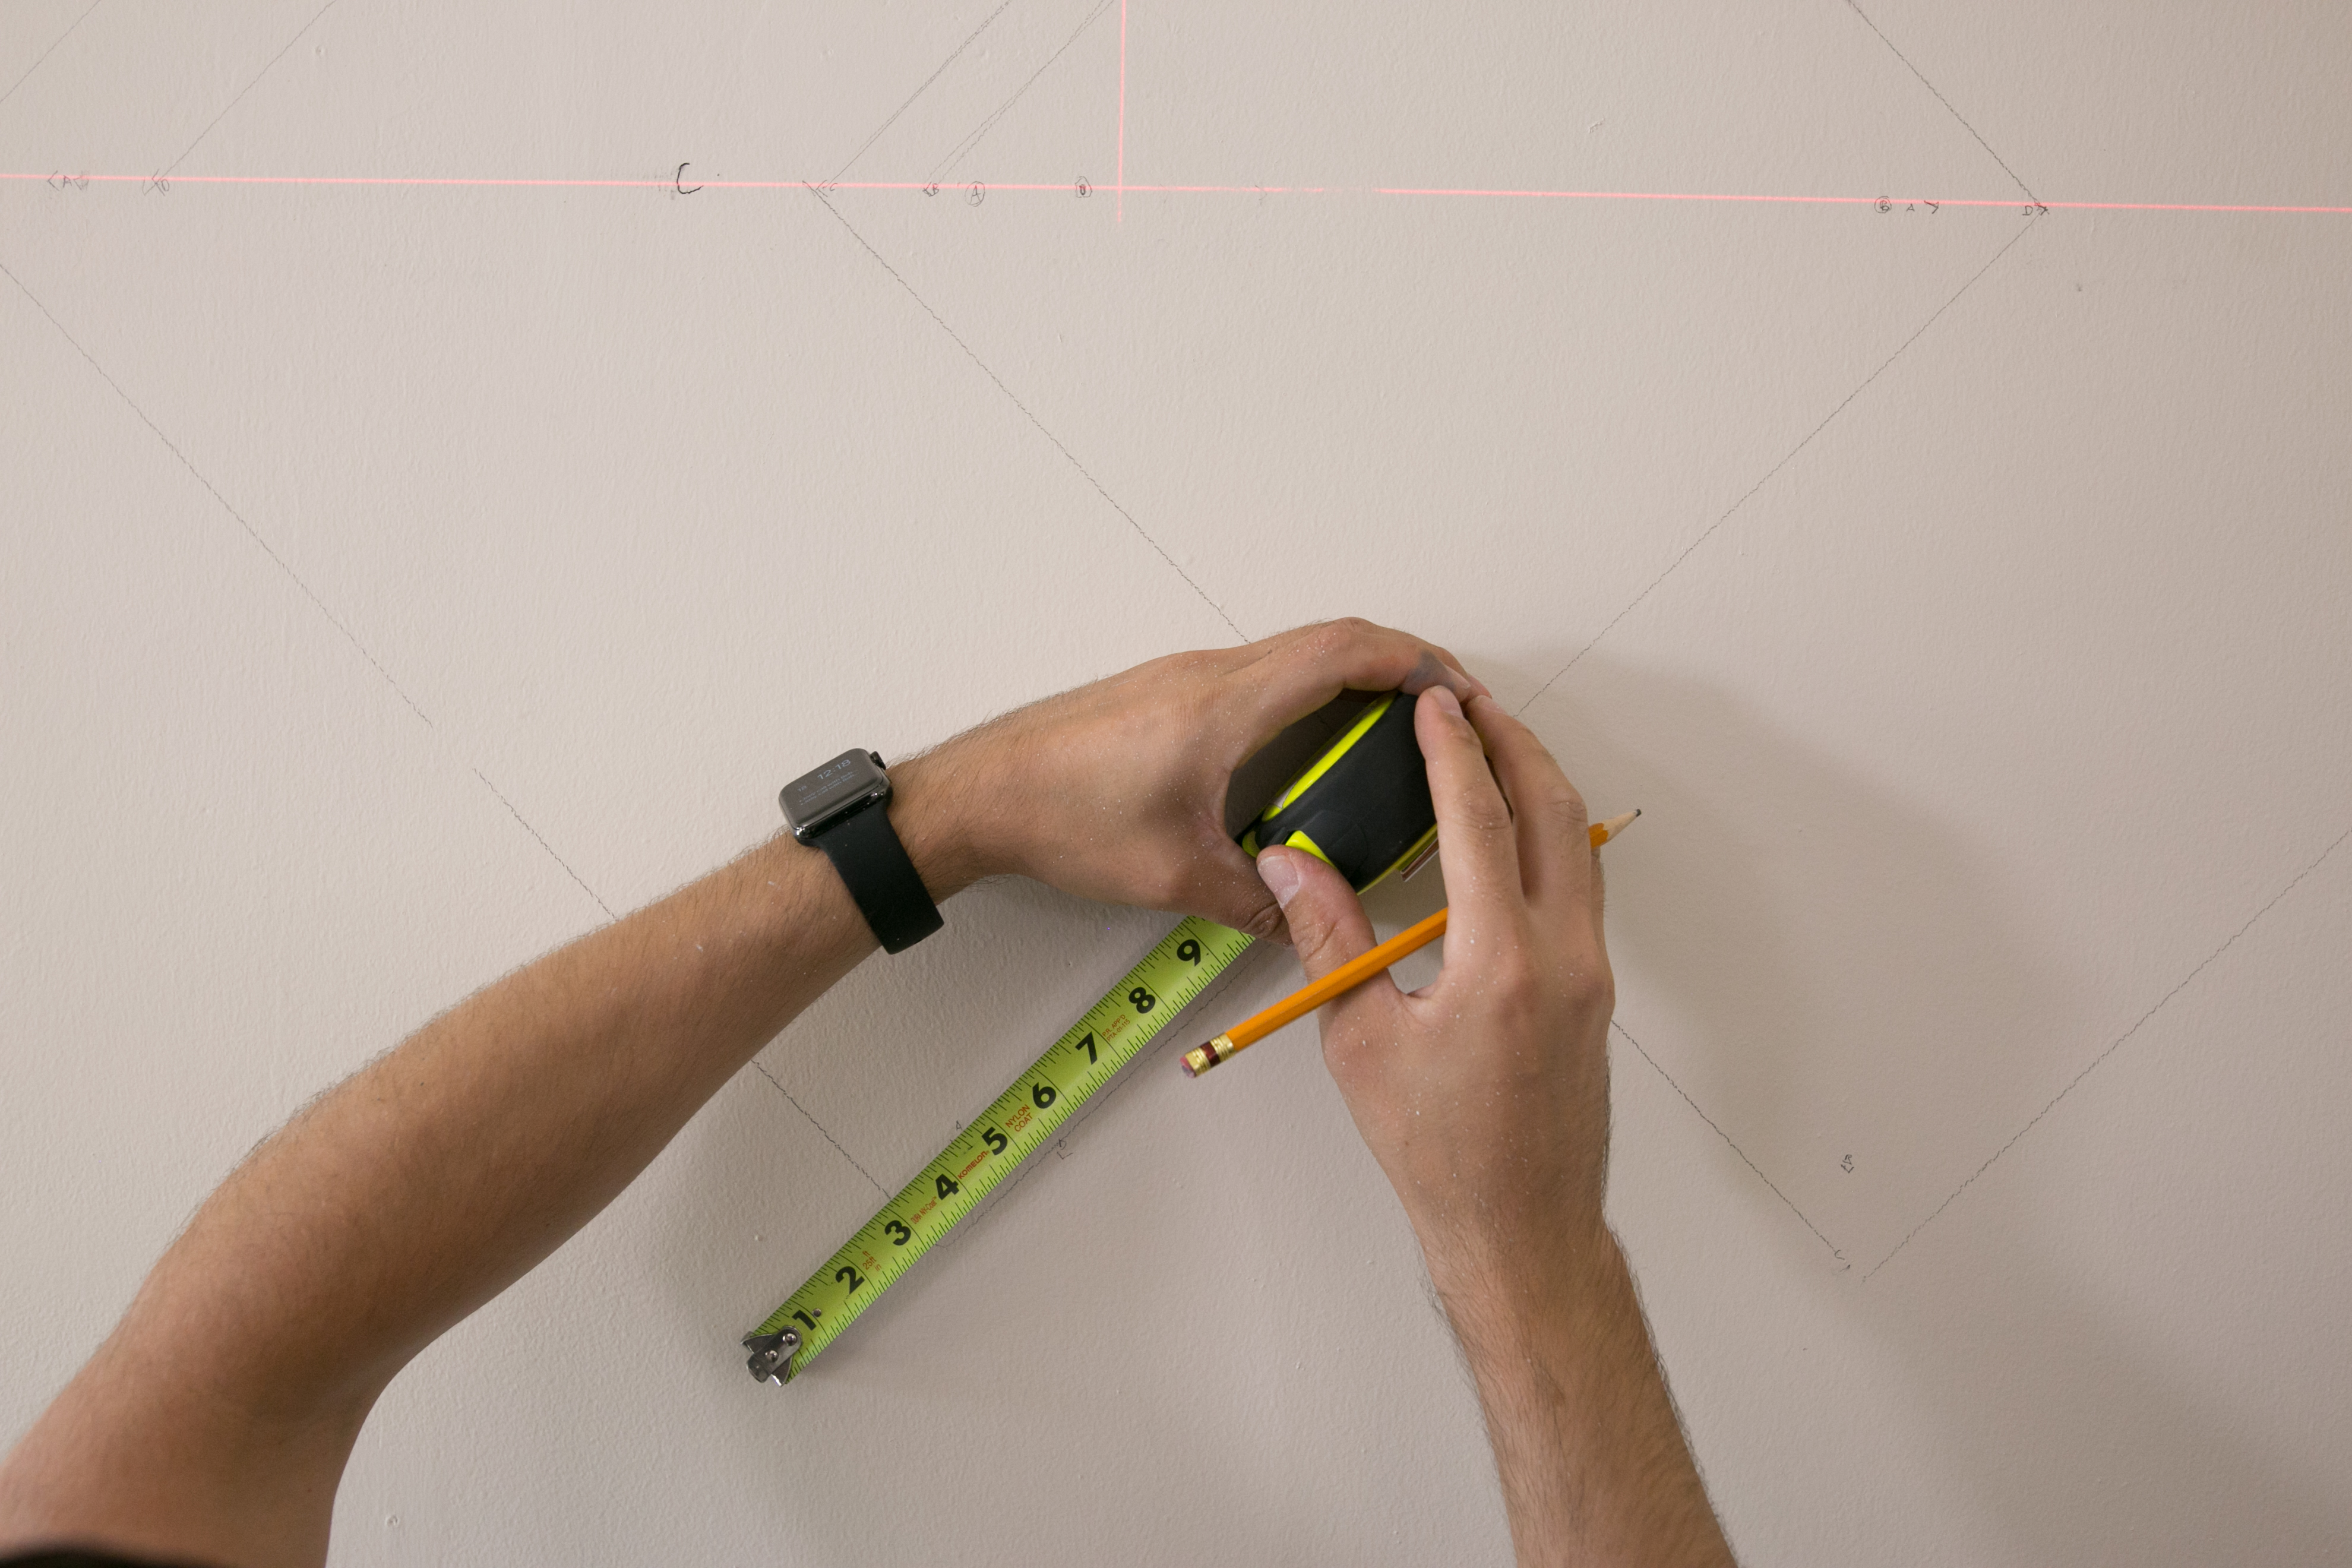
- Set up your laser level so you have a clear, even horizontal line to start measuring from.
- Place your print or mirror on the wall where you will want it to hang and trace around it. Also mark where and nails or screws will need to be positioned to hang it there.
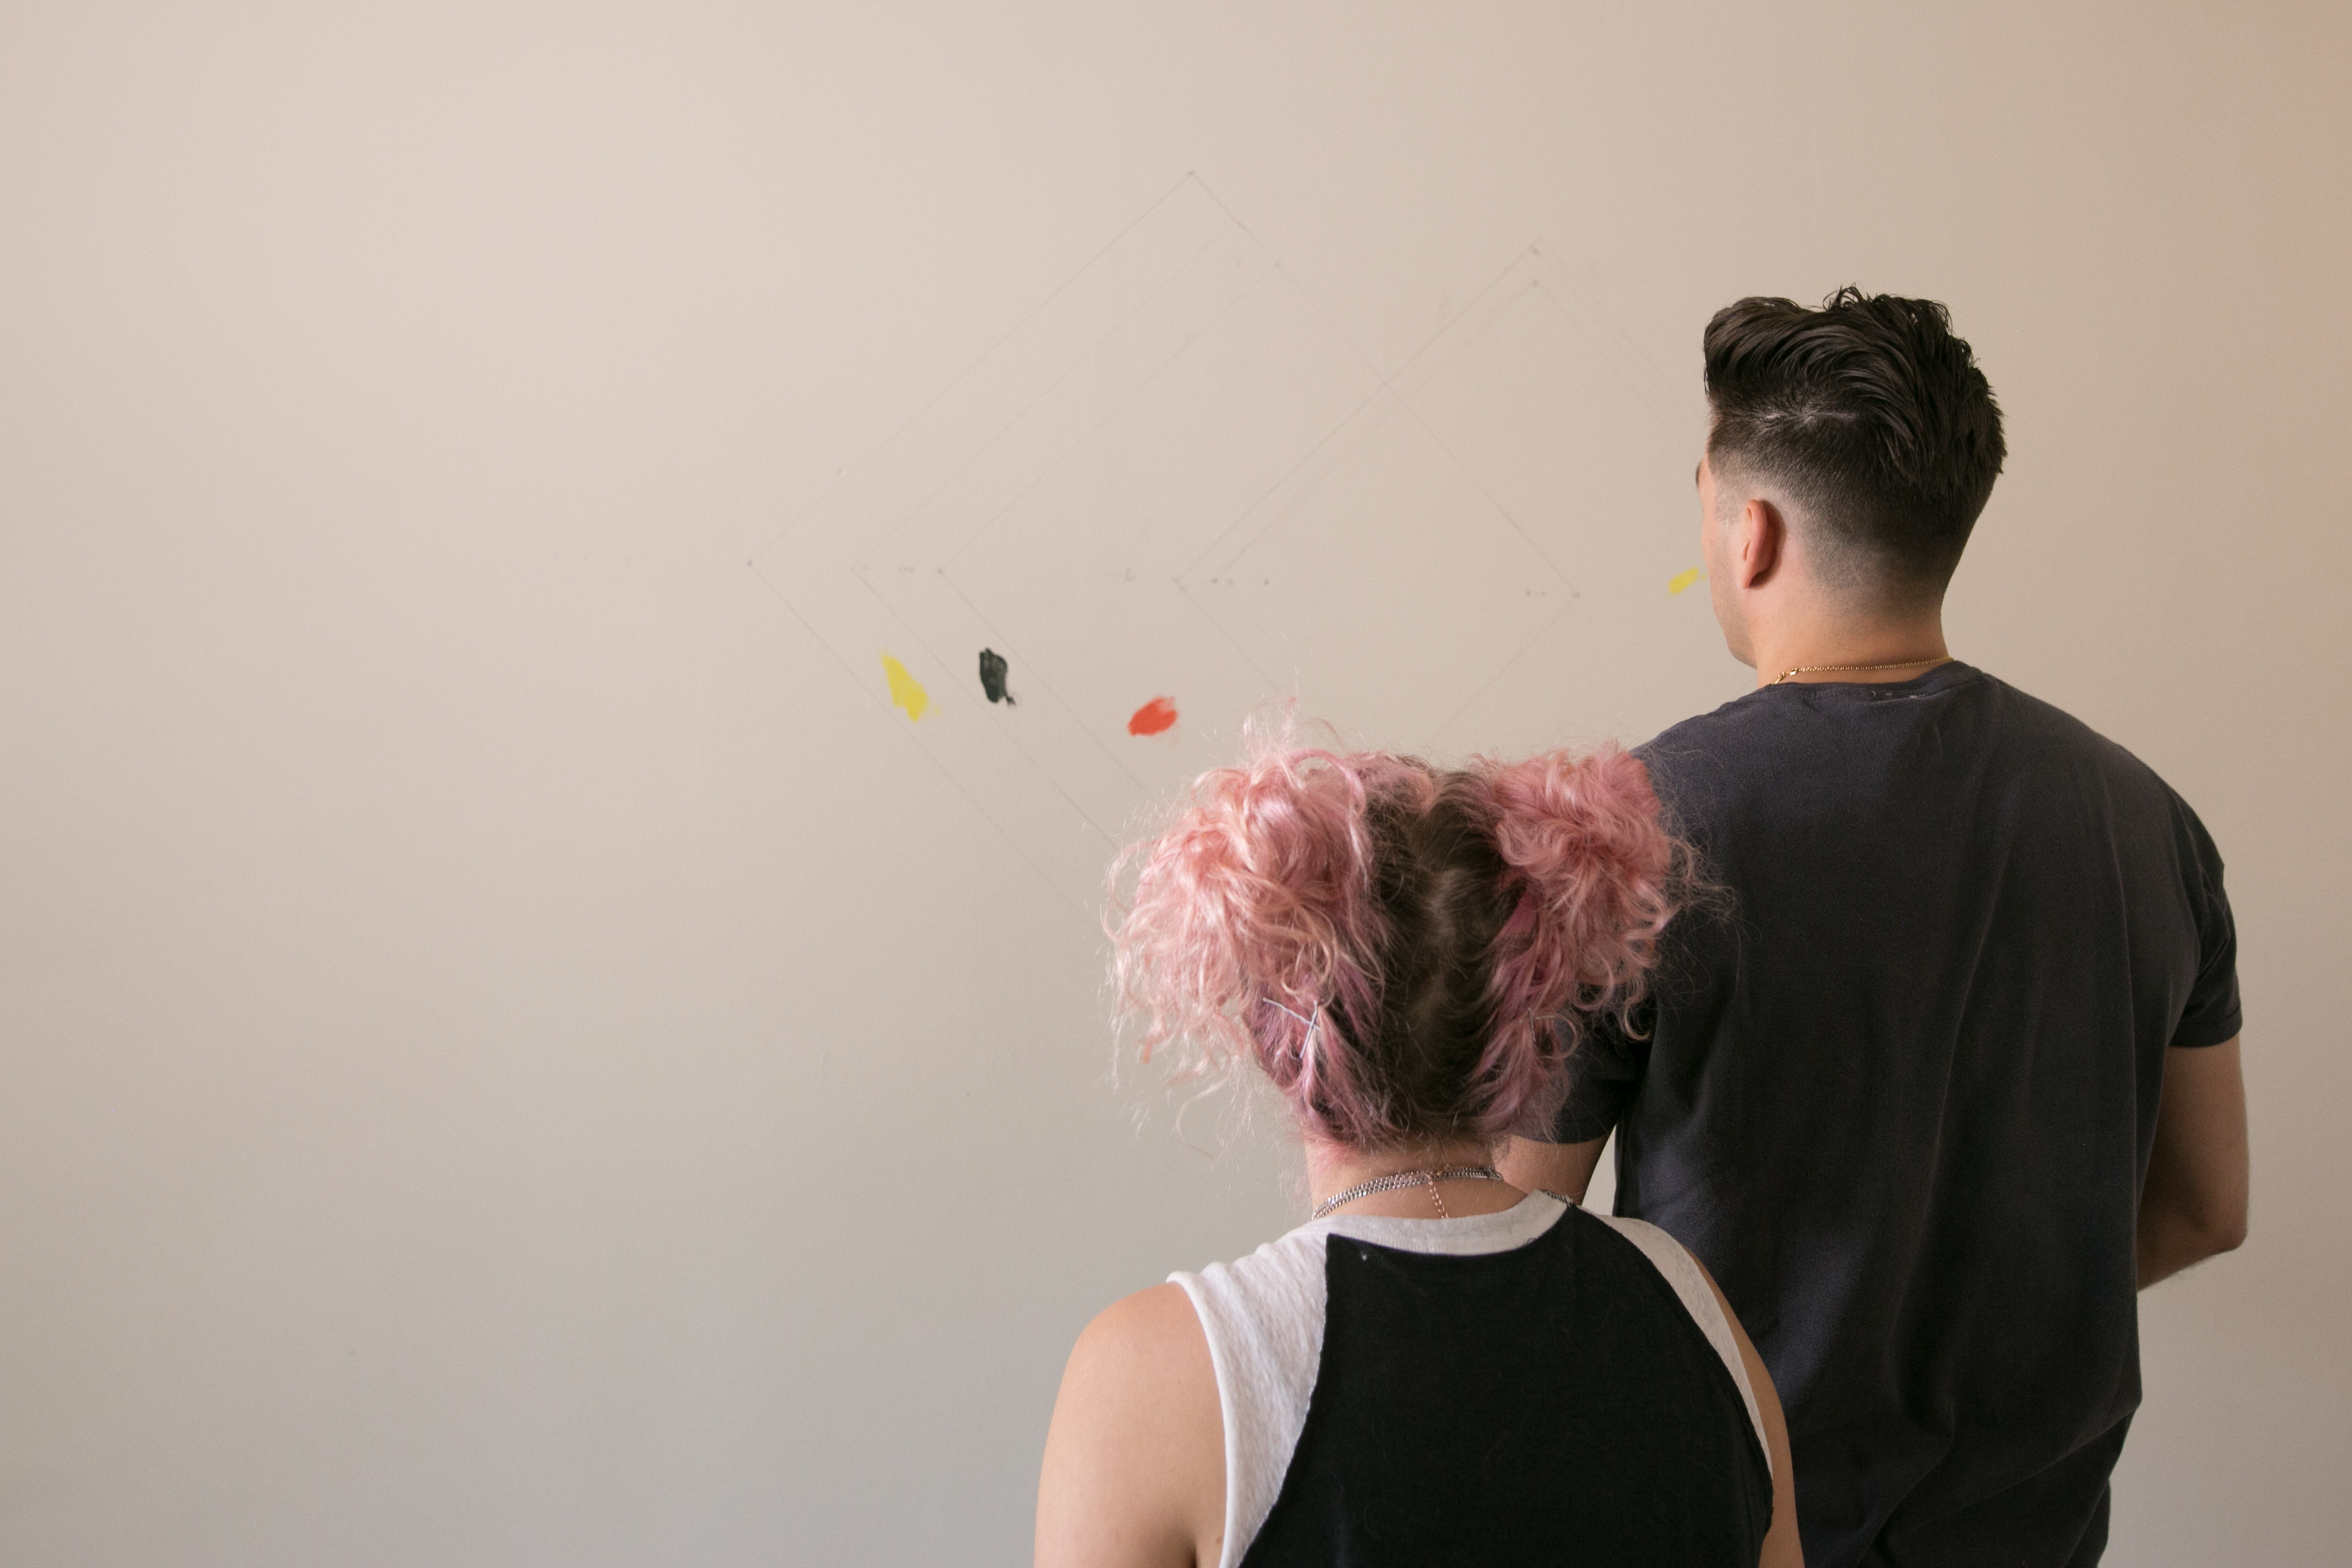
- If you have planned your design beforehand, use the tape measure, and pencil to sketch it onto the wall. It is important that your lines are straight and the shapes are proportional! If you need to rethink or redesign your plan, do it! I reconfigured this design when I got into the space and started playing around with it. Nothin is permanent until you start painting.
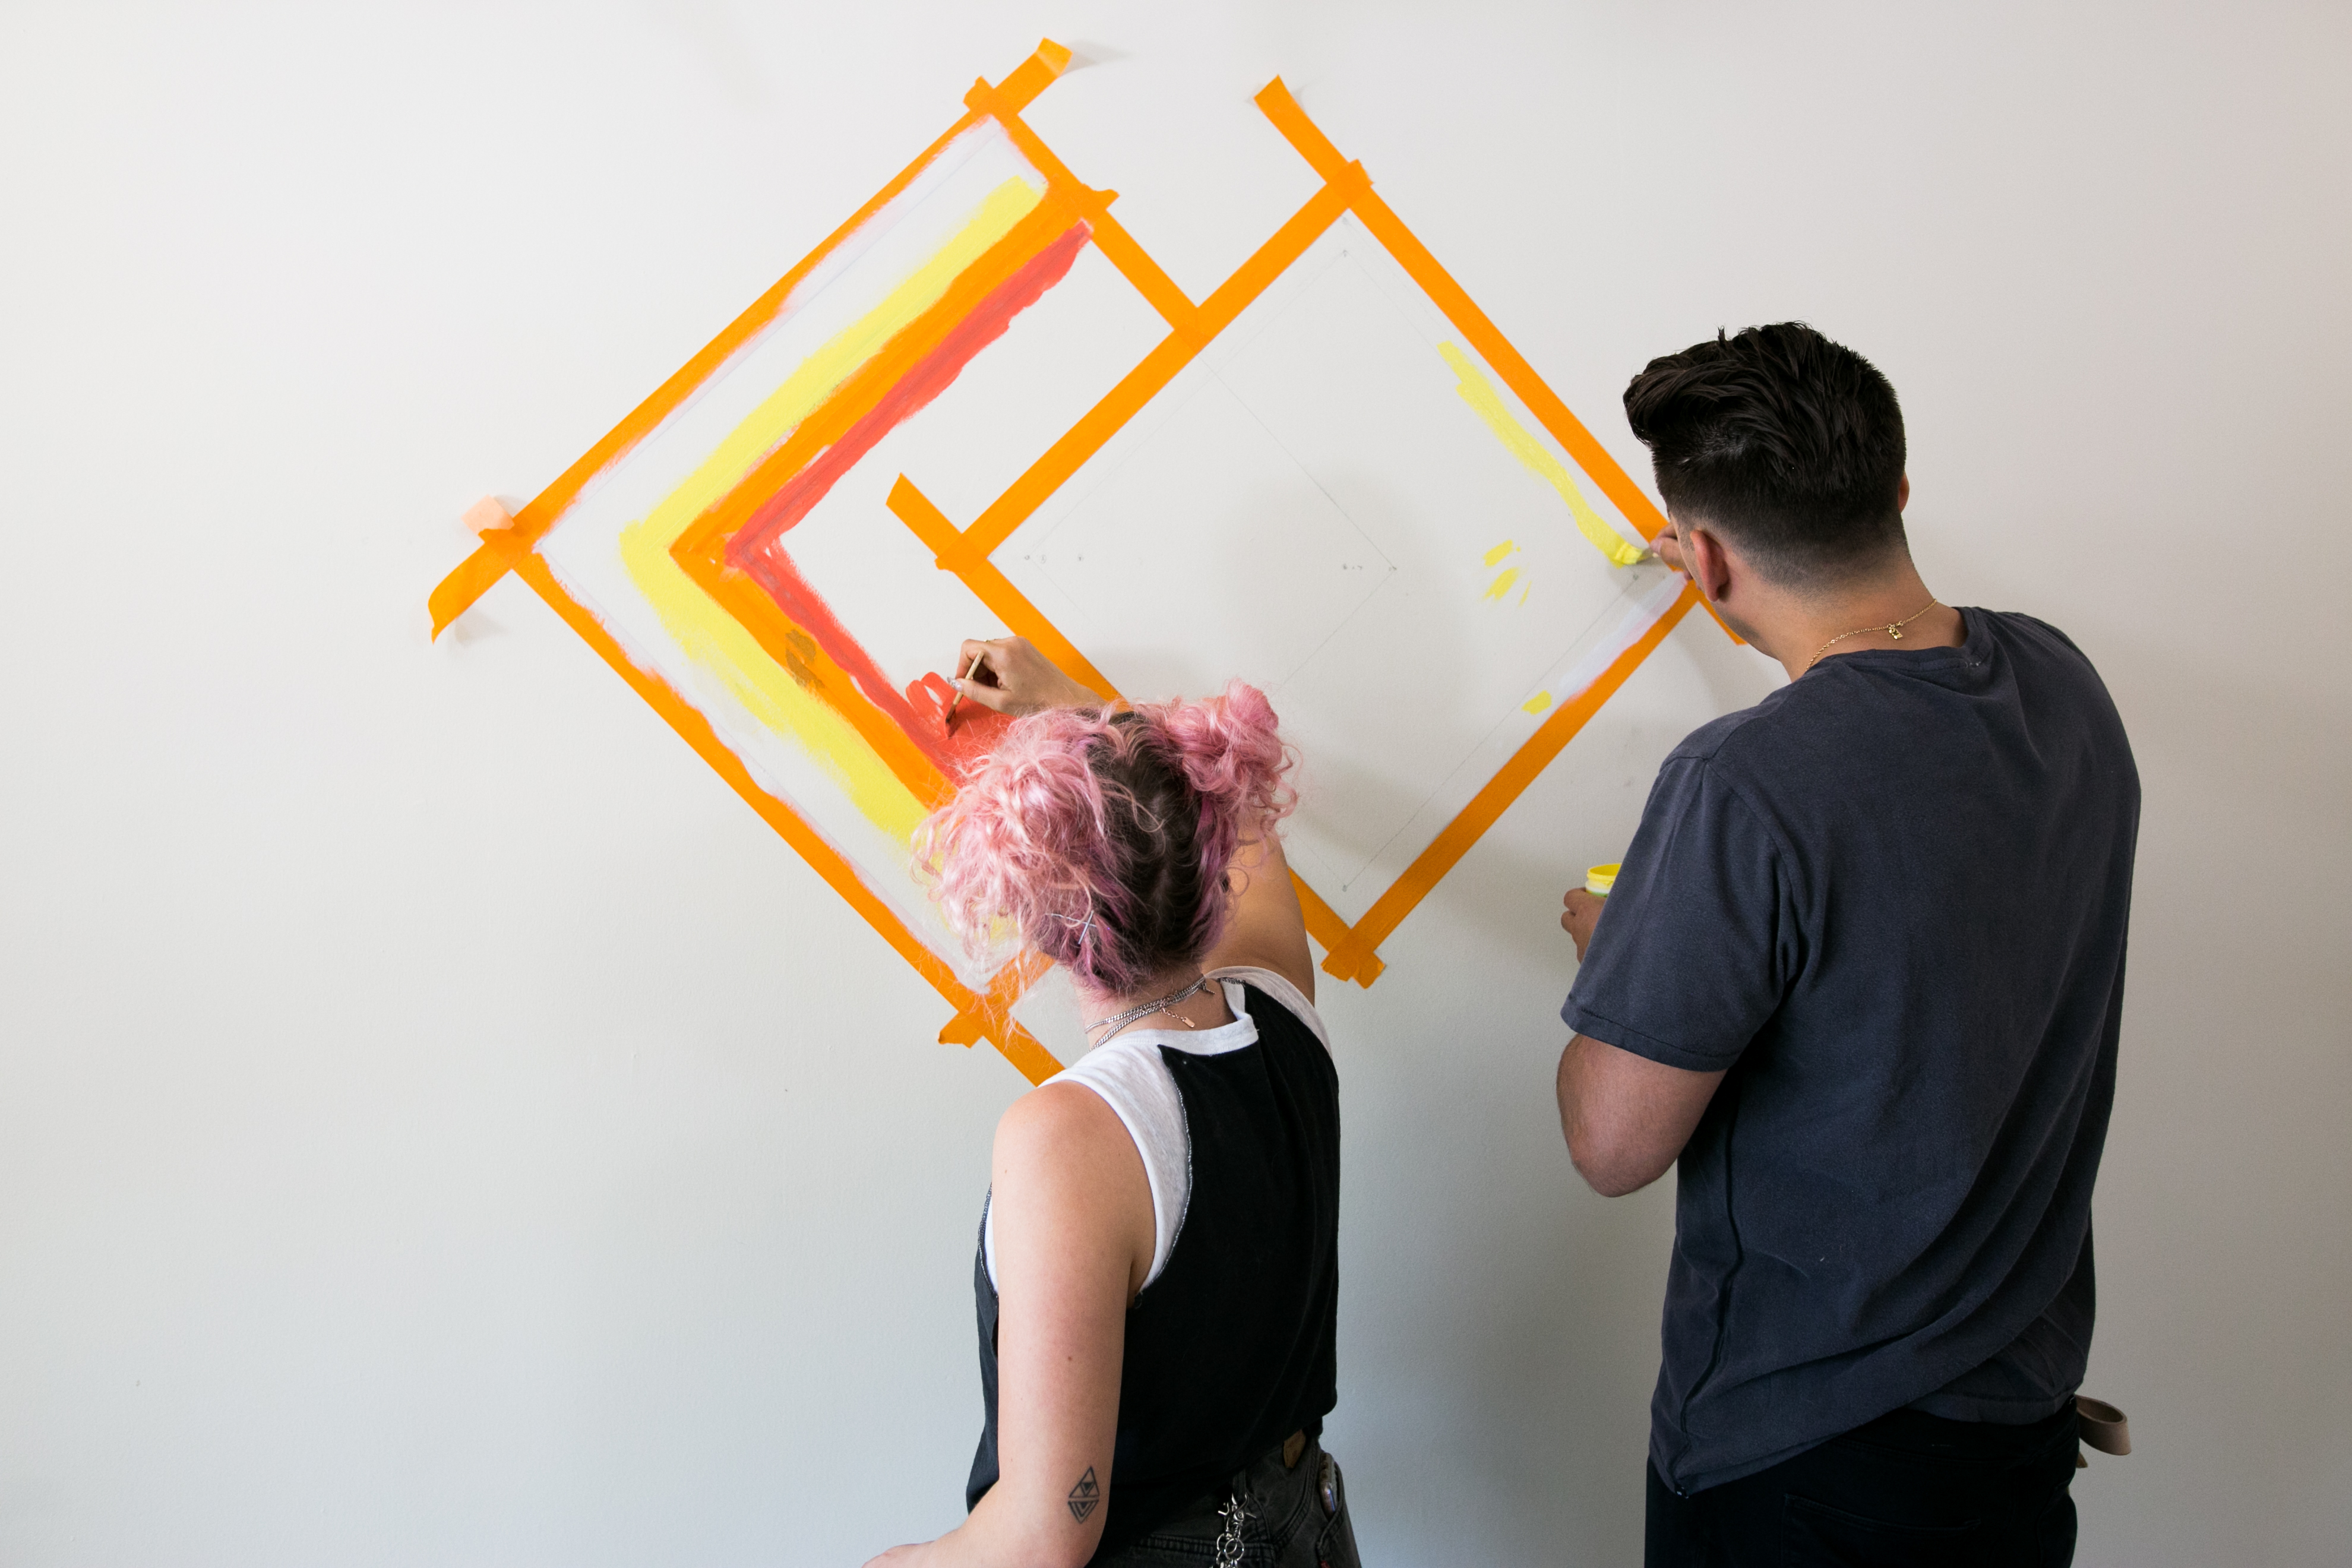
- Once you have the design you want sketched out onto the wall, start taping. Tape around the shapes, and don't worry about getting them all at once. In order to get clean, straight lines, you will need to retape and paint a couple times.
- Paint around the edges of each shape with the color that will be next to it. Meaning, for the shapes on the outside, use the wall paint color. For the shapes on the inside, use whatever color will be the next stripe. It's important to get these colors down first so that any bleeds won't show and your lines will look super crisp and even. (Learn more about this technique here!)
- Once those trims are dry, paint the entire interiors of your first set of shapes.
- Let those shapes dry, remove the tape, and tape the shapes that were not painted.
- Follow the same step of painting the edges with the adjacent color, letting that dry, and then painting with the intended color.
- Let dry and remove all tape. Touch up any areas if needed, and finish off by hanging your wall art!
The design kind of matches my arm tattoo!