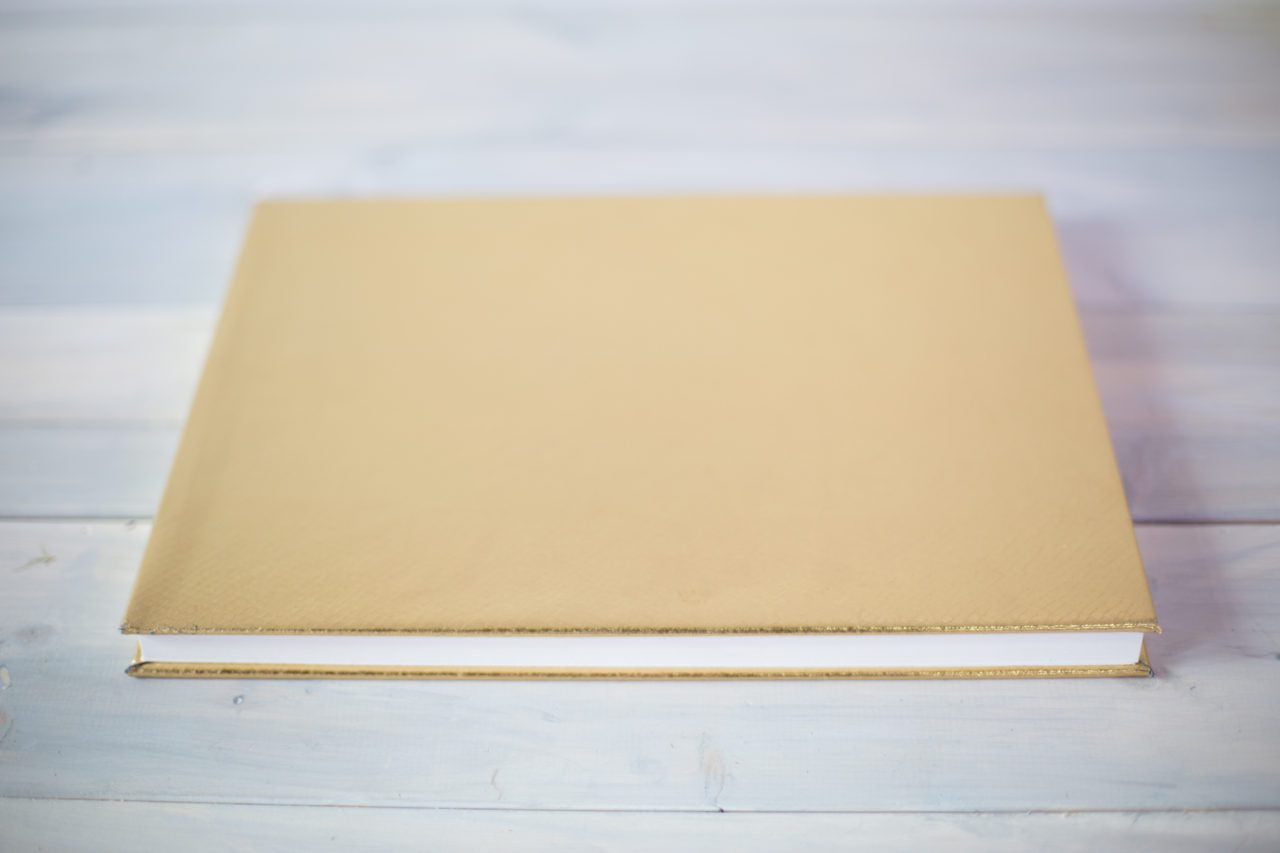
 We've worked hard so far to make sure Mr. Kate Studios is a place that employees, guests, and selfie-cam-wielding passersby alike can all enjoy. Taking that user-friendly hospitality to a literal place, I decided the perfect final touch for our Hello Room was a golden guestbook that all friends of the Mr. Kate fam could put their signatures, doodles, well-wishes, or obscene drawings in (jk on that last one ... so far!)
What's awesome about this DIY binding technique is that once you master it, you can apply it to any book or notepad that is just begging for a makeover. Can I get an amen for back-to-school supplies that will totally steal the show?!
Prep It:
Hardcover sketchbook Fabric (it doesn't need to be thick, but it can't be sheer or flimsy!) Spray adhesive Scissors Butter knife
Feather Pen (optional)
Do It!:
- Cut your fabric around the full size of the open book, leaving room around the margins as you go.
- Take the book off of the fabric and leave it open, pages facing down. Spray glue on both the fabric (the side that will be adhered to the book, not the side you want showing) and the binding of the book. Let both sit for a few seconds so they dry slightly and become tacky.
- Cover the exterior of the book with the fabric. Close the book, pressing the fabric close around the corners of the binding, then open it again to make sure the fabric is adhered to all the folds of the center binding.
- Open the book on one side and start folding in the fabric over the edges, spraying lightly with adhesive as needed. Use your scissors to cut triangles into the fabric edges so it folds down flatly over the book pages and doesn't bunch. It doesn't have to look perfect since a majority of these folds will be covered, but avoid bunched fabric as much as possible!
- When you've got one side of the book covered, used binder clips or other clamps to hold the edges down while the glue dries.
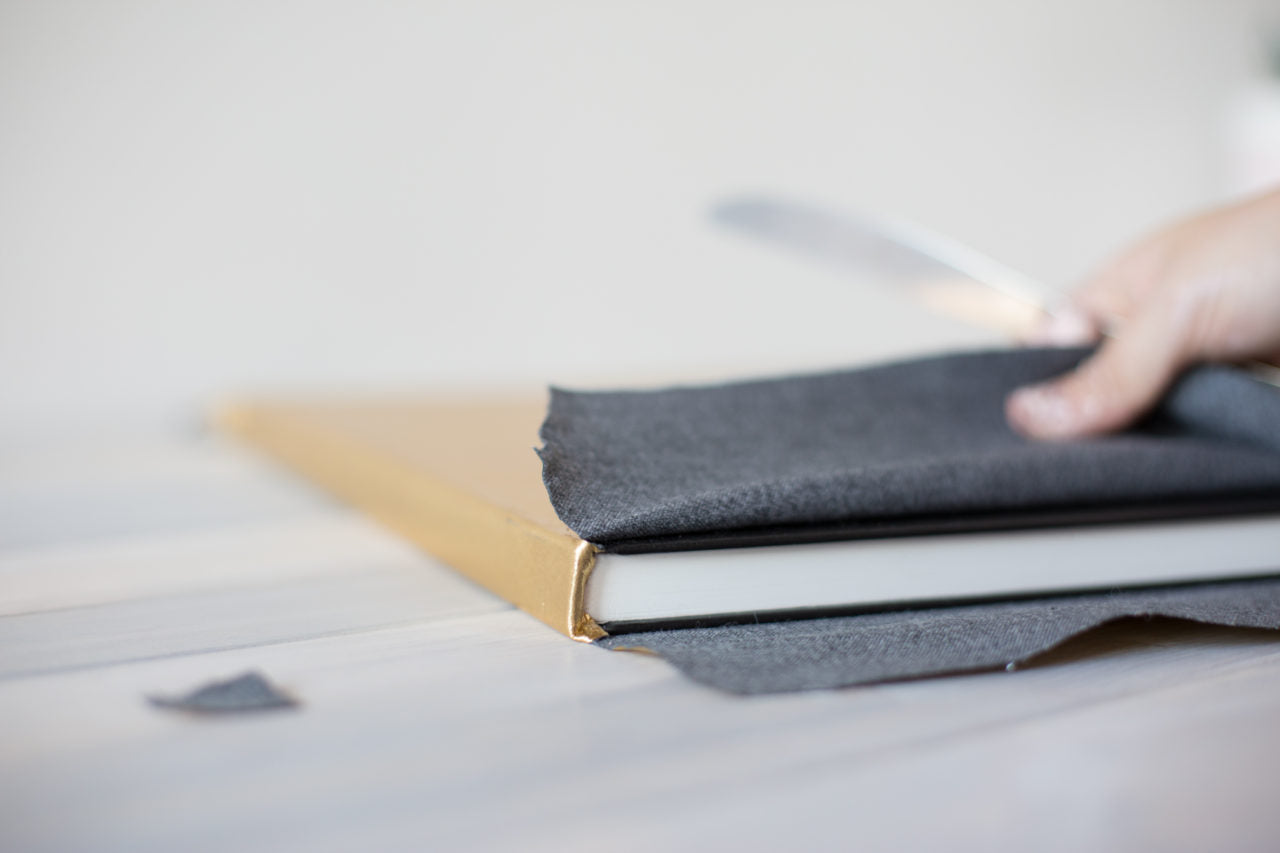
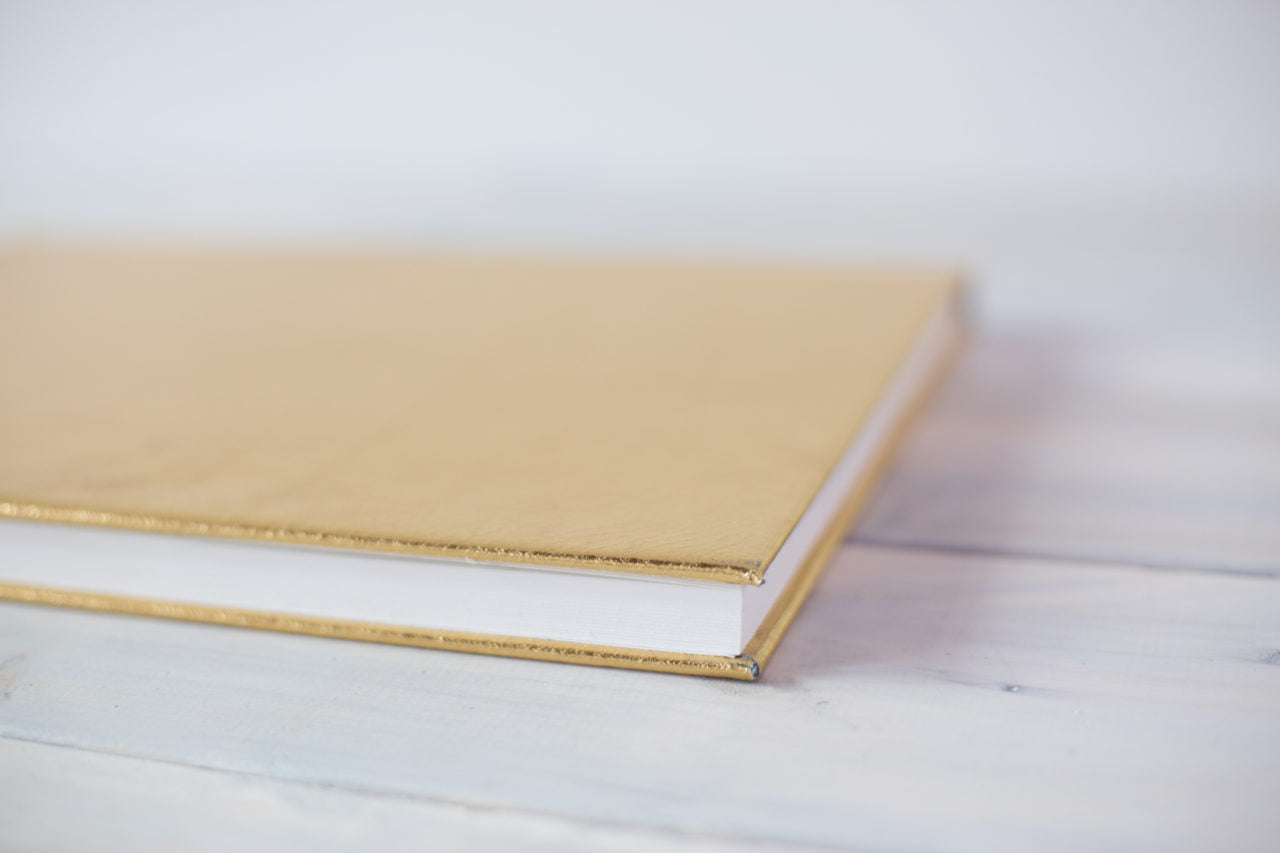
- To cover the edge of of the binding, spray the fabric carefully with adhesive and use a butter knife to fold it over the lip and tuck it into the seaming.
- Repeat steps 4-6 with the other sides of the book and let all the adhesive dry!
- To put in the final touches, open the book and flip the first two pages over the inside of the cover, spraying both the cover and the pages with spray adhesive (though not the page that will end up facing out! You want that page to be clean and not sticky.) Press the pages over the cover, using them to cover the flaps of the fabric from the front of the book.
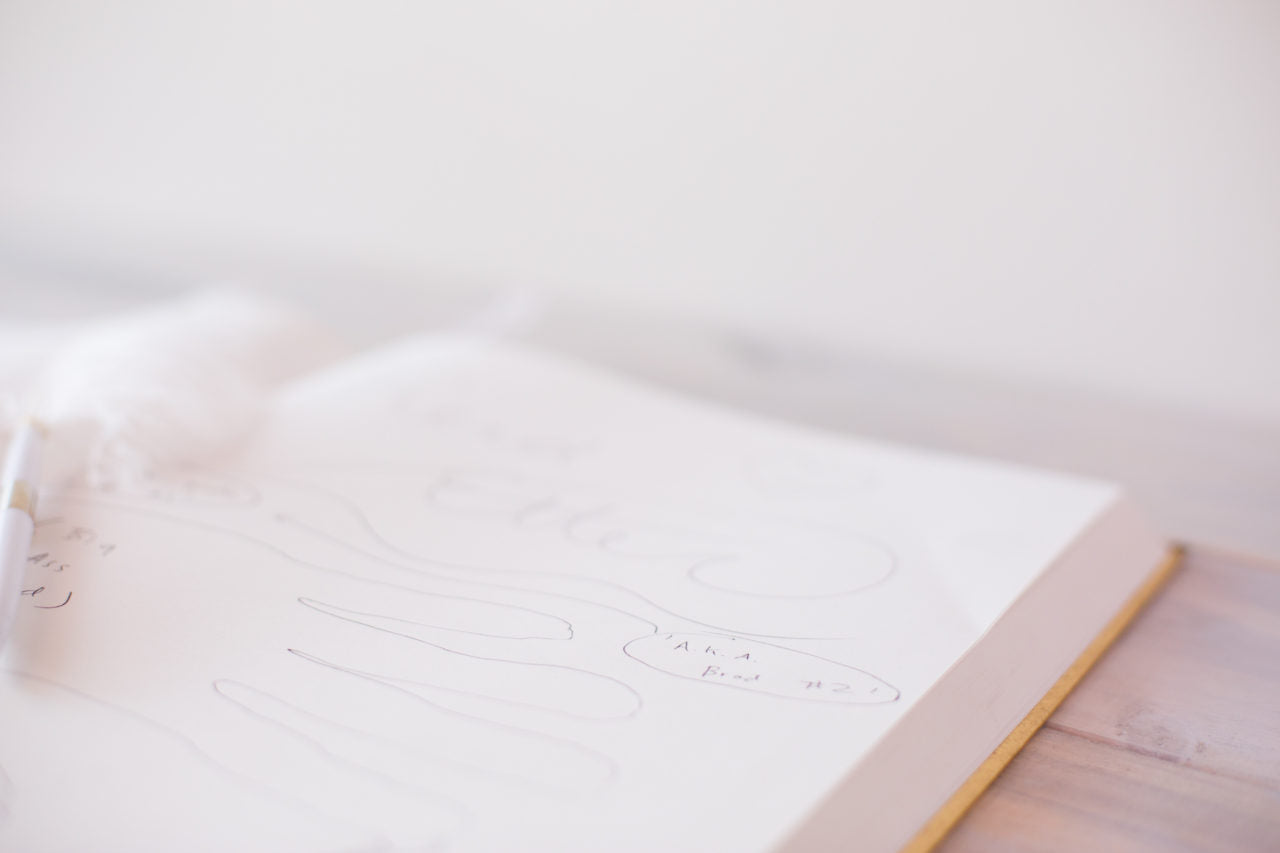
- Repeat this step on the other side of the book, and let dry. Then break out a nice feather pen, put the book out, and collect greetings, well wishes, or whatever your newly bound book will be used for!