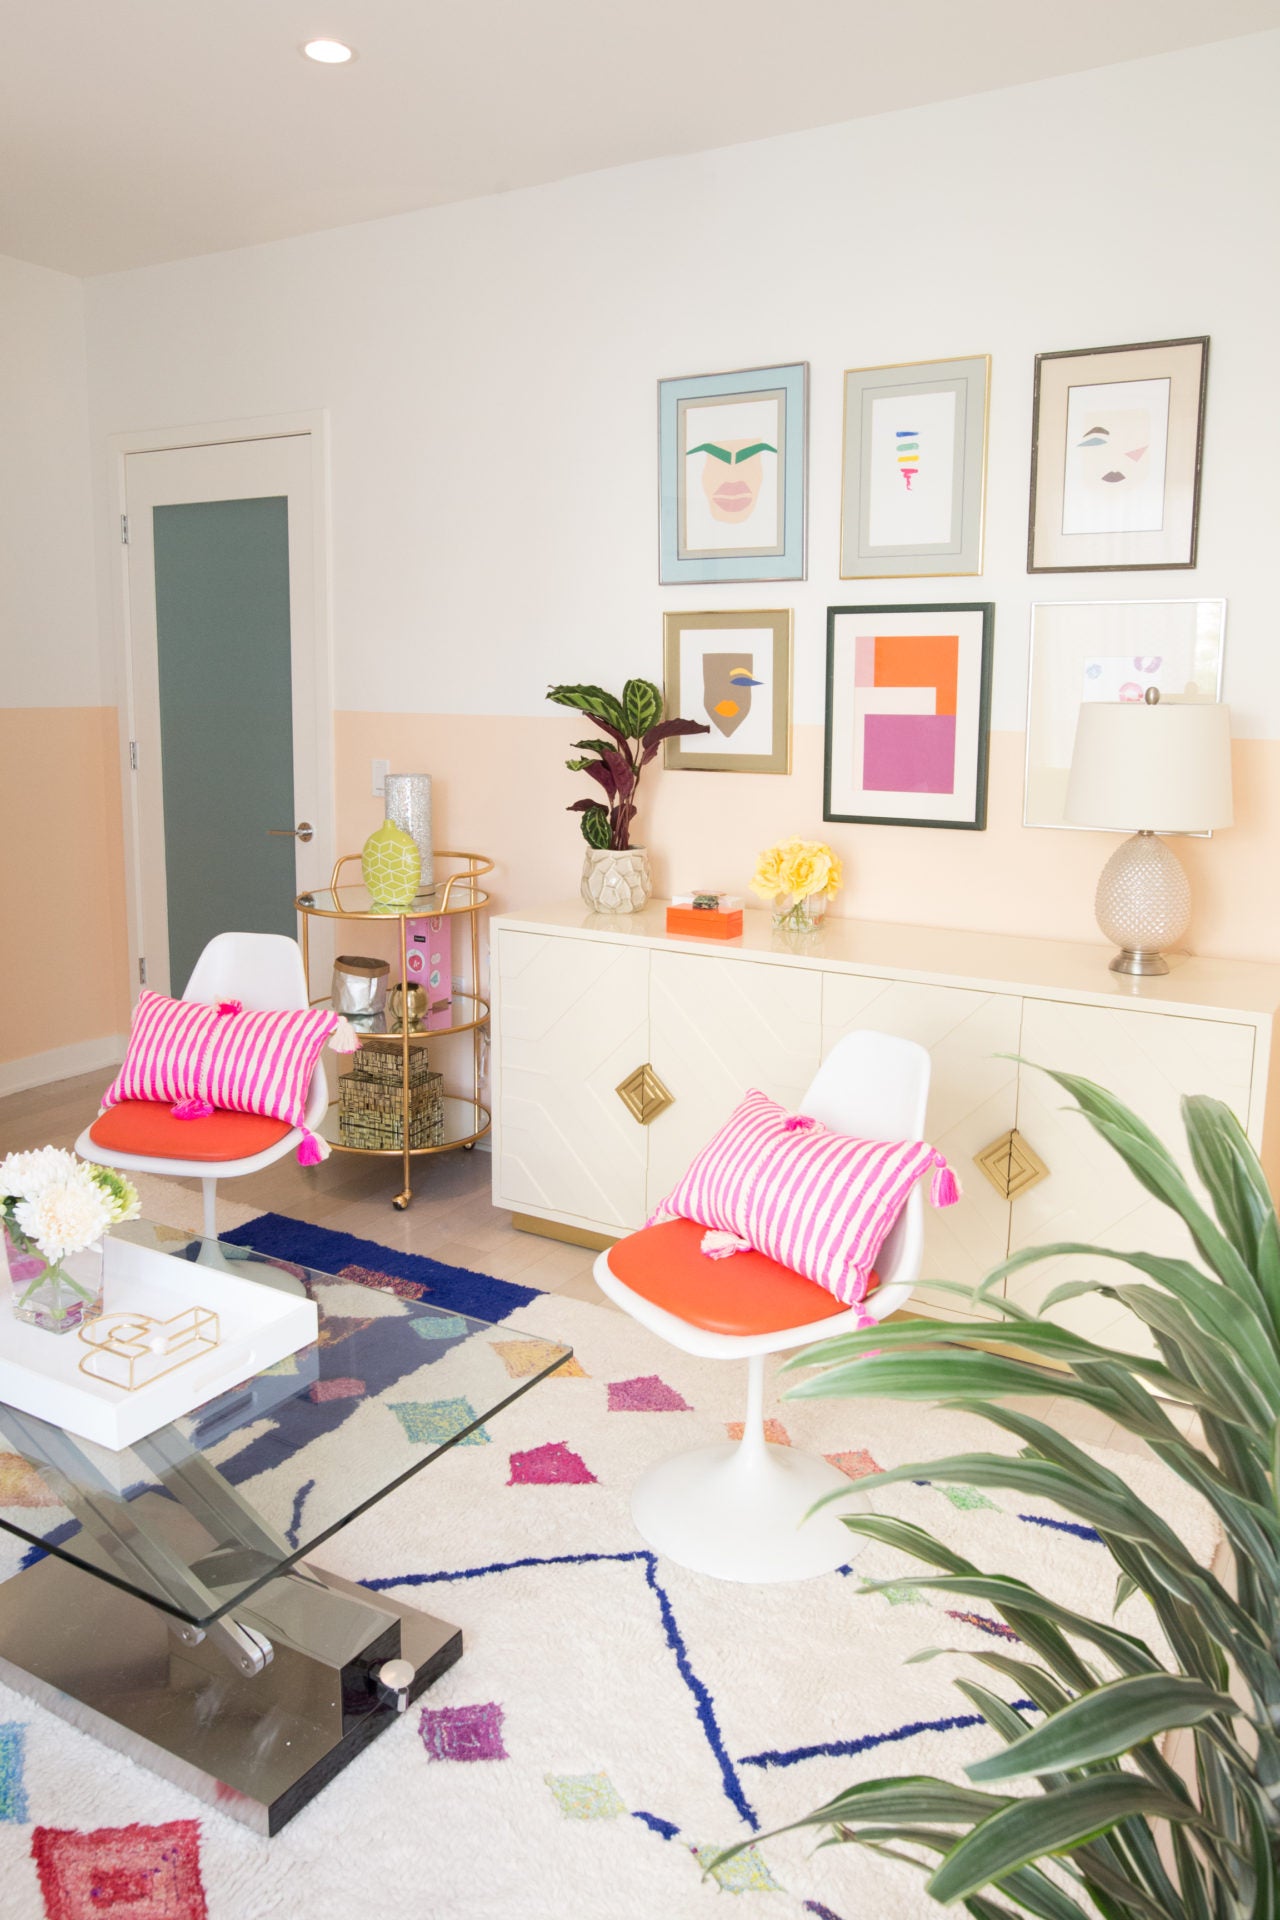
Good news for all indecisive/ interior design-obsessed folks out there — there is such as successfully having a half-painted wall! No need to choose only one paint color, and no need to try and elect a statement wall to display a second color choice.
The trickiest part of this painting technique is also the most important — the precision of the line. An angled slope of color would be really unsettling to the eye, and a jagged paint edge will probably have you going crazy with a tiny paint brush trying to perfect it. But, time for a #wallhack! I have a pretty close to fail-proof technique to get that clean line, every time.
Prep It:
Wall paint (in both colors!) Laser level Frog tape Paintbrush
Do It!:
- Choose where the line where the second color starts will be. I advise using the golden ratio rule and not sticking it in the dead center of the wall. A little above or below the center will greatly add to the aesthetic of the space, and can play interestingly with the furniture and/or wall art you have displayed.
- Once you've decided where the line should be, use a laser level to project that horizontal line onto the wall. This tool is extremely helpful in a process like this because it takes all the guesswork out of it! It's precise and even every single time.
- Tape along the laser line with Frog tape or other high quality painter's tape. Make sure you're right on the line and don't get curvy on me now! Once you've taped the width of the wall, go back and firmly smooth down the tape, making sure it is 100% adhered to the wall.
- Using a paintbrush to paint the original (or top) paint color (in our case the white) onto the wall. This trick ensures that if any bleeding happens - which it does no matter the quality or adhesion of the tape, it will be a color that matches the wall already — which means by the time the accent color is painted, any spots for potential leaks or gaps will already be filled with a nice dried coat of the original color. This will preserve the precision and cleanliness of the line between colors when you remove the tape.
- Once the original paint color is dry, paint the accent color with the paintbrush over right at the tape line, then fill in the rest of the wall with a roller! Don't even wait until your paint is fully dry to remove the tape because it actually is easier to peel off if the top coat is a little damp still (just not completely wet). Ta da! A perfectly straight, half-painted wall!


