Many people have art on their walls that reflects a favorite piece of music, book, or movie of theirs. Many people have art on their walls that features cool text. But ... do many people have an entire DIY wall that reads those favorite words of theirs?
Well, maybe after this awesome project we did with Lilly Singh (i.e. IISuperwomanII), more people will! Lilly is a huge fan of Bob Marley, specifically his song "Three Little Birds," and is also a big lover of big, graphic text as wall art. So, I figured, why not give her the biggest, best version of everything she loves?
As you know, I'm a big fan of calligraphy, so I was so excited to see my letters and words take on a life of their own across an entire wall! Check out the DIY steps below, and make sure to see it in action in our OMG We're Coming Over episode with Lilly!
Prep It:
Sketchbook Pencil Laser level Tape measure Painters tape Black wall paint Pointed paint brush (like a large calligraphy brush)
Do It!:
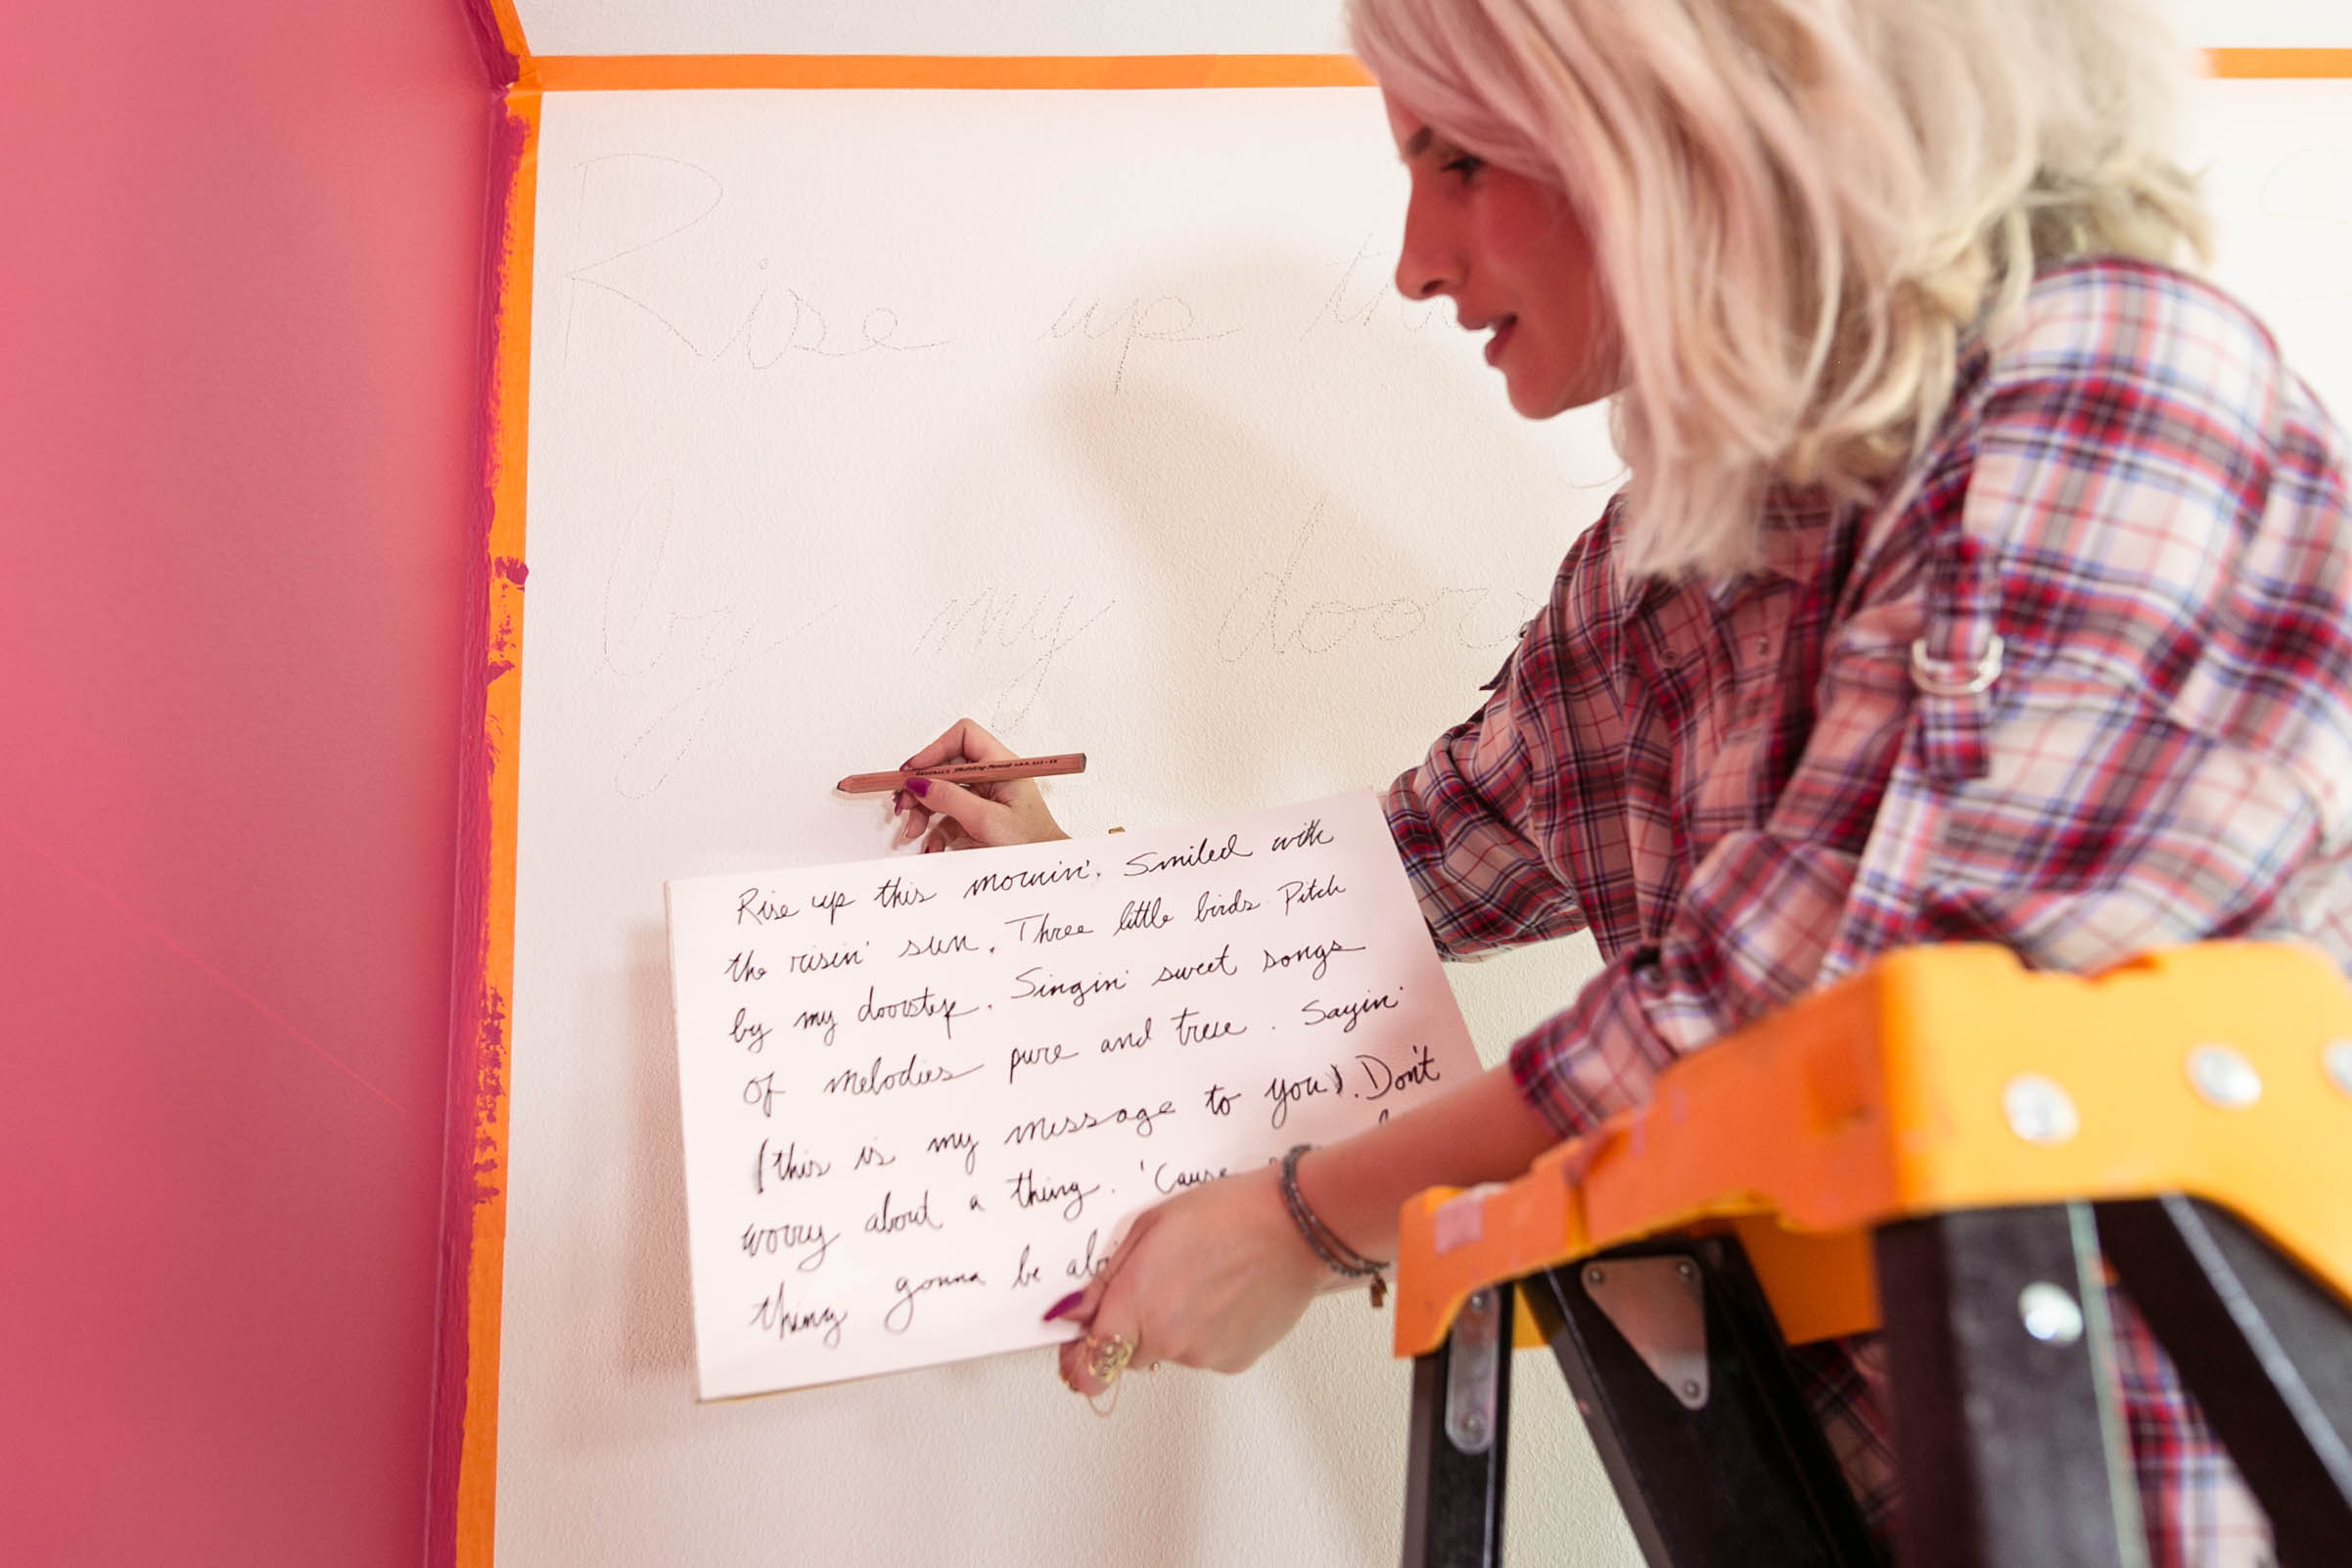
- For this DIY, the measurements and proportions of your wall play a large part, so start by making sure you have the correct measurements! Sketch out the lyrics you want in a sketchbook, either knowing that this likely won't be to scale, or drawing a rectangle representing your wall and going from there.
- Use this sketch to figure out how many lines you'd like, and how many words fit per line. Then use the measurements from your wall and math (yes, a little math required!) to figure out how many inches tall each line should be.
- Set up the laser level to project your lines on the wall. The laser level is an optional tool, but we find it super helpful! Use a tape measure and pieces of wall tape to keep track of where each line should fall. I used just a piece of tape to mark each line, but if you'd feel more secure taping across to create kind of like notebook lines, go for it!
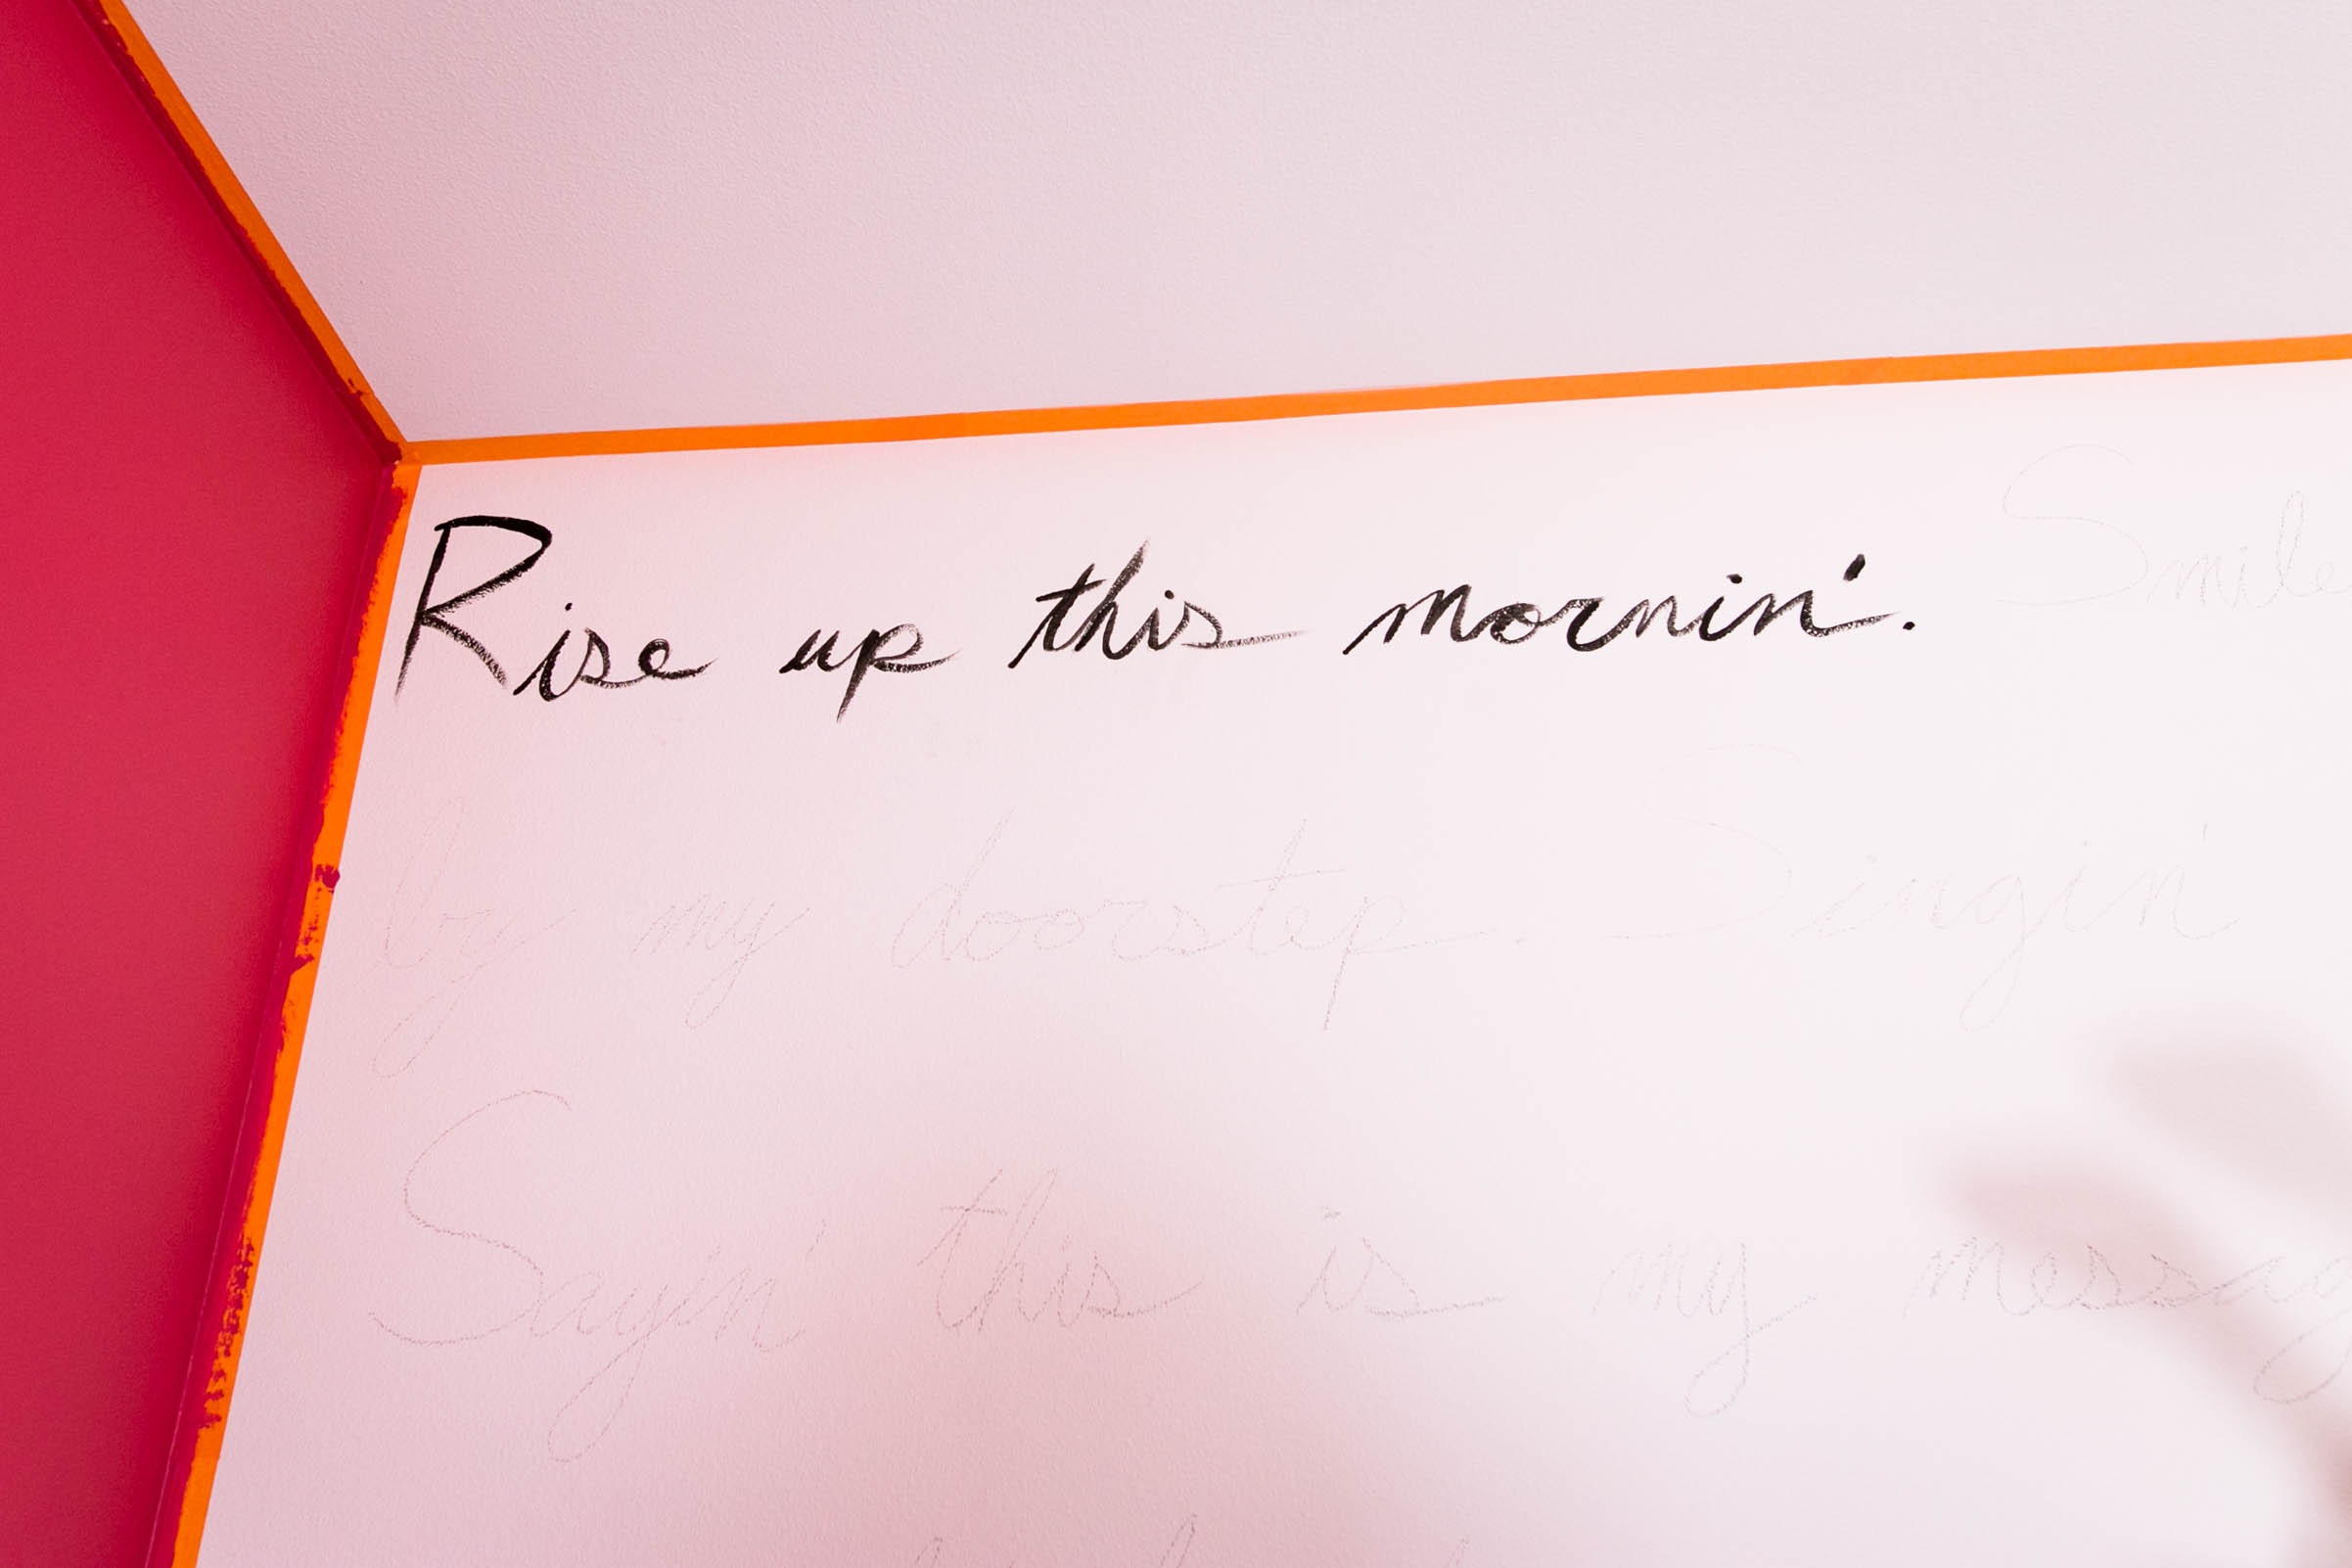
- Sketch out the lyrics onto your wall in pencil. If you make any mistakes, it's erasable for the most part, and you can make touch-ups with the base wall color too!
- When you've got your words laid out how you would like them, start painting over the letters! I liked that ours had a brushy, calligraphy-esque look, but this project would be so cool with any type of text!
- Let it dry, correct any mistakes with the base wall color, and get reading!