
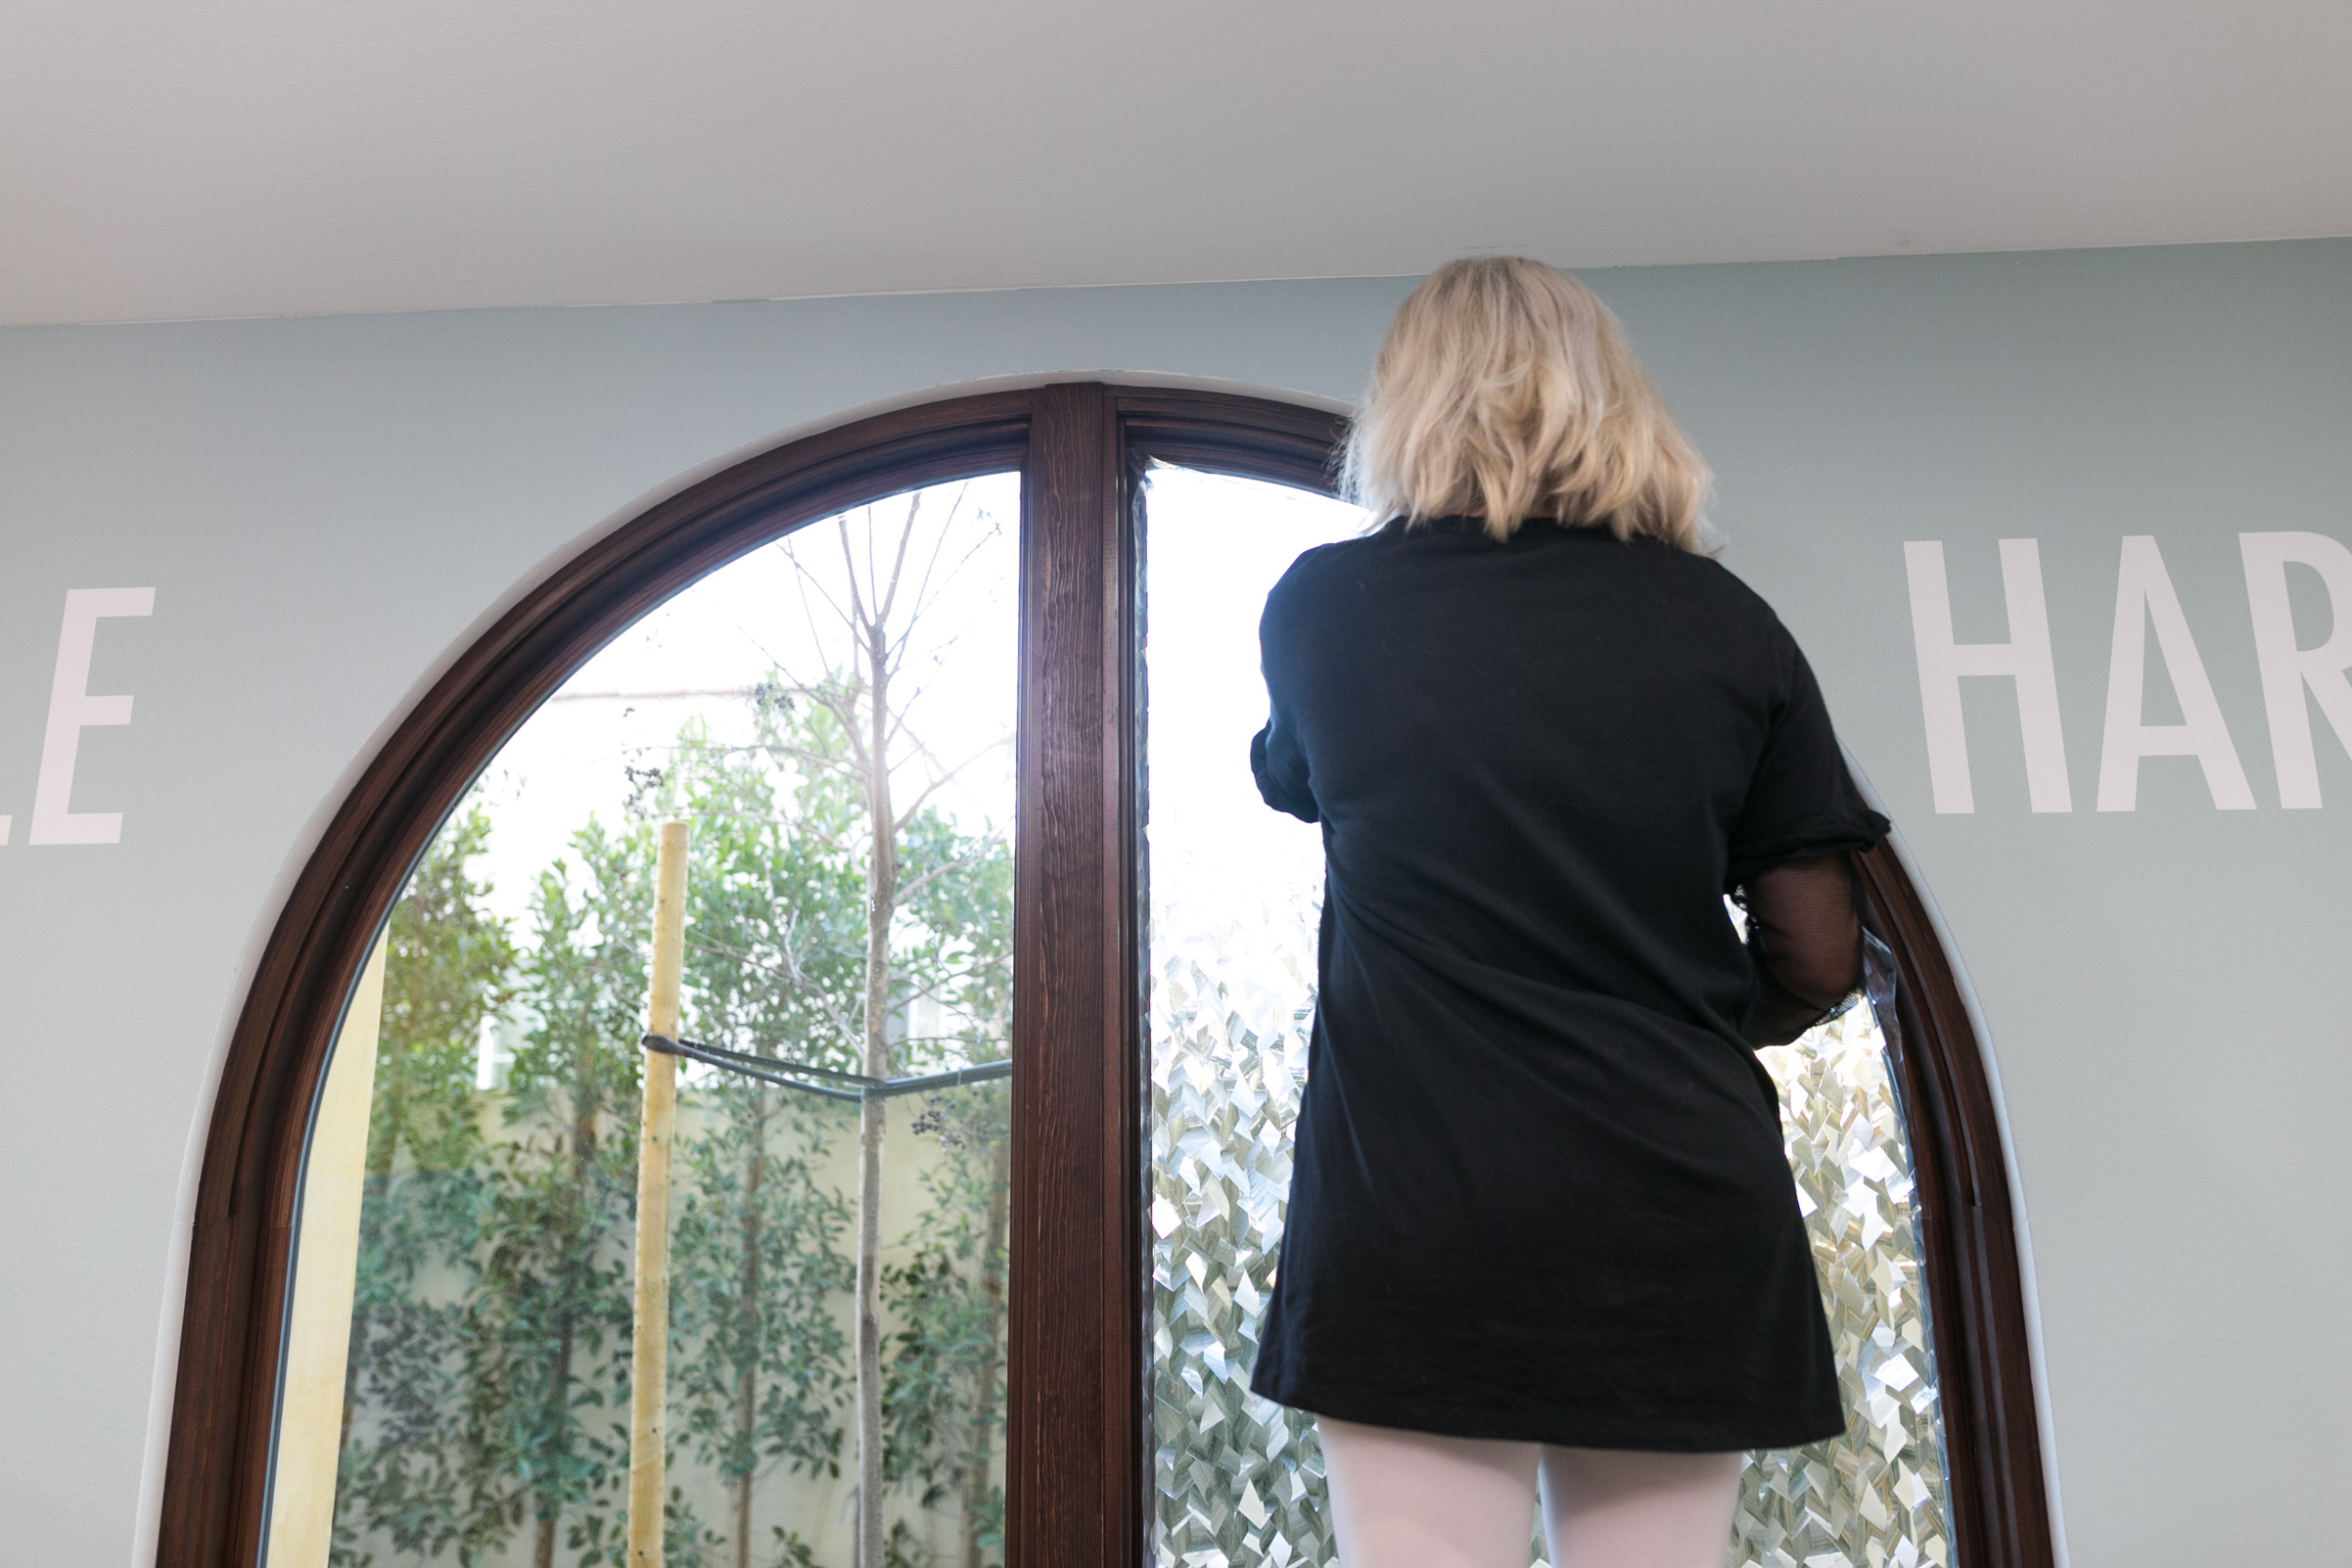
 I think we can all agree, a room without windows can get a dreary. Windows bring sunlight and warmth and openness into a space! ... But they can also sometimes bring a bit of a privacy predicament.
It's not always an ideal solution to cover your source of natural light with blinds and curtains just to keep out any potentially prying eyes, especially if the window itself has a unique or hard-to-accomodate structure. So, I present to you: privacy window film! Even if this idea had occurred to you before but you were a little unsure of how to get it done (and get it done right), I have the foolproof method of getting smooth, covered windows without any stress. Yay for sunlight and some peace of mind!
Prep It:
Window film - There's tons of other options besides this fractal one we chose Spray bottle Squeegee Small sharp blade or craft knife Scissors Measuring tape


Do it!:
- Measure and cut a piece(s) of window film (with scissors) about the size of the glass you're intending to cover, but about 2 to 3 inches bigger on all sides . You can't work with a piece too small!
- Peel the backing off of the window film, and spray a little as you go to keep the static cling from causing the film to stick to itself. It's helpful to do this with two people if you're working with a big piece of film.
- Spray the window and both sides of the film with a light misting of water.
- Starting at one edge, apply the film to the window, making sure it's covering the entire surface - don't worry you can peel off and re-spray with more water if you need to re-apply.
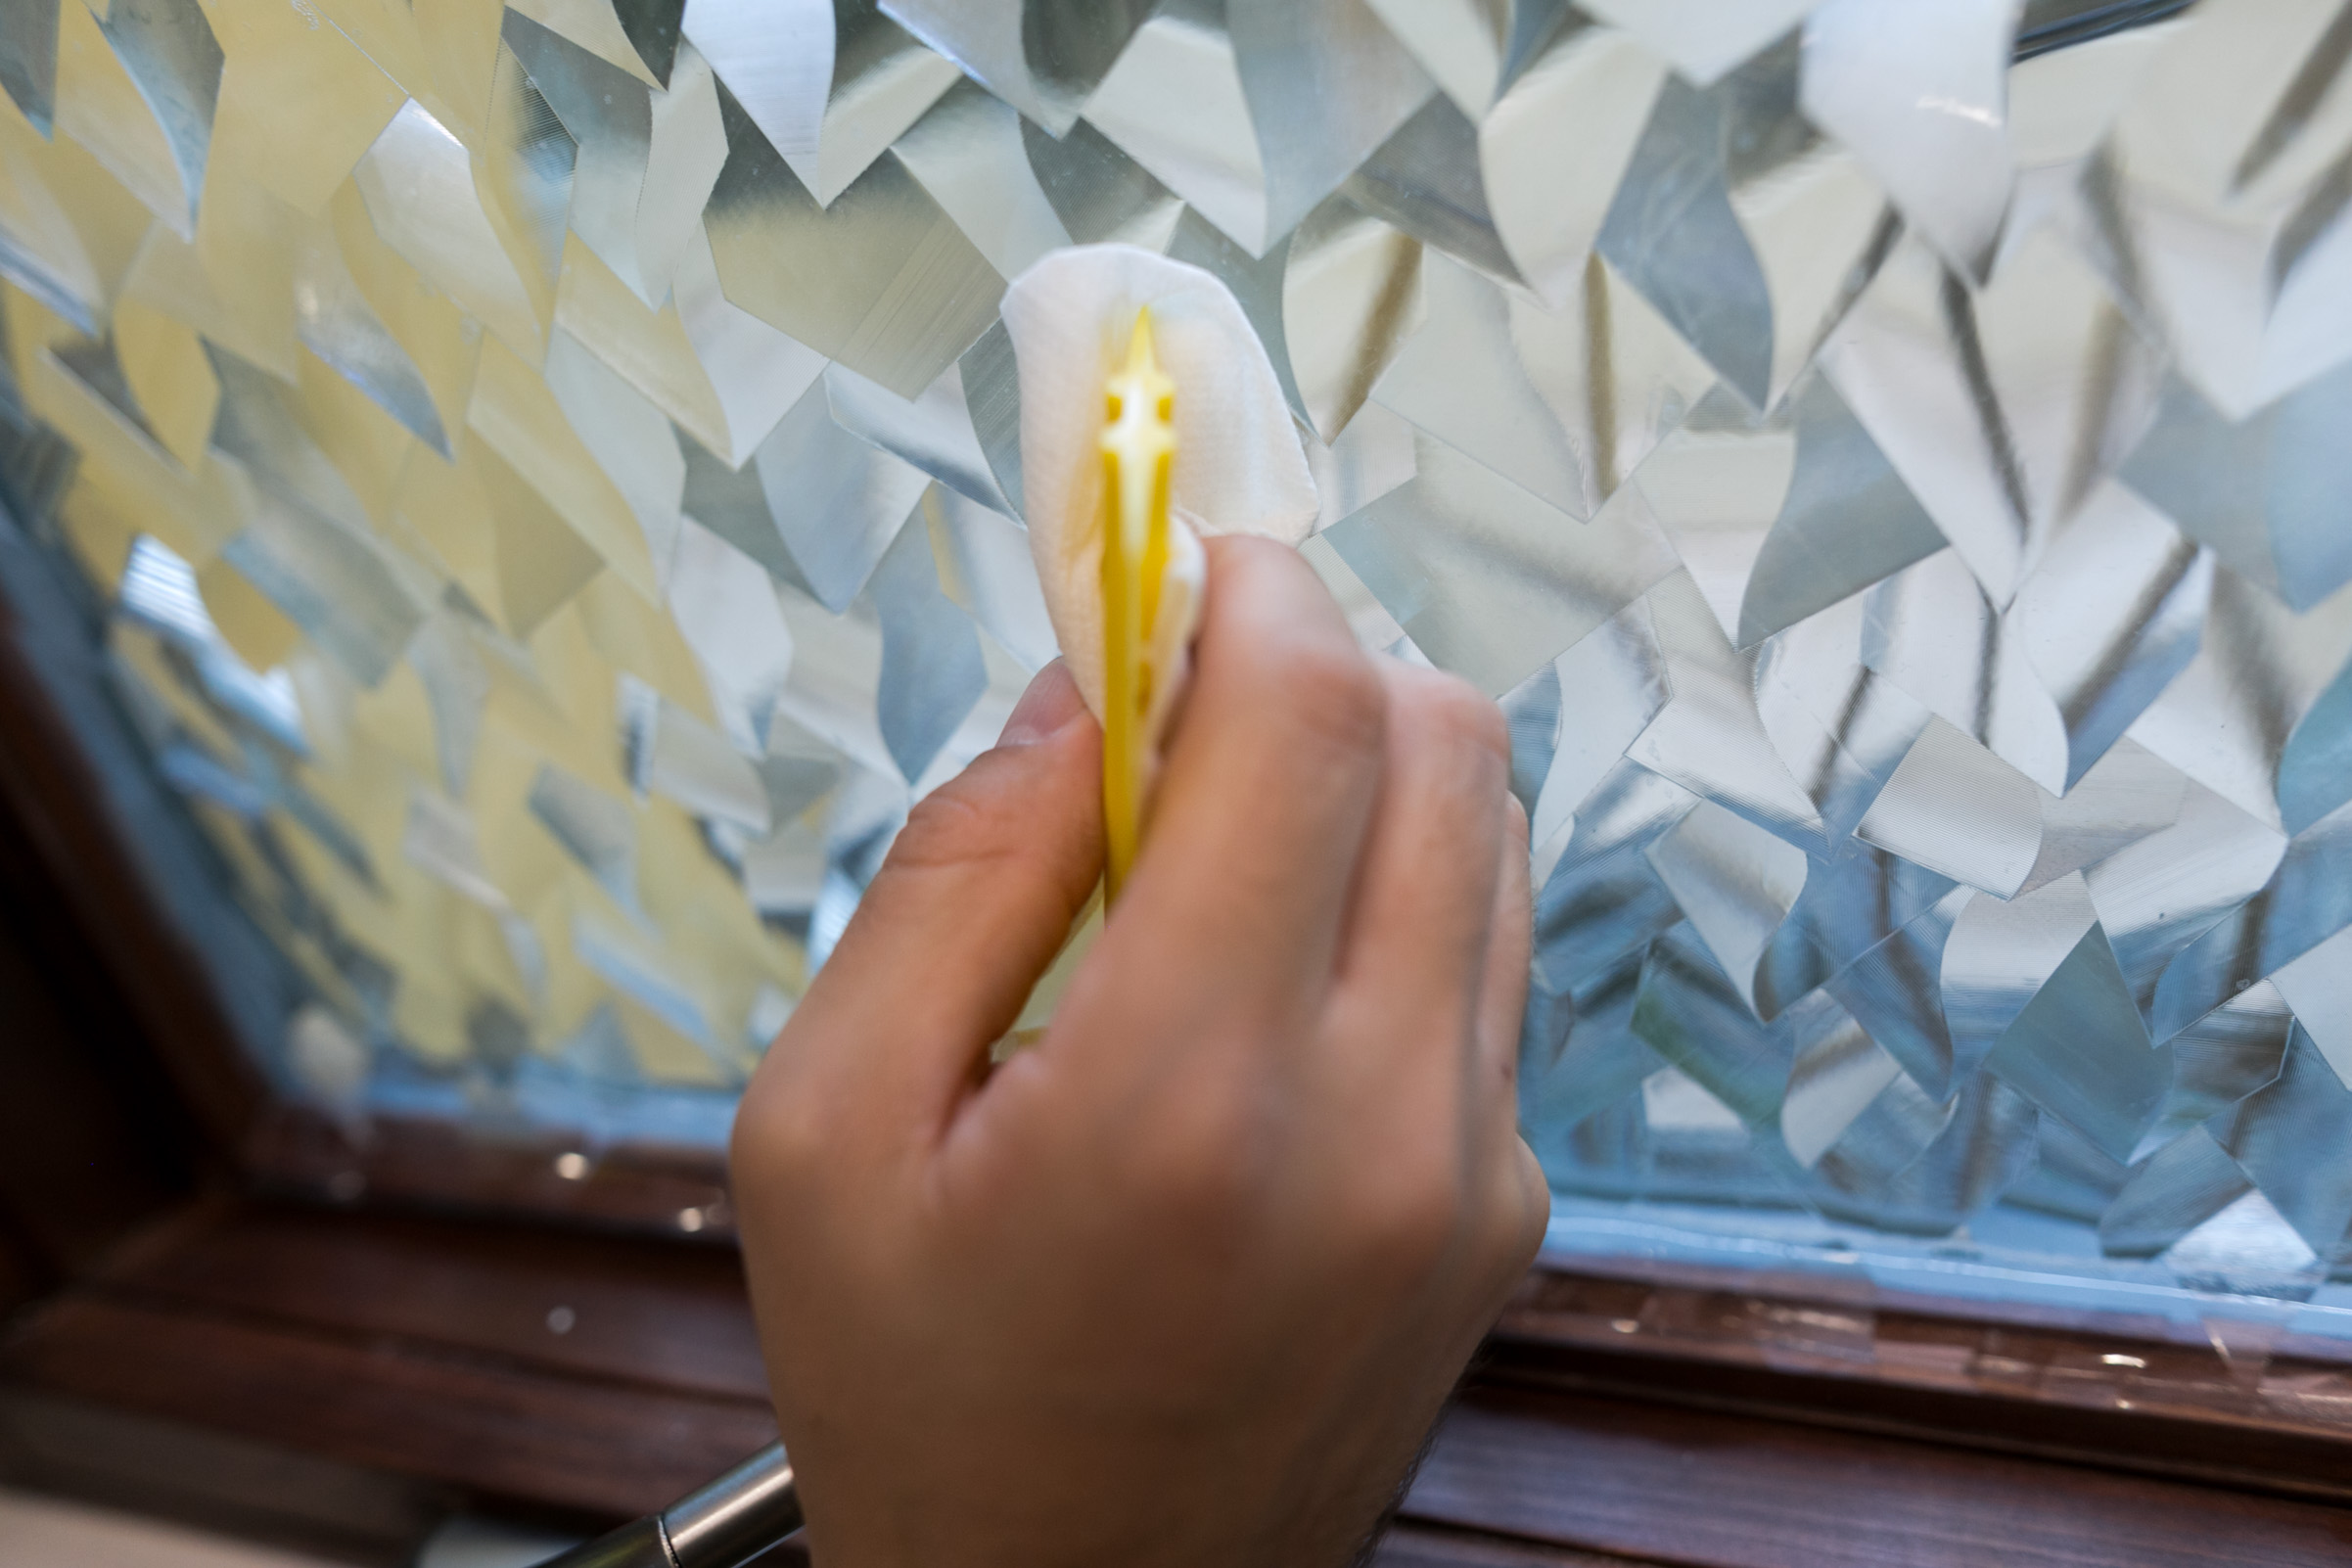
- Use a squeegee (we covered ours with a little bit of paper towel to make sure it didn't scuff the film at all) to get out any air bubbles or excess water in the film. Squeegee until smooth and have some paper towels handy to soak up the water that squishes out.
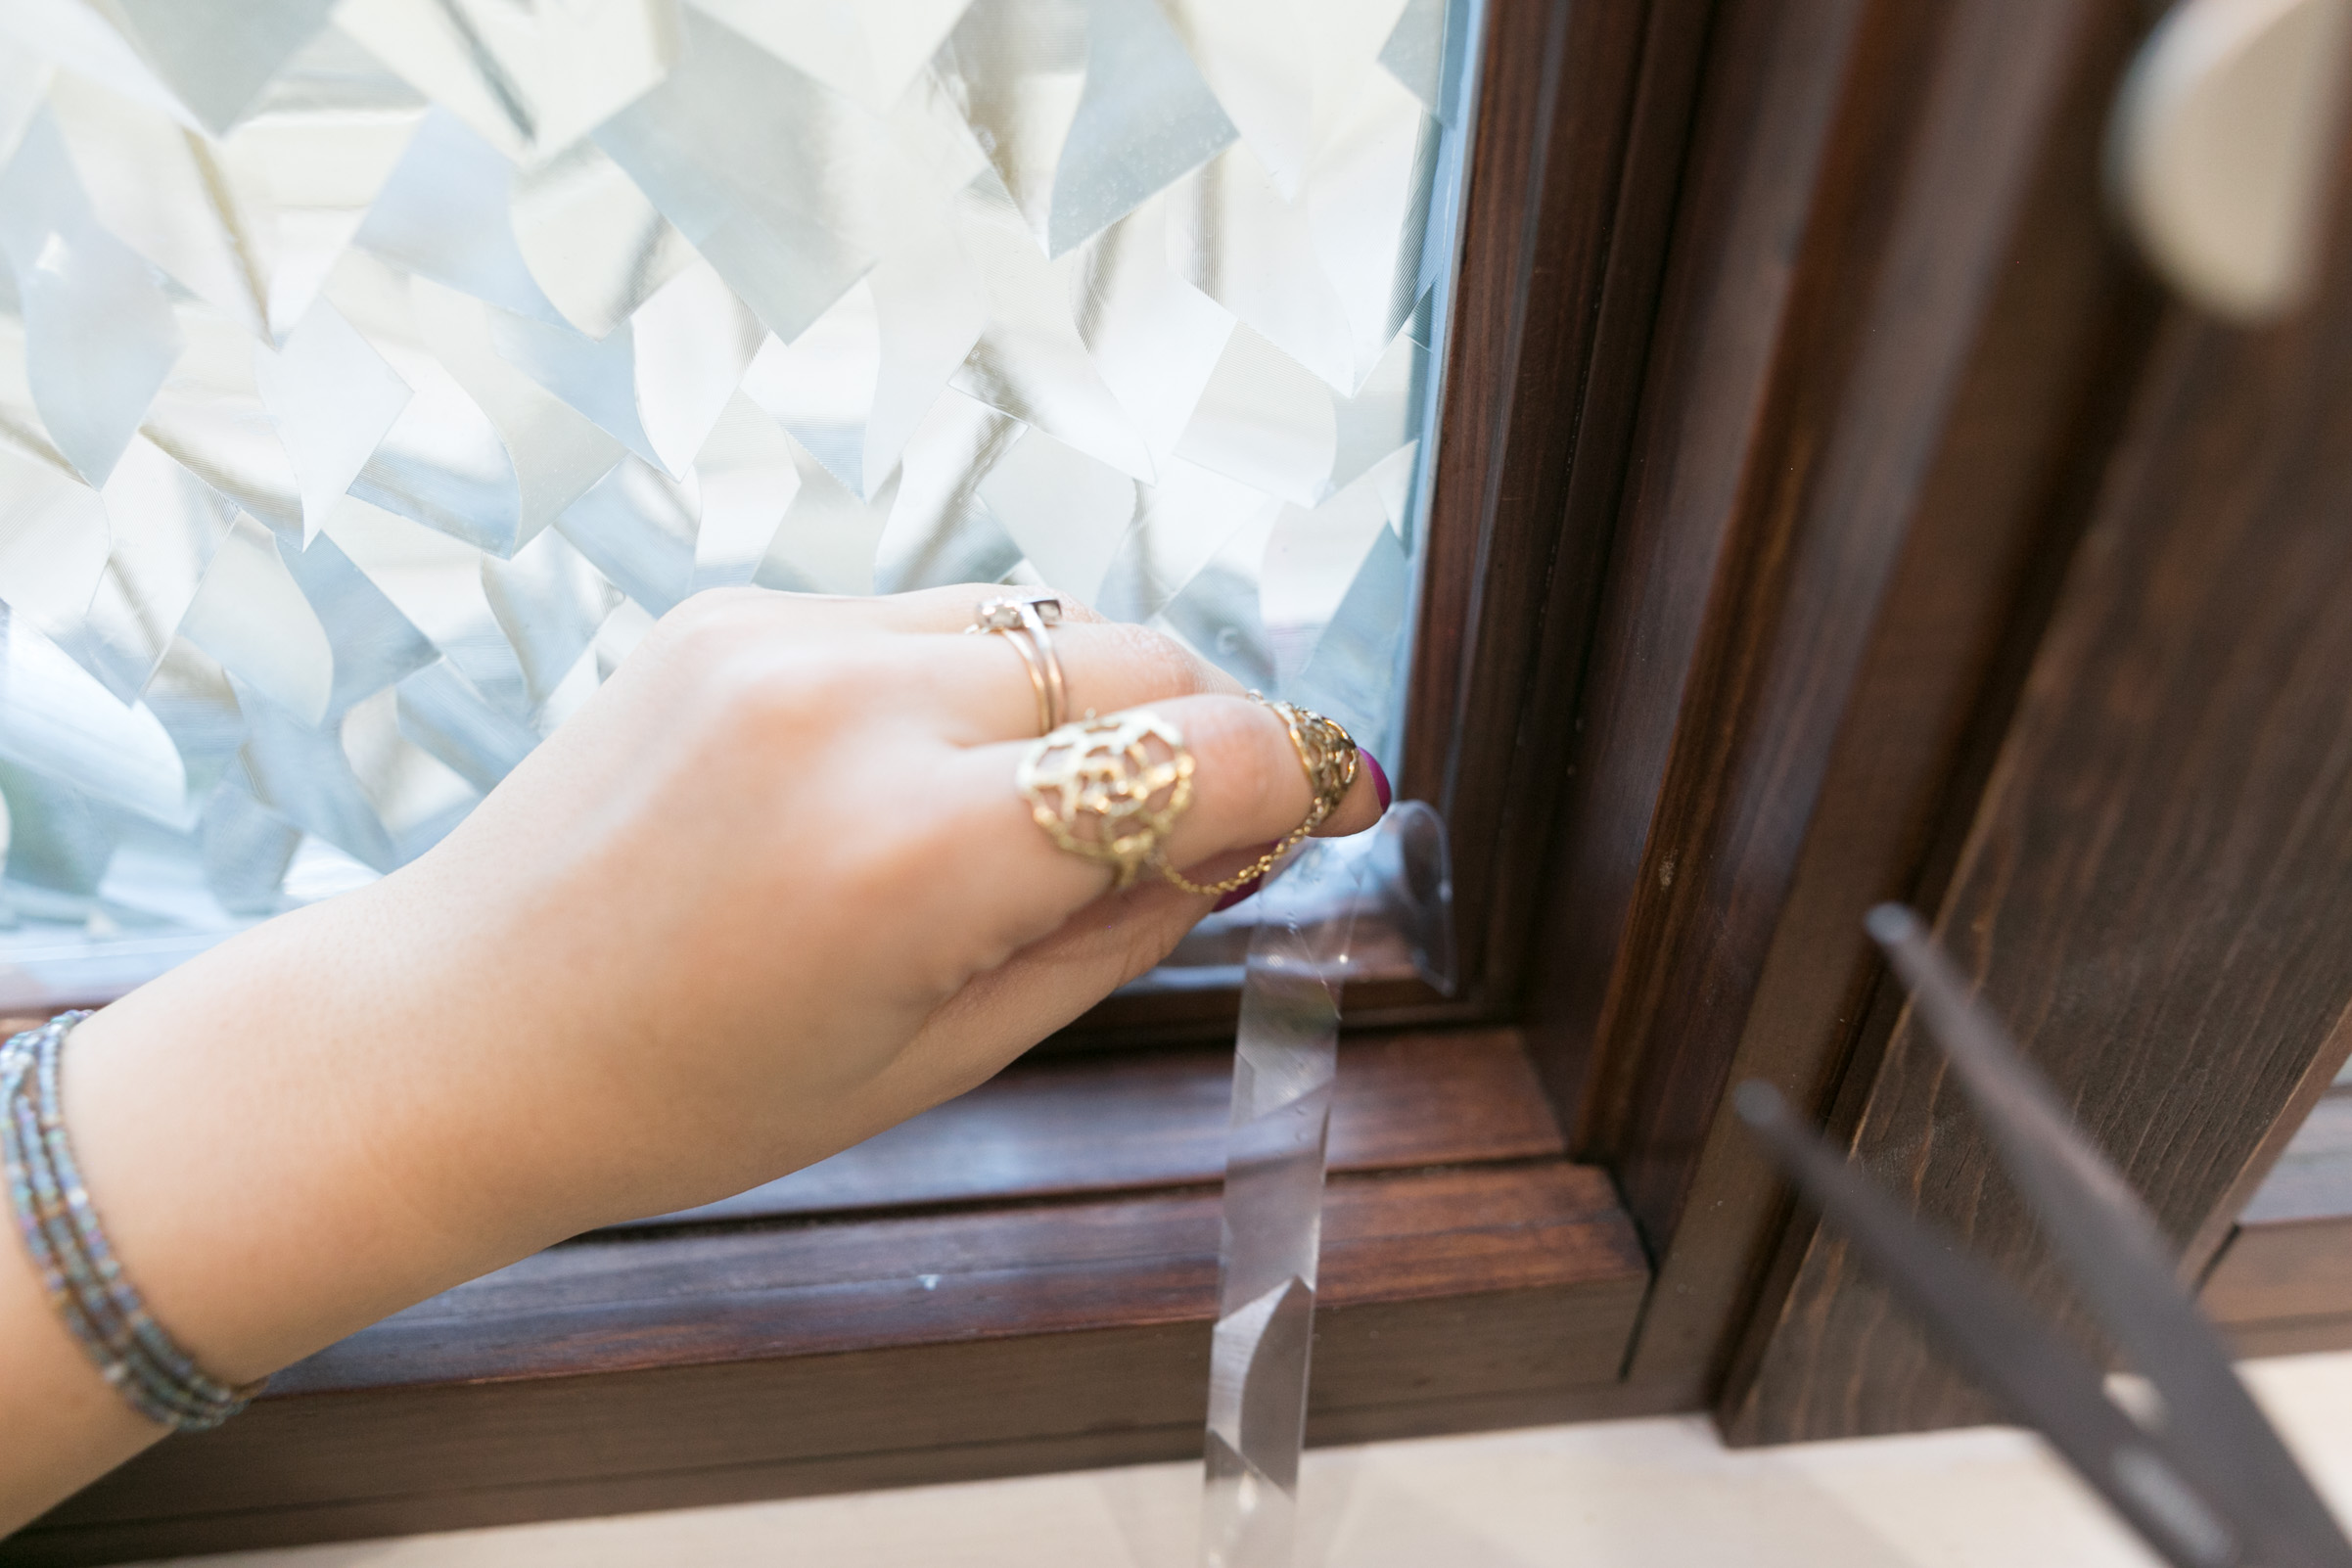
- Some film will come with small blades for this next step, but if yours didn't, a small sharp craft knife will work too! Carefully trim the film around the edges of the window pane, removing any excess. I found it's easiest to press diagonally into the corner of the window with the tip of the blade so you know you're getting as close to the edge as possible. Use your scissors to snip off the last remaining piece when you reach each corner.
- Repeat steps 1-6 as necessary if the window you're covering has more than one pane!


