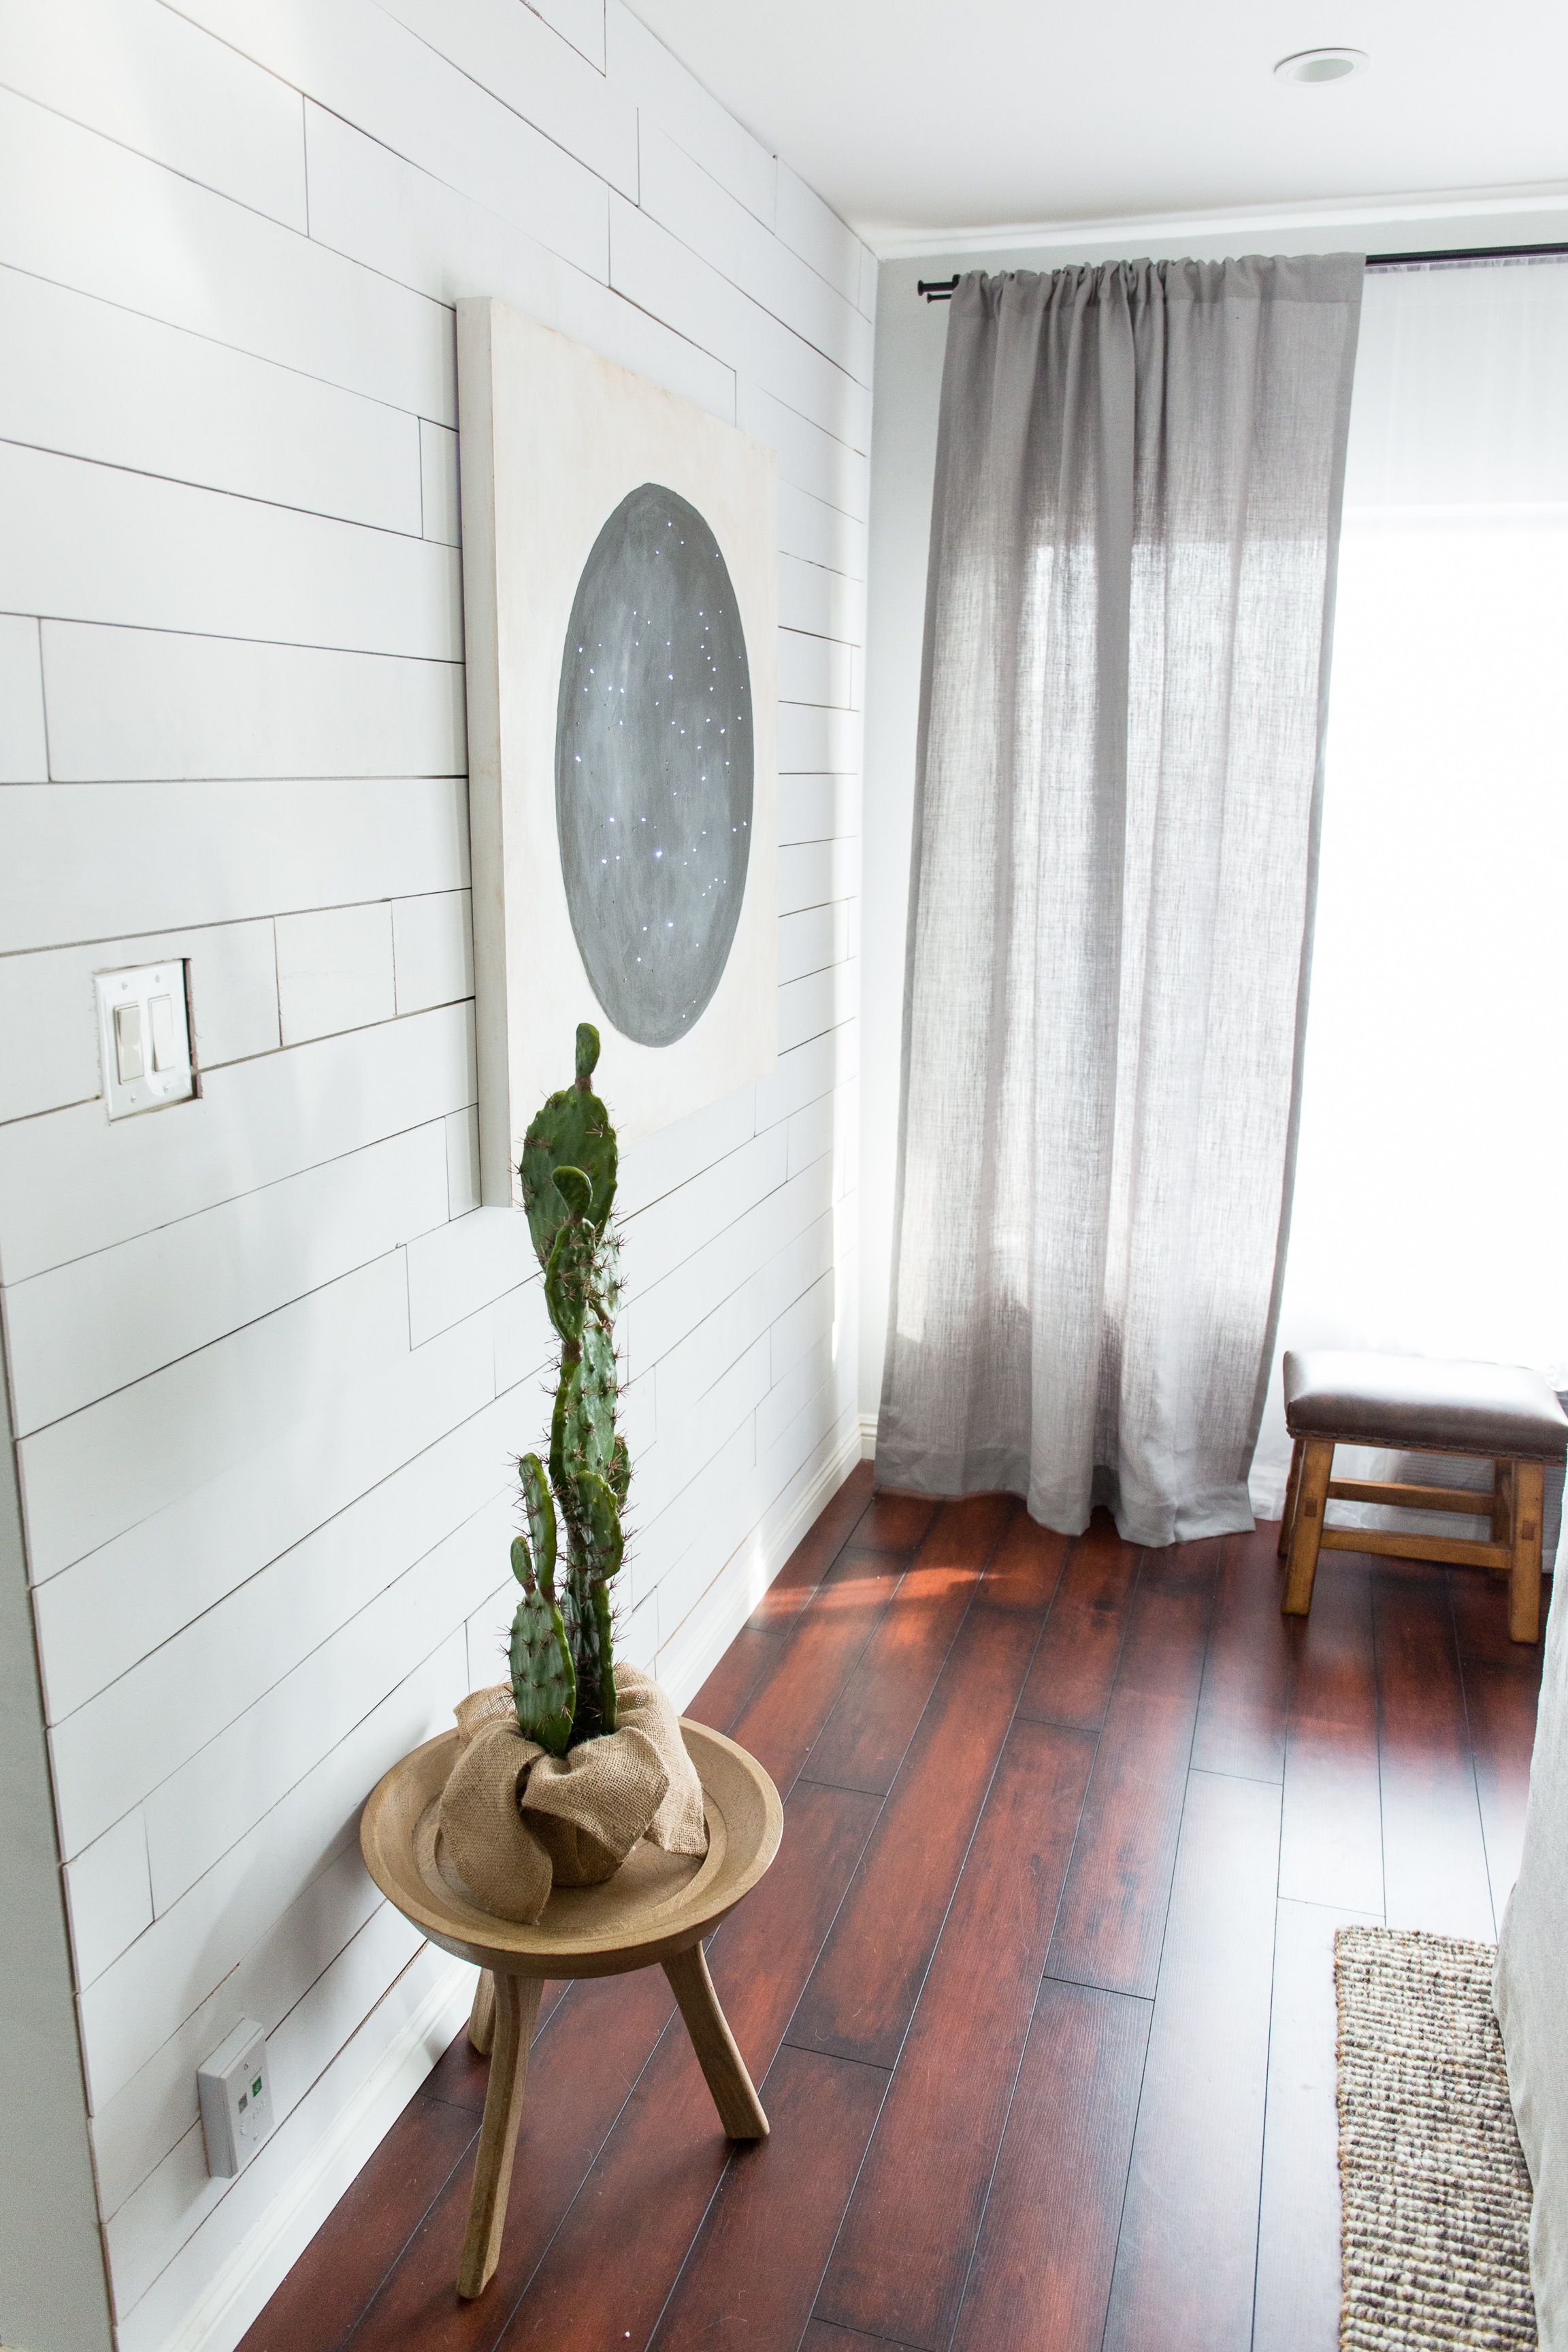
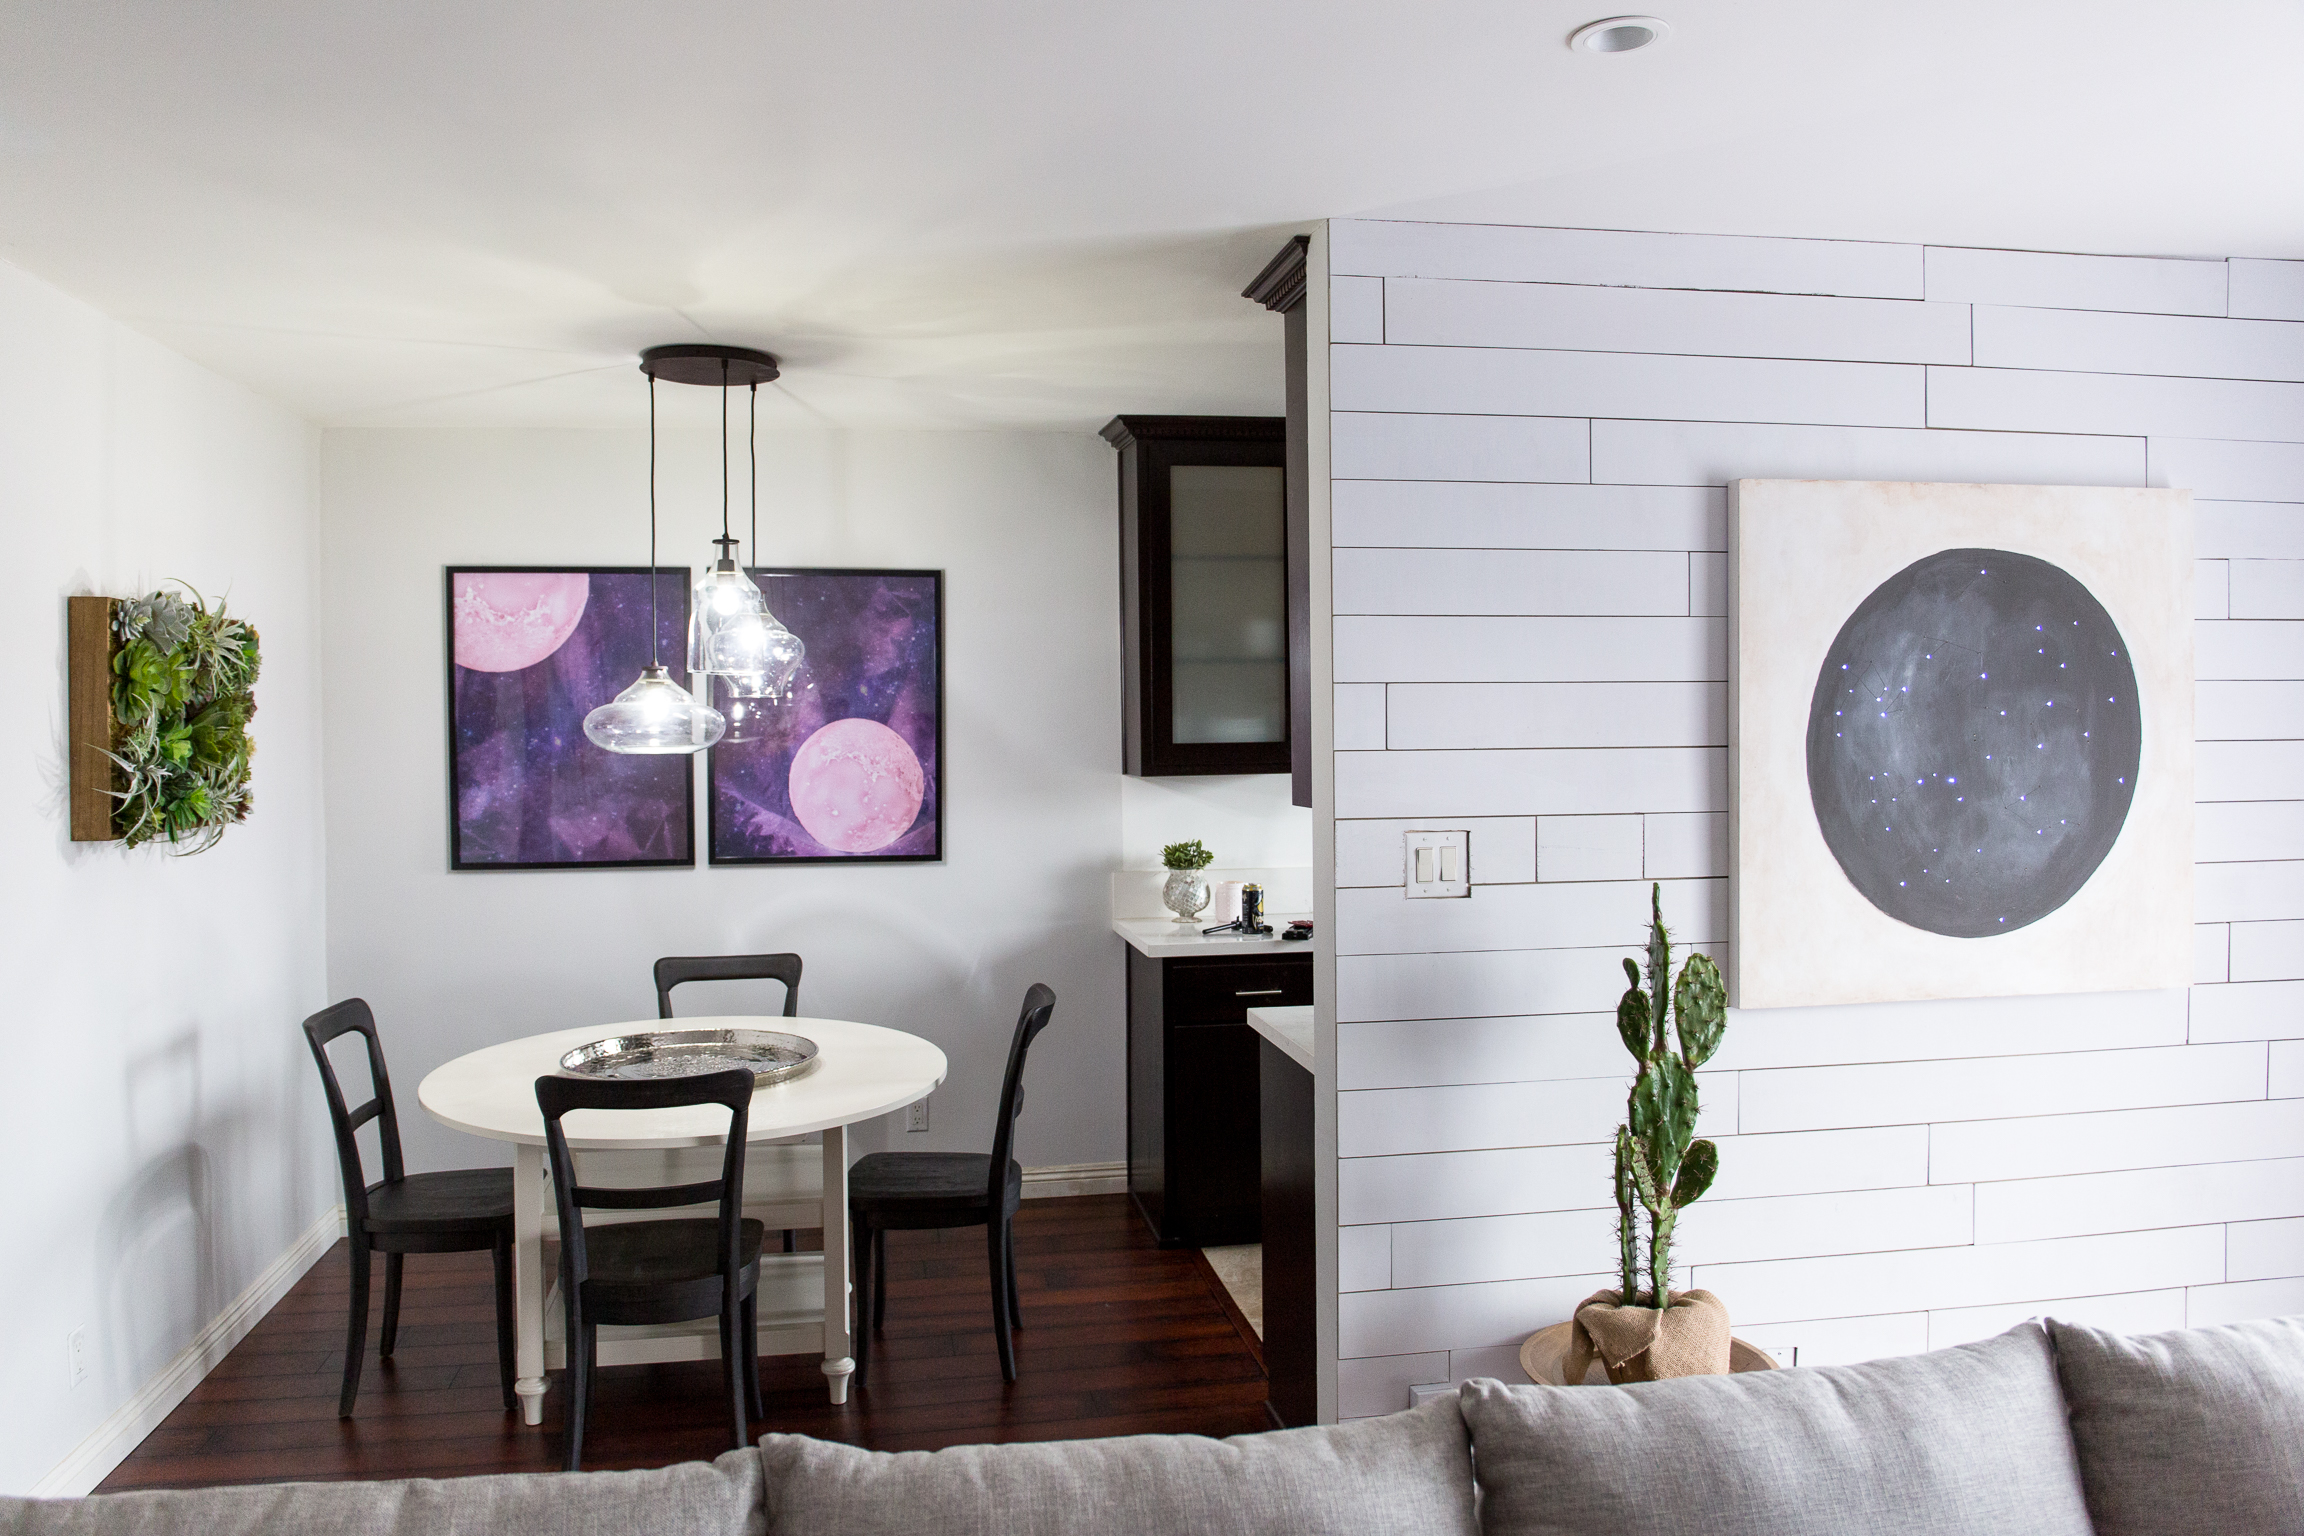
If you're a fan of a rustic, farm house, or generally cozy vibe, I bet your home decor Pinterest boards are full of images of understatedly stunning shiplap walls. Yet, if you live in an apartment, the dream of shiplap might seem like it has to remain a dream. It's a major design choice that does not jive with the do's and don'ts of temporary apartment living.
But, if you have time, determination, and a good amount of Command strips, you can totally DIY a shiplap wall that rivals the real deal. Check the DIY out below!

Prep It!:
Thin wood planks
White paint
Saw
Sandpaper
Command strips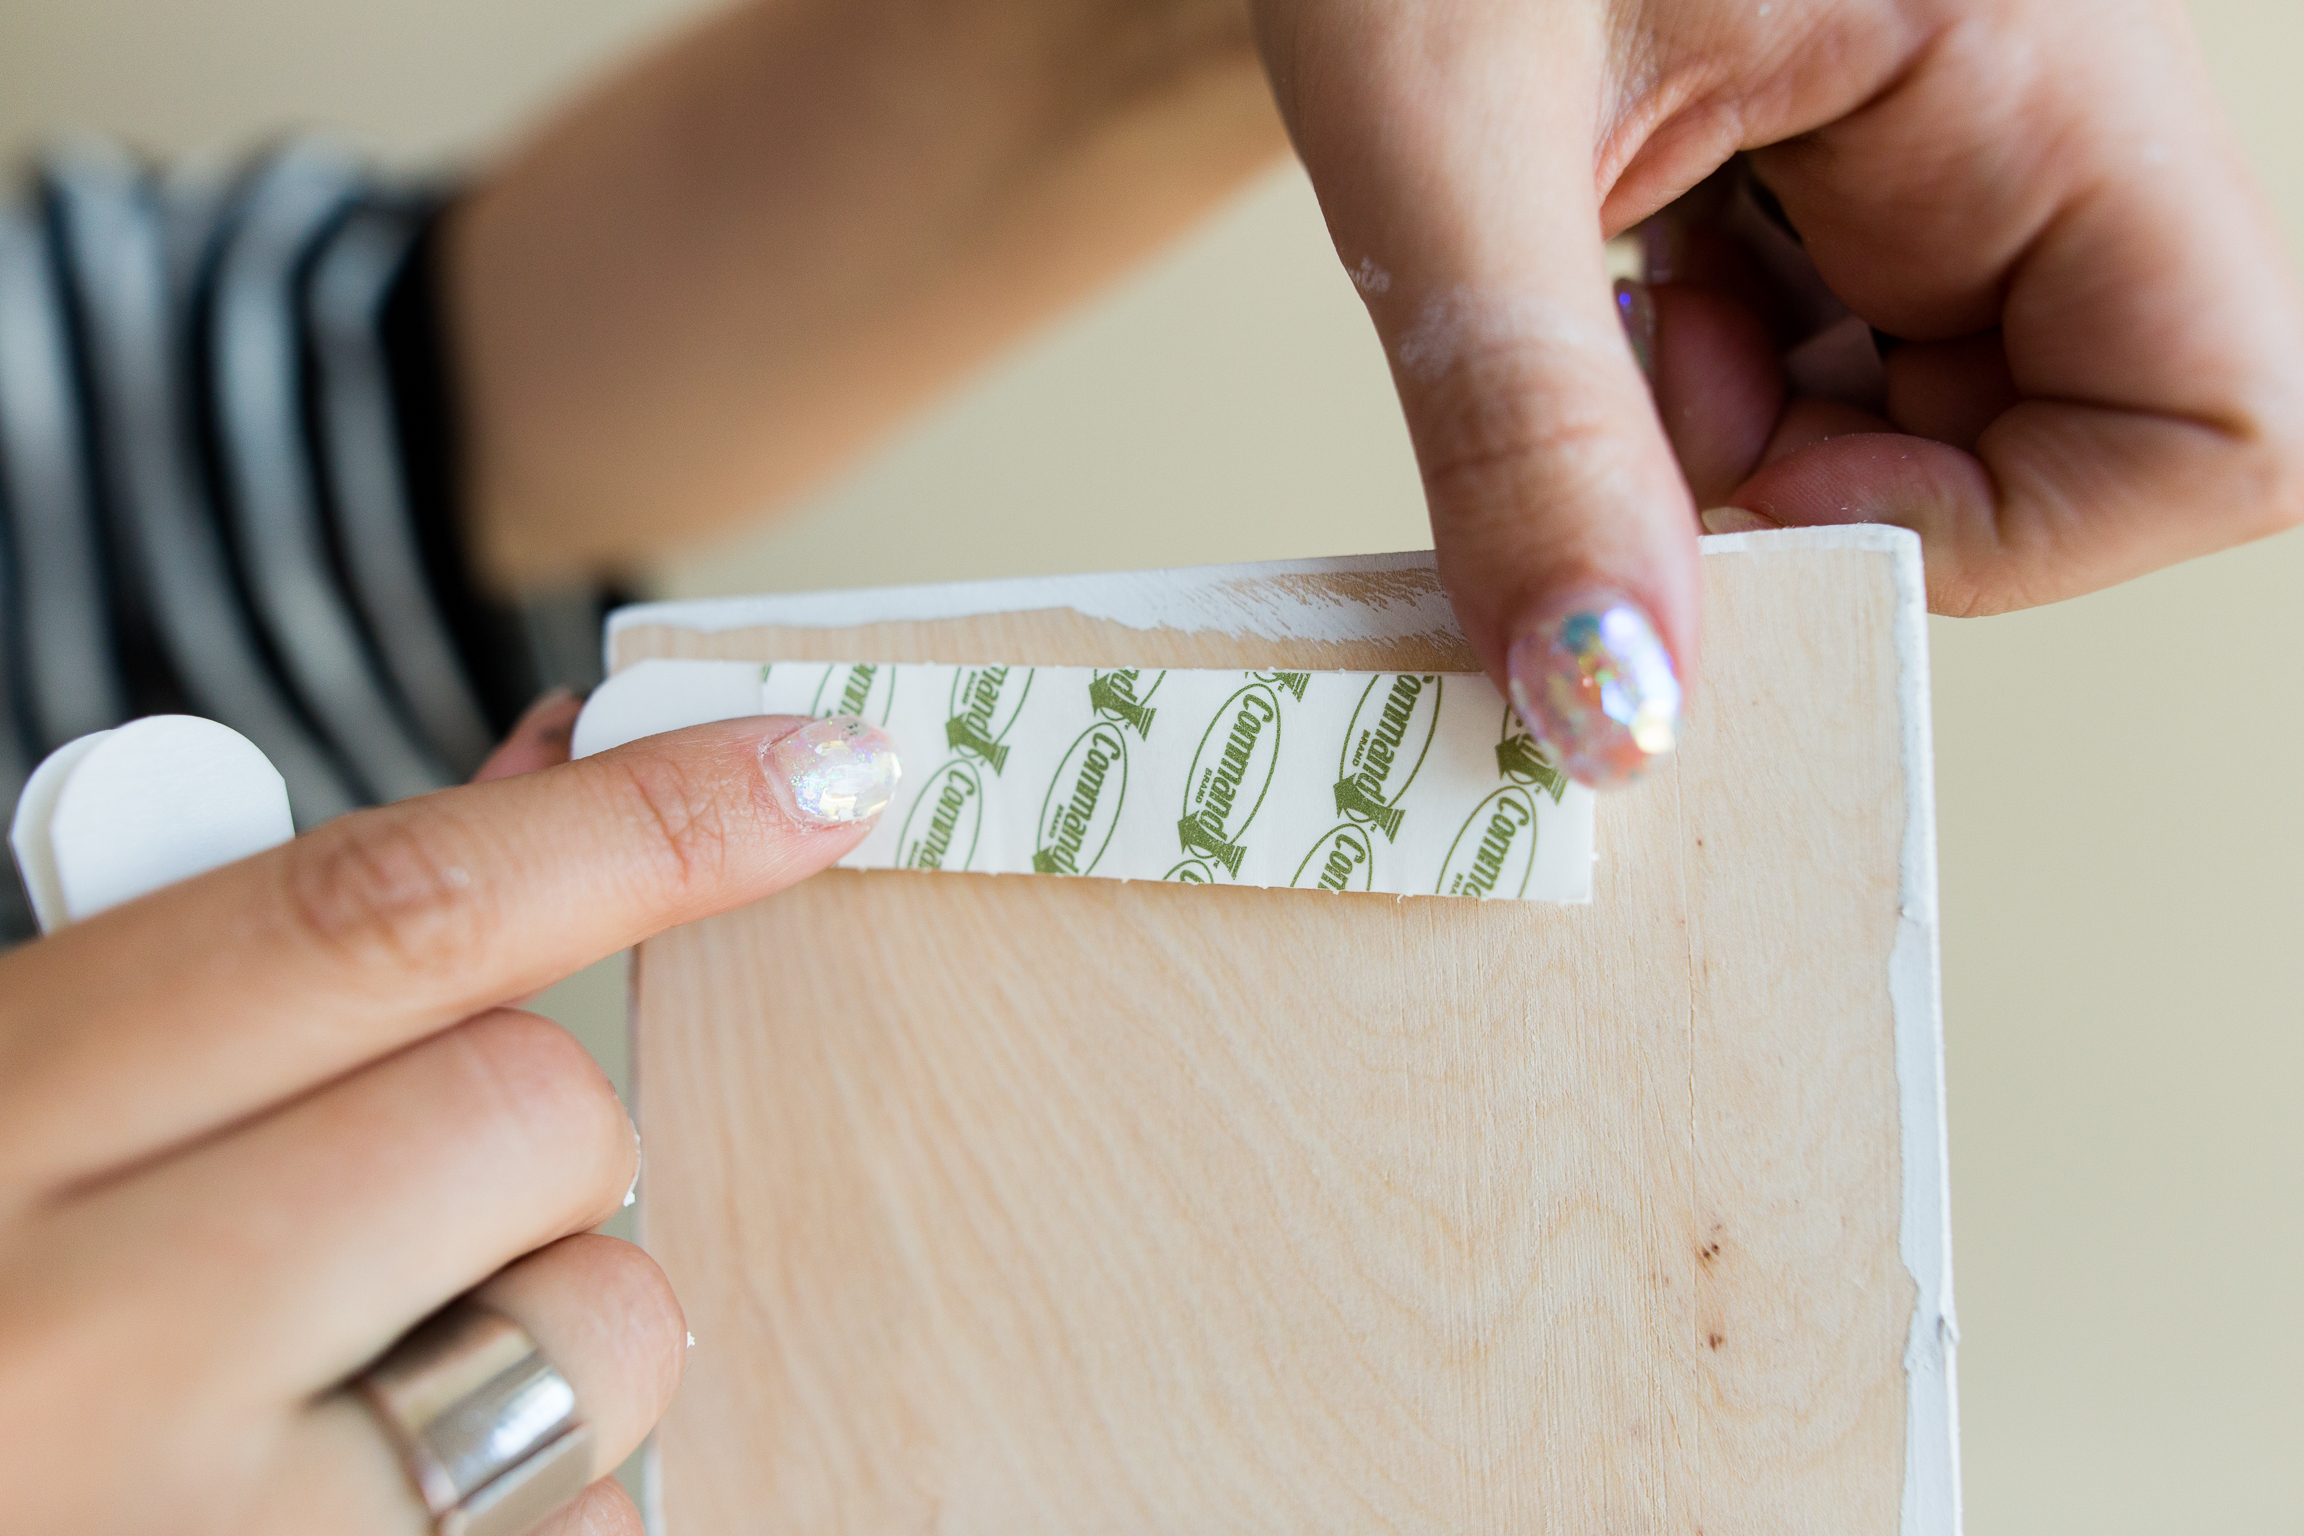

Do It!:
- Get your wood planks precut at a hardware store or cut them yourself! You'll want them to be equal in length to start, about 4-5 feet long each.
- Paint all of your planks white. You only need to paint one side and don't worry too much about the edges, since most of them won't show!
- When you're ready to start installing your shiplap wall, take two command strips and place on either side of a plank. Measure how far apart the strips are and place the other side of the strips (the wall side) on the wall equally far apart.
- Make sure you follow the direction on the Command strips packaging so they will stick firmly on the wall and hold up your plank!
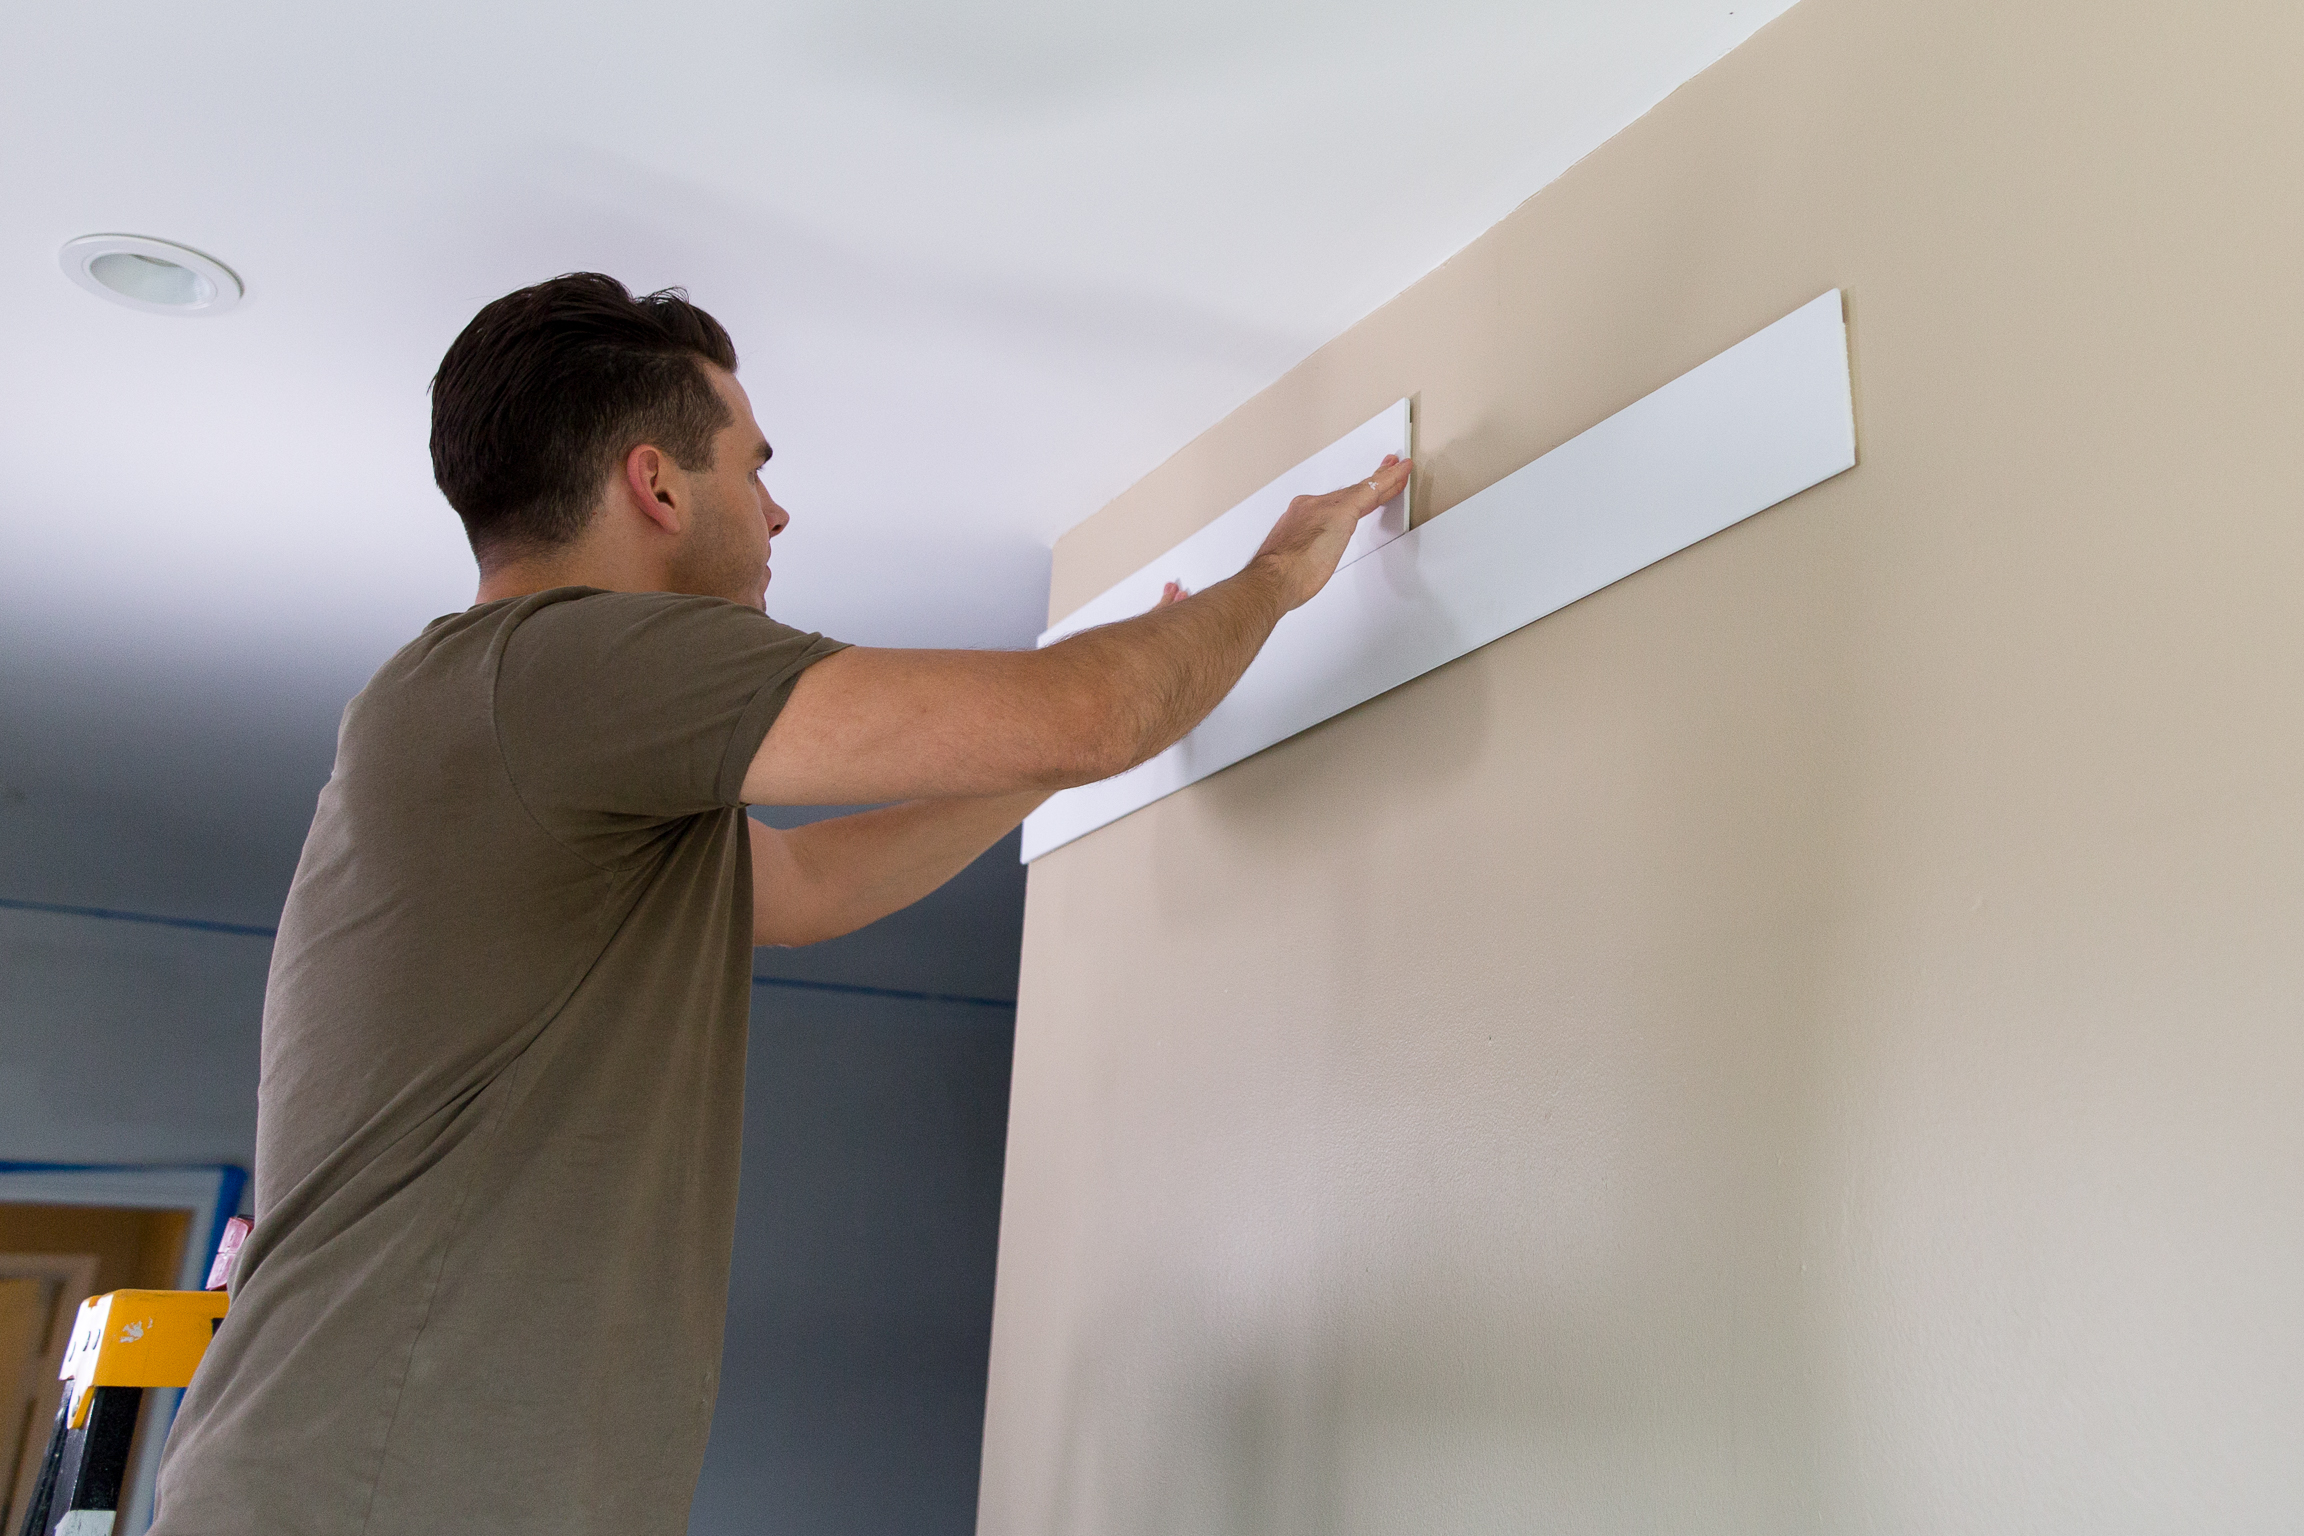
- Place your first plank on the wall!
- To get that organic, varied, shiplap effect, you don't want to stack your planks. For the second plank you place, use a handsaw to cut it to a shorter length. Then follow steps 3-5 to attach your second plank to the wall!
- Continuing steps 3-5, fill in your wall with DIY shiplap planks! When you reach the end of a row, cut a plank down to size to fit into the remaining space. It's a bit like tetris, but with a very rustic feeling.
- When you reach things like outlets or light switch panels, hold up your intended plank in place and draw around where the outlet or panel will be. Cut that area out with a handsaw, sand the edges, then continue to place that plank and create your wall!
- The last step, once all of your planks are placed, is to use some white paint to cover up any exposed edges on the corner of the wall or around any outlets!
- When you're ready to move or take this wall down, work from the side in and gently pop the planks off the wall and then remove the wall strips!