Tall walls, you've met your match. Or maybe I should say mate, because there's nothing but good vibes and edgy, achievable design going on with this string art mural DIY!
When Joey and I decorated the apartment of Katie Maloney and Tom Schwartz, their high ceilings and large walls made traditional wall art a little bit tricky. A nice 11x14" print just wasn't going to cut it on these 17' high walls. But, just like coloring, designing within the lines is boring — so we grabbed a hammer, some nails, colorful yarn and we created our own!
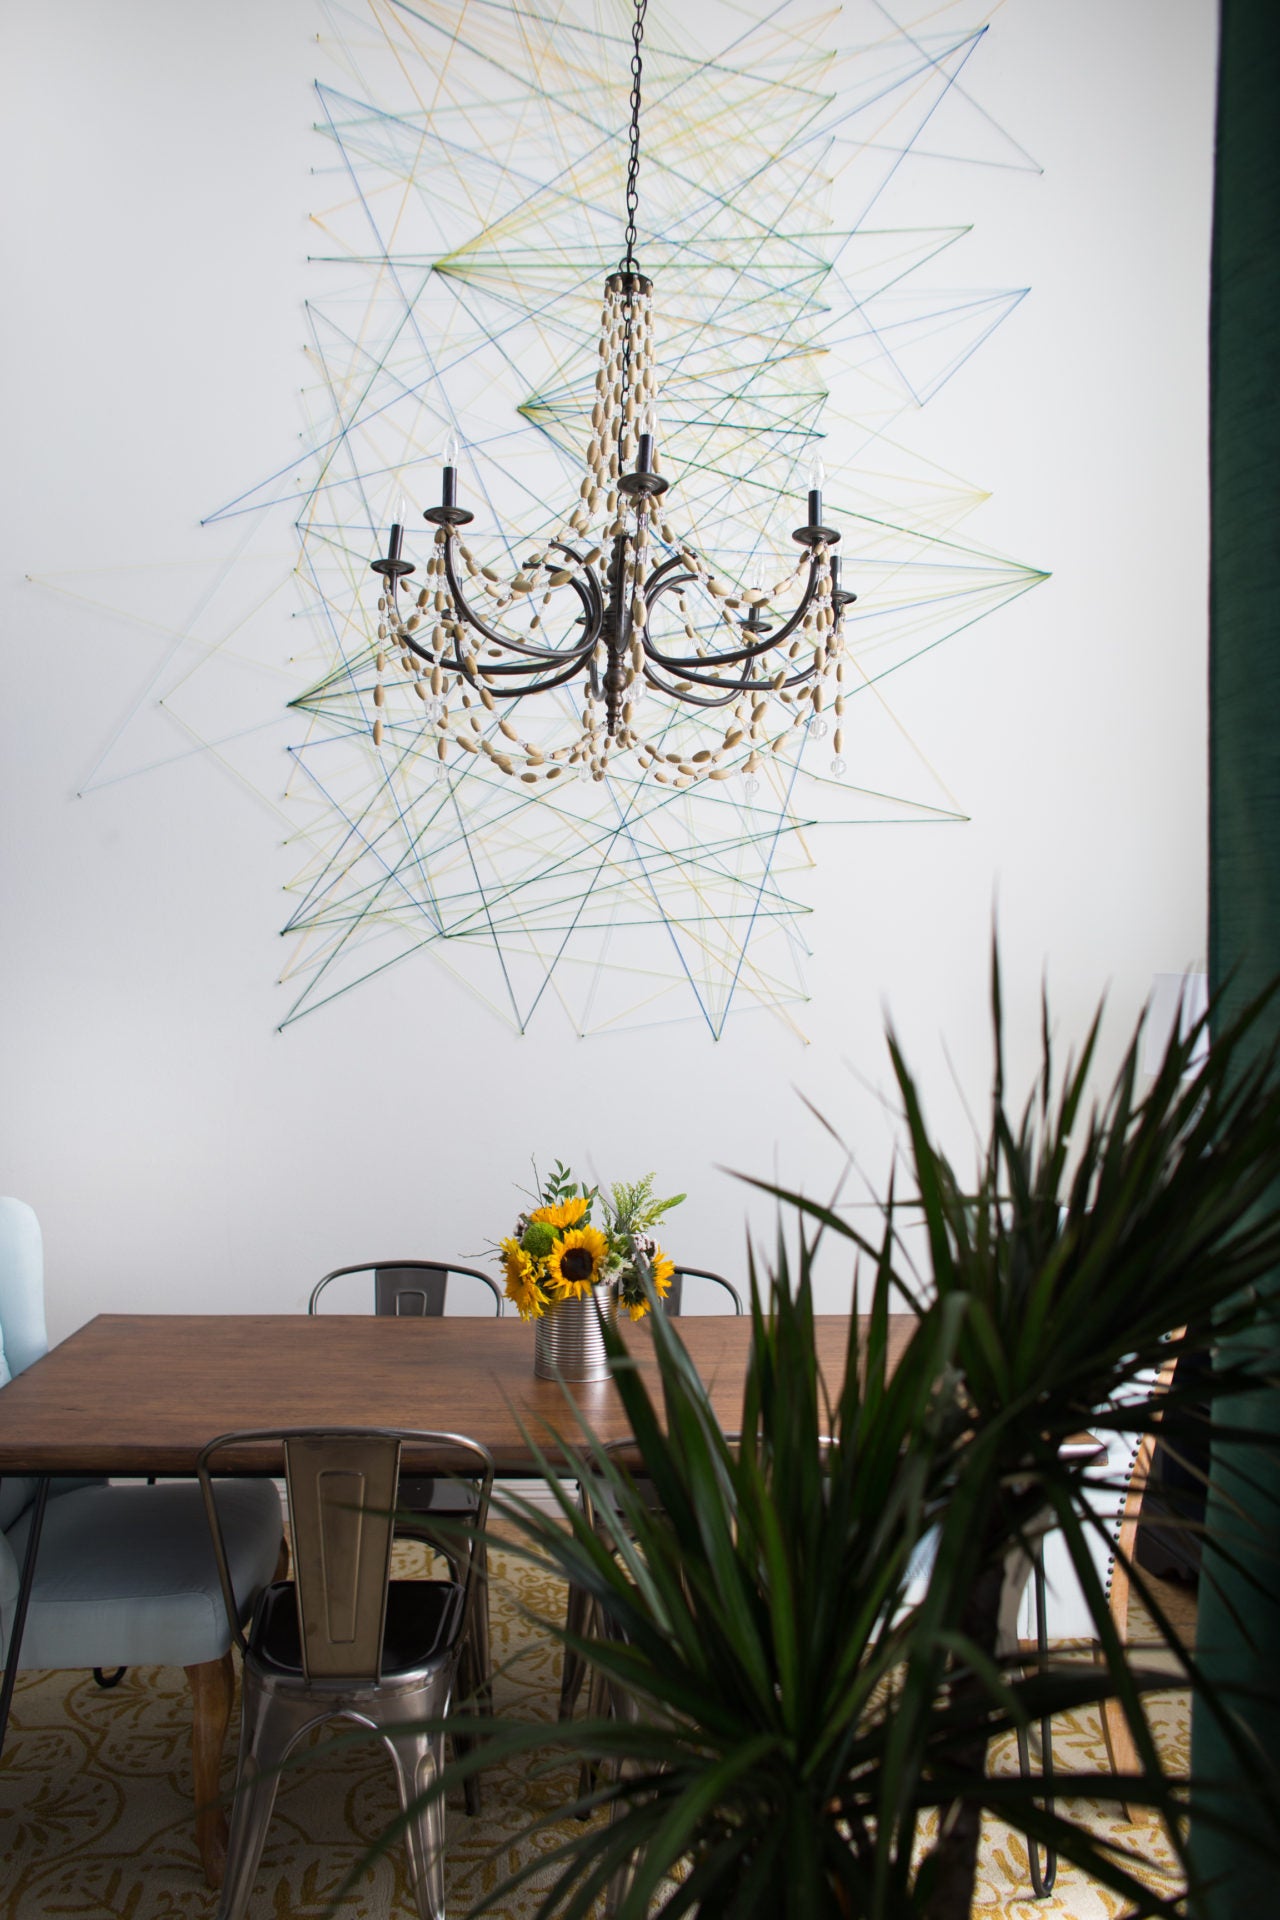
Make sure to see the wall come together in OMG We're Coming Over: Katie & Tom's House Rules, and check out the how-to below!

Prep It:
Nails Hammer Yarn in multiple colors Scissors


Do It!:
- This project is so customizable to the space you have available and want to fill, so the first step is to really take stock of your empty wall space and plan where you want the mural to be. If you're working with a smaller area than Katie and Tom's mondo loft walls, trace out the space you want to fill with painter's tape so you can see what will be filled and how it will look! It's also helpful to plan a layout on paper to see what kind of design you like for the string - you will note that I chose to do no right angles with any of the string so it looked more triangular and random, but that's totally up to you!
- When you've decided on your placement, it's time to get hammering. We did two rows of nails about 5 inches apart in height up the length of the wall, but you can put your nails in a circle, a square, around the perimeter of the wall, or even in a cool shape like a V! We placed some nails outside the two rows, so the design wouldn't be as contained and could look like it was almost growing out of its frame. Don't hammer the nails in too far! You'll want length to tie your yarn around. It's nice to have some structure to then break free from, which is why we did the two straight lines. If you go completely random, it could look messy.
- When you're done placing your nails, select your first color of yarn. Cut a long length and tie one end around the nail you'd like to start at. I did a slip knot so it was easy to pull one end snug around the nail. Now the fun part starts! Wrap your yarn around the nails, creating an angular design on your wall. We wanted ours to appear abstract, so the yarn followed where our imaginations led it, but if you had a specific design like ombre or stripes, that will look really great too!
- When you're done with the first piece of yarn, tie the end around a nail (I chose to end a piece of string on the same nail I started so you could trace the color on a complete journey), trim off any tail, and start with the next color. I found it best to keep rotating colors so the first one I used wasn't stuck at the back of the design. Give every color the opportunity to shine!
- Another tip, if you're going for an abstract pattern, is to have certain points that have more depth than the others. There are a few nails that we started a lot of strings from, giving that point a heavier and more emphasized appearance in the design. If you're working with a large area, it's nice to have some depth in the largely negative-space inspired mural!
- When you're done twirling and tying, make sure all the excess bits and tails are trimmed, and — look at that — you just made a mural!