


I am obsessssssed with, what we've dubbed the, Time Flies butterfly clock sculpture that we created on a wall at the Mr. Kate office. We didn't have a clock yet in the office so we came up with this design that uses pre-made butterflies from the craft store as well as some stamped out butterfly shapes from paper to embellish a clock that was $3! I chose to make all the butterflies black (which we sprayed with fabric paint) for a sculptural and chic twist on butterfly decor. This DIY could be interpreted in a variety of ways, larger scale with a larger clock, or different colors and in a kid's room...the options are endless!...and did I say I'm obsessed?!
 Prep It:
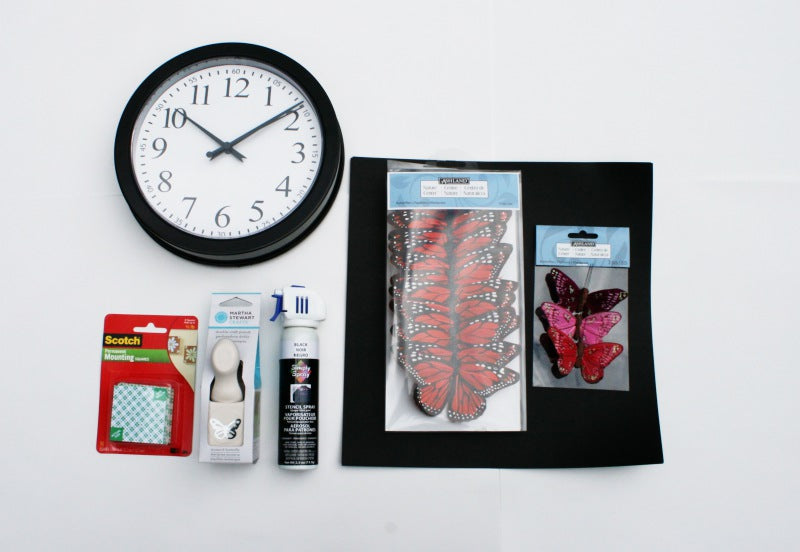
- wall clock (we found this small and inexpensive one at target for $3!)
- black fabric spray paint (the same one we used for the DIY Graffiti Shirt)
- 3m scotch mounting squares
- Martha Stewart butterfly craft punch (from Michael's)
- matte black card stock
- feather butterflies (we used ones from Michael's, but you can find them at most craft stores)
- hot glue gun


 DO IT!:
- using the craft punch, punch the butterfly stamp out of the black card stock. tip: to save space go around all the edges and work your way in; leave as little space between each one as you can.
- glue two of the paper butterflies together with a hot glue gun. the one on bottom should be flat, and the one on top should be folded in half to raise the wings. this will give the paper a 3D effect when on the wall.
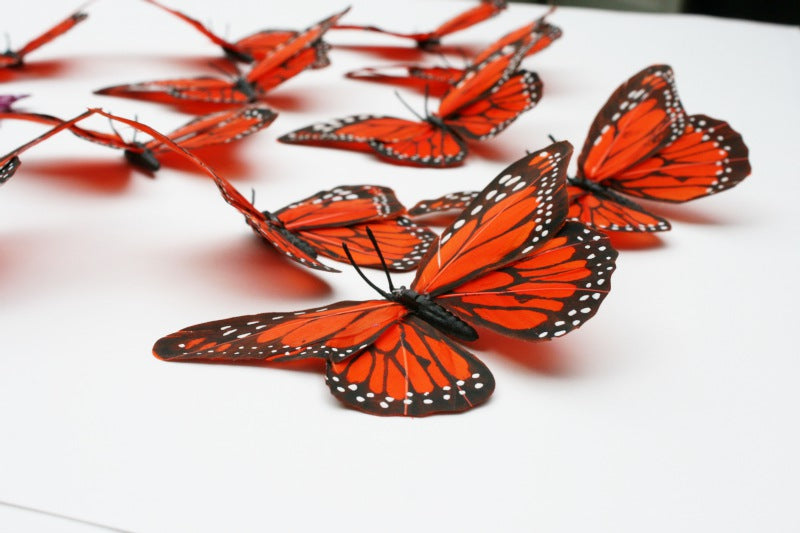
- lay all the feather or pre-made butterflies out and spray paint them with the black fabric paint
- once dry, do the other side so they are completely black
- when fully dry, arrange the butterflies on the clock to plan the layout before you glue. we chose to position them all on one side so they would look like they're lifting off one end.
- hot glue gun the butterflies to the clock
- when dry, hang the clock on the wall with a hammer and nail
- take a square of the 3m mounting tape and place it on the back of a butterfly, then onto the wall. the mounting tape is strong but safe to use on paint. tip: push gently against the wall to make sure butterfly is secure
- continue placing the butterflies on the wall in a swarm pattern. tip: try different spacing and have them facing different directions so it looks organic and like a natural swarm. too perfect and it will look intentional.
- for the smaller paper butterflies, cut the mounting squares in half, then place them on the back of the butterfly and onto the wall
- now watch TIME FLY!

