
Halloween is a great time to explore different sides of your psyche ... also your TV obsession.
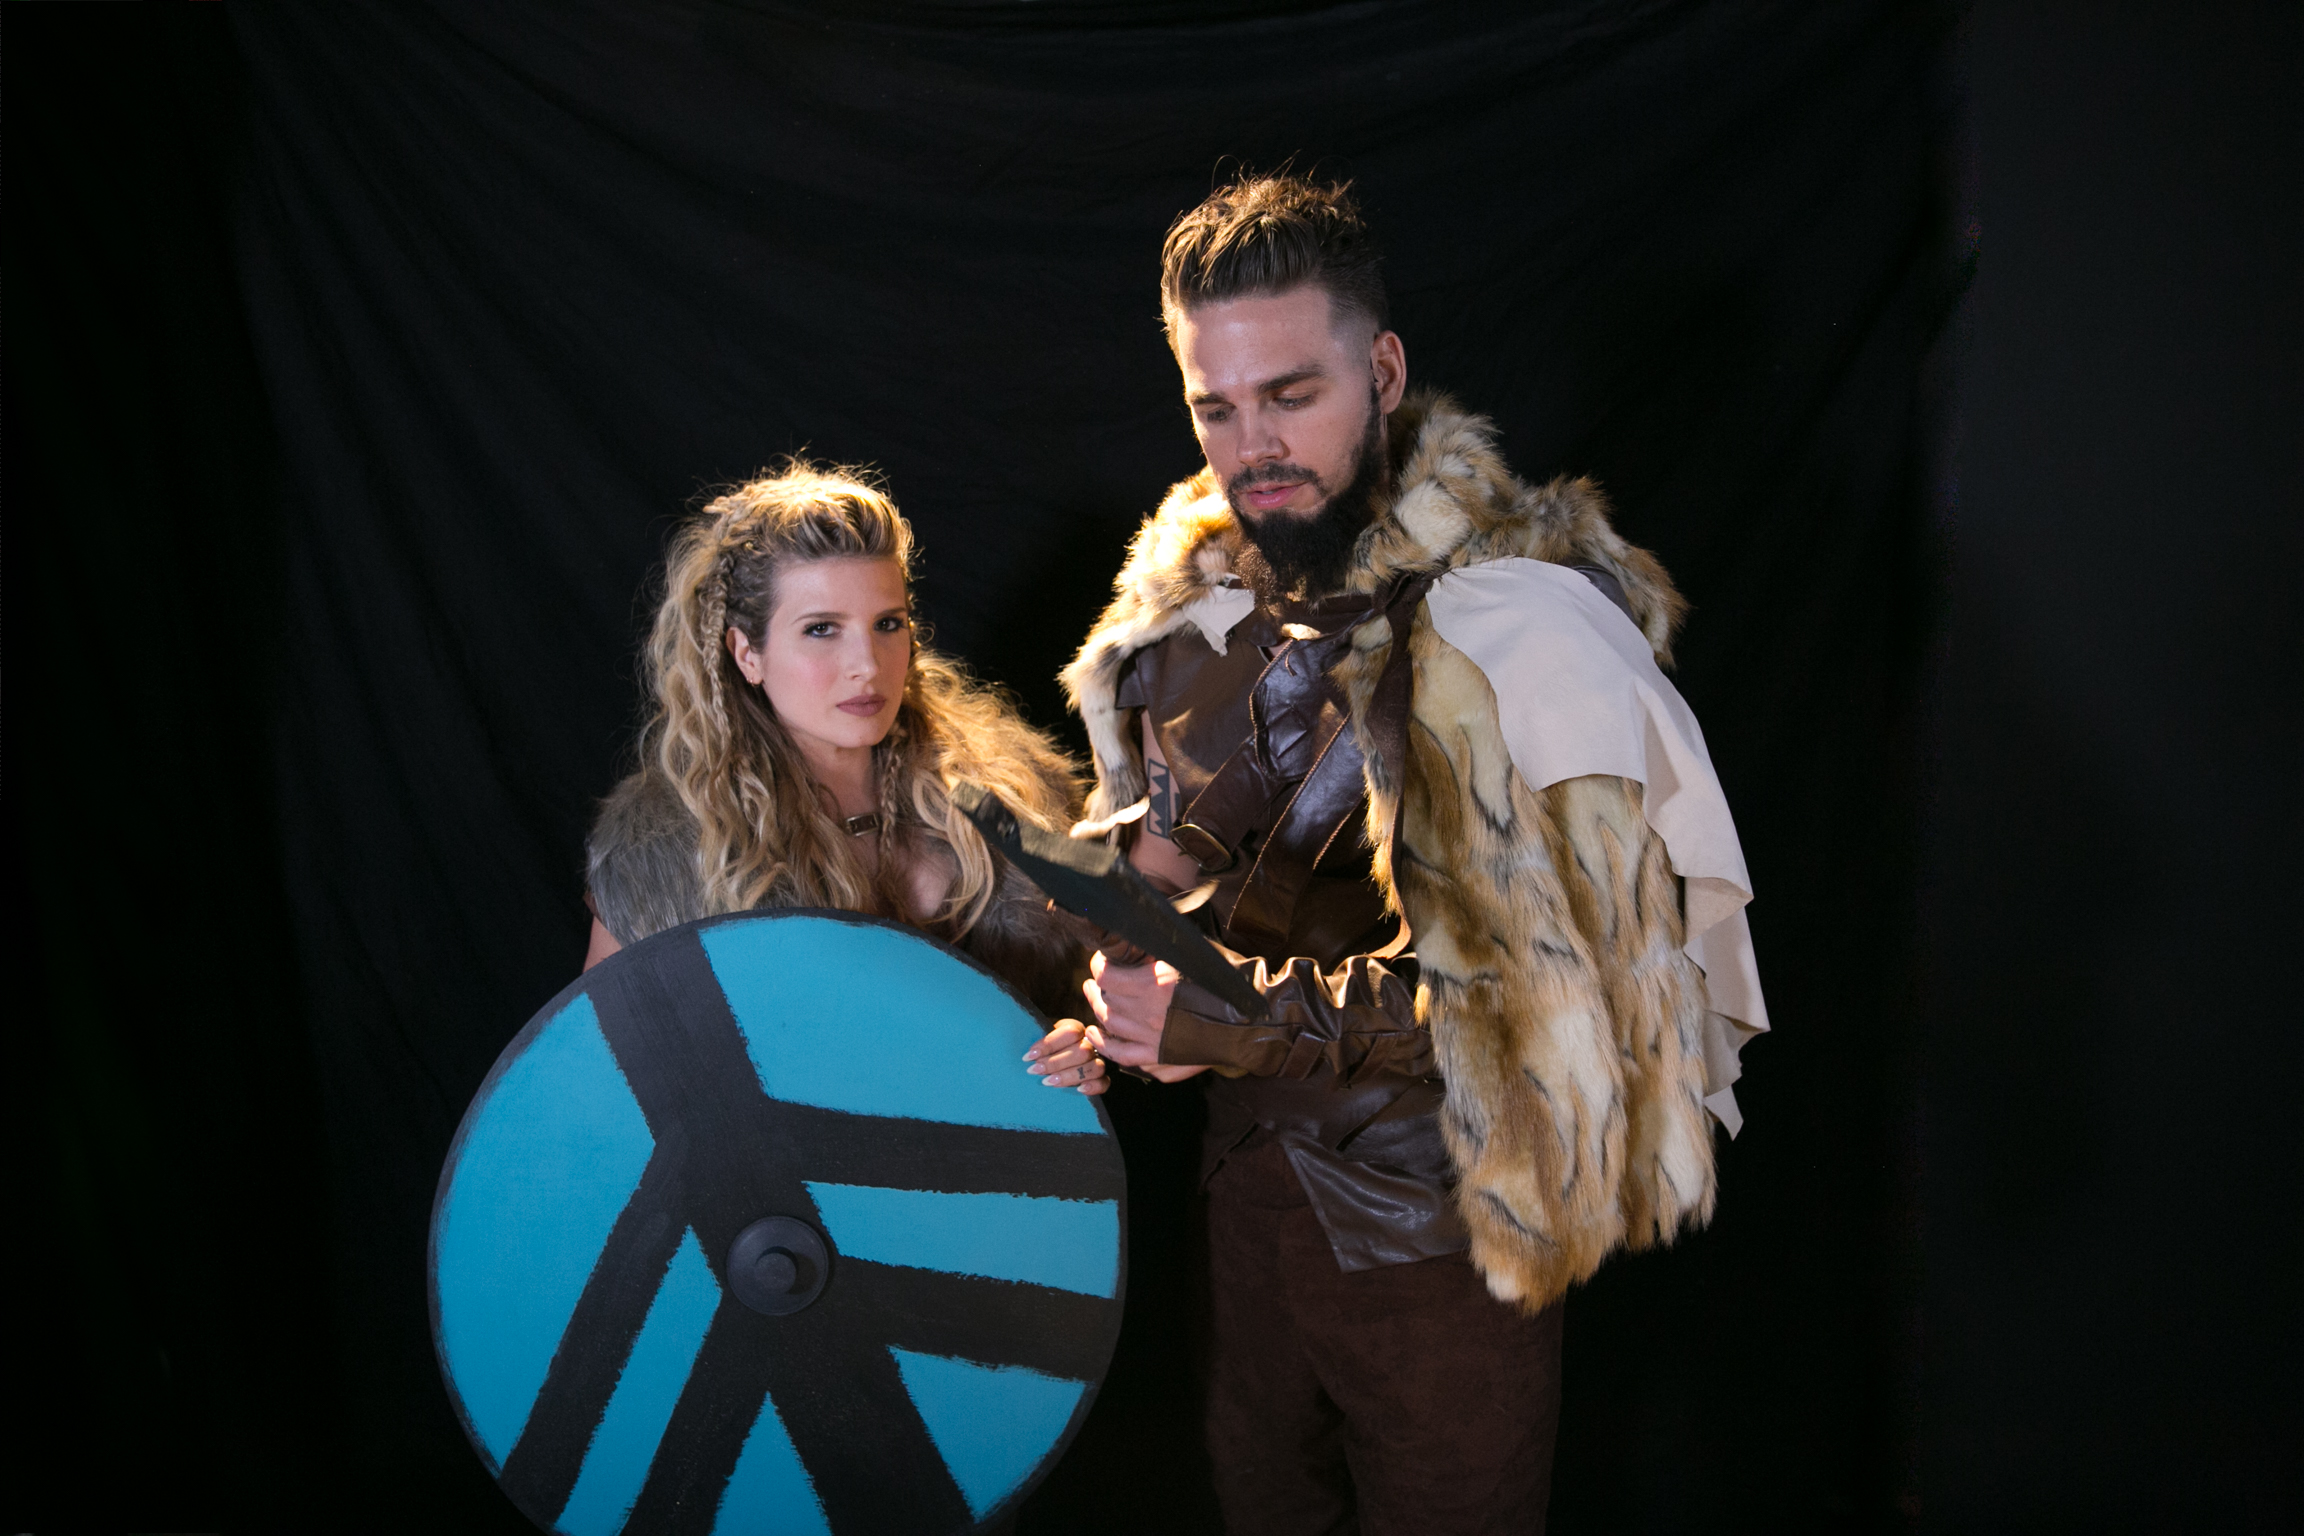
A few years ago, at the height of my Breaking Bad phase, Joey and I DIY-ed some Heisenberg and Jesse Pinkman costumes (yeah, bitch!), which was such a blast. But this year, our TV tastes have leaned a little more braids and beards, swords and shields, leather and ... more leather. Yup, we're totally into Vikings on History Channel, and couldn't resist the opportunity to bring pillaging, Scandinavian royalty Ragnar and Lagertha to life!
BUT, guess what?! With a few easy alterations in makeup, these costumes are also a perfect fit for Dothraki warriors from another one of our favorite shows, Game of Thrones. With some small detail changes, you can work these looks to be Daenerys/ Khaleesi, Ygritte, or any of the characters from The 100!
Check out the video above to see all the extensions, braiding, DIY-ing, and drama, and check out the how-tos for these costumes below!
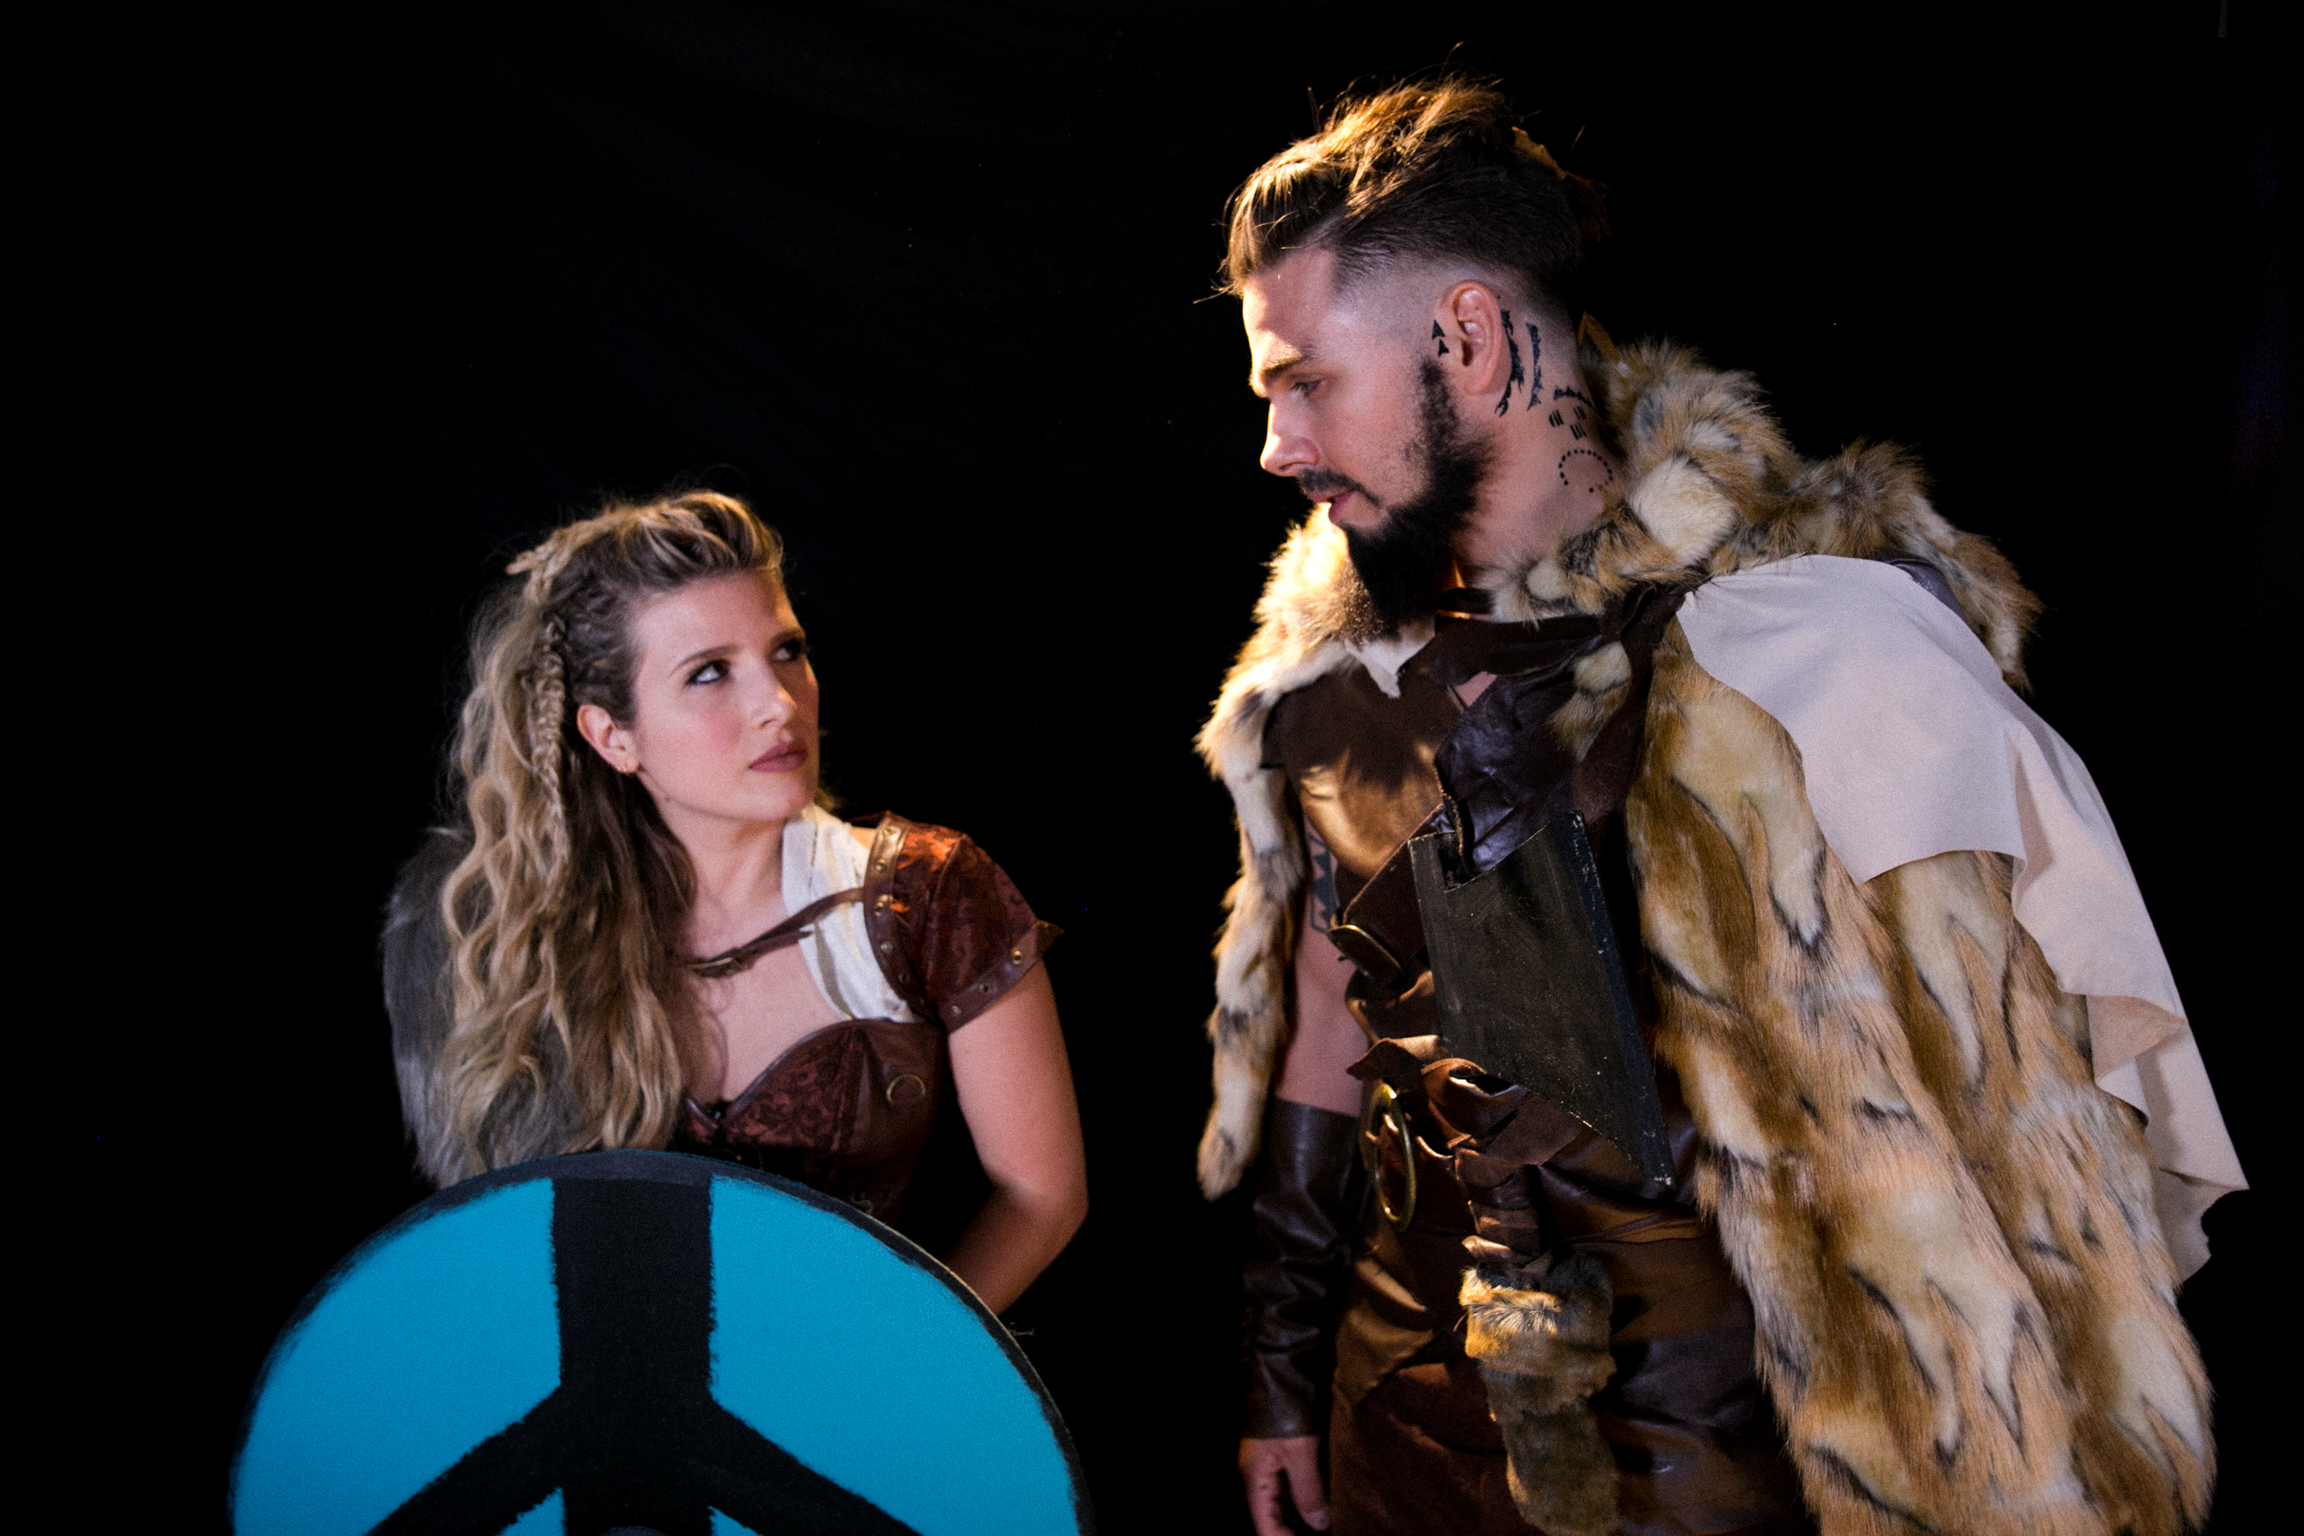
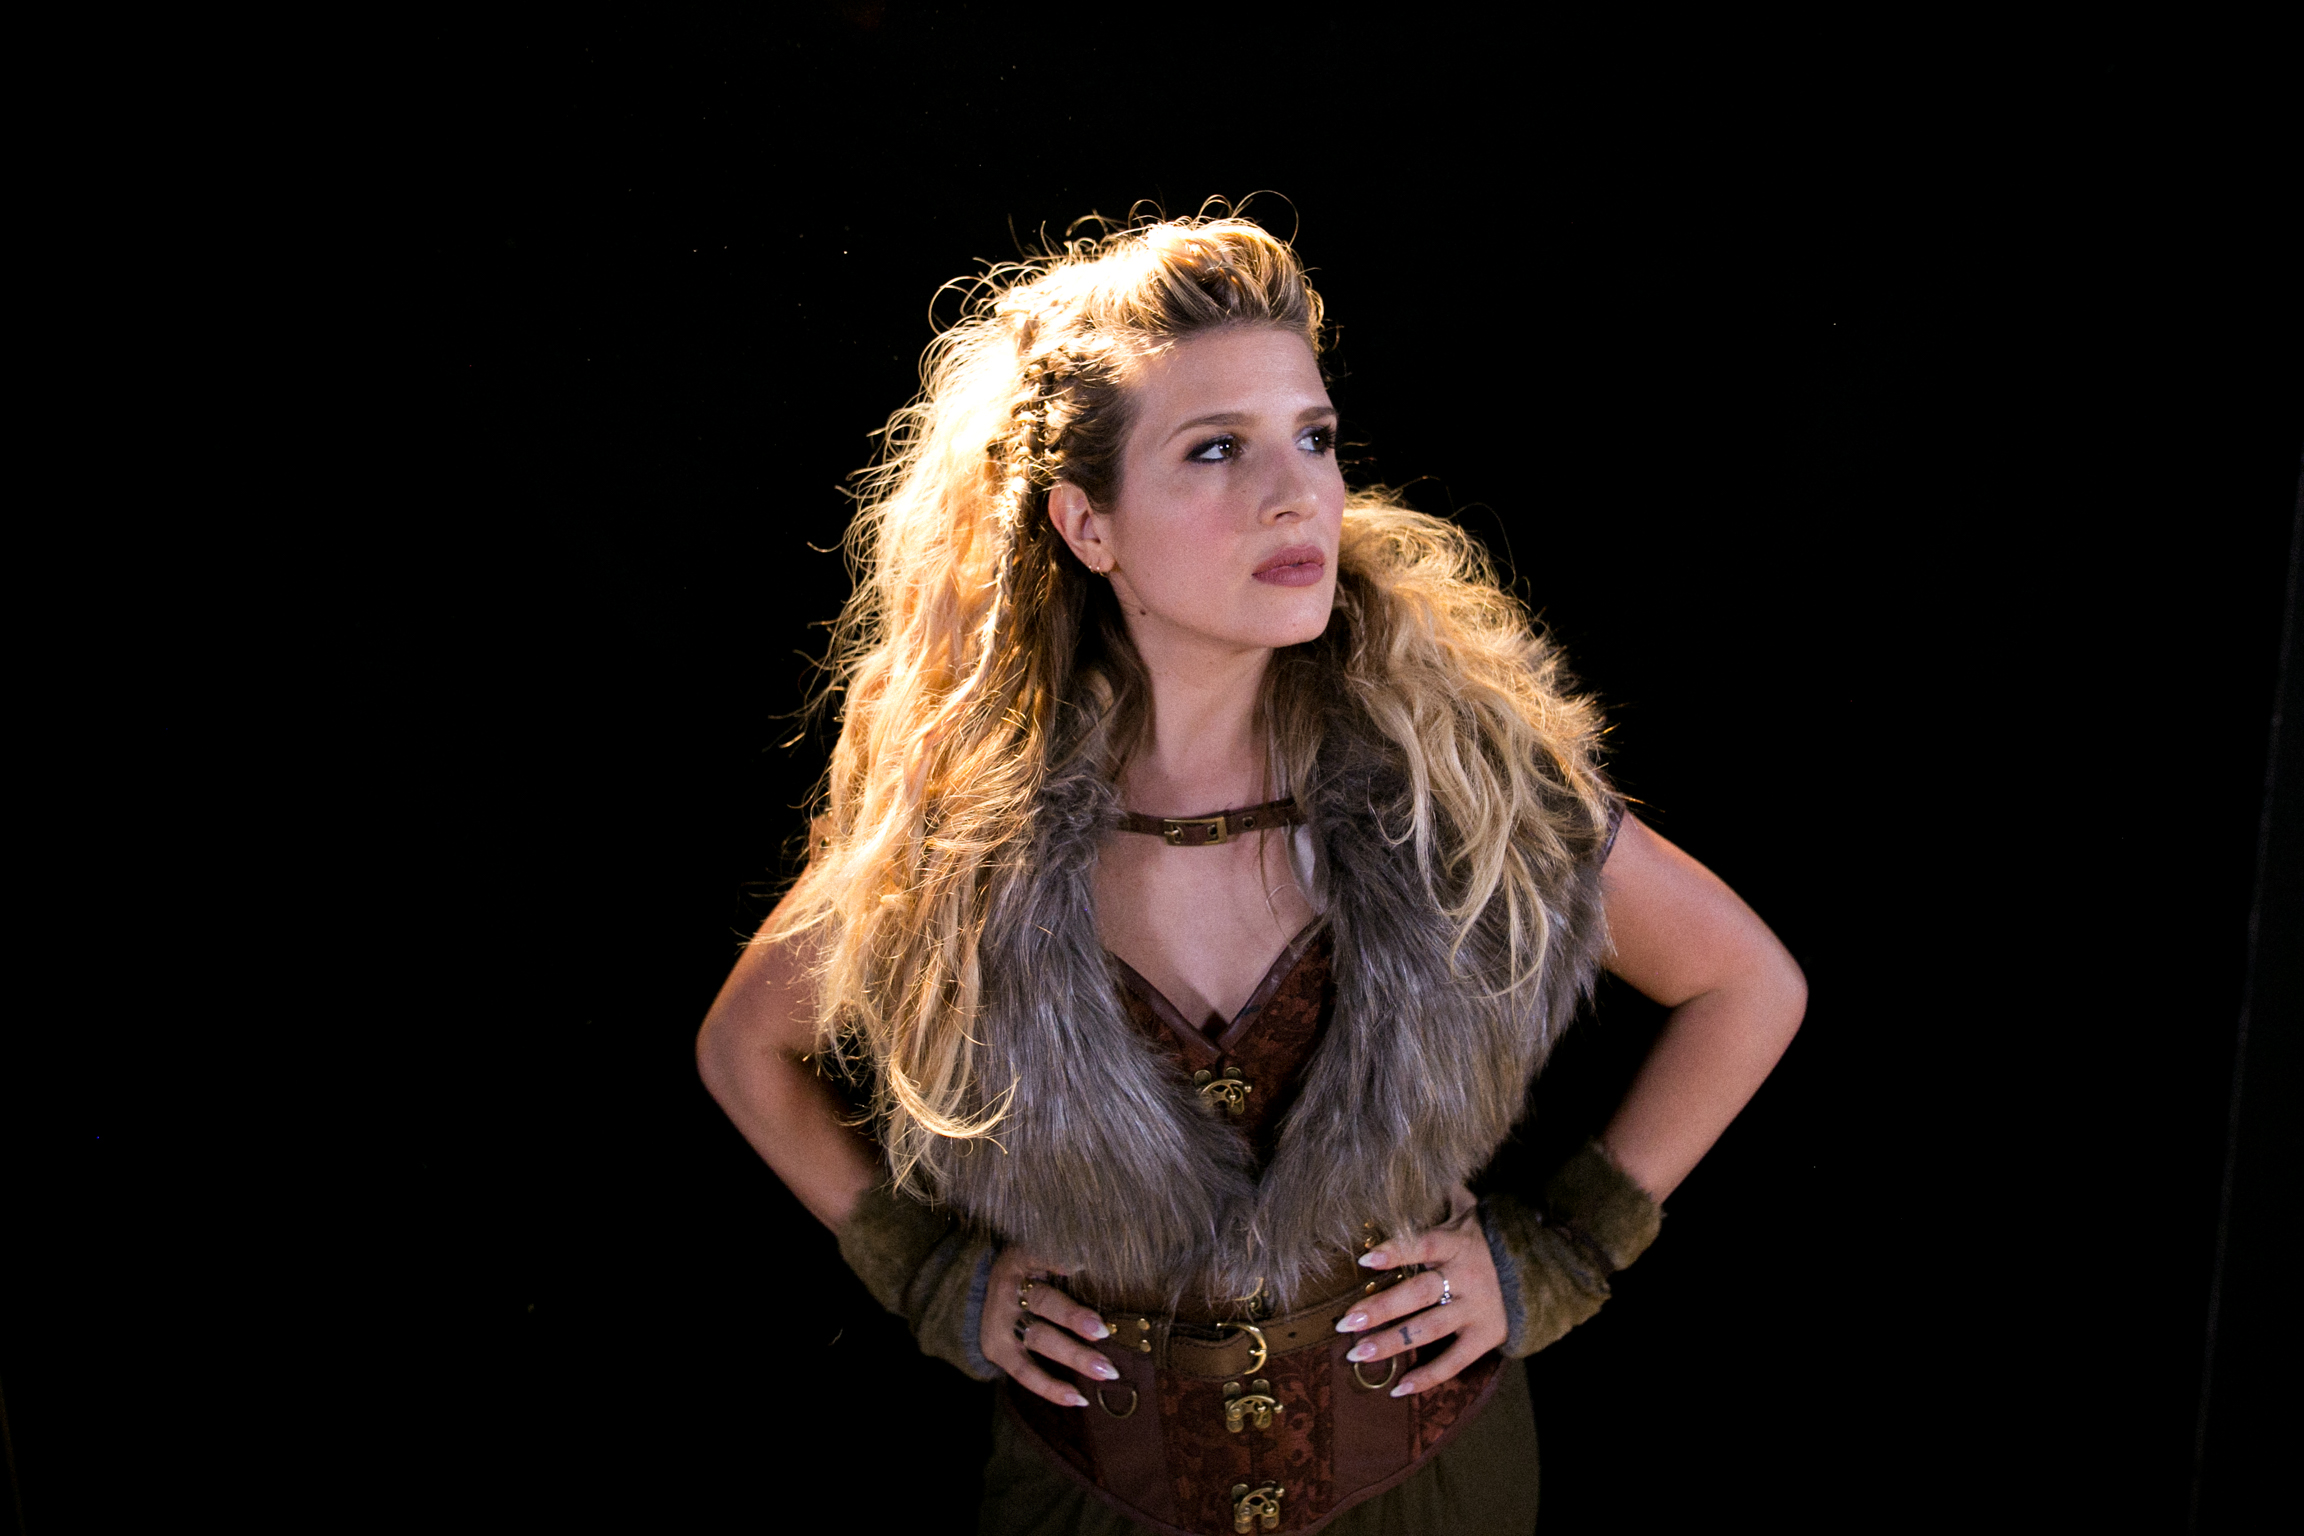
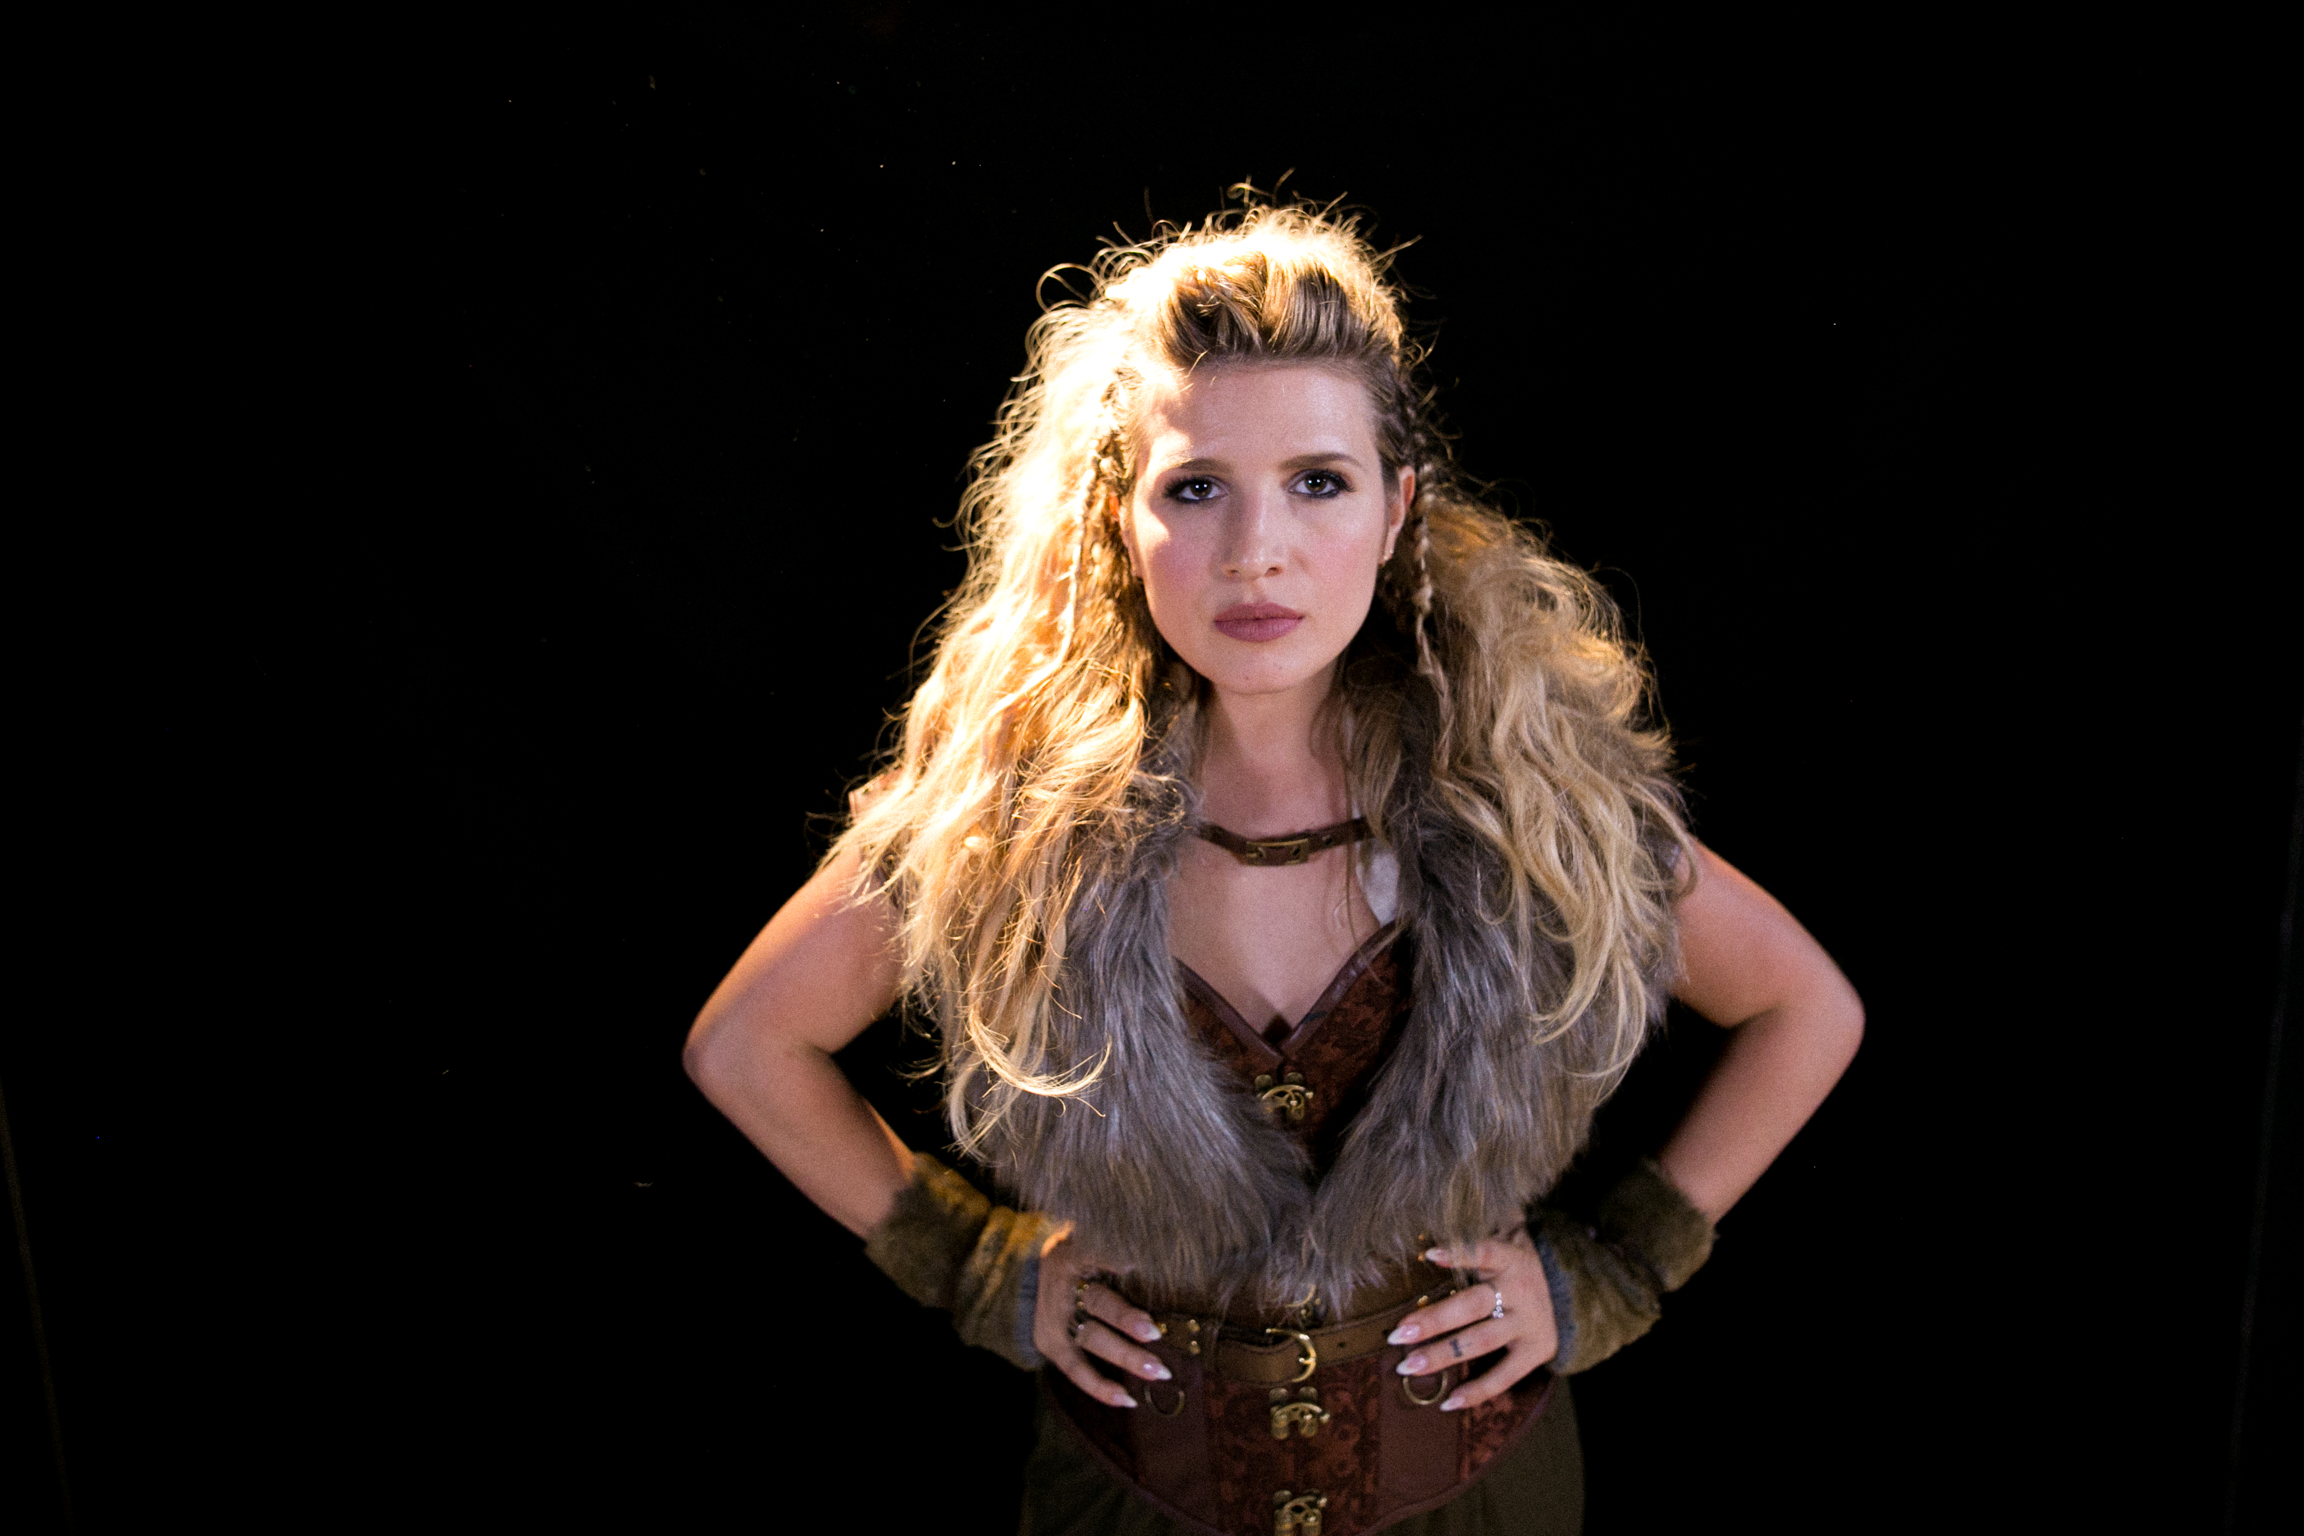
Lagertha/ Lady Warrior Costume
Prep It:
Brown faux leather corset costume
Faux fur shawl
Linen
Faux fur scraps
Clip-in hair extensions
Raffia string
Thin chain
Hairspray
Teasing comb
Large barrel curling iron
Hair pins
Costume dagger
DIY Shield (instructions below)


Do It!:
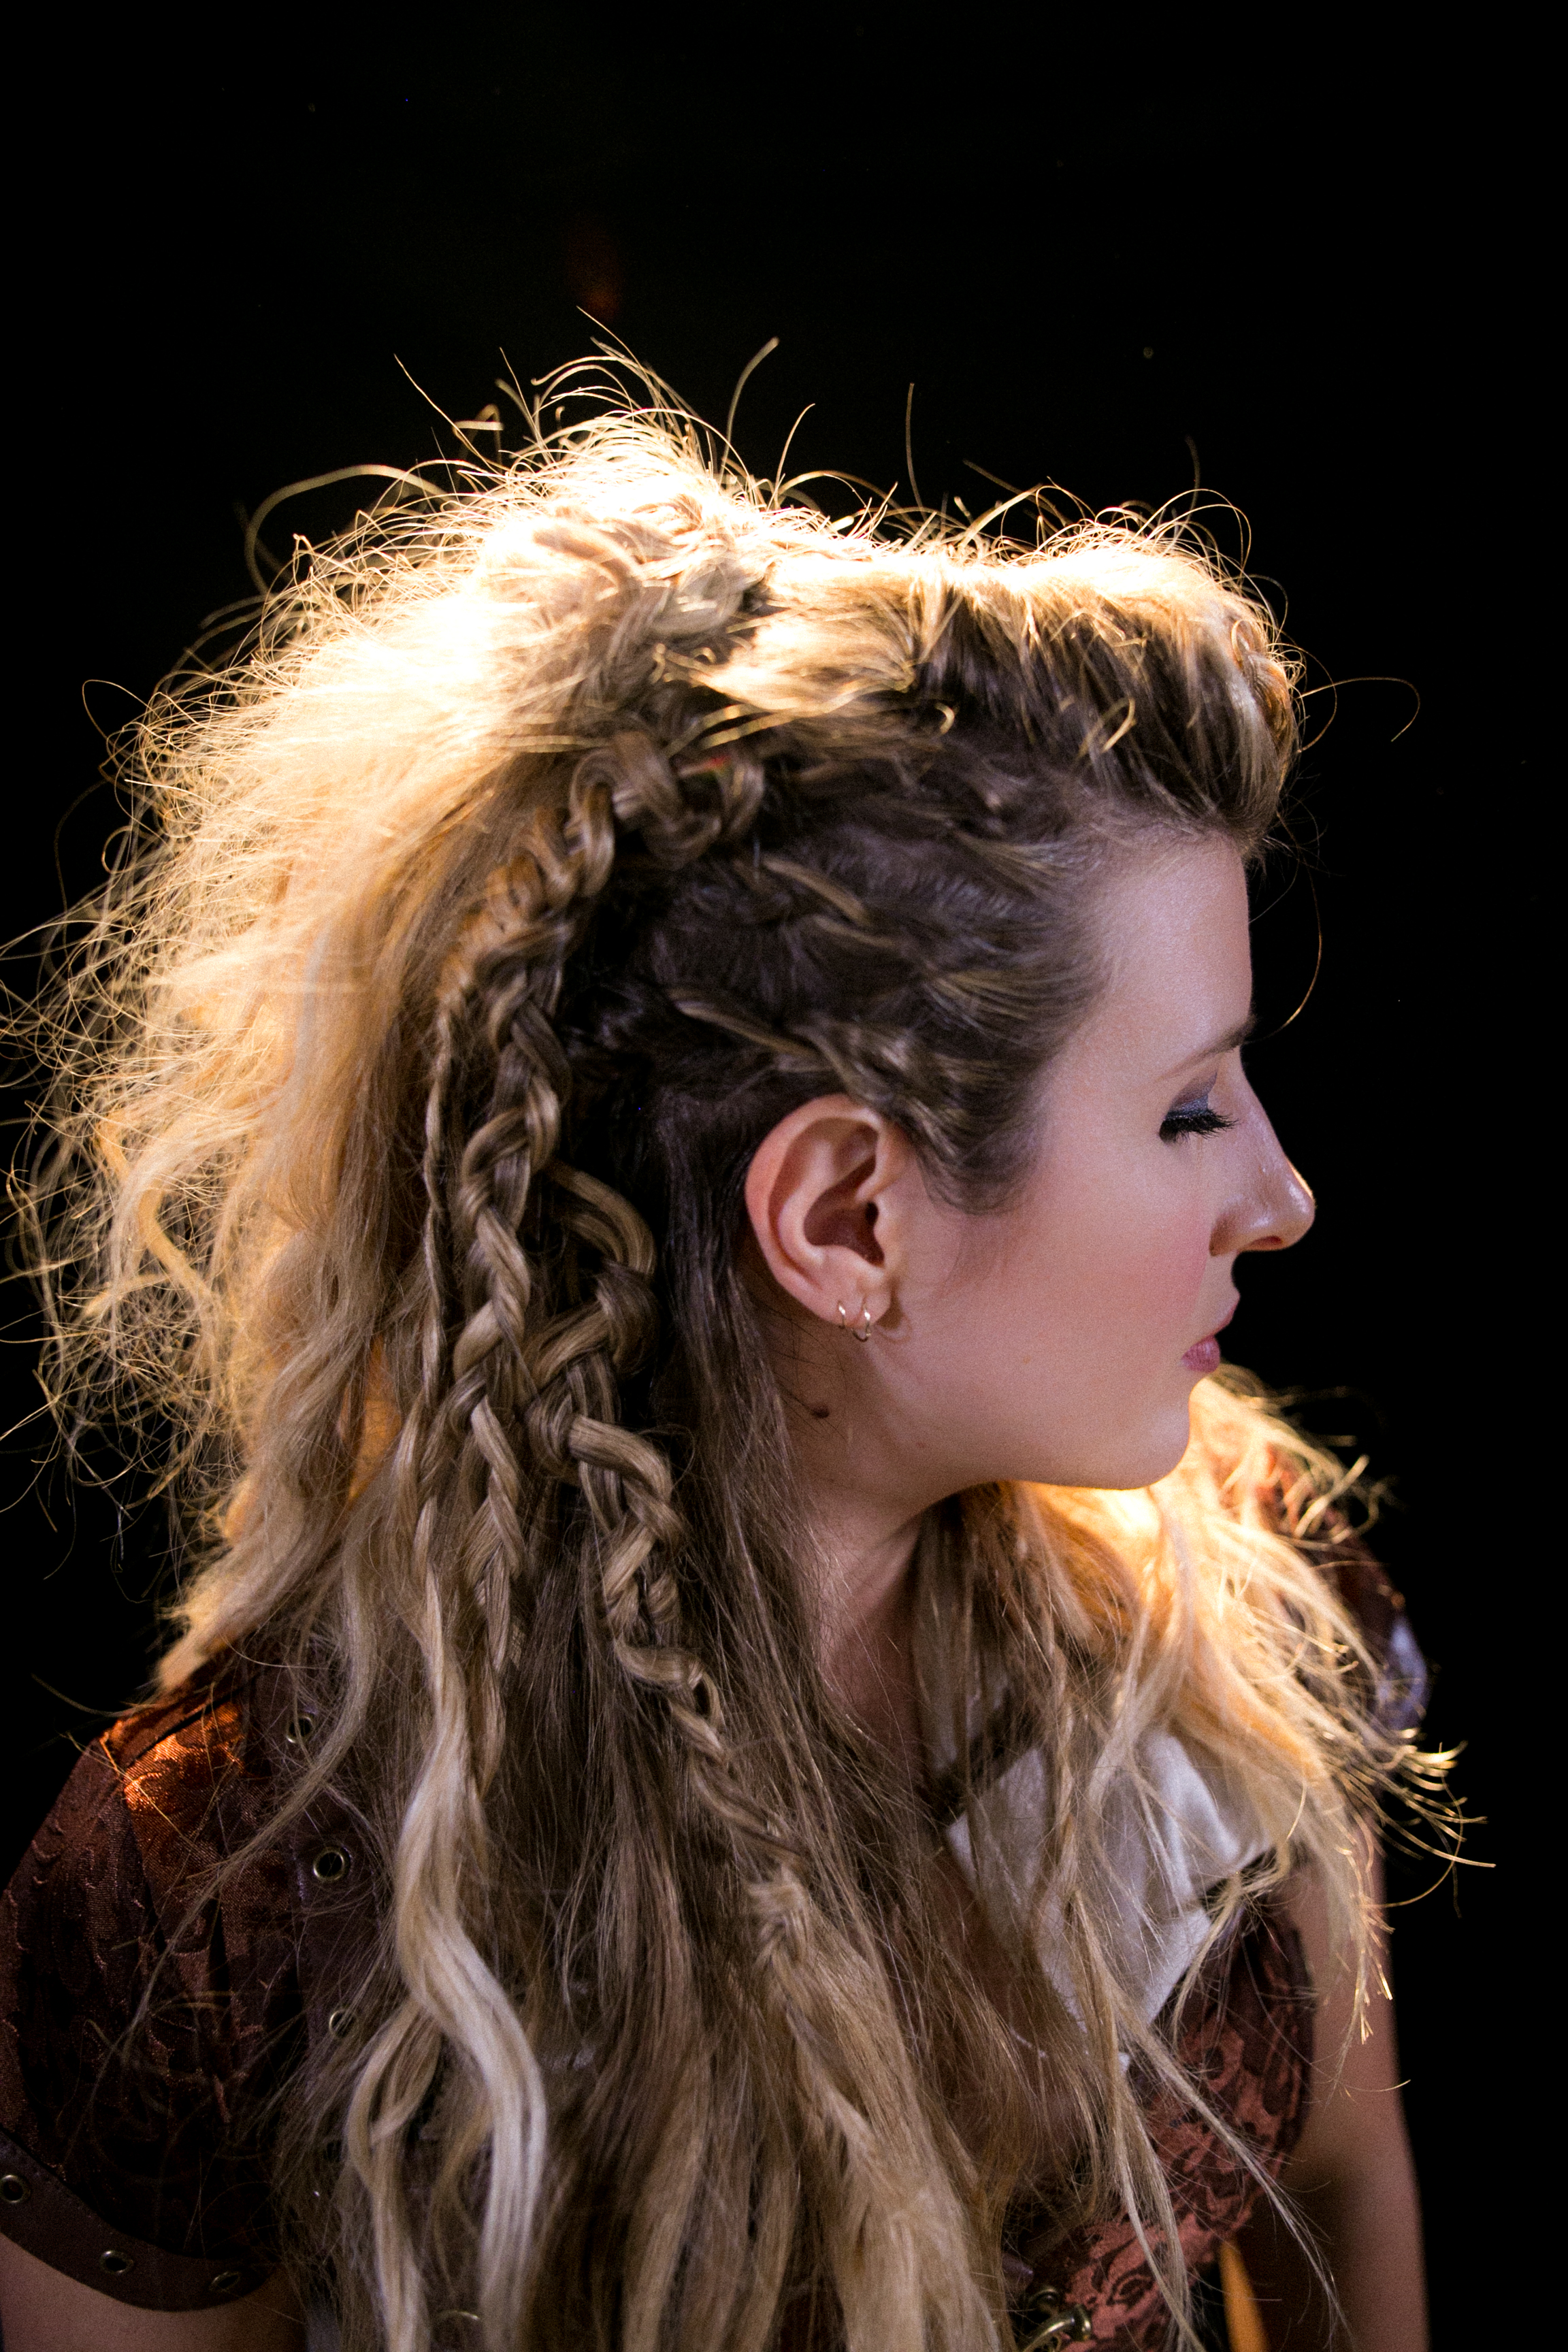
Wavy, Braided Hairdo:
- Even though I have a lot of hair, I added in clip-in extensions for extra body, since this is a wild warrior look! Since you'll be braiding the sides, don't add the extensions there — place them more in the lower part or back of your head.
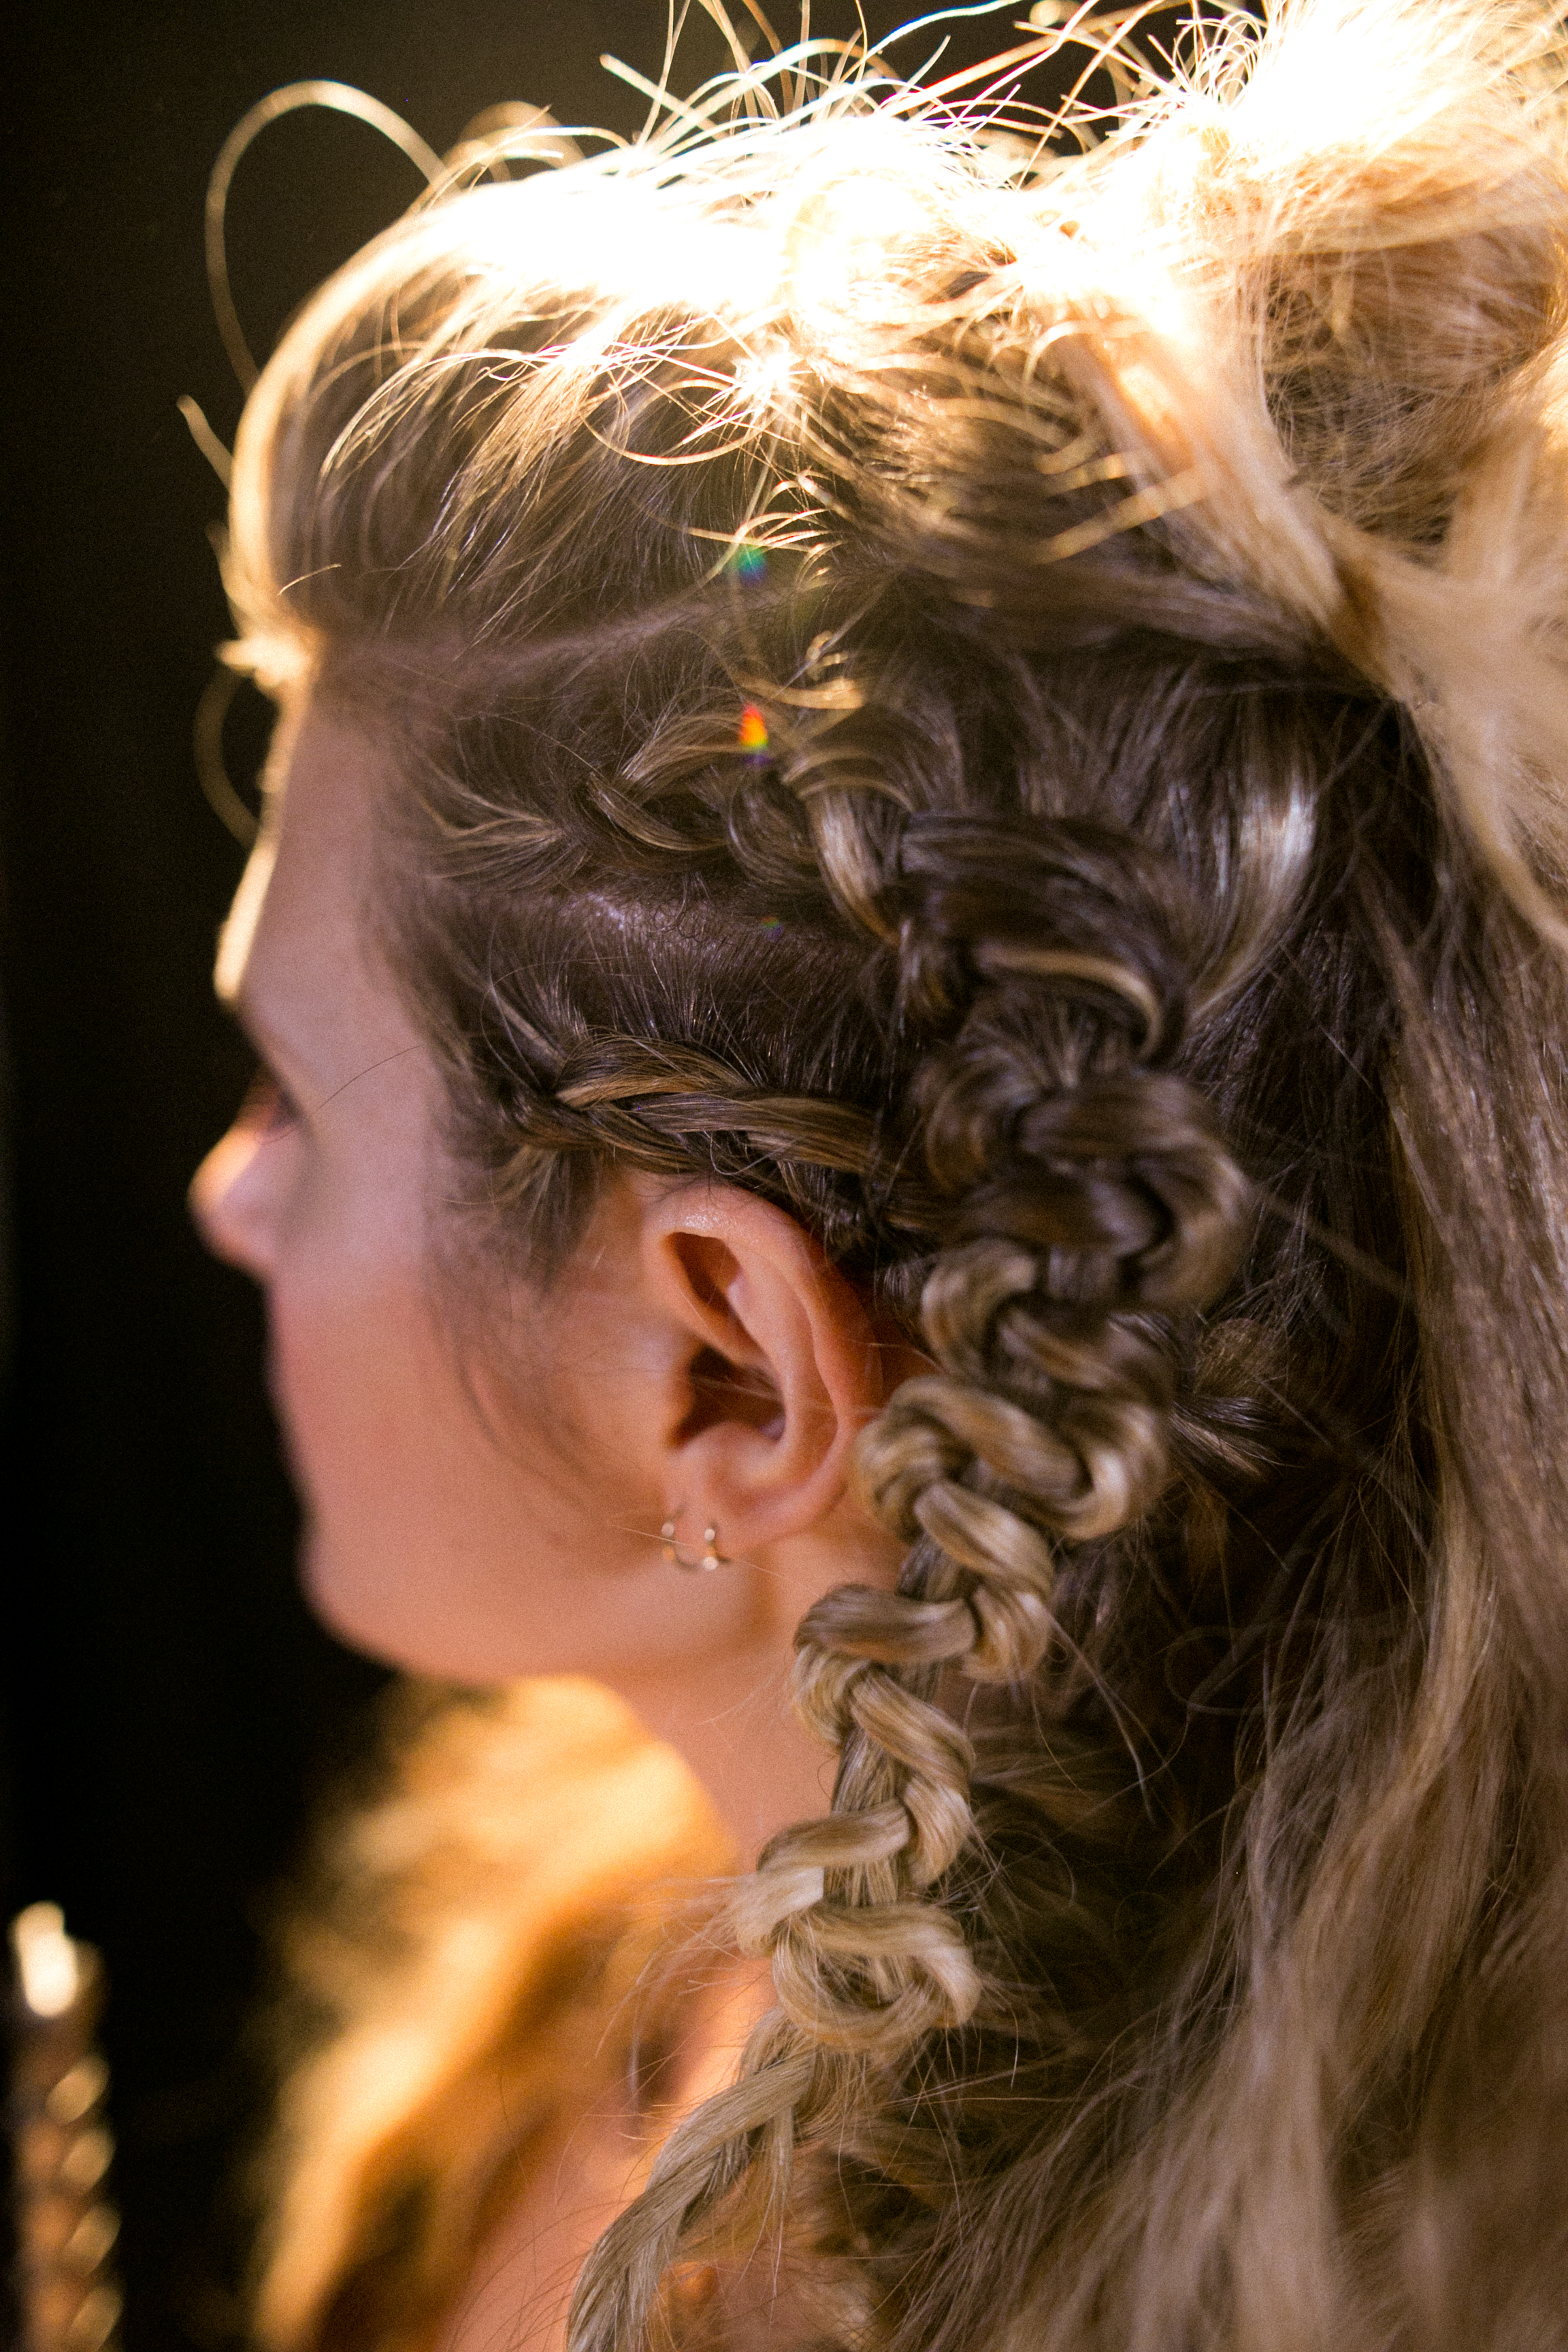
- Use the end of a teasing comb to separate small sections of hair for the accent braids. I created two snake braids on both sides of my head. To get this effect, start braiding right at your hairline (I did mine right above my ear) and dutch braid back, gathering hair as you go. Once you braid to behind the ear, stop gathering hair and just continue your dutch braid down to the ends of your hair. When you're done with this step, gather the two inside pieces of the braid and hold them tight while you grab the two outer pieces and gently push them up the braid, creating the snake effect. Re-braid the loose hair to keep your snake in place and either tease the end or tie off with a piece of raffia string.
- To create a chain twist in your hair, section off a small piece of hair and wrap a piece of thin chain around the top. Divide the hair into two pieces and twist away from each other to create cylinders, then back together with the chain to create the pretty chain twist! You can tie it off with more chain at the bottom.
- On the top of your head, pile up teased hair into a bun, securing with hair pins and hair spray. (P.S. you can and should use hairspray during all the steps of this look to keep it in place and give it longevity!)
- Add more snake braids, dutch braids, and accent twists across the top of your head. With such a detailed, intricate look, there is no right or wrong way to create it! Have fun getting into character with the small details!
- For the loose hair, create big loose waves with a large-barreled curling iron. You're becoming a warrior, so don't worry if they're not perfect! A tousled look will create realism and reduce worries of your hair getting messy throughout the night ... it's supposed to look that way!
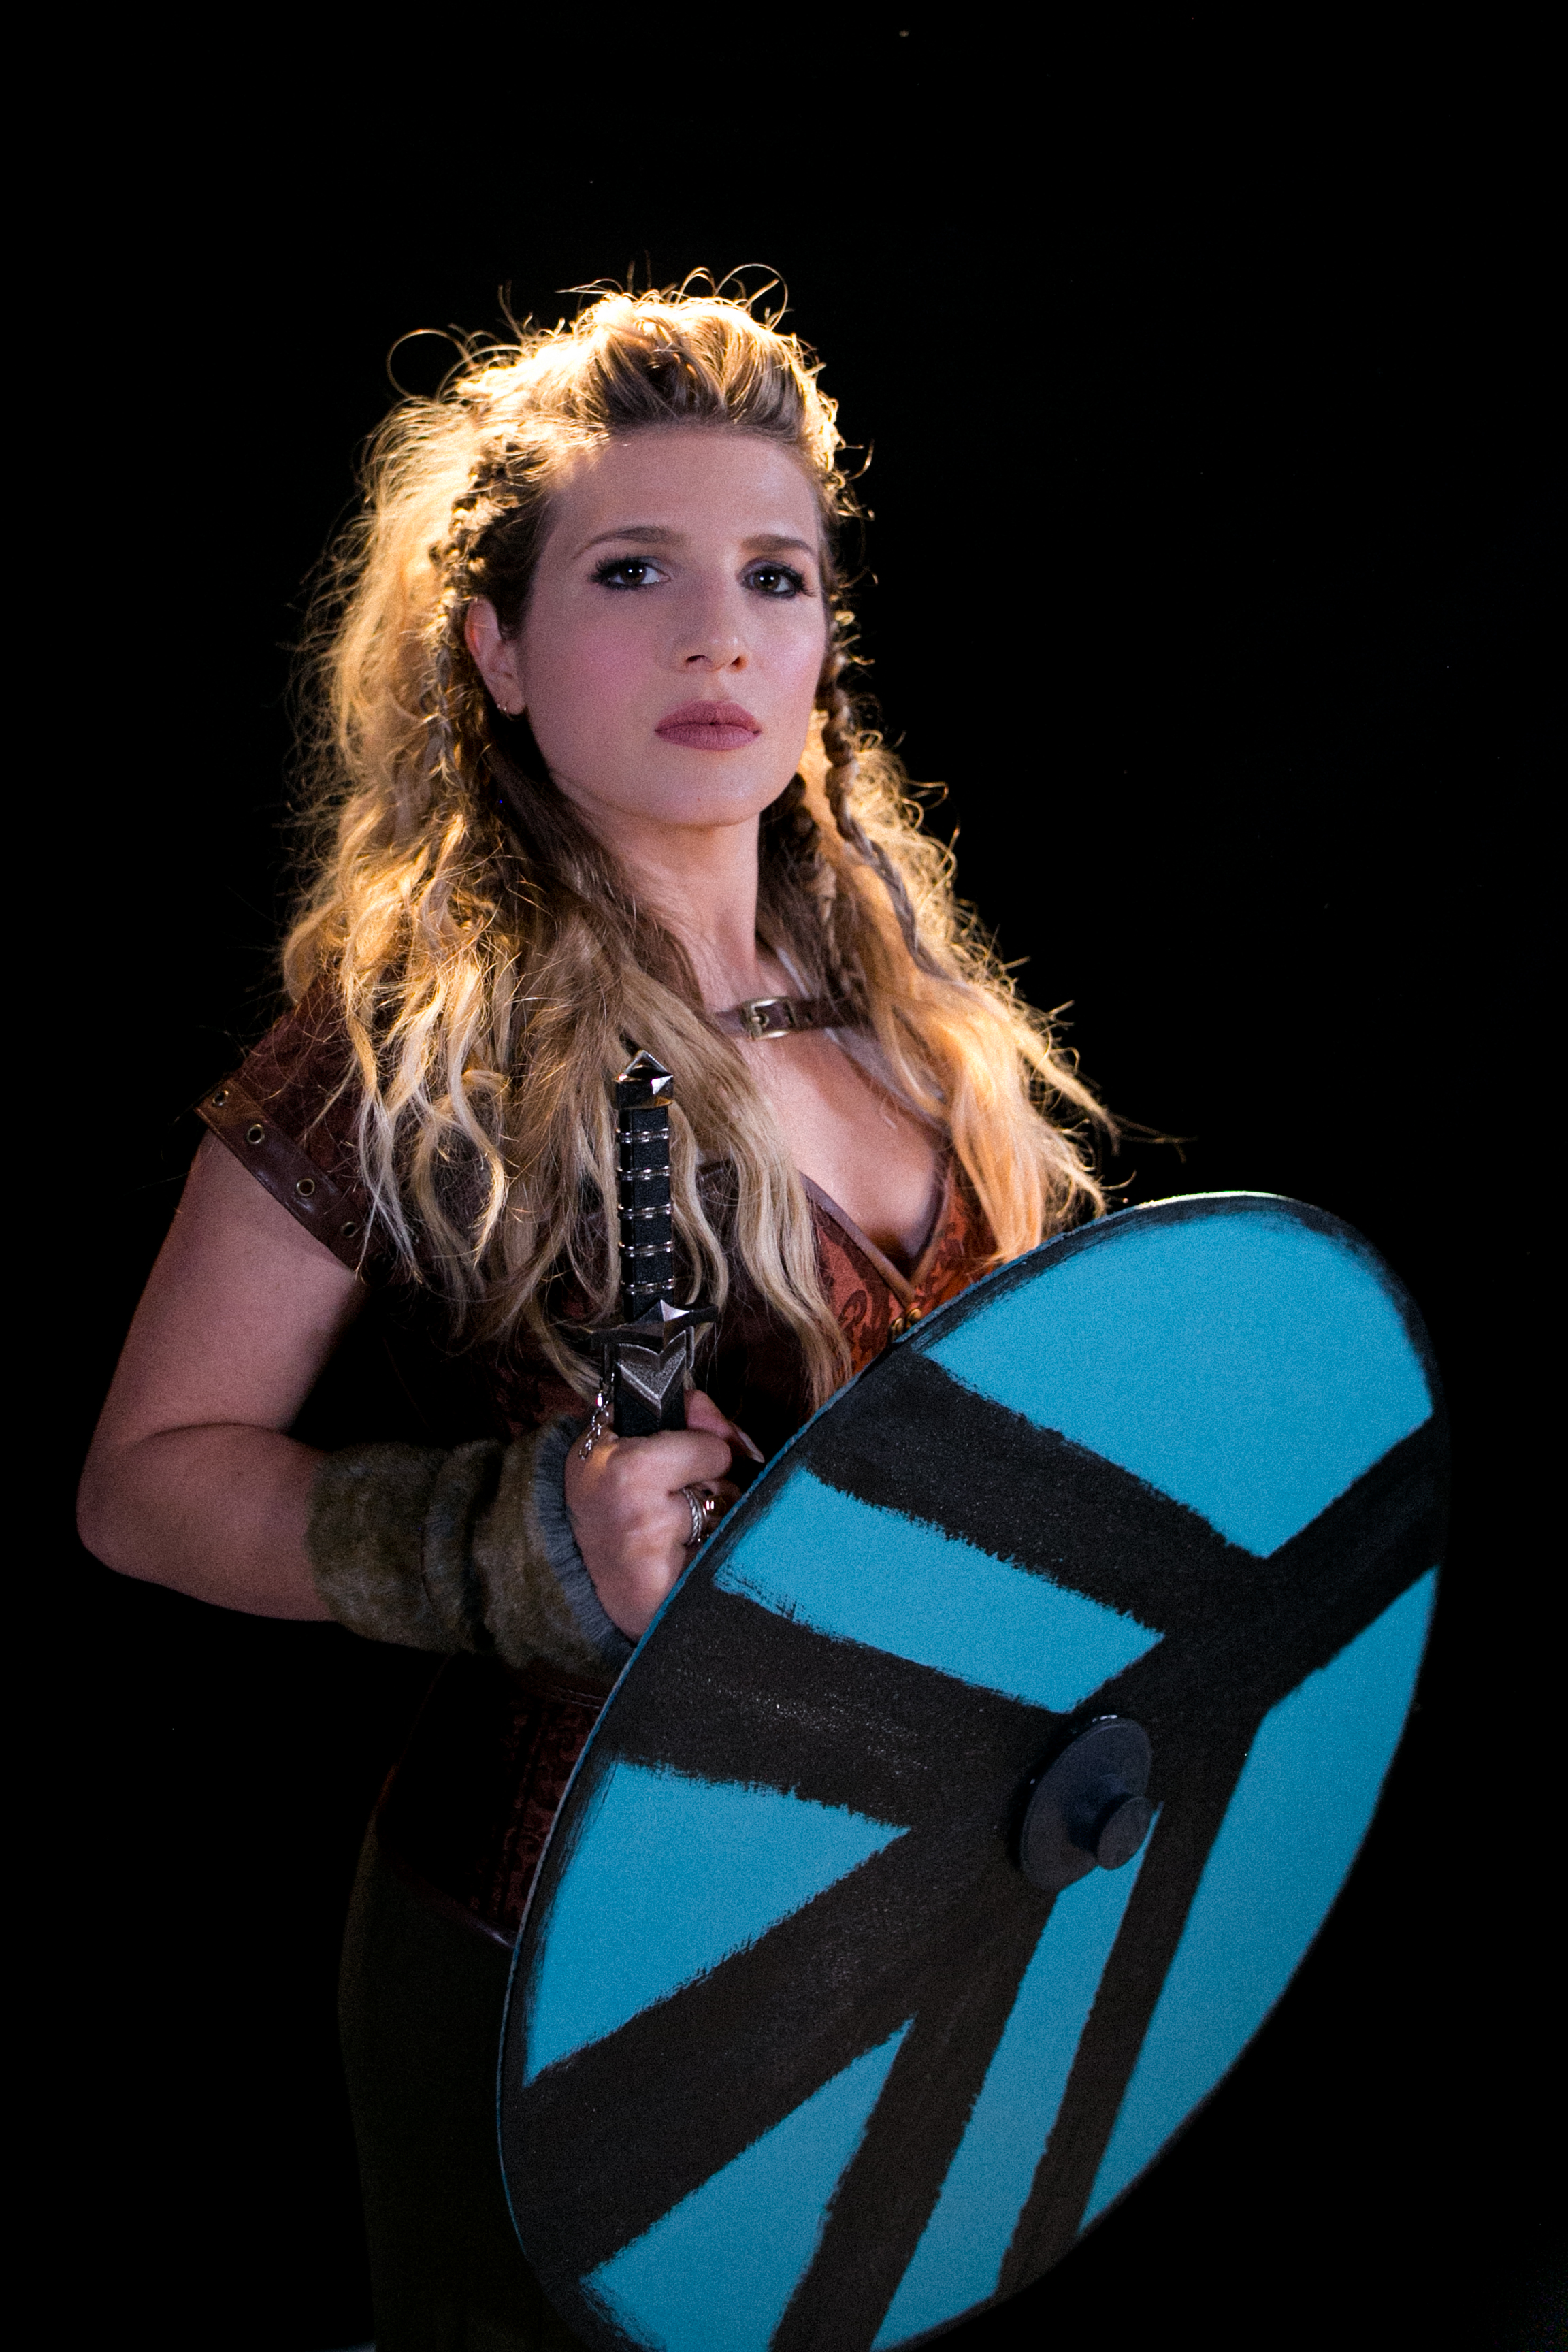
Shieldmaiden Costume:
- Pick up a store-bought costume with a corseted top (in a faux-leather finish if possible!) If your costume doesn't come with pants — mine came with a thong for example — put on some pants or leggings and boots to complete the look.
- Add details with fur shawls, linen pieces to cover bra straps (if exposed!), and make fierce warrior bracelets with small pieces of faux fur and fabric scraps!
- Pick up your DIY shield and toy dagger and you're ready to go fight some wars for womankind!
DIY Warrior Shield
Prep It:
Thin plywood Jigsaw Circle-cutting jig Blue paint Black paint Paintbrush Rubber drain plug Hot glue Duct tape


Do It!:
- To cut a perfect circle shape for the shield, use a circle-cutting jig to guide your jigsaw through the plywood. You will be able to adjust the settings to make the shield as large or as small as you'd like!
- Paint the shield blue, then let dry. Use black paint and a smaller brush to create designs — we emulated Lagertha's pretty closely, but again this is a chance to bring your own twist into the costume!
- For the shield's final touch, hot glue a rubber drain plug to the center (it looks pretty accurate, right?!) and attach an arm strap across the back with some duct tape.
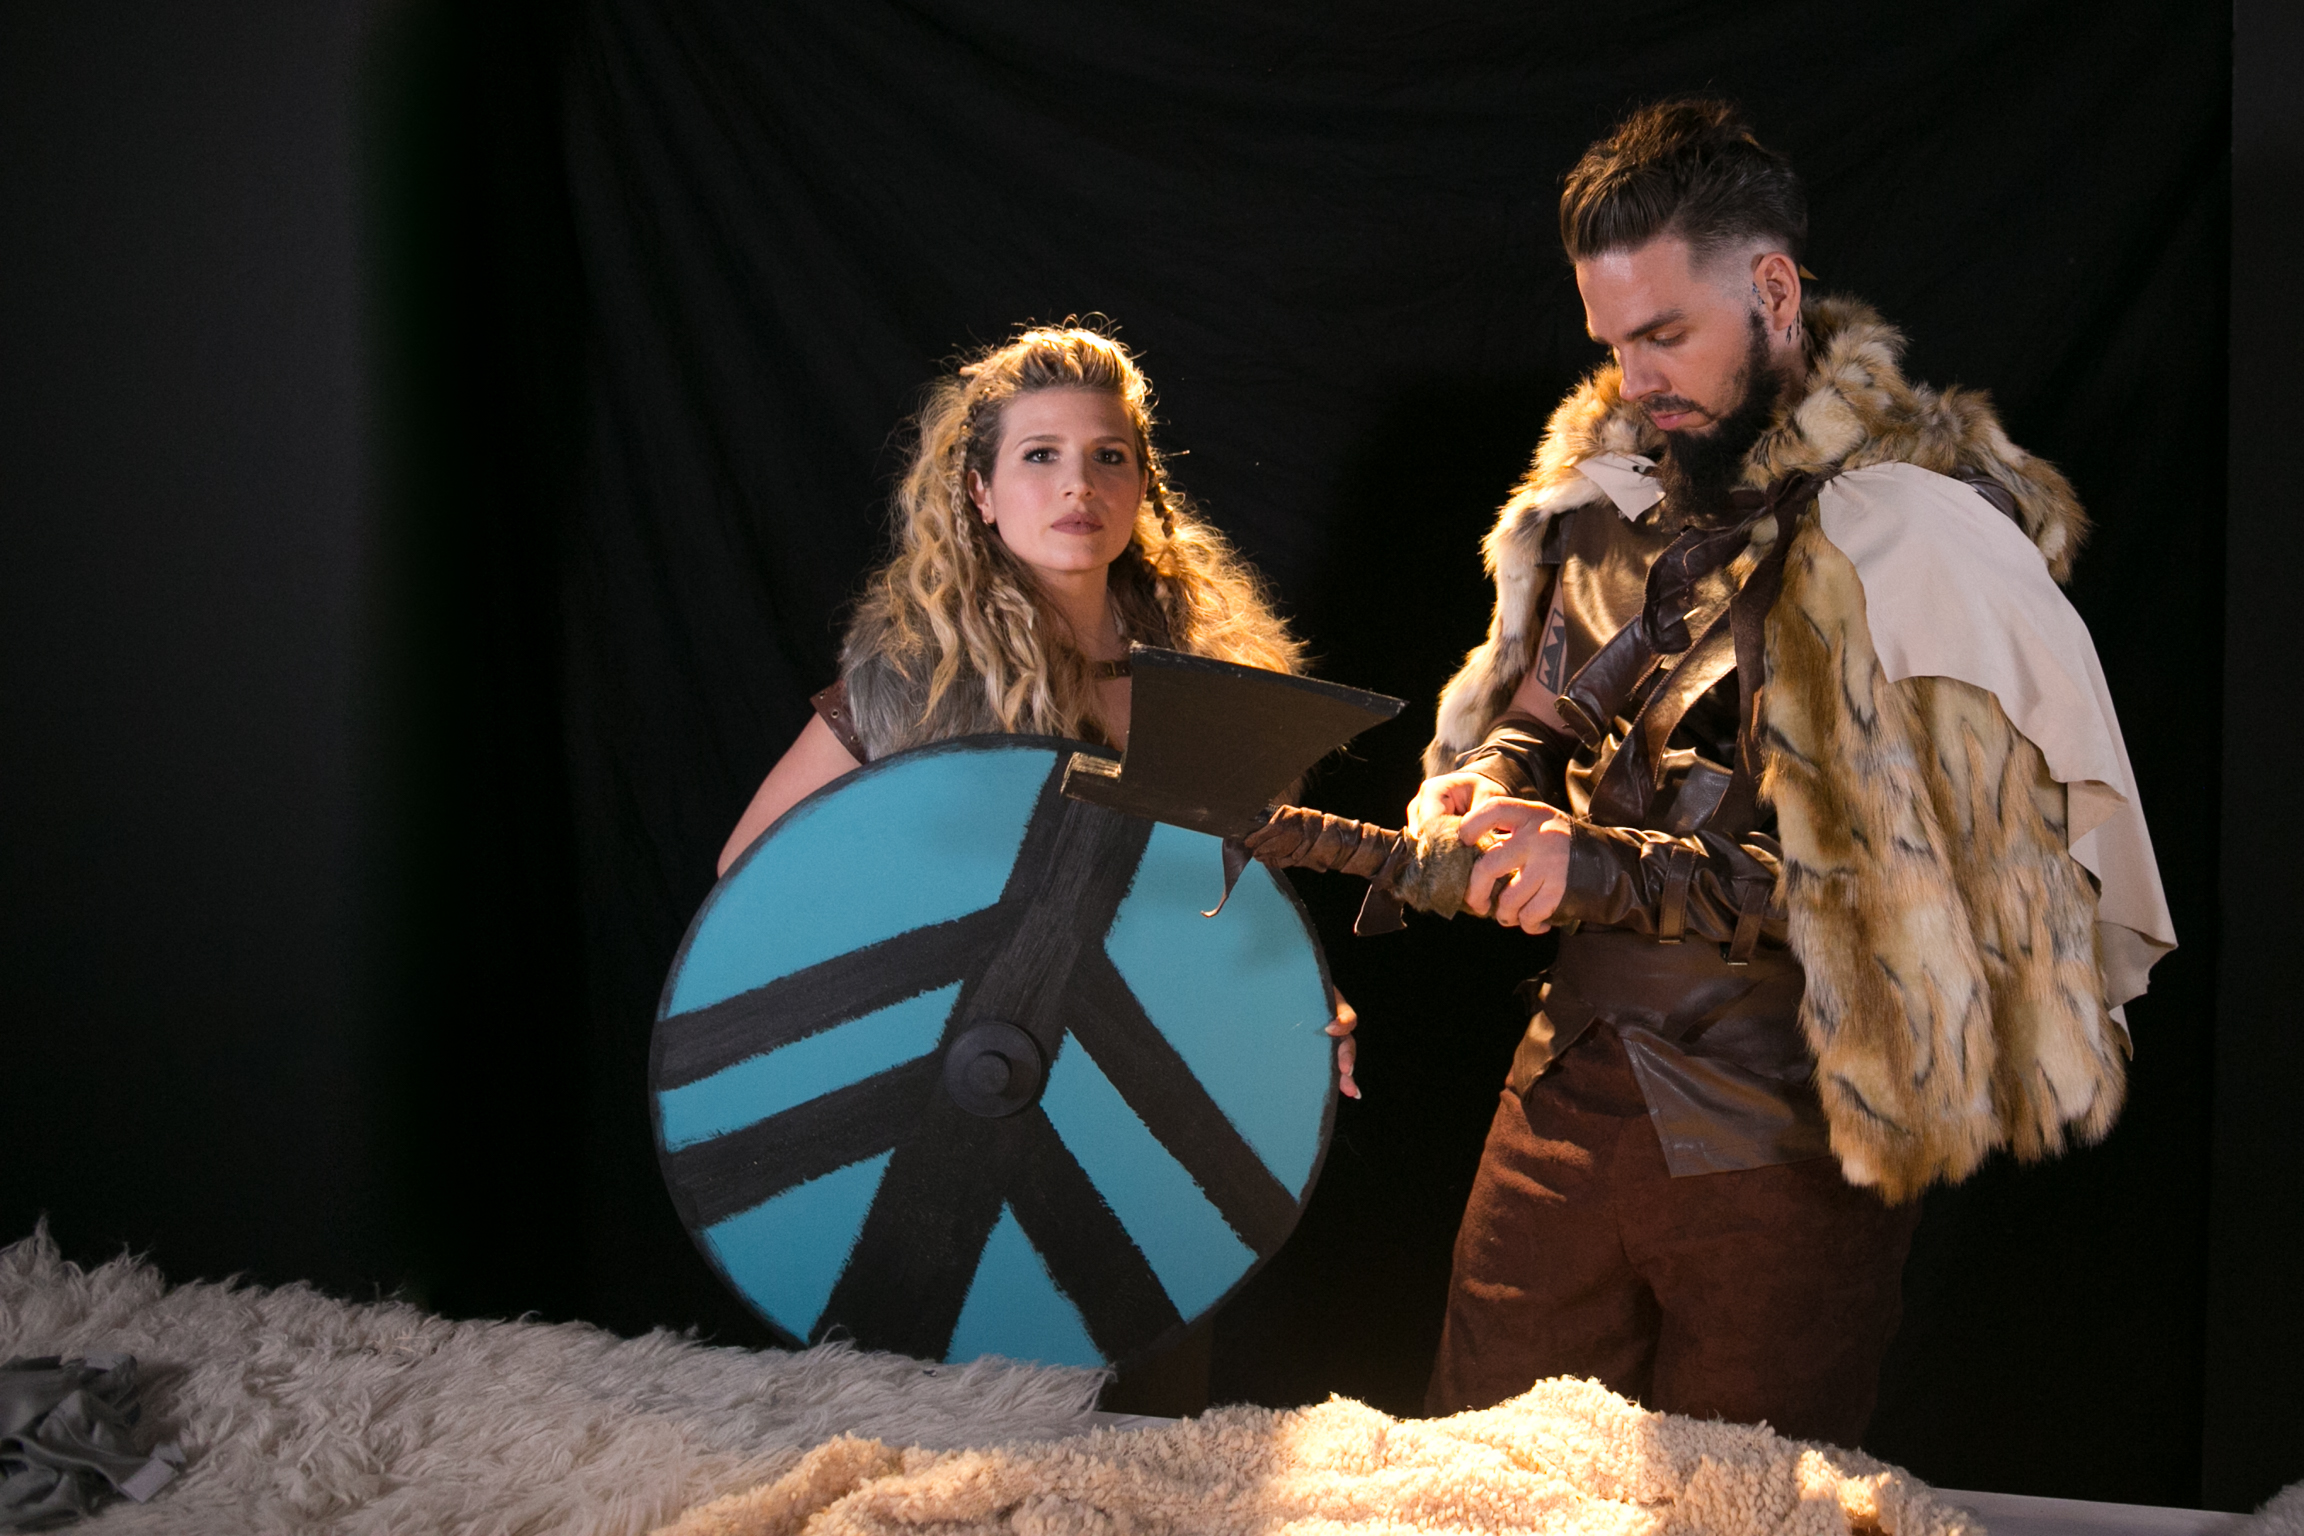
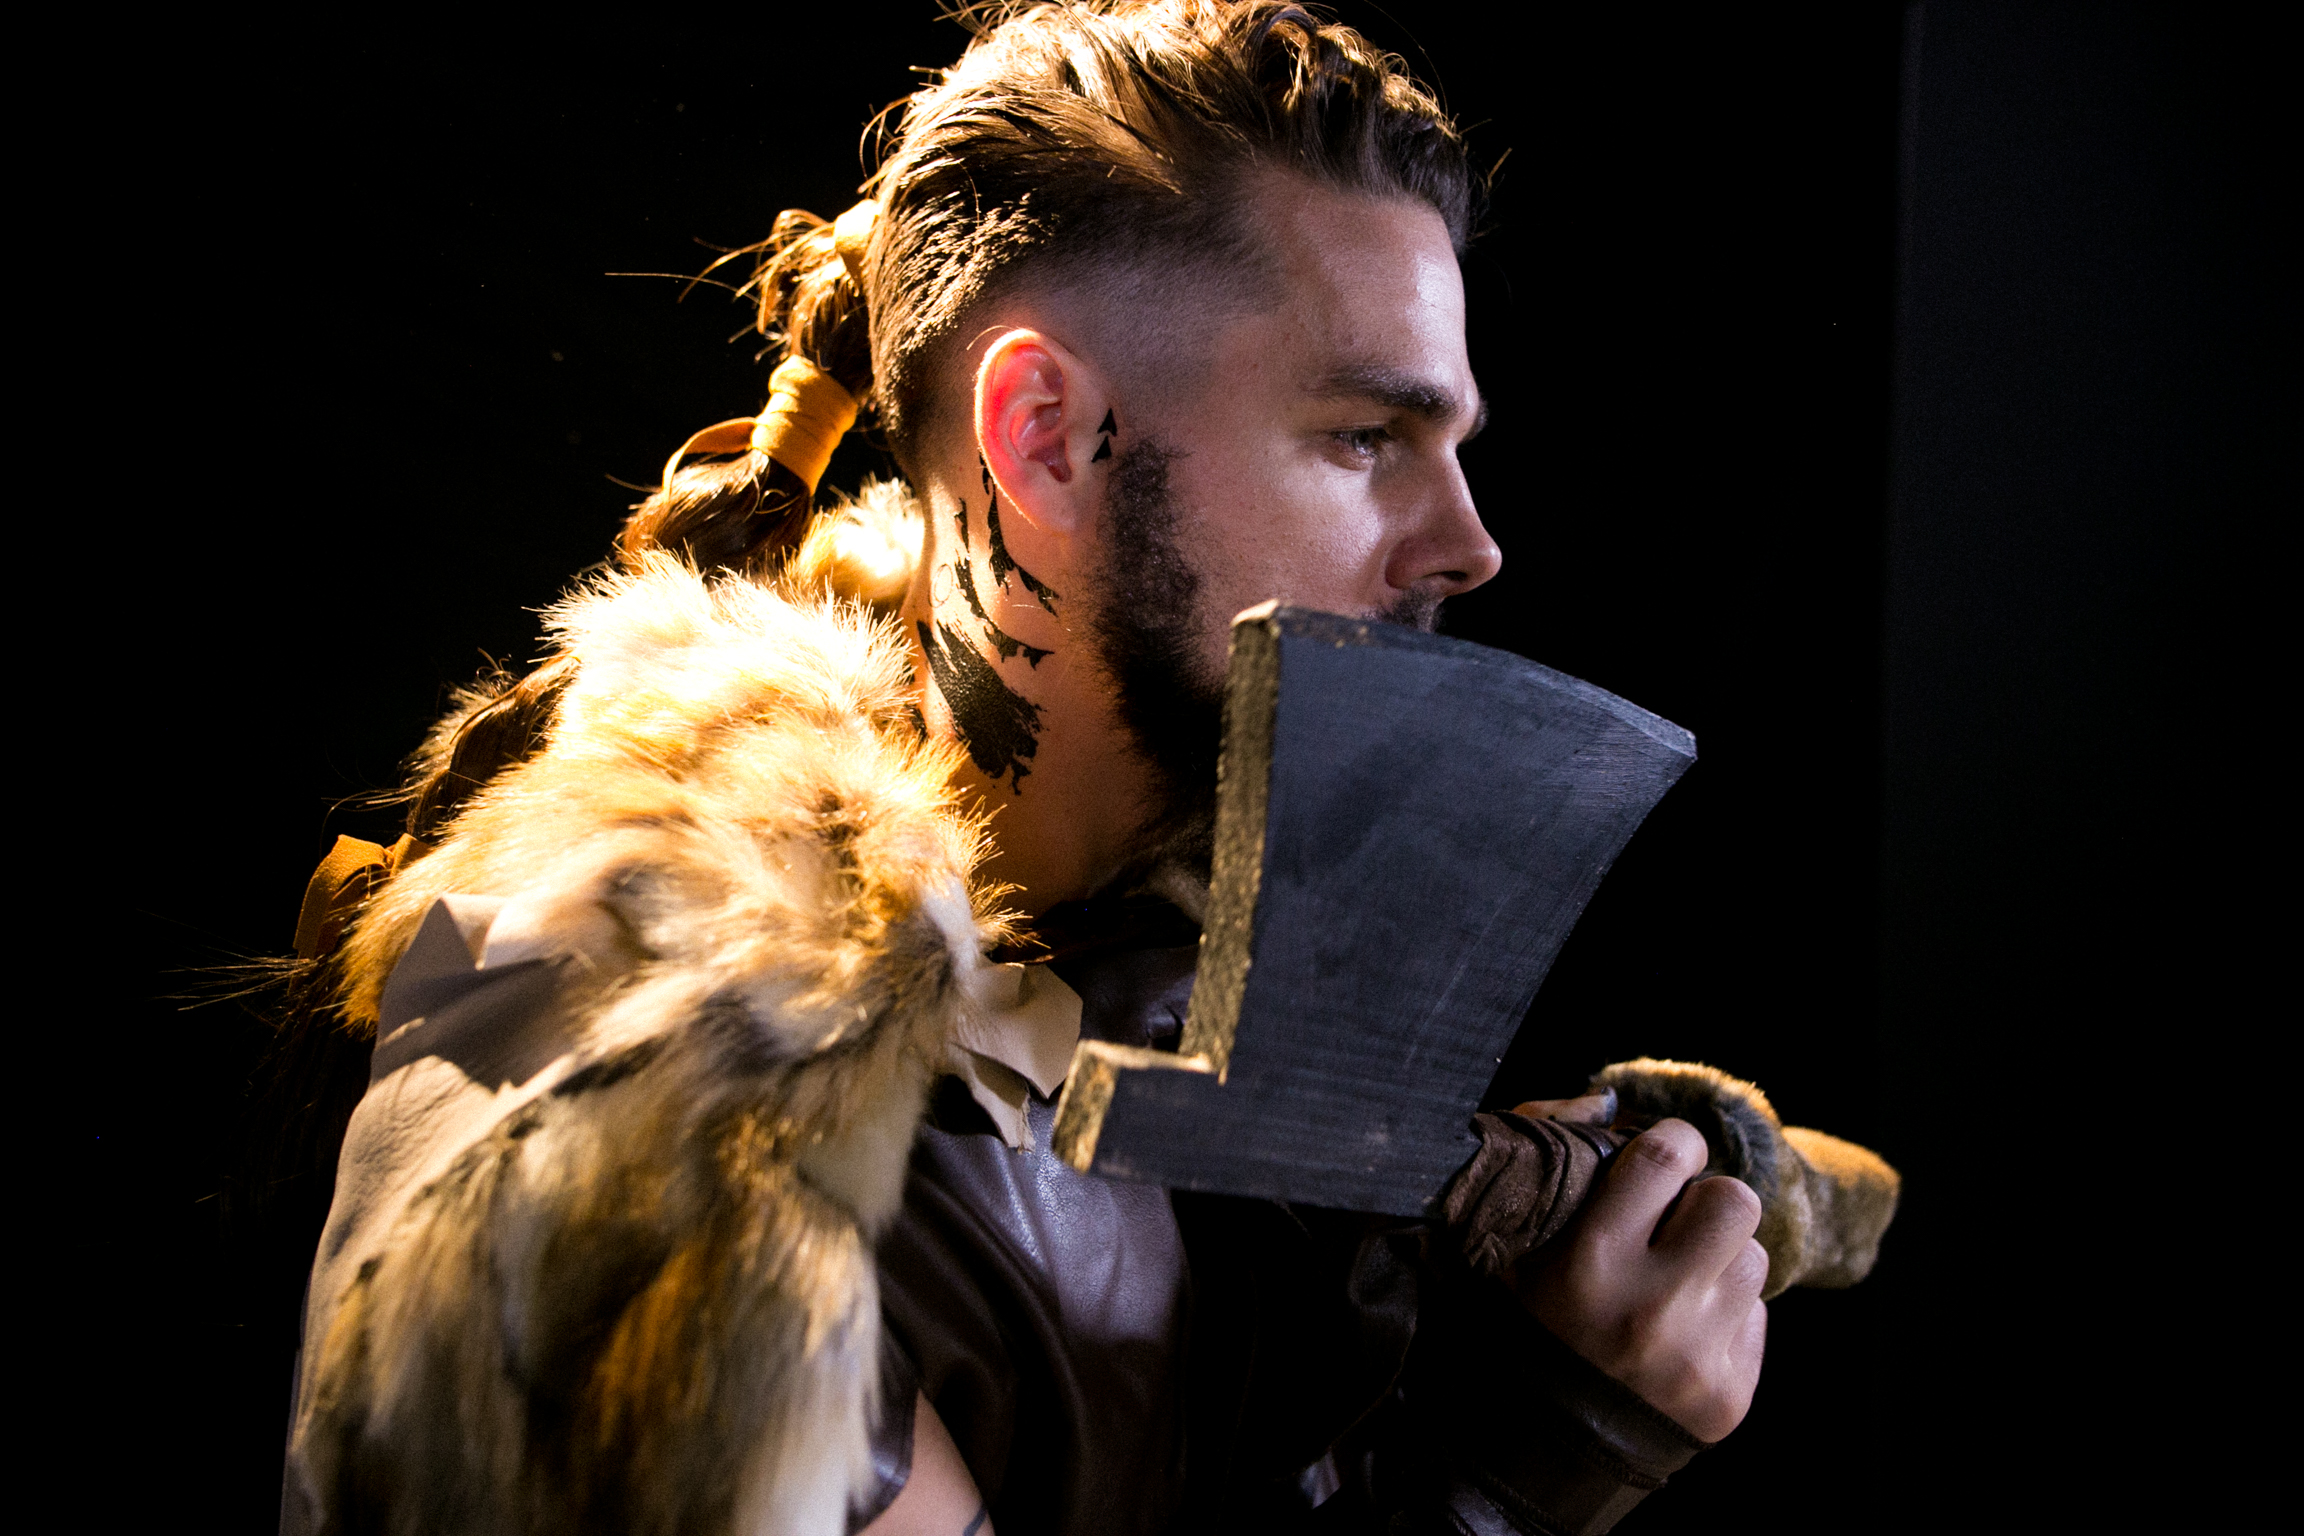
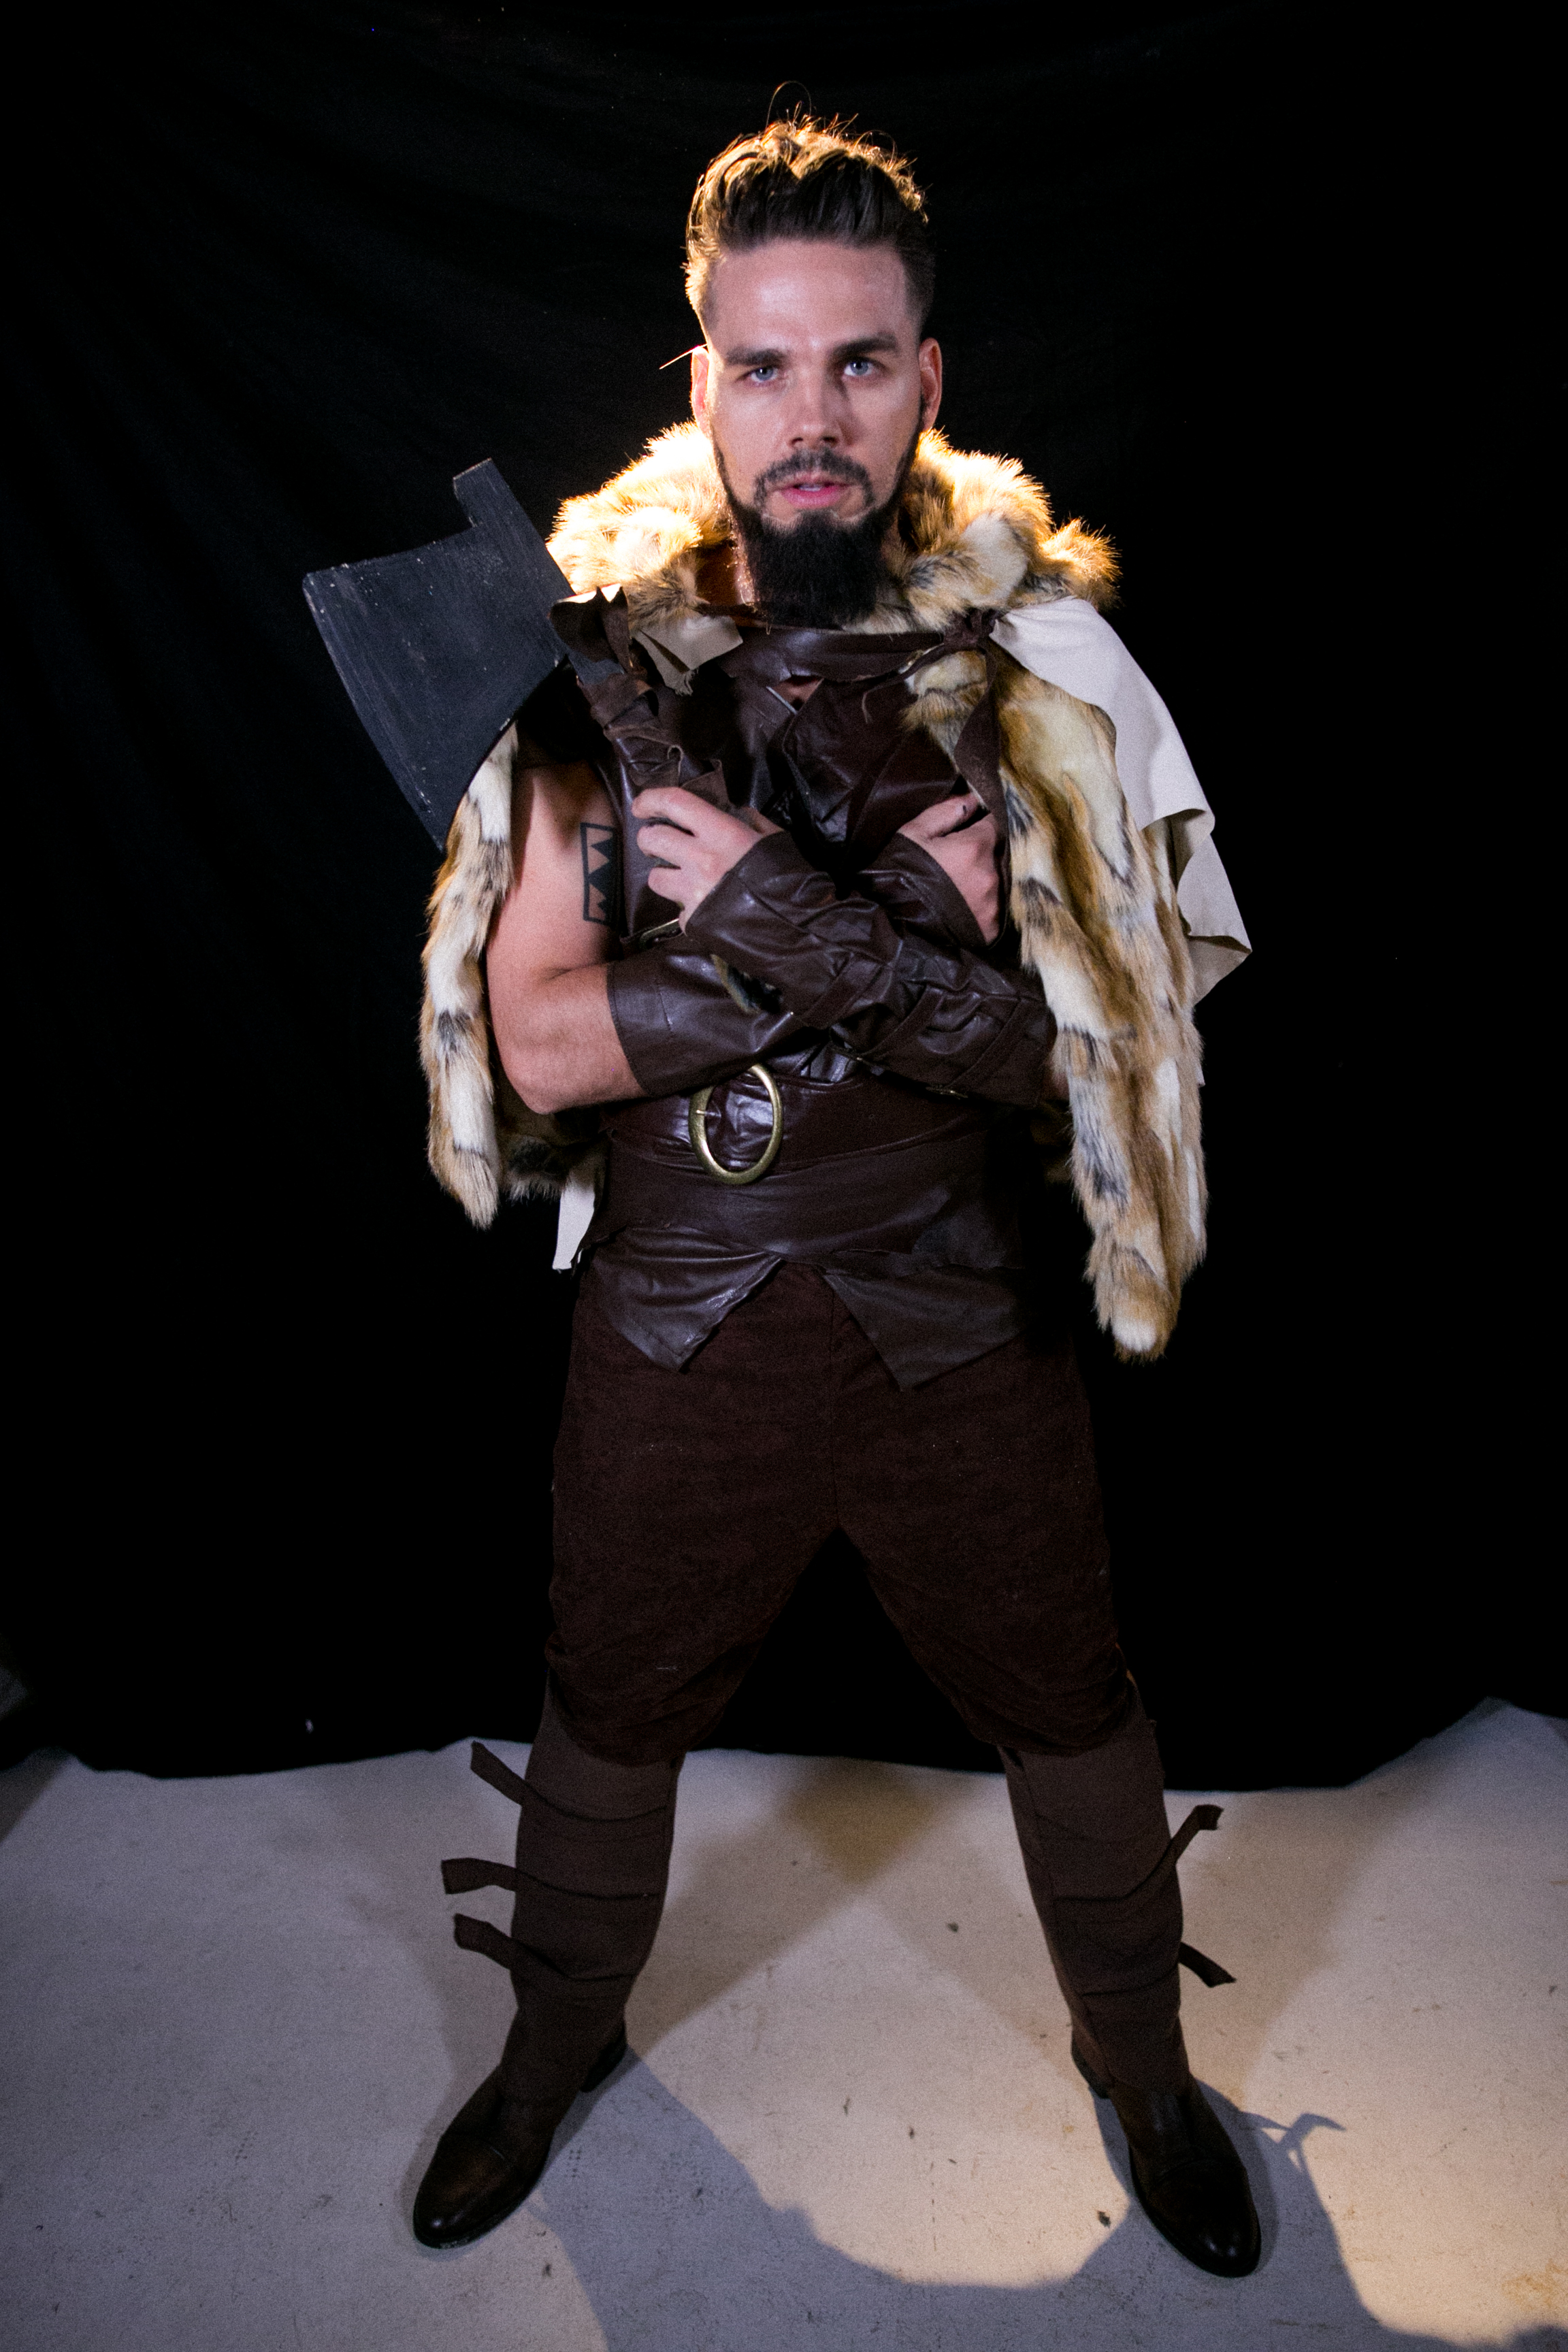
Ragnar/ Dothraki Costume
Prep It:
Warrior costume Faux fur vest Faux leather Faux suede Clip-in hair extensions Hair ties Scissors Mr. Kate BeautyMarks in black Fake beard (x2) Fake mustache Beard glue
Do It!:
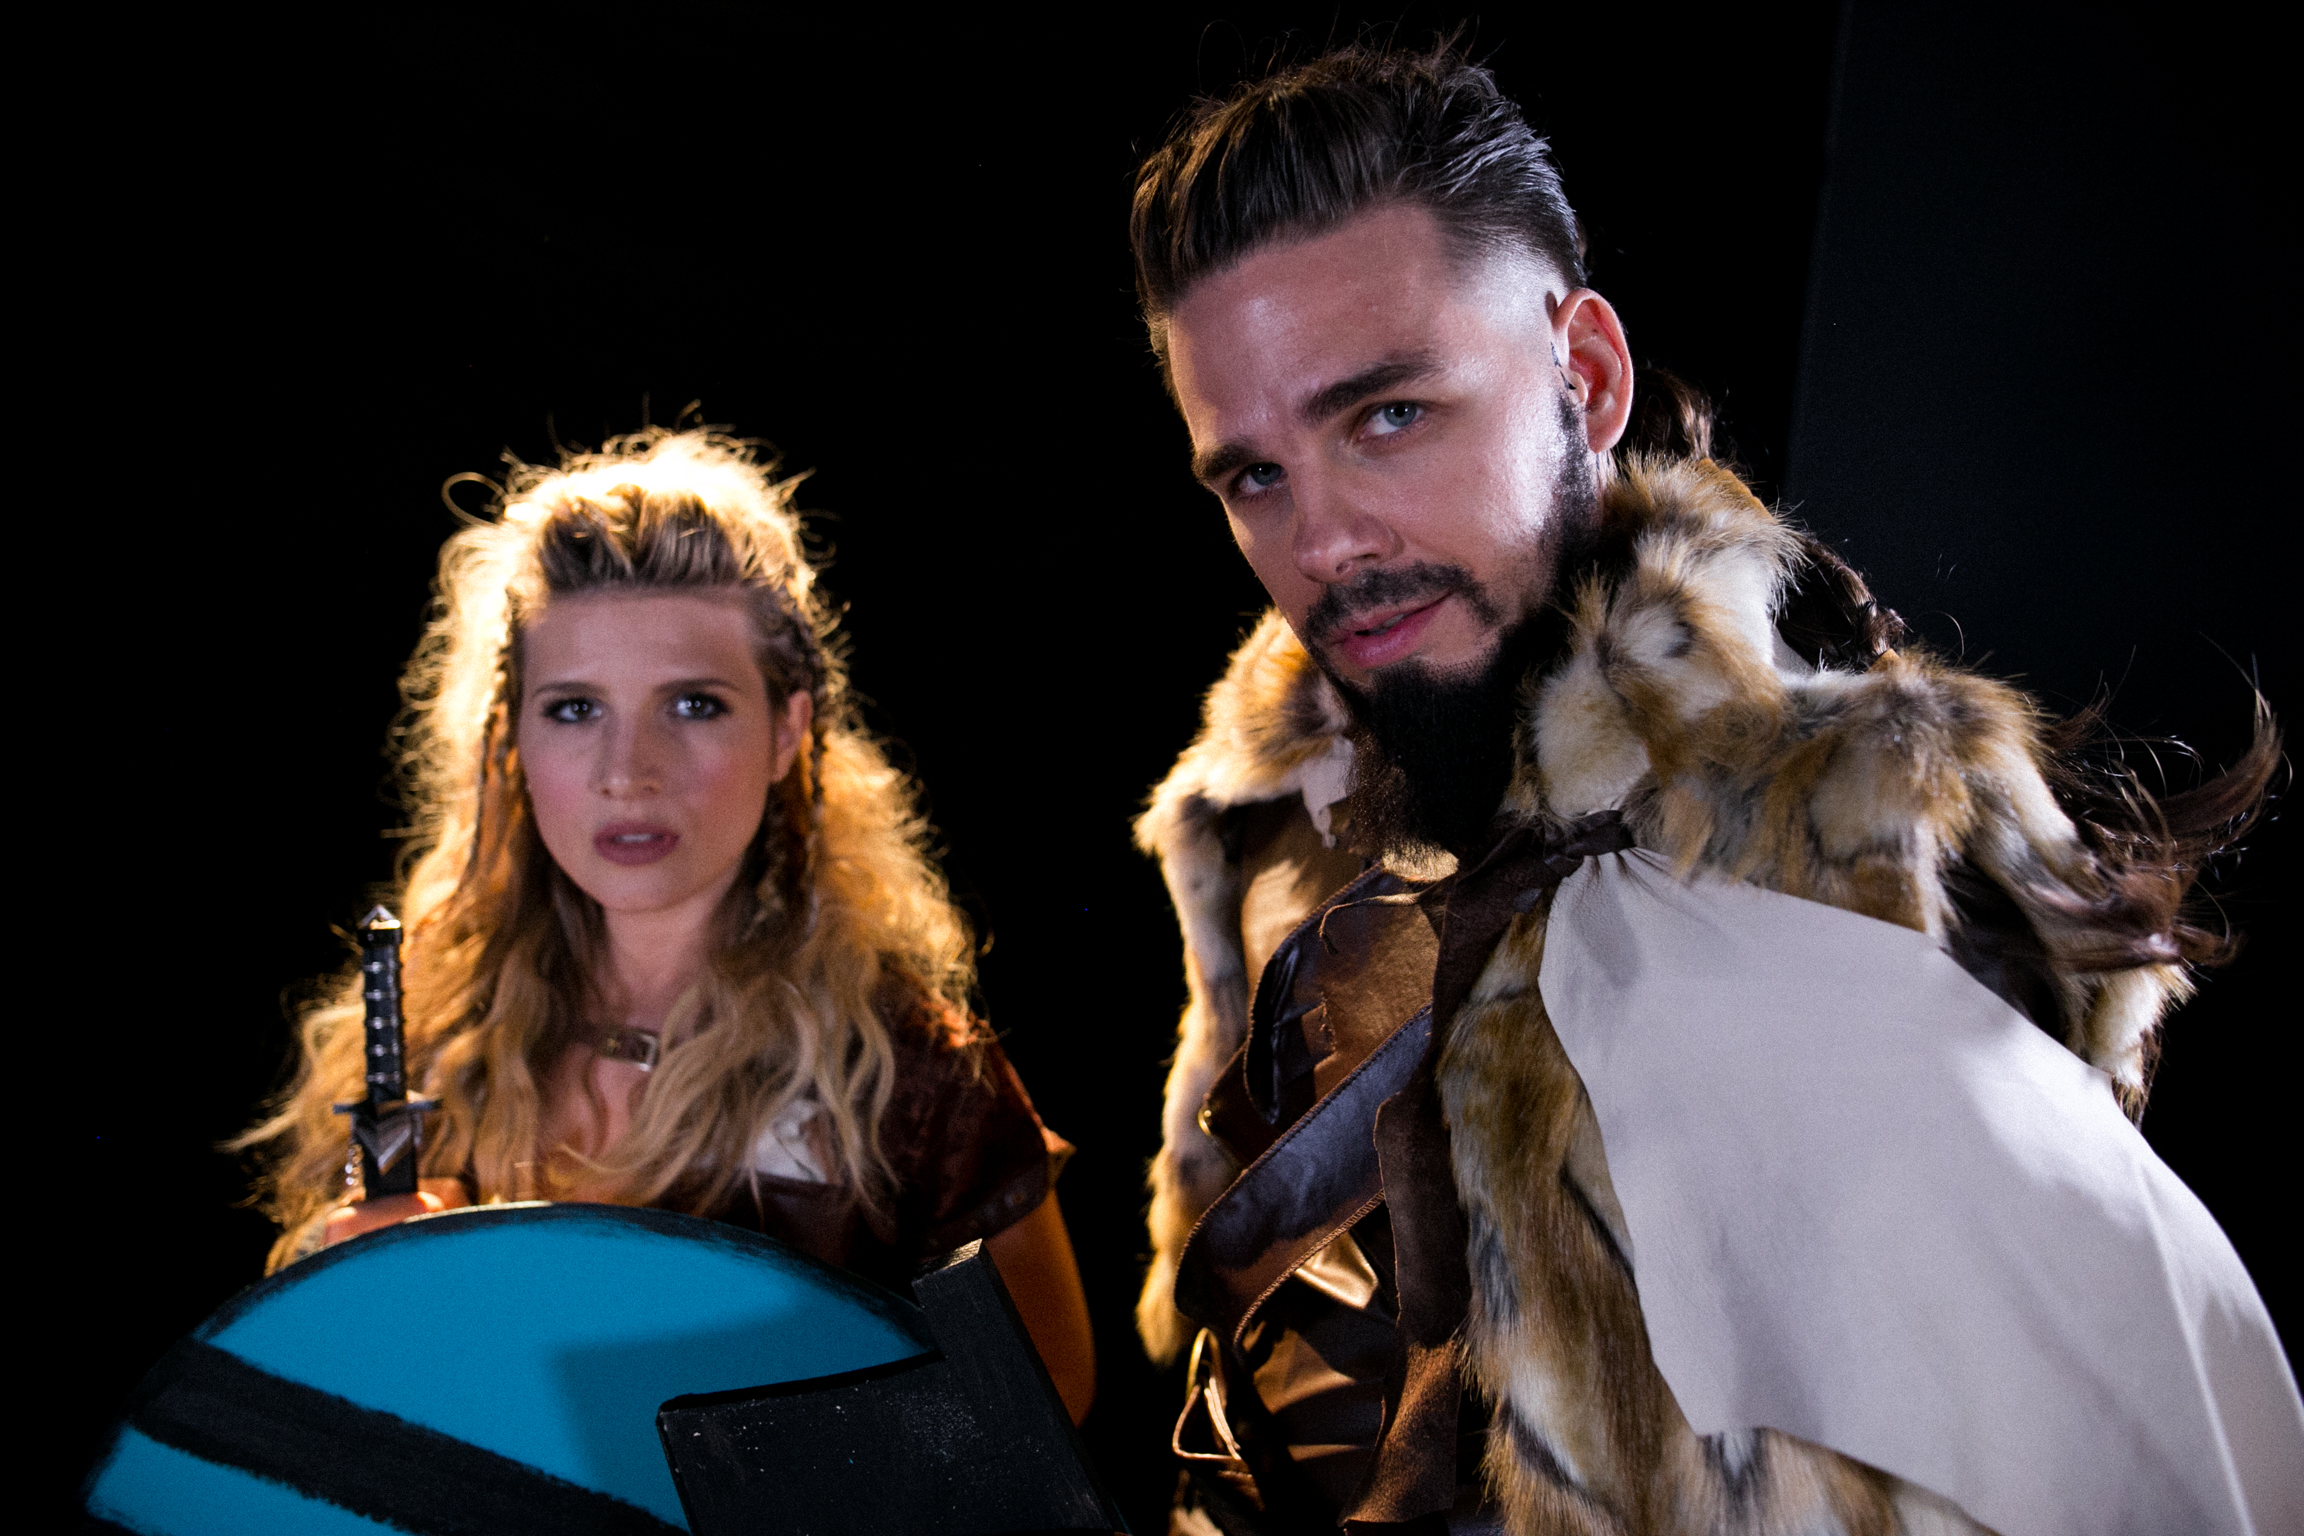
Wrapped Braid Hairdo:
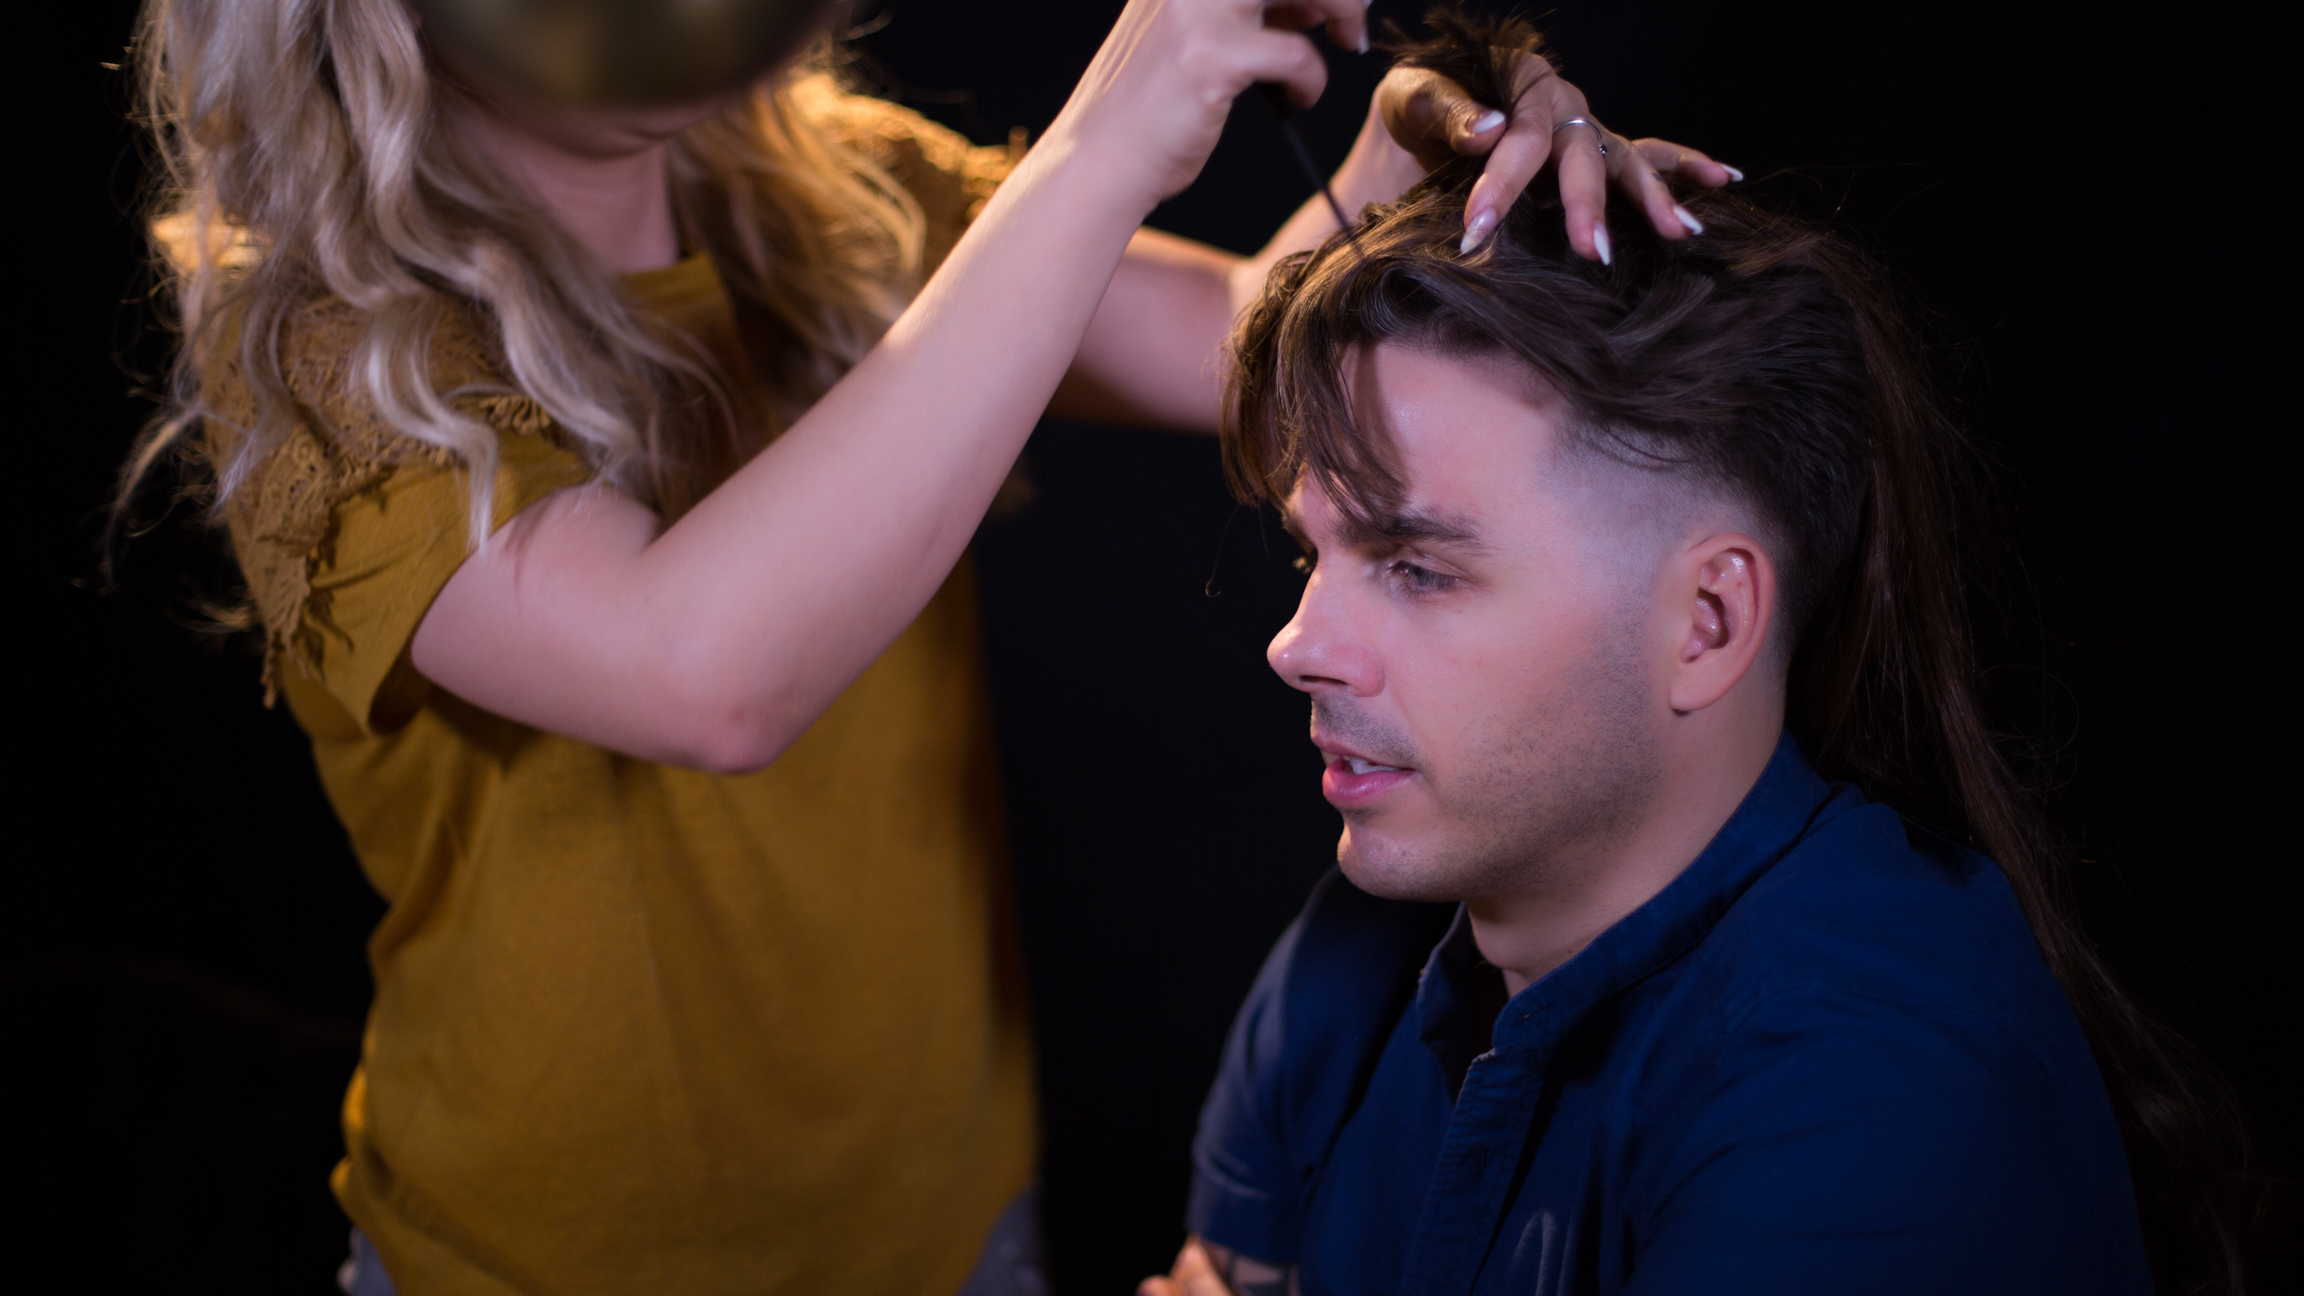
- If the guy who is wearing this costume has naturally long hair, you're in luck for this hairdo! We put extensions on the top of Joey's head to give him that extra hair to get an authentic Ragnar look. Make sure to tease the hair before putting in the extensions so they stay in nice and tight.
- The trick now is covering up the extensions. I pulled the front of Joey's hair back and pinned with bobby pins, then twisted and braided the shorter side pieces back into the length of the extensions. Joey already had pomade in his hair, which made this step easier, so add in some product if you need to!
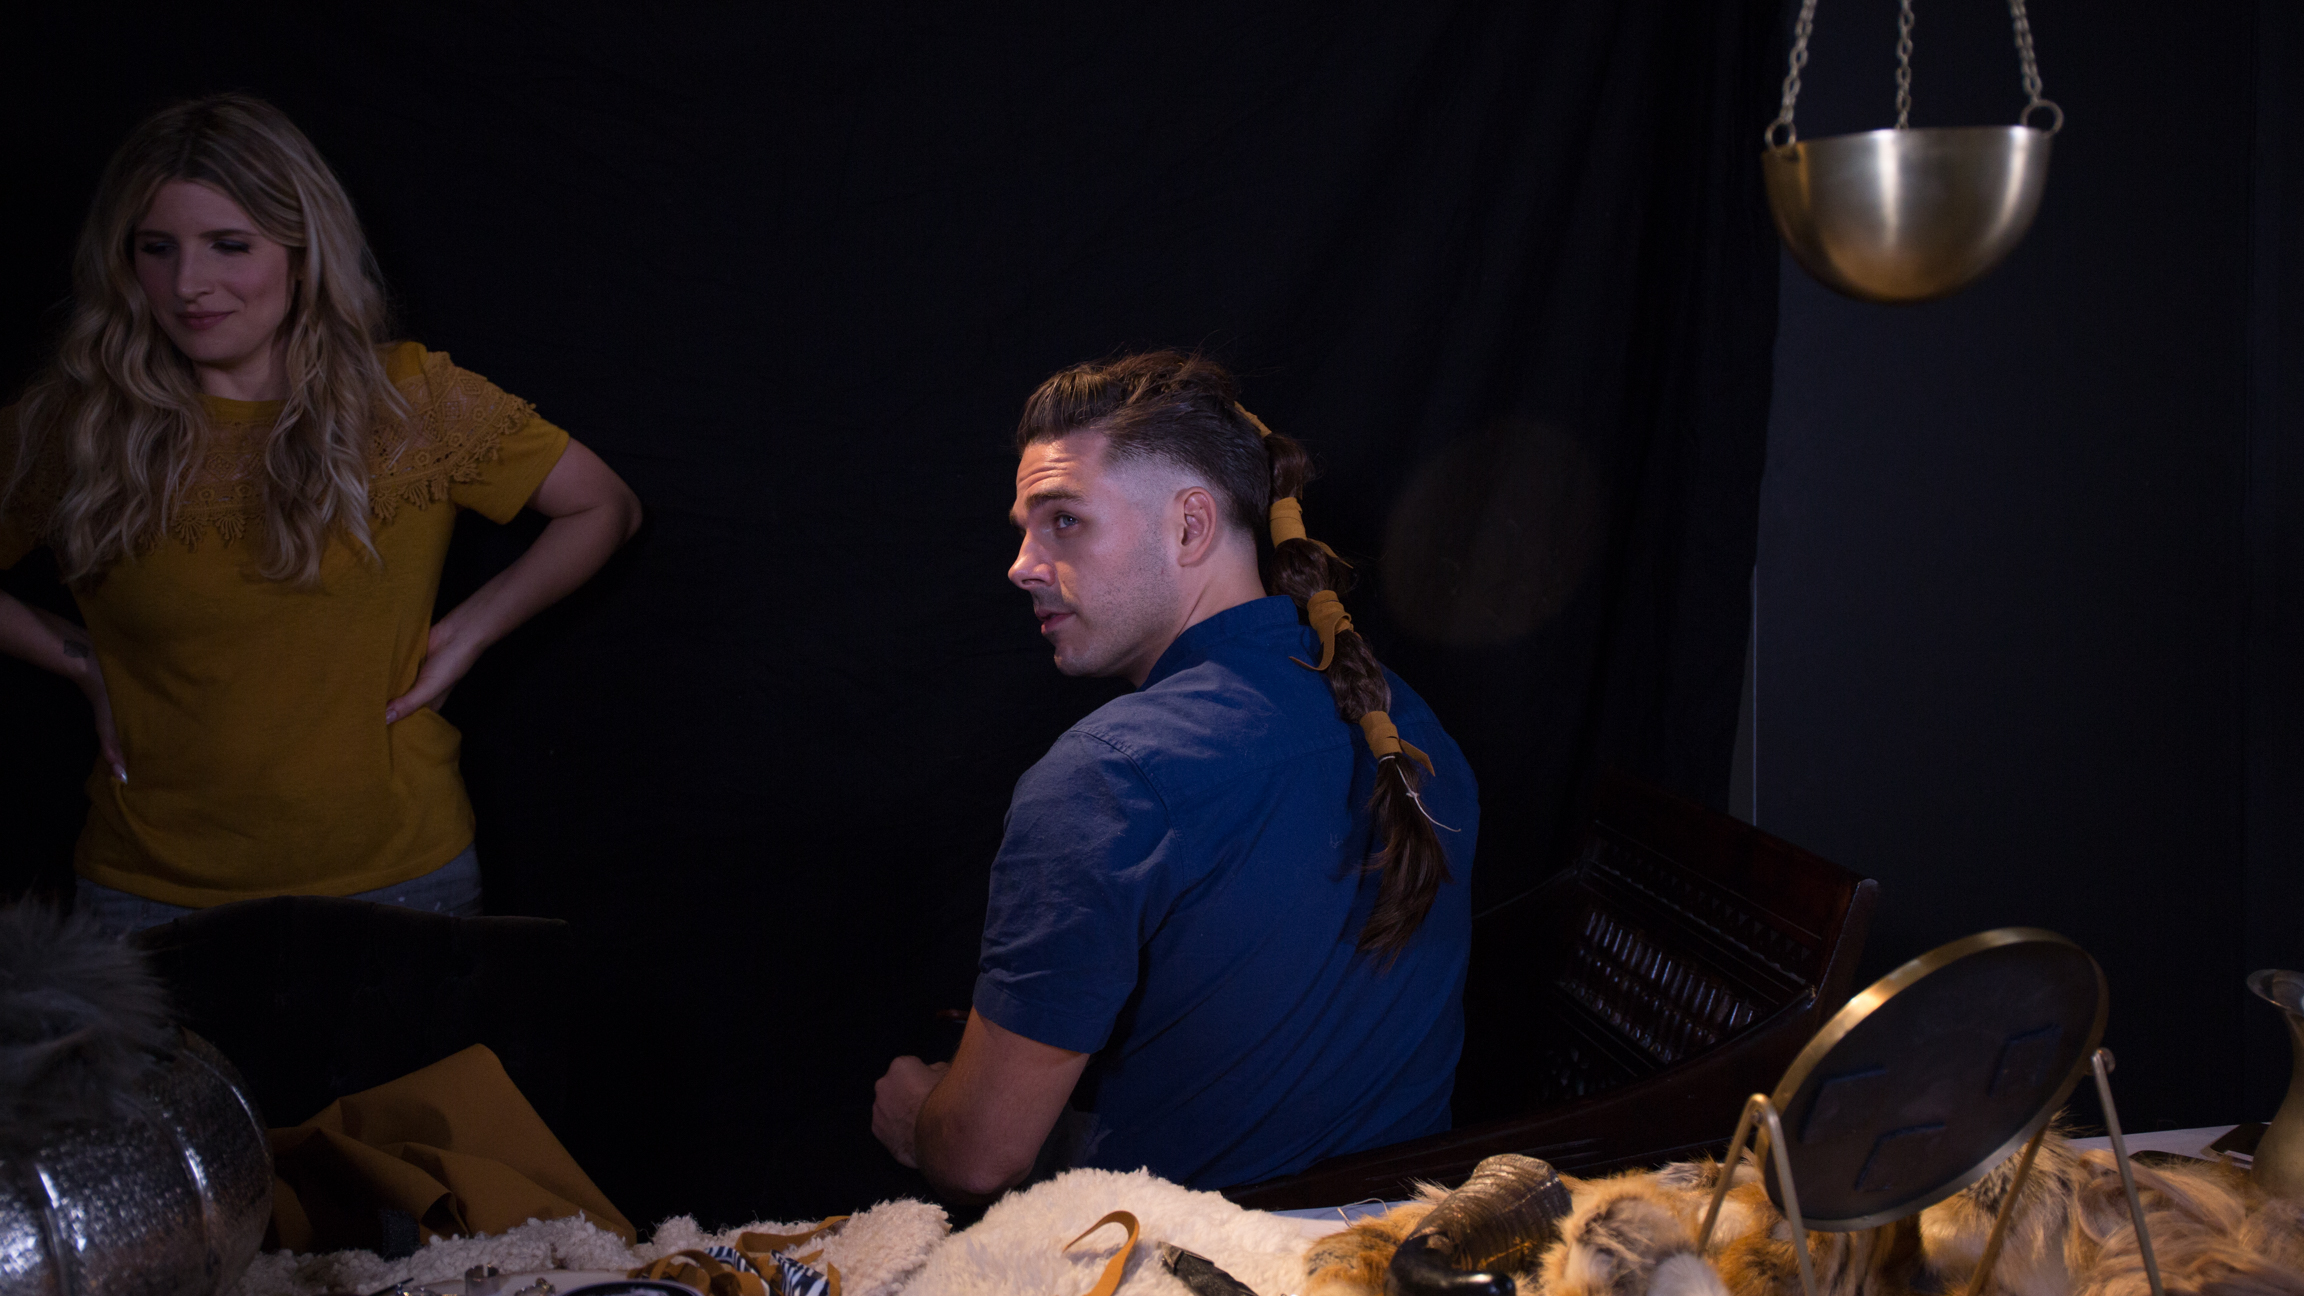
- Braid from the hair into the extensions and create a small plait to the end of the extensions, then tie off using a small piece of raffia or string. Use a hair tie to tie off the extensions at the top of the head into a ponytail. Don't worry about using a hair tie for this step because it will eventually be covered by strips of suede.
- Continue to create braids with the extensions until it is all braided into small sections, and all the braids are tied off at the ends.
- Starting at the top of the ponytail, where the hair tie is, wrap thin pieces of faux suede around the braids to tether them together. Tie off each piece of suede when you're done! Once you've finished this step down the length of the extensions, the hair portion of this costume is complete!
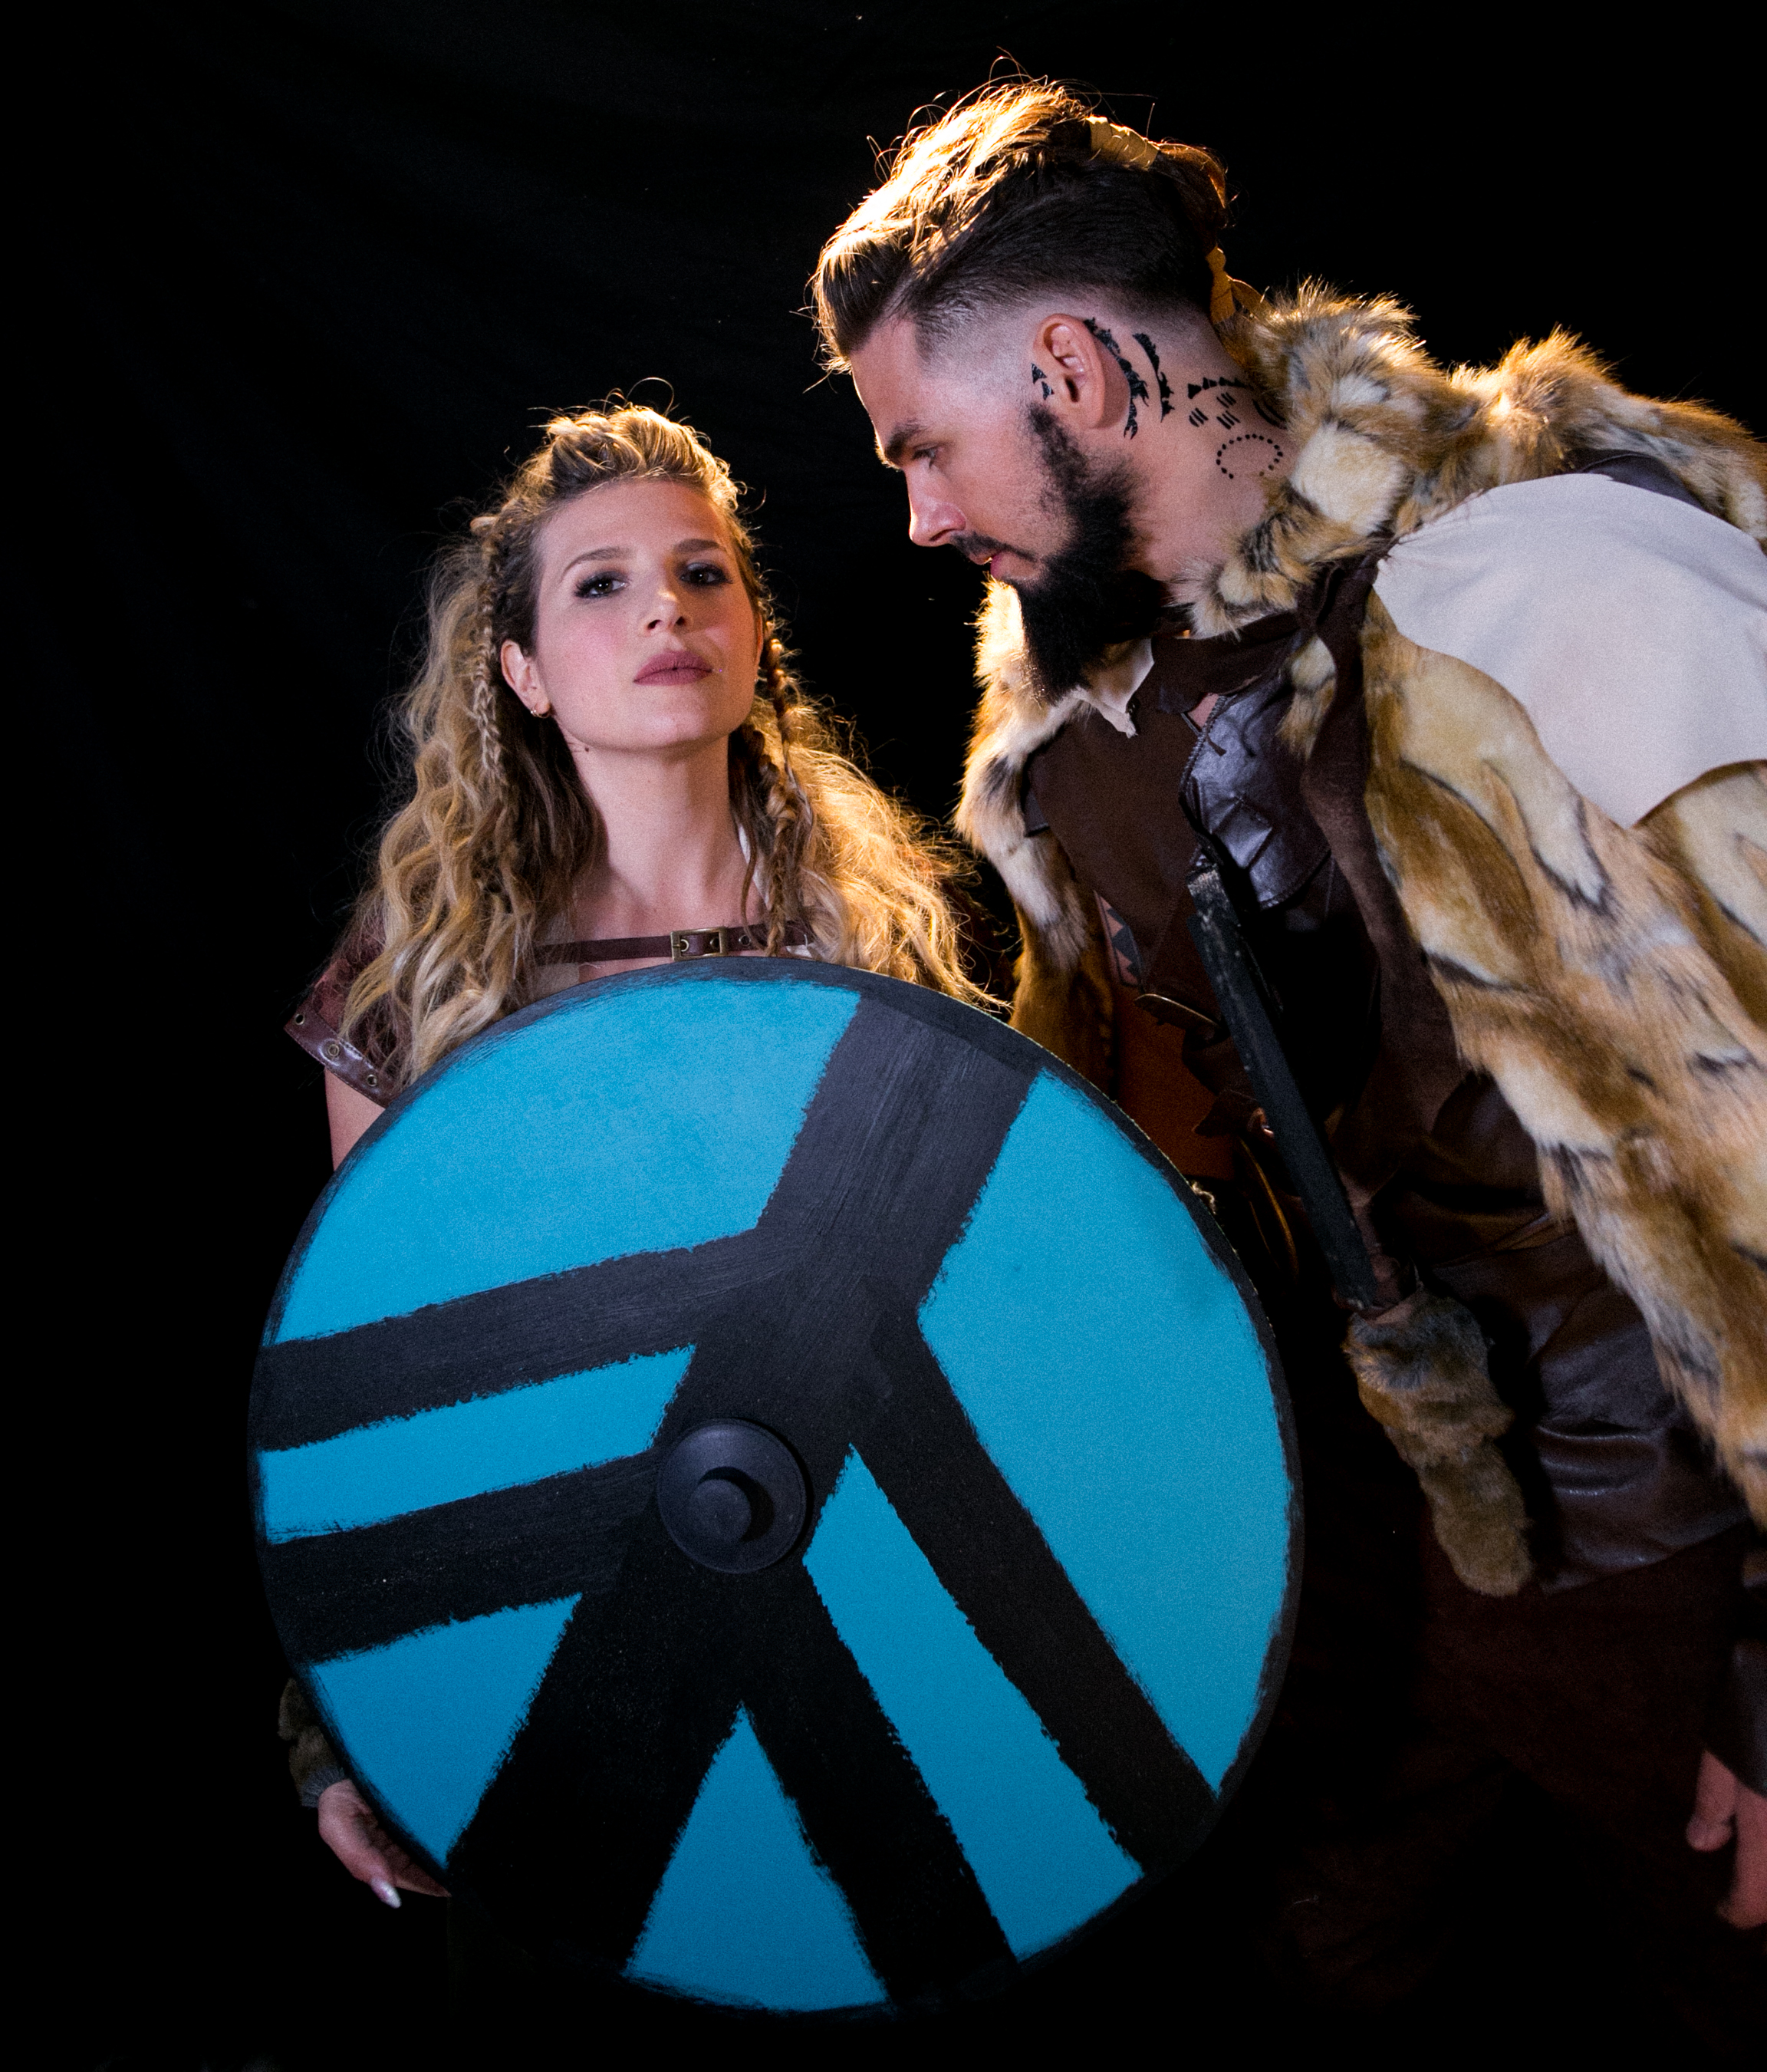
Ragnar/ Dothraki Costume:
- If the guy rocking this costume already has a full beard, skip ahead to step 4! If not — read on! I bought 2 beards and a mustache to piece together this hairy face look for Joey. Using beard glue, I adhered the first beard, then cut up the second one into smaller sections to piece together for the sides of the face. A pro trick is to trim some of the beard hair and collect it, then dab it on over some beard glue to get the fuzzy, grown out sideburns look and to cover up the straight line of the fake beard.
- You can get a faux mustache for this look, or create one of your own with some of the spare beard hair, as mentioned in the step above. This is ultimately what we decided to do because it was a more natural look.
- If the faux beard and mustache perfectly match your guy's hair, you're in luck! If not, use some bronzer or other face makeup to add some color and toning.
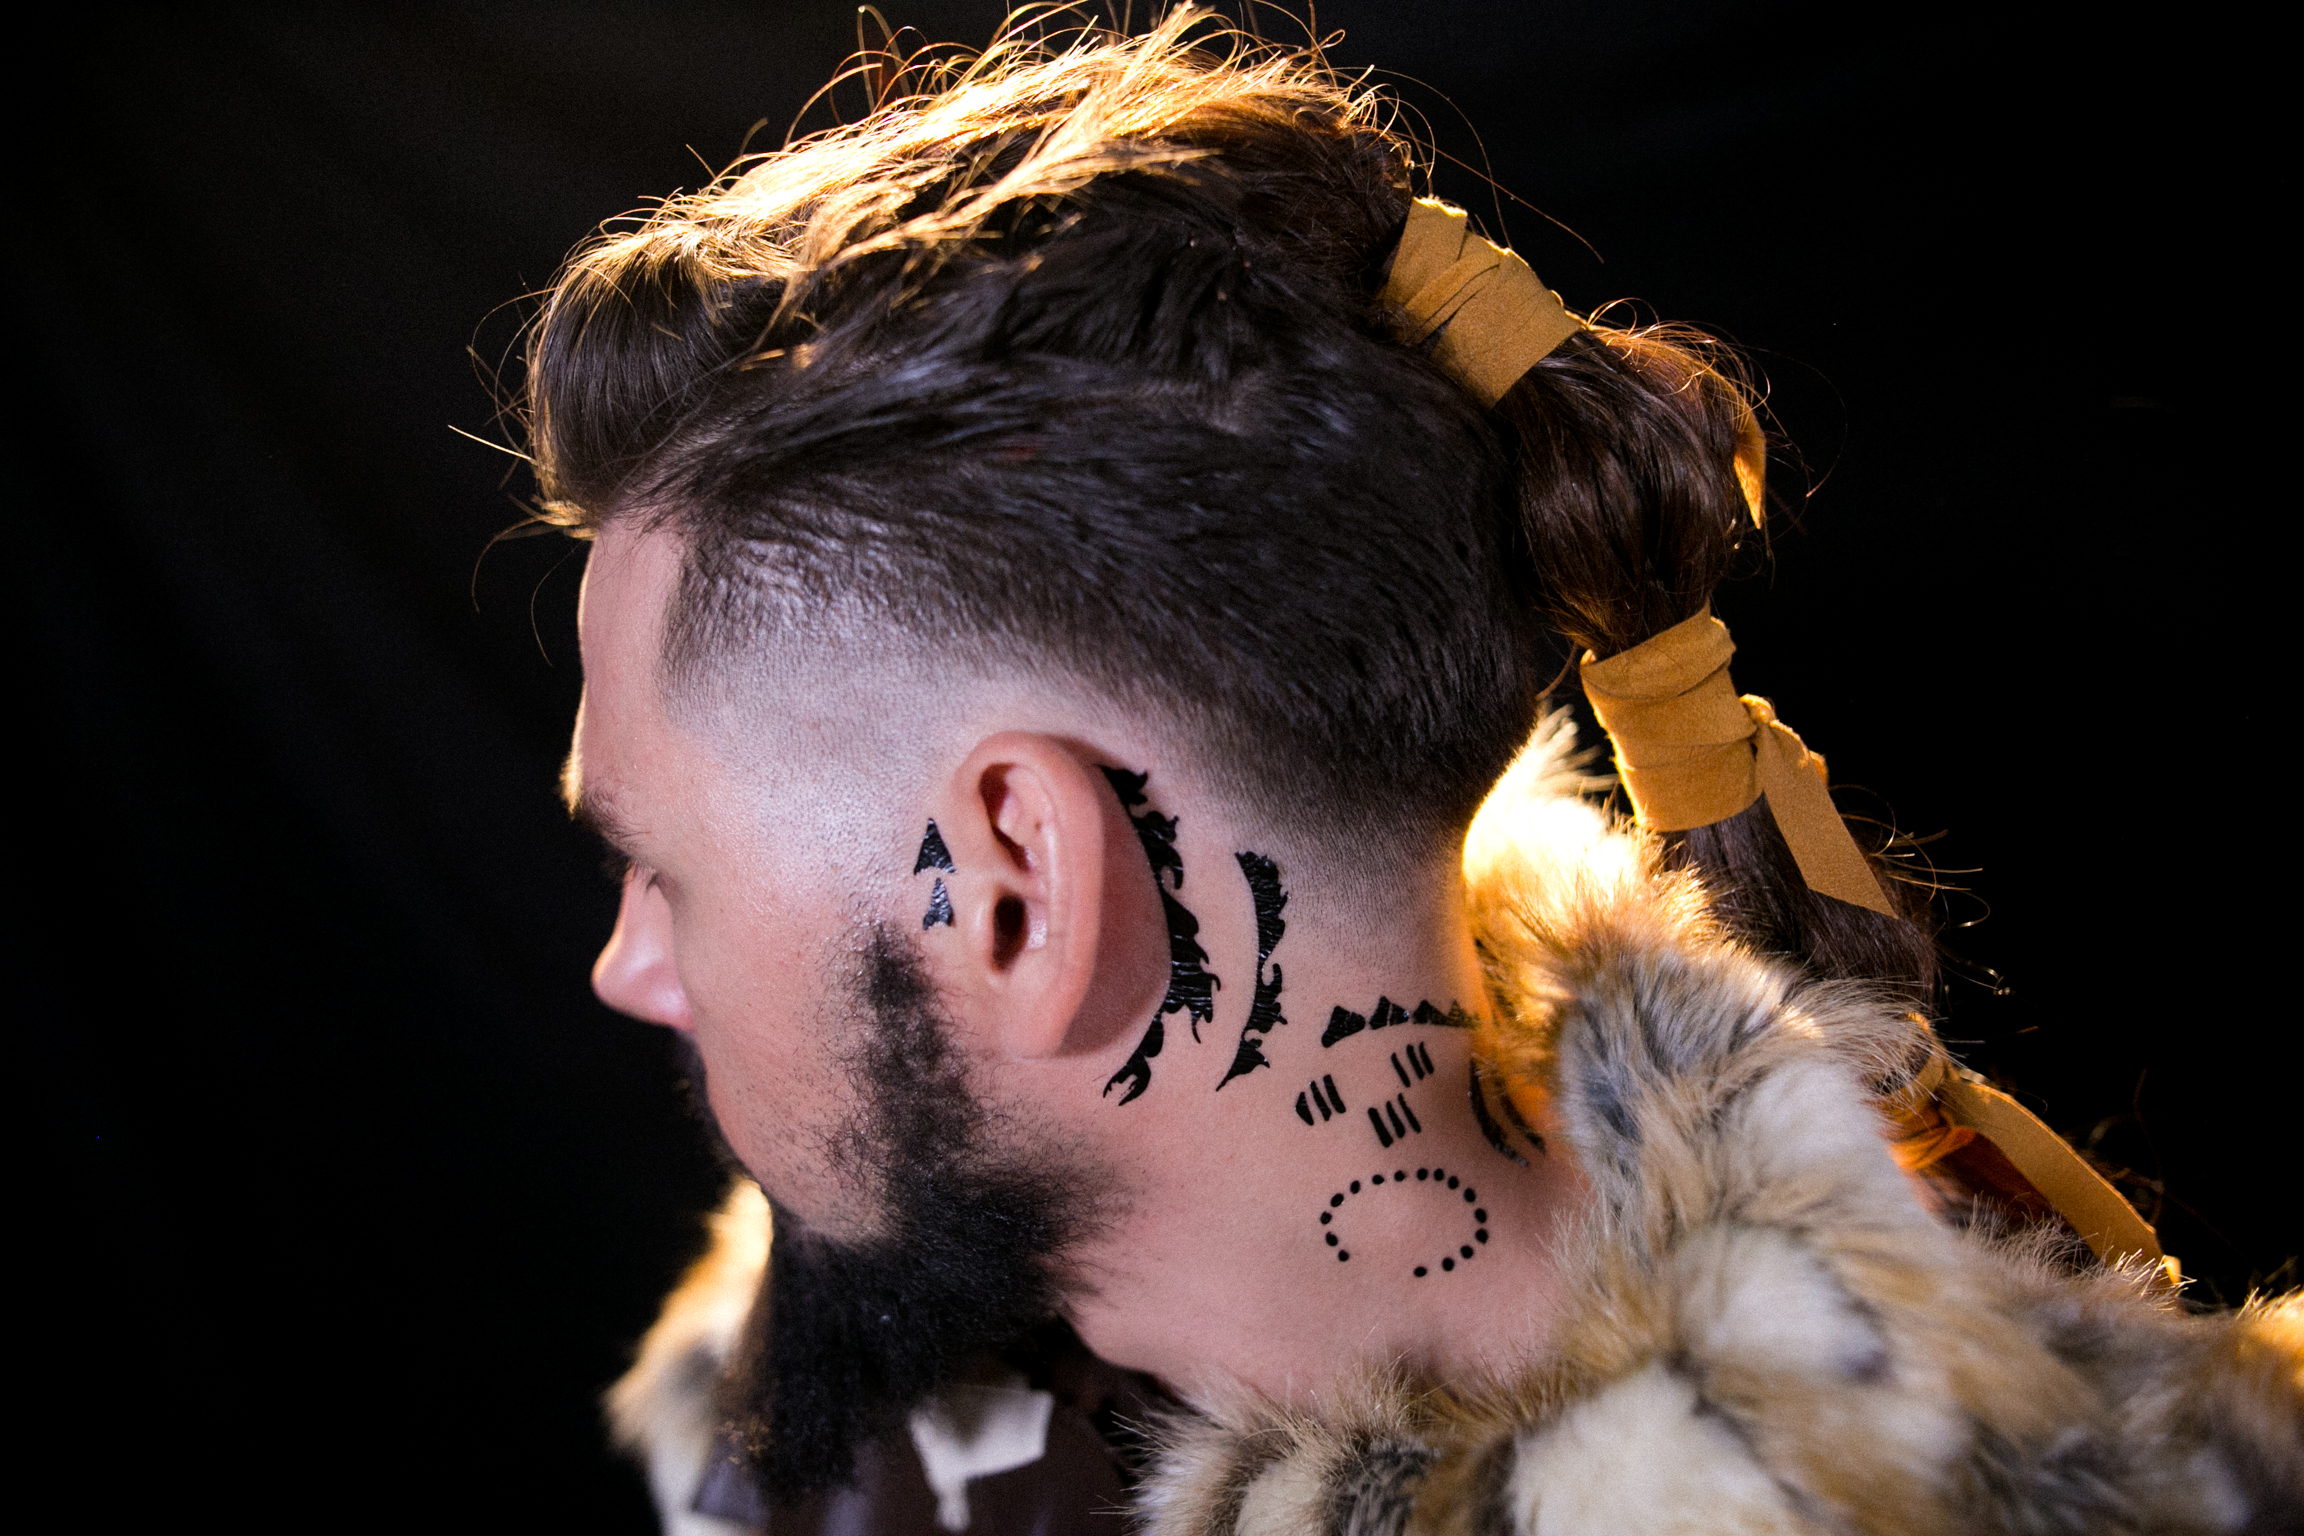
- No warrior is complete without tattoos! Instead of hitting up the local parlor, deck out arms, necks, anywhere with some black BeautyMarks! Mix and match the different designs to get a badass look.
- For the costume, we cut the arms off of a Huntsman outfit, then added a women's fur vest wrapped around Joey's shoulders as a makeshift cape. To add some texture to the cape, I added and draped some extra pieces of leather and other fabrics.
