Thanks to Gwen Stefani, we all know how to spell Bananas, and now, thanks to this DIY tutorial, we all know how to paint them nail art style!
Though a staple as far as pantries and pop art are concerned, bananas sort of faded from the style scene for a few years, replaced by their spikier second cousins, the pineapples. But the tide has turned back in bananas' favor, so there's no time like literally right now to get the lowdown on an easy as banana cream pie way to deck out your digits in this colorful print.
Check out the tutorial above and the supplies and written steps below!
Prep It:
Essie polish in Prime & Pop Essie polish in Gallery Gal Sally Hansen polish in Mellow Yellow Sinful Colors polish in Nirvana Essie polish in Licorice Clear top coat Thin nail brush
Do It!:
- The key to getting that bright pop of neon is a white base coat, so prep your nails with white polish. I used the Prime & Pop, specifically meant to go with the neons collection Gallery Gal is from, but any opaque white polish will work. This particular one I used needed two coats.
- Once your white base is dry, apply your neon polish. Depending on the opacity of the shade, you might need two coats. Just make sure it looks smooth and fully neon!
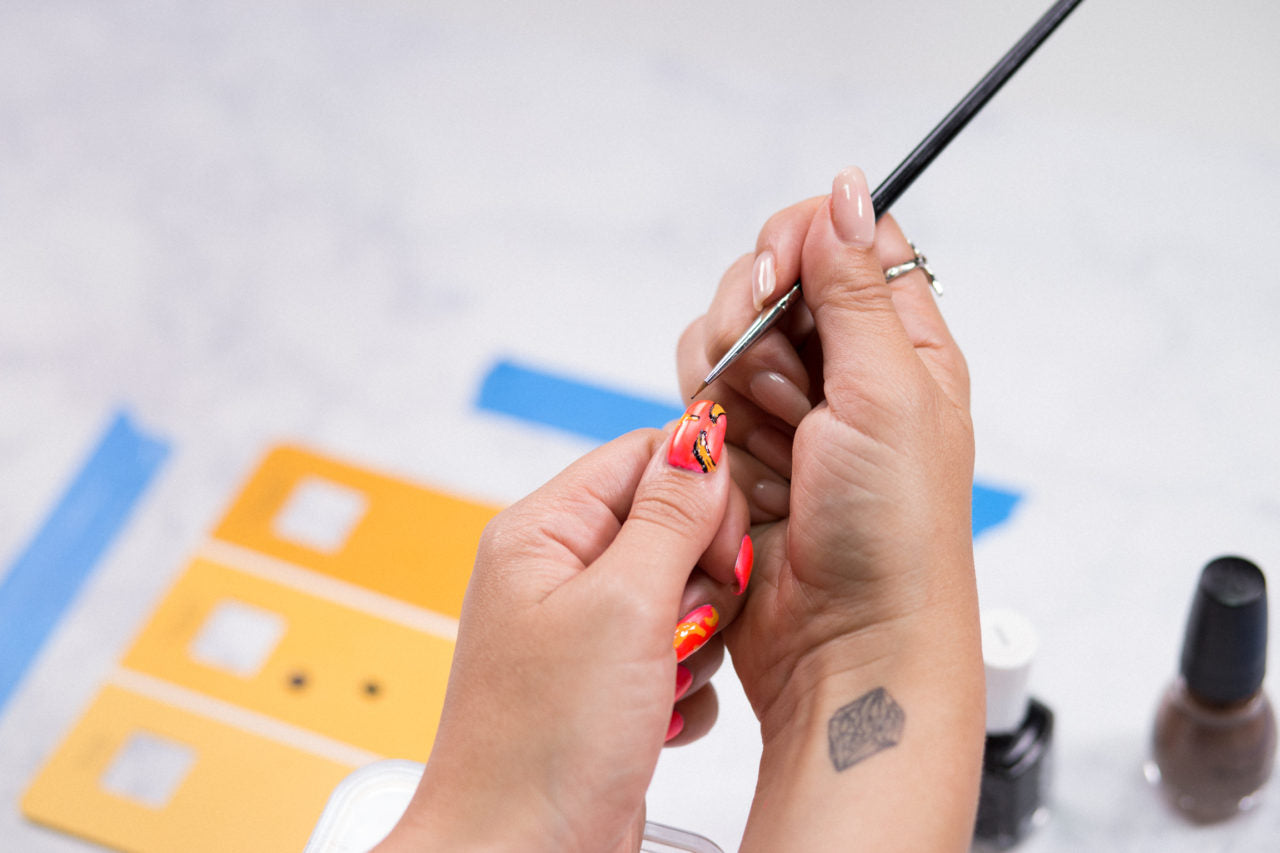
- When your neon is dry, it's time to get bananas! Start by dolloping a small amount of the yellow polish out on a disposable surface, for easy access. Dip your thin nail art or paint brush into the yellow polish and start painting small banana shapes onto your nails. Don't worry about getting it perfect, since the black outline will help refine the shape! Remember bananas have a pointy base and a tapered stem and curve a little like a crescent moon. Let the yellow shapes dry.
- Dollop some black and brown polishes onto a disposable surface, and using a cleaned nail art brush, outline the banana shapes with the black polish. Add a middle contour line down the center of the banana and a few brown accent dots for realism. Let the art dry.
- Now to top it off! Drop small dots of clear top coat over the bananas on your nails and let them self-level before applying the top coat over the rest of the nail as usual. This will help preserve your little pop art fruits against smudging while finishing everything off.
- Voila! You've just given yourself a very yummy manicure! Enjoy, Instagram, make banana puns ... the world is yours!