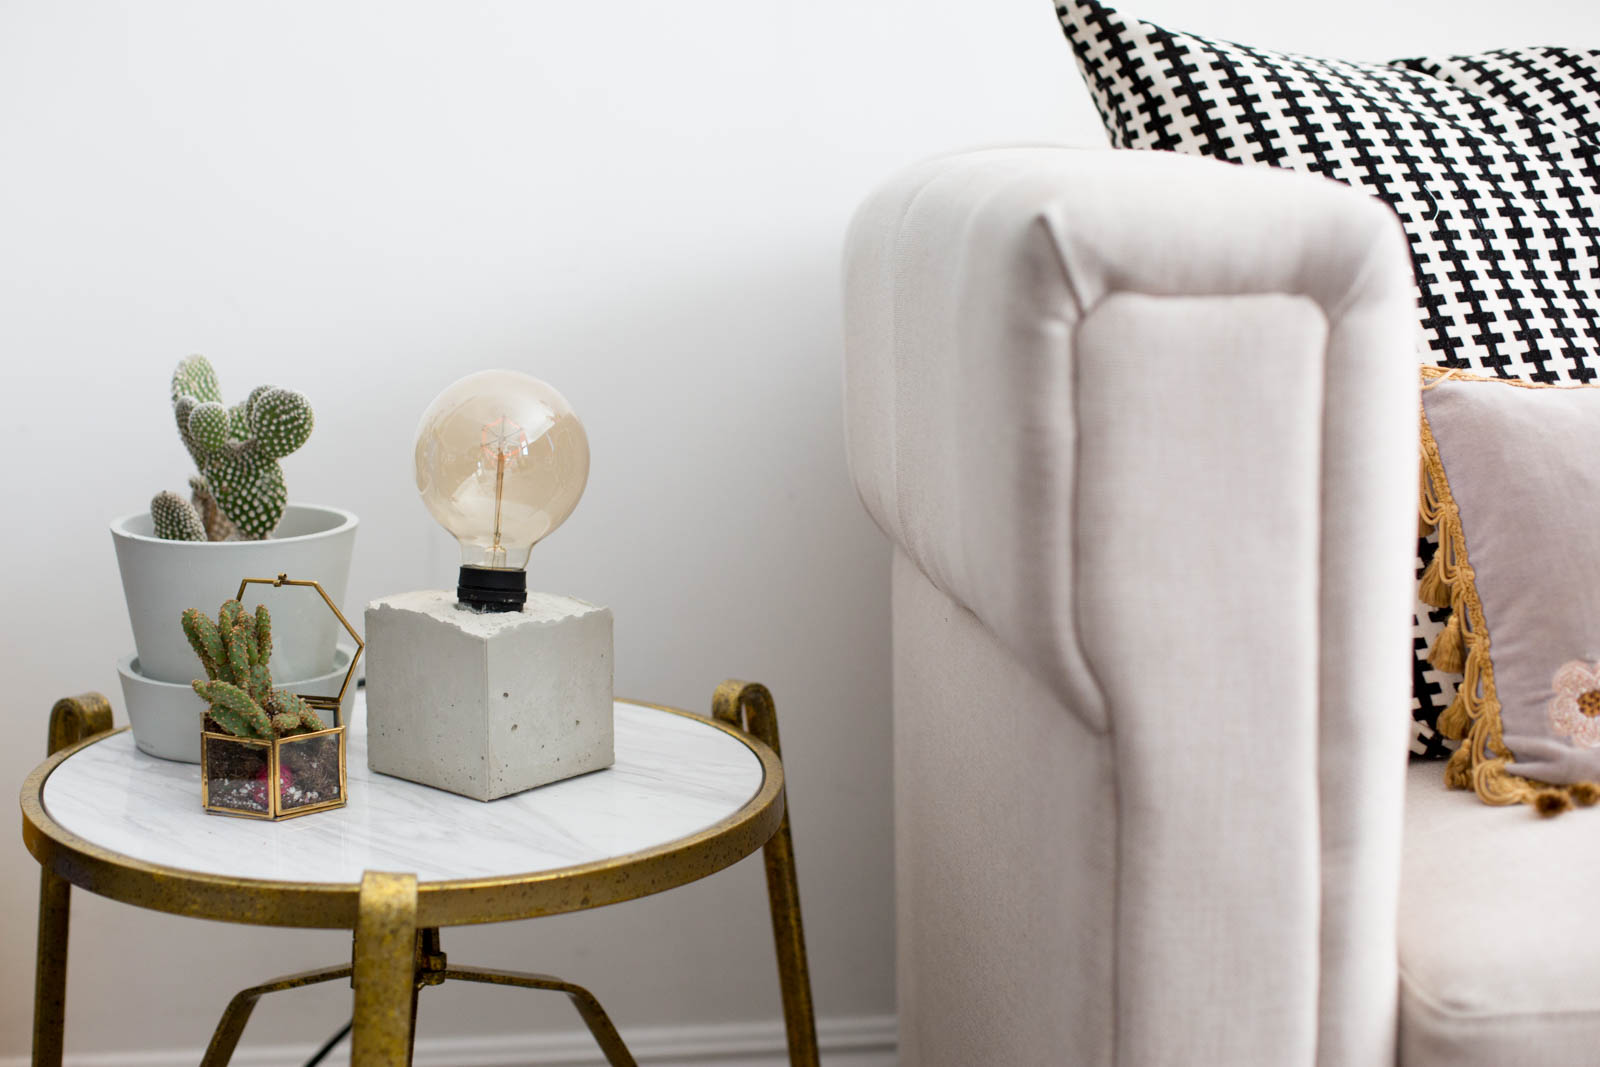
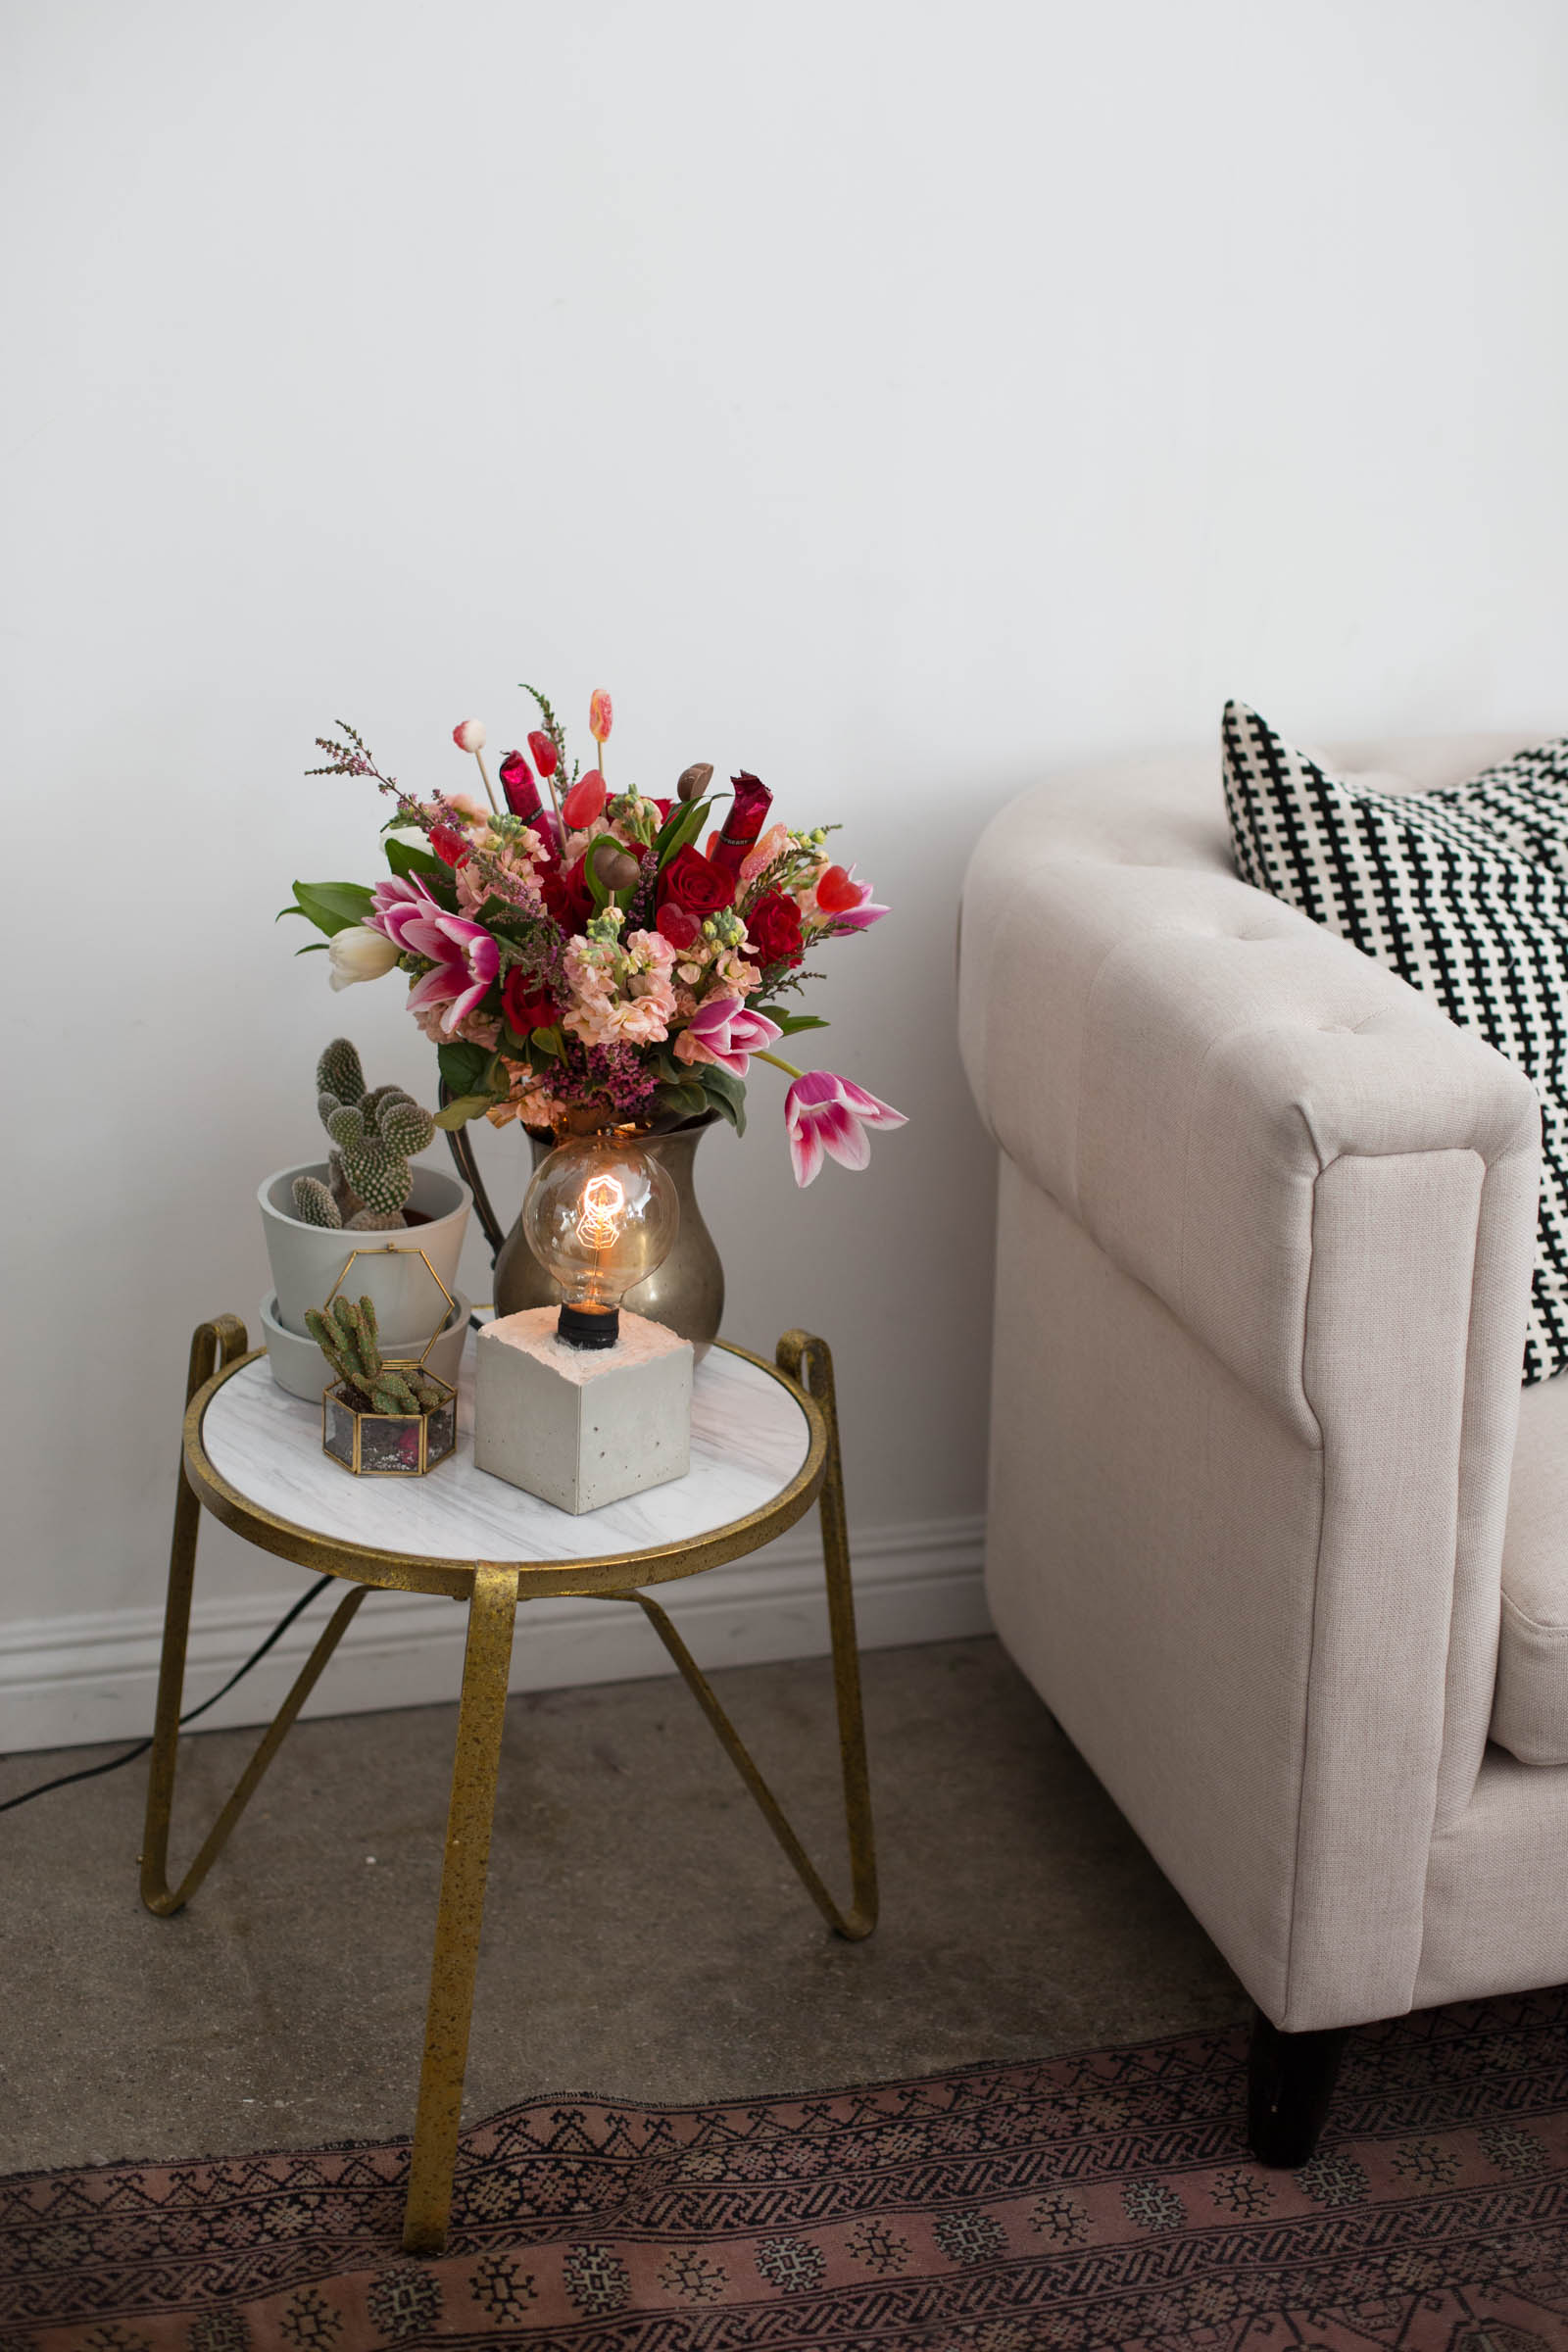
As an interior decorator, I know that so much of the dimension and personality of a space comes from the lighting. But sometimes there's no lamp that fits the space correctly, or has the right aesthetic, so I decided to take this common design dilemma into my own DIY-ing hands. Let's hack ourselves a lamp!
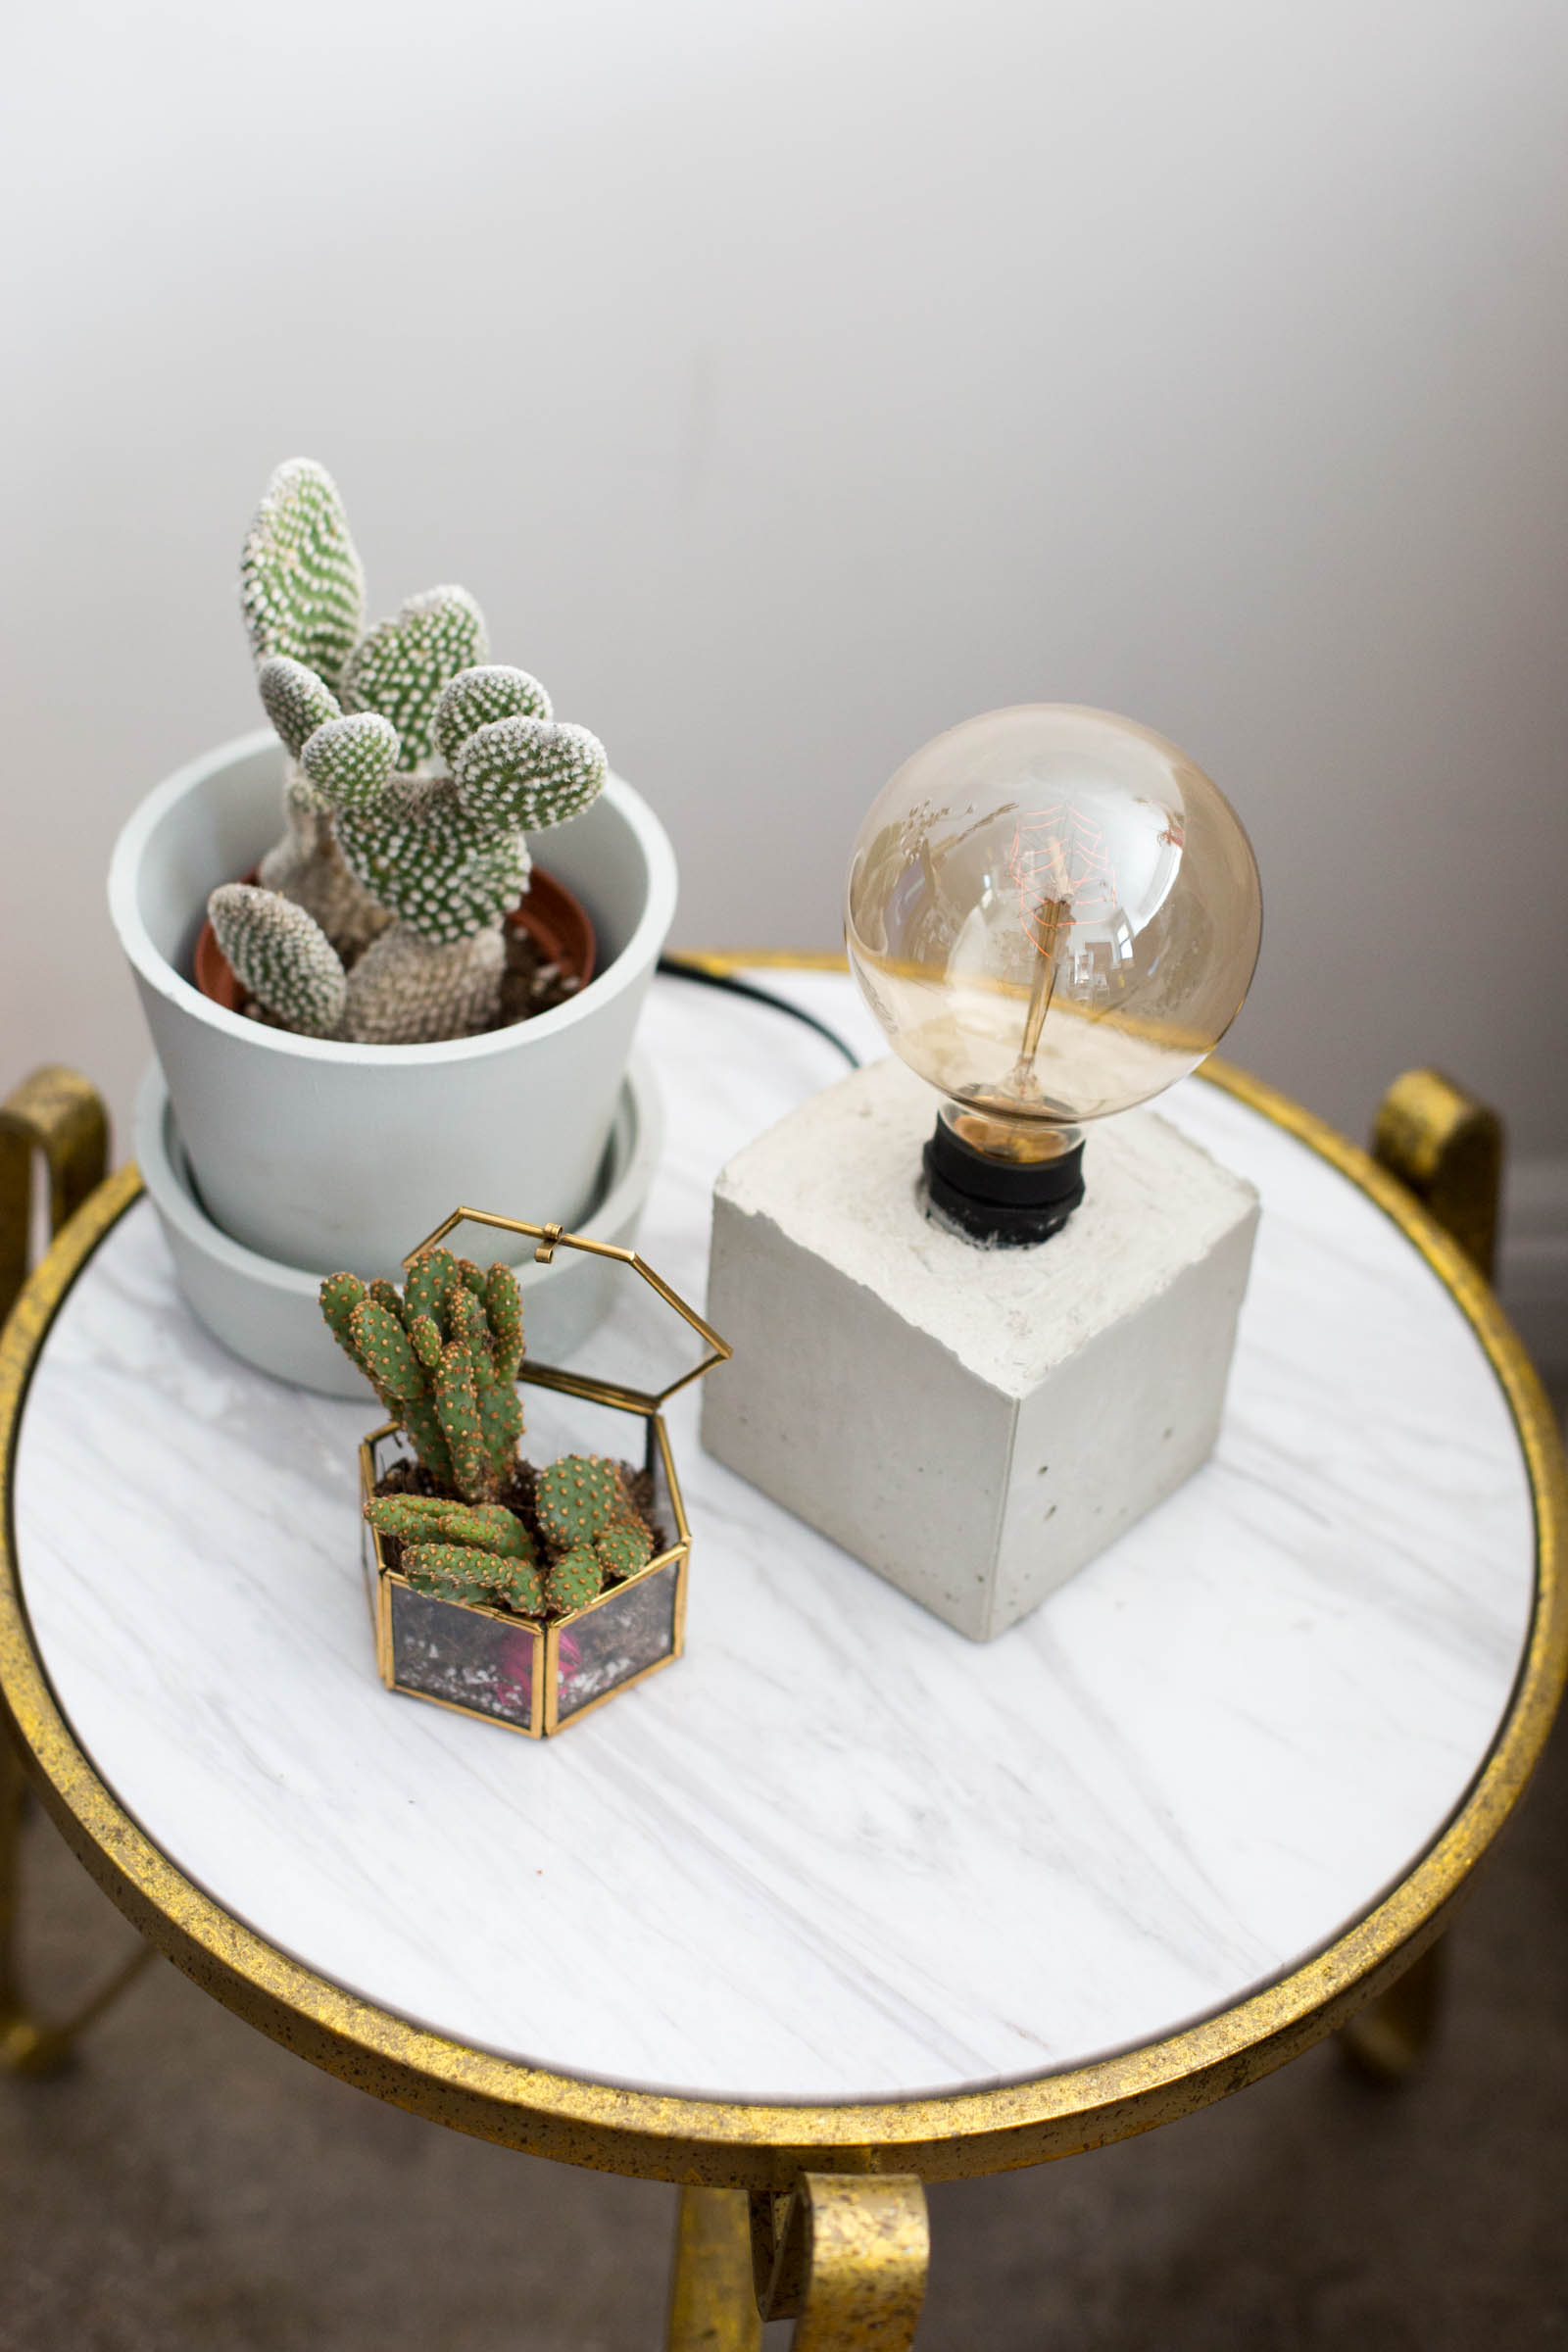
Check out the video above and the steps and images below to get all the dirty deets (and fair warning, you do get a little messy doing this one!) to make an industrial, minimalist-chic cement lamp. The best part is, once you conquer this DIY, there are so many different lamps you could make with the same steps! Just find different molds for the lamp bases and go creatively crazy!
PREP IT!
Milk carton (make sure to save the cap!)
Light cord kit
Filament lightbulb
X-acto knife
Ruler
Sharpie
Water
Fork
Scissors
Electrical Tape


Do It!:
- Measure your way around the milk carton using a ruler and marker. I measured mine 5 inches. Using the x-acto knife, carefully slice along this line, removing the top of the carton.
- Tape around the exterior of the carton with the electrical tape to reinforce the shape and structure. Before you tape down to the bottom, use the x-acto knife to slice into one of the corners, creating a flap that you can pull back.
- Pass the plug of the light cord through this flap and keep pulling the cord through until the bulb end is at the top of your carton. Now finish using the electrical tape to reinforce the carton, making sure to tape securely around the flap and seal it as much as possible so no cement leaks out.
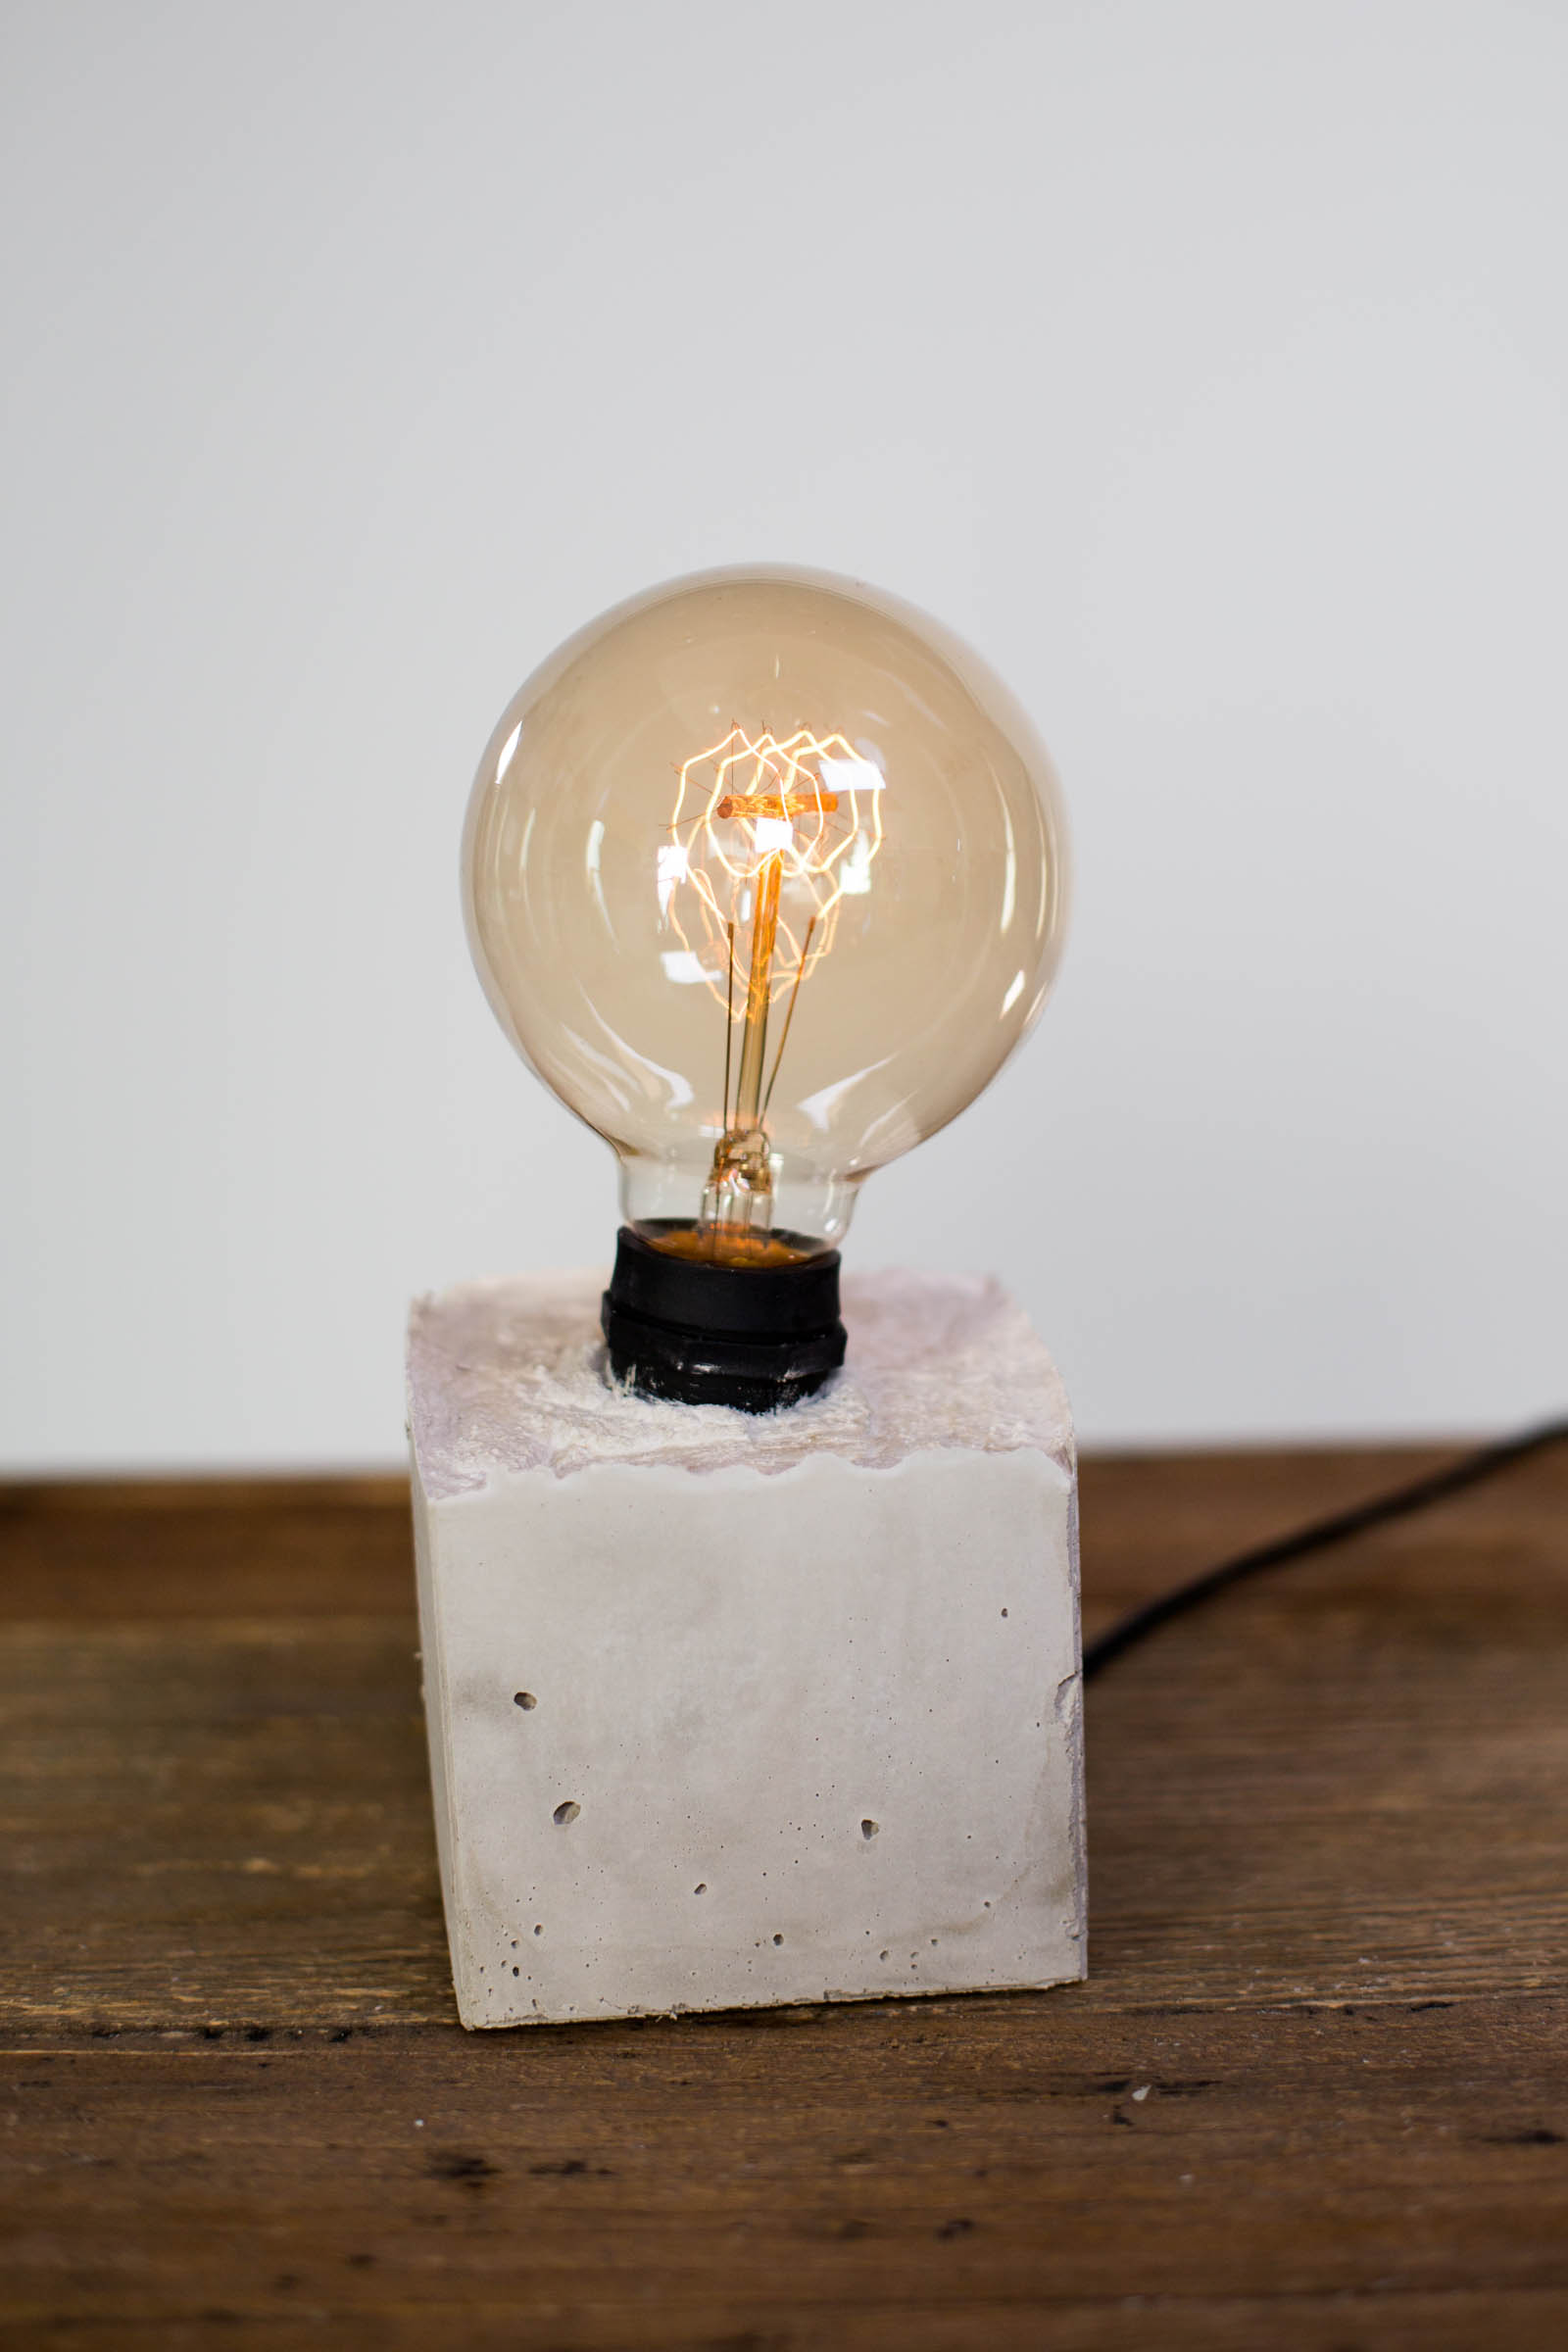
- Secure the bulb end of the light cord by taping the milk cap over it, so no cement can get in! Then, use thin strips of electrical tape to create a plus sign over the top of the carton, securing the bulb outlet.
- Now it’s time to mix up some concrete! Add 1 part water to 4 parts concrete powder and mix with something strong and disposable like a paint stirrer. Mix until fully saturated, adding a little more water if necessary.
- Use a fork to scoop the cement into the milk carton, working around the tape strips and light cord. Every couple of scoops, tap the carton on the table to even out the cement and raise any air bubbles to the top.
- Fill 3/4 of the way, so just the bulb outlet is uncovered, and let set for 24 hours.
- To release your new light base, first remove the tape strips and milk cap from the top. Then, use the x-acto knife to slice into the carton, creating strips you can peel away slowly.
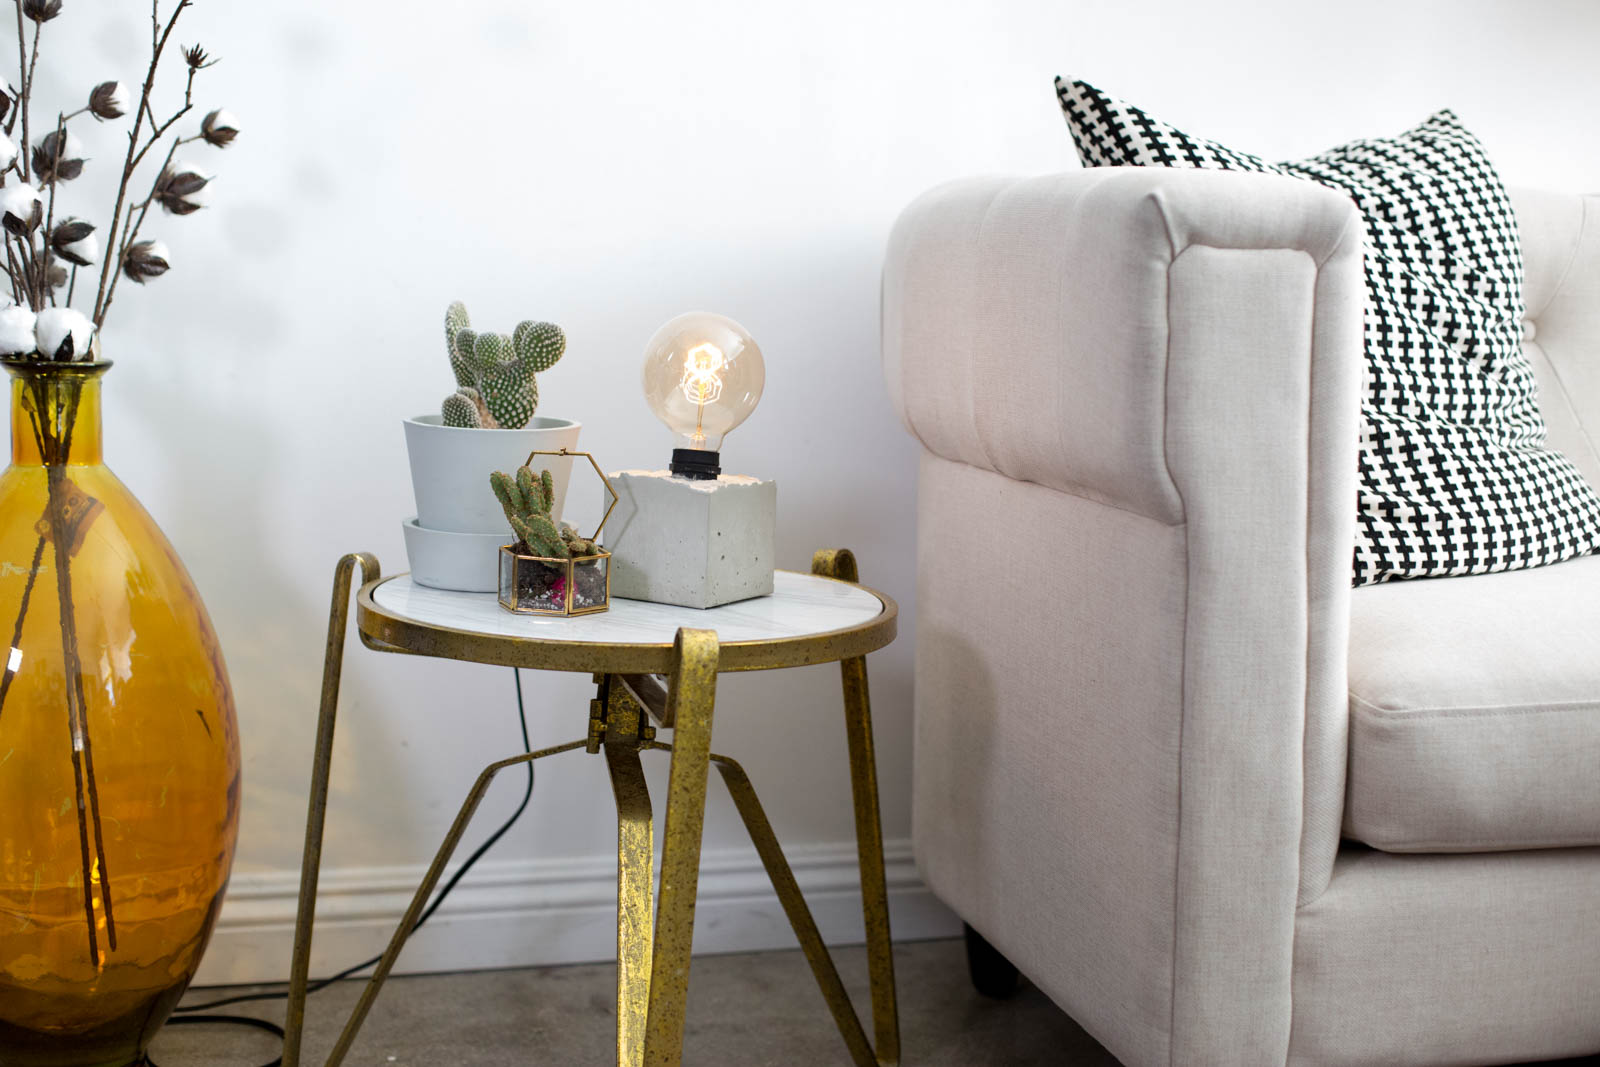
- Remove the lamp from the carton completely, screw in a beautiful filament bulb, plug in and voila! Light it up!