

 There's a reason flowers and chocolates are the archetypal Valentine's Day/ Anniversary/ romantic gift. Everybody loves them! I mean, everybody loves pizza too, but I guess that doesn't look as good on greeting cards. The only problem is, these offerings are so easy to find, in pre-arranged cheesy packaging at the grocery store, that they're stripped of any sentiment or style.
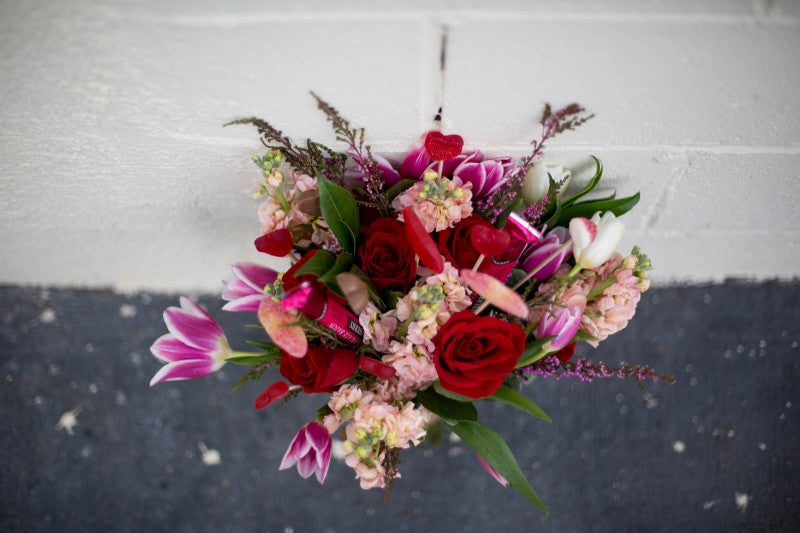
But hear me now, your days of Russell Stover are over! We took the obvious grabs from the grocery store (red roses, some tulips, and a couple candies and truffles) and DIY-ed them into February's Bouquet of the Month. It's a great gift for any lad or lady in your life ... or to yourself! So pass this story along as a not-so-subtle *hint*, and we'll do the rest of the work for ya. Check out the full DIY below!

Prep It:
Red roses
Tulips
Stock flowers
Heather
Truffles
Gummy candies
Skewers
Twine
Brown Paper Bag
Scissors

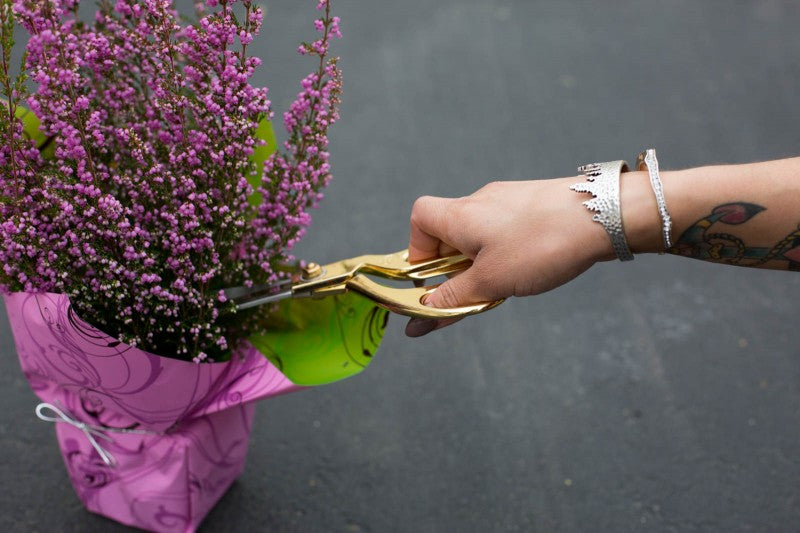


STEP 1. Of course you gotta start with the roses! Since these aren't big, statement flowers on their own, I recommend following the rule of 3. Start by bundling together 3 of the most beautiful roses with a few leaves of foliage. Voila! This baby will be the center that you build your bouquet around.

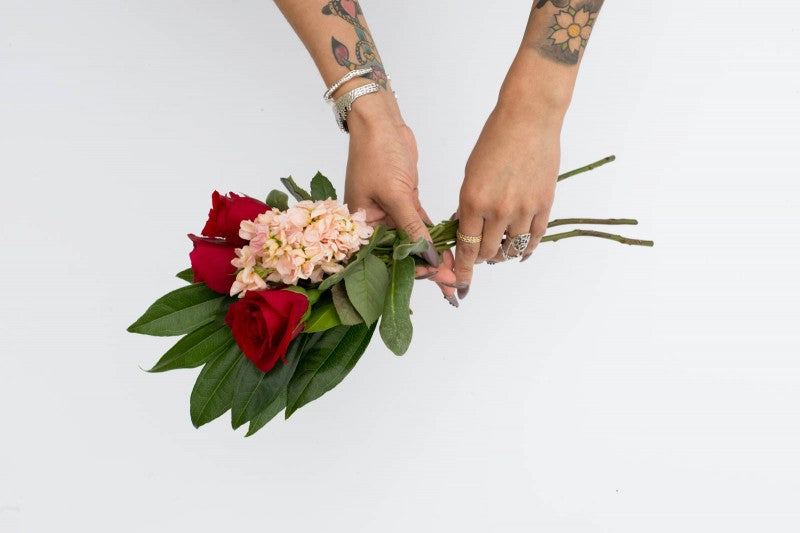
STEP 2. Now add your second group of flowers! I used the stock flowers this time, continuing with the rule of 3 and layering them evenly by the roses.


STEP 3. Add filler flowers and greens throughout, in sets of 3! Your bouquet will be starting to fill out now. If you think it looks all one height, layer the depths of the flowers to give dimension.

STEP 4. Pull in your last few flowers for how you want your core bouquet to look. It's all repetition from here out. I chose 3 gorgeous tulips, as their vibrant colors balance the red of the roses brilliantly. Don't worry about the stems being uneven lengths! You'll end up trimming them anyways.

STEP 5. Okay, time to repeat! Start over with the roses and follow the exact pattern you just went through until you're happy with the size of the bouquet. I used all of mine because bigger is better, eh?


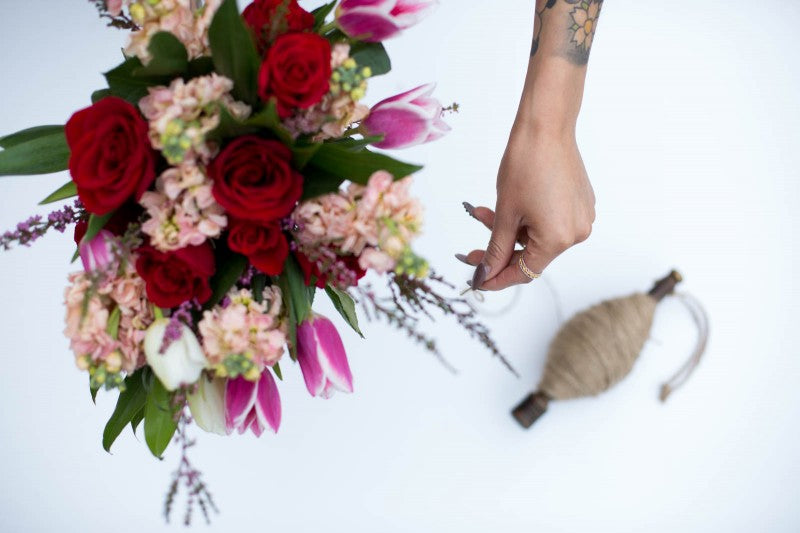
STEP 6. Time to wrap it up. Use twine or other thick string to gather and tie your bouquet. At this point, if any flowers start to fall out or look superfluous, you can pluck them out.


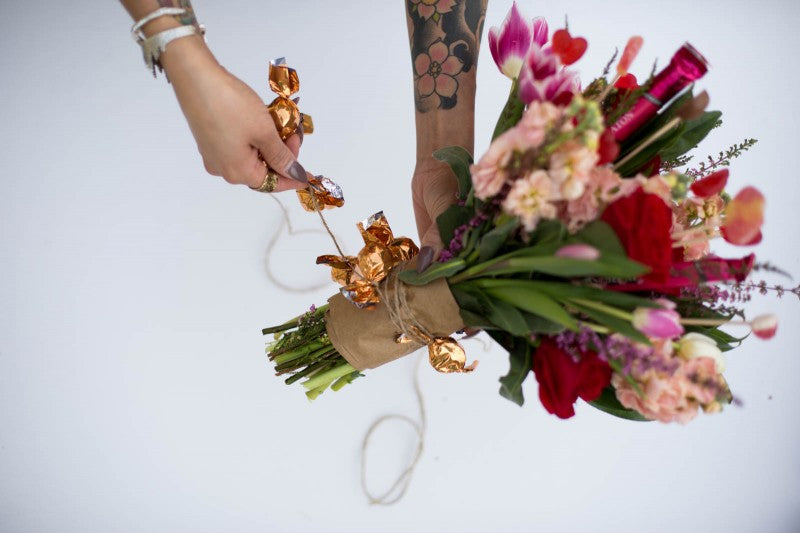
STEP 7. As if this bouquet could get any sweeter, you're now going to sugar coat it with some super cute candies. Use wood skewers to poke through your candy pieces, making lollipop-like fixtures. We used some gummy candy in the shapes of hearts and kisses.


STEP 8. This bouquet wouldn't be complete without some chocolate! Cut a long piece of twine and tie it around some wrapped truffles, making a garland to wrap around the bouquet.


STEP 9. Time to put it all together! Trim the bottom of your bouquet now to get it nice and even.


STEP 10. Place your candy-topped stems and other sweets in the bouquet. Just push them in carefully between the flowers.


STEP 11. Can't let that grocery bag go to waste! Reuse it by cutting off a strip to act as the sleeve of your bouquet.






 There's a reason flowers and chocolates are the archetypal Valentine's Day/ Anniversary/ romantic gift. Everybody loves them! I mean, everybody loves pizza too, but I guess that doesn't look as good on greeting cards. The only problem is, these offerings are so easy to find, in pre-arranged cheesy packaging at the grocery store, that they're stripped of any sentiment or style.


